Maintain painted cabinets: Ottawa homeowners' step-by-step guide
- Axcell Painting

- May 1
- 10 min read
TL;DR:
Proper maintenance extends cabinet paint life and keeps kitchens looking fresh.
Regular cleaning, inspection, and touch-ups prevent costly deep repairs.
Professional help is recommended for significant damage or long-lasting results.
Your kitchen cabinets take a beating every single day. Cooking steam, grease splatter, sticky fingerprints, and the occasional hard knock from a pot handle all add up over time. When your painted cabinets start showing chips, fading, or dull spots, the whole kitchen feels tired and worn, even if everything else looks great. The good news is that consistent, smart maintenance keeps painted cabinets looking sharp for years, saving you thousands of dollars compared to a full replacement. This guide walks you through the right tools, proper preparation, a proven maintenance routine, and troubleshooting tips so your cabinets stay beautiful and durable.
Table of Contents
Key Takeaways
Point | Details |
Essential tools matter | Have the right cleaning and repair materials ready before starting cabinet maintenance. |
Routine prevents problems | Consistent cleaning and quick fixes help cabinets stay attractive and durable. |
Prep workspace carefully | Proper setup avoids accidental damage and makes maintenance easier. |
DIY for minor issues | Most chips, stains, and blemishes can be fixed easily at home without professional help. |
Professional help saves time | For larger projects or long-lasting results, consider expert cabinet services. |
What you need to maintain painted cabinets
With the challenge clear, let’s start with what you need before tackling maintenance. Caring for painted cabinets starts with having the right cleaning and repair materials at hand. Walking into this without the proper supplies is a recipe for disaster. You might use a cleaner that strips your finish or grab sandpaper that’s too coarse and scratches the surface.
Here’s what you need to stock before you start:
Mild dish soap and warm water for routine cleaning
White vinegar solution (diluted 1:1 with water) for grease buildup
Microfiber cloths and soft sponges to avoid scratching
Fine-grit sandpaper (220-grit) for smoothing chips before touch-ups
Matching touch-up paint in the original cabinet color and finish
A quality small brush or foam applicator for precise touch-up work
Painter’s tape to protect edges and hardware
Drop cloths for protecting countertops and floors
Refer to this quick reference table to see which materials handle which tasks:
Material | Purpose | Notes |
Mild dish soap and water | Routine surface cleaning | Use weekly or biweekly |
White vinegar solution | Cutting through grease | Dilute before applying |
Microfiber cloth | Wiping without scratching | Rinse and replace often |
220-grit sandpaper | Smoothing chips before repair | Never use coarser than 220 |
Touch-up paint | Covering chips and scuffs | Match sheen level exactly |
Foam applicator | Even paint application | Better than bristle brushes for small areas |
Painter’s tape | Protecting edges and hardware | Apply before any cleaning or painting |
For a thorough overview of the right cabinet cleaning tools and how to use them correctly, it pays to know the difference between products that protect finishes and those that gradually destroy them. A good cabinet cleaning guide can also point you toward product-specific recommendations. You can also pick up some creative time-saving strategies from kitchen cleaning hacks designed for busy Ottawa households.
Preparing your kitchen and painted cabinets
After gathering your supplies, it’s time to prepare the workspace for optimal results. Proper preparation prevents accidental damage to cabinet finishes and surrounding surfaces. Skipping this step is where most homeowners run into trouble. A cleaning solution that drips onto an unprotected countertop, or a touch-up brush that catches the edge of the backsplash, creates a brand new problem while you’re trying to solve an old one.
Follow these preparation steps before you begin:
Remove everything from inside the cabinets near the work area so doors open and close freely
Clear countertops of appliances, dishes, and décor within arm’s reach
Lay drop cloths on countertops and the floor directly below the cabinets you’re working on
Remove hardware (handles, knobs, hinges) when doing anything beyond a quick wipe-down
Open windows and turn on the range hood fan to ventilate the space, especially when using touch-up paint
Mask adjacent surfaces with painter’s tape, including the wall where the cabinet meets the backsplash
Pro Tip: Apply painter’s tape slowly and press the edges down firmly with a putty knife or your fingernail. A loose edge lets cleaning solution or paint creep underneath, leaving you with a messy line instead of a crisp one.
Safety first. Masking nearby surfaces prevents costly mistakes that take far longer to fix than the original job.
Good ventilation matters more than most people realize. Touch-up paint and even some cleaning agents release fumes that build up quickly in a closed kitchen. For tips on safe cabinet cleaning practices that protect both your finish and your health, it’s worth reviewing the full guidance before you start. When you understand cabinet paint durability and what conditions shorten a paint job’s life, it becomes obvious why the prep stage is non-negotiable.

Step-by-step cabinet maintenance routine
Now that your kitchen is prepped, follow these actionable maintenance steps. Regular cabinet maintenance extends paint life and keeps kitchen aesthetics fresh. This isn’t a once-a-year deep clean. It’s a layered routine that includes quick weekly checks, monthly cleaning, and occasional touch-up work.
Here is the full routine in order:
Inspect every cabinet surface under good lighting. Look for chips, peeling edges, scuffs, yellowing, or areas where the finish looks thin or dull.
Dust cabinet faces and tops with a dry microfiber cloth before applying any liquid. Wet cloth on dusty surfaces creates a muddy film that’s harder to remove.
Clean with your mild soap and water solution, working in small sections and drying each area immediately. Never let water sit on painted wood.
Target grease spots (typically near the stove and range hood area) with your diluted vinegar solution and a soft sponge. Rinse with clean water and dry immediately.
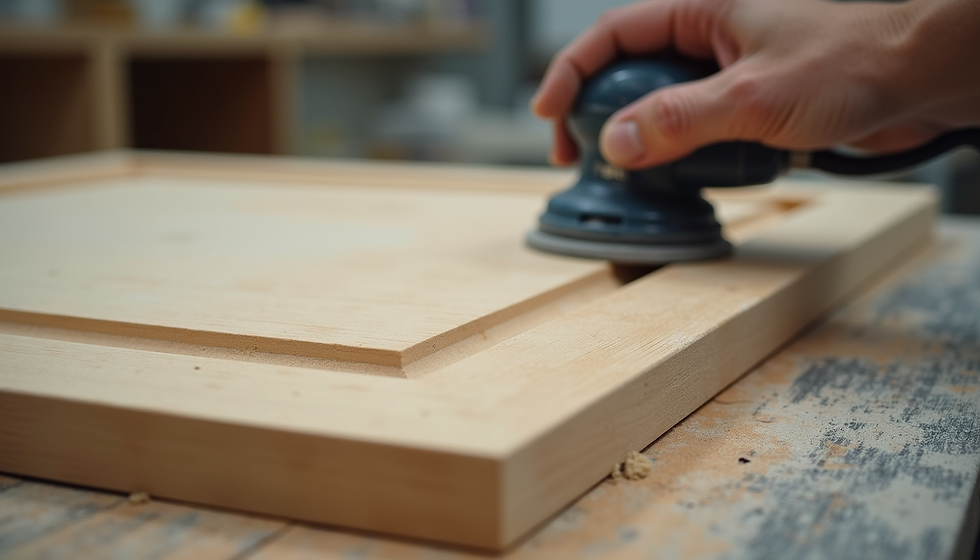
Sand any chips or raised edges lightly with 220-grit sandpaper. Feather the edges so the repair zone blends with the surrounding surface.
Apply touch-up paint using a foam applicator in thin, even coats. Small blemishes or chips can be fixed easily at home with matching paint and proper preparation.
Allow adequate drying time between coats. Rushing this step produces a lumpy, uneven result that’s more noticeable than the original chip.
Reinstall hardware only after touch-up paint has fully cured, not just dried to the touch.
Pro Tip: Schedule a quick 10-minute visual inspection on the first of every month. Catching a tiny chip early means a 5-minute fix. Leaving it for six months means a bigger repair, or worse, a spot where moisture has worked its way under the paint and caused lifting.
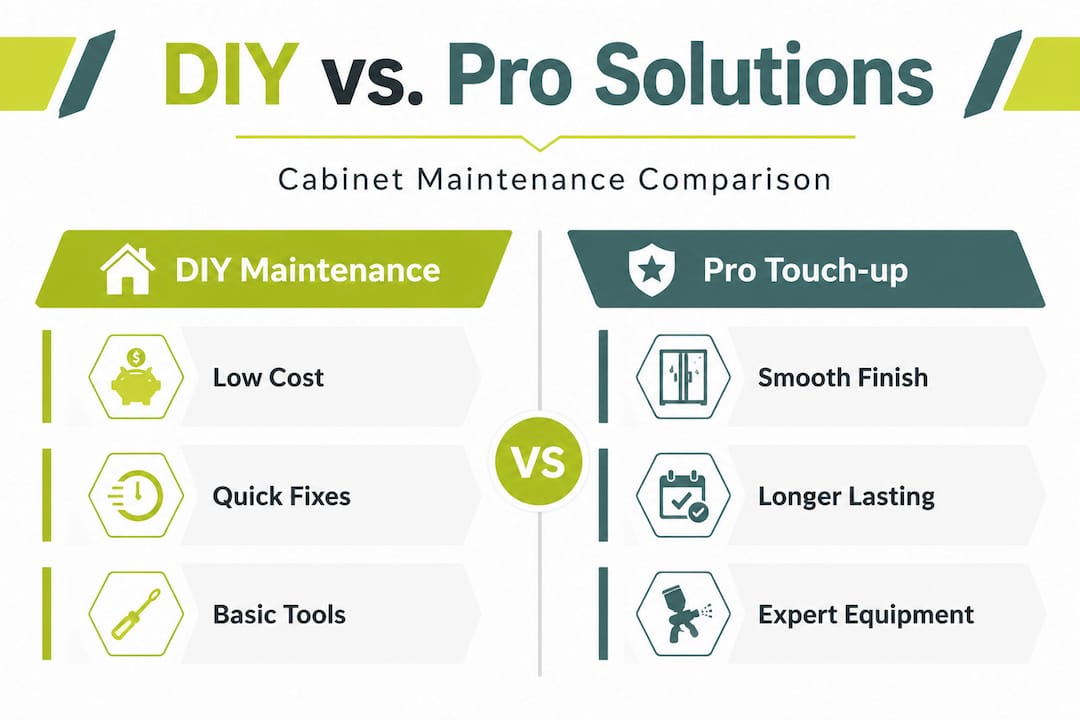
Compare your two main options for handling chips and wear:
Factor | DIY maintenance | Professional touch-up |
Cost | Low (materials only) | Moderate (labor plus materials) |
Time investment | 1 to 3 hours per session | Minimal for the homeowner |
Finish quality | Good for minor chips | Seamless and factory-smooth |
Skill required | Basic to moderate | Professional grade |
Best suited for | Small chips, light scuffs | Peeling, large chips, uneven sheen |
Warranty | None | Often included |
For more detailed guidance on how to touch up cabinets on your own, or when it makes more sense to call in a pro, you can also learn how to fix paint chips with the right technique so repairs are nearly invisible. If you’ve ever wondered whether you should repaint the whole cabinet yourself, a solid painting cabinets guide lays out everything involved. Additional practical advice is available in this cabinet cleaning tips resource for product and technique guidance.
Troubleshooting and common mistakes to avoid
Following the maintenance routine, be aware of these pitfalls and solutions. Many common cabinet paint problems can be prevented through regular maintenance, but knowing what to look for helps you catch issues before they become expensive.
Here are the most common problems Ottawa homeowners encounter and how to address them:
Yellowing finish: This often happens to white or light-colored cabinets exposed to cooking oils and heat. It signals the paint is aging or was originally a lower-quality product. Light sanding and a fresh coat of premium paint is the most reliable fix.
Peeling edges: Usually caused by moisture getting into the wood at seams or corners. Sand back the peeling area, let it dry completely for at least 24 hours, then prime before repainting.
Streaky appearance after cleaning: This is almost always caused by using too much product and not rinsing properly. Always follow up any cleaner with a clean, damp cloth and then a dry one.
Harsh chemical damage: Bleach-based cleaners, abrasive scrubbers, and ammonia products wreck painted finishes fast. Even products marketed as “all-purpose” kitchen cleaners can be too aggressive.
Brush marks in touch-up areas: These come from using the wrong applicator or applying too much paint at once. Foam applicators in thin coats are the solution.
Pro Tip: Always test any new cleaning product on a hidden surface first, such as the inside edge of a cabinet door or the inside top of a base cabinet. Wait 10 minutes and check for any color change, stickiness, or dullness before applying it everywhere.
Consistent minor fixes prevent major overhauls. A chip addressed today costs minutes. That same chip ignored for a year can mean a full refinish.
Paying attention to the cabinet care tips that cover Ottawa-specific conditions matters too. Our winters bring dry indoor air and our summers bring humidity, both of which stress painted wood. If you’re looking for ways to maintain your kitchen on a tighter budget, some budget decor tips for busy families offer practical ideas that pair well with a regular cabinet care routine.
Finishing touches for long-lasting cabinets
Once you’ve addressed maintenance and troubleshooting, finish strong with these lasting details. Periodic care extends cabinet paint durability and preserves kitchen aesthetics over the long haul. The finishing steps after each maintenance session are what separate cabinets that look great for a decade from those that look rough in three years.
Follow these steps to wrap up each maintenance session properly:
Reinstall all hardware carefully. Hand-tighten screws first, then use a screwdriver to snug them. Overtightening cracks paint around the hardware hole.
Wipe down all hardware with a damp cloth to remove fingerprints and any cleaner residue from the surrounding surface.
Apply a thin coat of paste wax (formulated for painted surfaces) to add a layer of protection and a subtle sheen. This is optional but meaningful on high-traffic doors.
Step back and inspect the whole run of cabinets in natural light. Hold a flashlight at an angle to reveal any uneven touch-up spots or areas you may have missed.
Log the date and what you did in a simple notebook or phone note. This helps you spot patterns, like which cabinet always gets a chip near the handle, and plan future sessions more efficiently.
Paint life expectancy by care level:
Well-maintained painted cabinets treated with quality products and a regular routine can realistically last 8 to 10 years before needing a full refinish. Cabinets with no maintenance routine and poor-quality paint may show significant wear in as little as 3 to 4 years. The difference is not luck. It is consistent attention. For ongoing periodic cabinet check tips to keep that 10-year mark within reach, bookmark the full care guide and come back to it regularly.
Why professional help can save you money and time
Here’s a perspective we’ve earned from working on hundreds of Ottawa kitchens: DIY cabinet maintenance is genuinely worthwhile for minor chips, routine cleaning, and surface scuffs. If you’ve got a steady hand, the right materials, and an afternoon to spare, you can handle those small fixes and keep your cabinets looking respectable. We say that honestly, and we mean it.
But there’s a clear line where DIY stops saving money and starts costing it. Large sections of peeling paint, deep chips that have exposed bare wood, finishes that have yellowed unevenly across multiple doors, or cabinet faces where moisture has caused the paint to bubble and lift. These aren’t weekend-fix scenarios. Attempting them without professional-grade equipment and expertise often results in a patchwork finish that looks worse than what you started with.
Professionals bring tools you simply don’t have at home. Commercial-grade sprayers produce a level of smoothness that brushes and rollers cannot match. Proper primer selection, such as shellac-based primer for stain blocking or adhesion-promoting primer for previously painted surfaces, makes a fundamental difference in how long the repair holds. And a professional finish is sealed and cured in a controlled way that resists chipping and wear far longer than a DIY touch-up.
The practical question to ask yourself before committing to either path is this: What is your time worth, how big is the problem, and what happens if the repair doesn’t hold? For anything beyond light touch-ups, consulting a local Ottawa professional who can assess the situation directly is the smarter financial decision. A warranty-backed professional refinish on your existing cabinets costs a fraction of replacement and delivers results you’ll enjoy every day.
Learning how to local cabinet touch-ups can help you make the call with more confidence. If the job looks manageable, go for it. If it doesn’t, don’t let pride cost you a kitchen.
Upgrade your kitchen with Ottawa Cabinet Painting
If your inspection has revealed wear that goes beyond what a DIY routine can fix, or if you simply want to give your kitchen a truly fresh, seamless look, we’re here to help. At Ottawa Cabinet Painting, we specialize in transforming existing cabinets into high-end, modern surfaces without the cost and disruption of full replacement. You can browse our cabinet painting quotes page to understand your options and get a clear picture of what the process involves. Our cabinet transformations gallery shows real Ottawa kitchens before and after our work, so you can see the kind of results we deliver. We also offer interior painting services to tie your entire space together beautifully.
Frequently asked questions
How often should I clean painted cabinets?
Regular cabinet cleaning keeps finishes looking fresh, so aim for a gentle wipe-down monthly at minimum, with a more thorough cleaning every three to four months depending on how heavily your kitchen is used.
Can I fix paint chips on cabinets myself?
Yes, small blemishes or chips can be fixed easily at home using matching touch-up paint, 220-grit sandpaper, and a foam applicator for a smooth, even result.
What cleaning products are safe for painted cabinet finishes?
Gentle cleaning solutions like mild dish soap mixed with warm water are your safest choice. Avoid abrasive scrubbers, bleach-based products, and anything containing ammonia, as these break down the paint finish over time.
How long does painted cabinet finish typically last?
Durability depends on regular care, and paint can last up to 10 years before requiring a full refinish when you combine quality products with a consistent maintenance routine.
Recommended
Comments