How to paint kitchen cabinets with kids at home safely
- Axcell Painting

- May 8
- 10 min read

TL;DR:
Painting kitchen cabinets with children can be safe, affordable, and bonding when proper preparation and safety measures are followed.
Involving kids in tasks like taping, cleaning, and supervised painting fosters involvement, but adults should manage sanding and priming for durability.
Tackling a kitchen cabinet makeover when you have children running around sounds stressful. Between safety worries, mess control, and keeping the kitchen functional, many Ottawa families put the project off indefinitely. But painting your cabinets is one of the most cost-effective ways to refresh your home, and with the right planning, it can become a genuinely rewarding family experience. This guide covers everything: how to prep safely, which products to choose, how to involve your kids without chaos, and how to get a finish that actually holds up to real family life.
Table of Contents
Key Takeaways
Point | Details |
Family involvement is possible | With safe products and clear roles, families can paint cabinets together and enjoy the results. |
Preparation ensures safety | Thorough prep work and non-toxic paints are crucial for a child-friendly DIY project. |
Duration matters | Spread painting tasks across days or weekends to reduce mess and stress for families with kids. |
Expect wear and upkeep | Family kitchens see more wear, so plan for occasional touch-ups and routine cleaning. |
Professional help adds durability | Pros can deliver finishes that withstand family use, making a hybrid approach a smart choice for some homes. |
Why paint cabinets with kids at home?
There are real reasons Ottawa families choose to paint their own cabinets rather than call in help right away. Budget is a big one. A full cabinet replacement can run thousands of dollars, while a well-executed painting project costs a fraction of that. Beyond the savings, there is something satisfying about improving your home together as a family. Kids who help with the project tend to feel more connected to the space and take better care of it afterward.
That said, the challenges are real too. Young children introduce unpredictability: paint spills, tiny fingerprints on drying surfaces, and the constant need to supervise. Ventilation becomes more critical when kids are home. And the question of durability is always on parents’ minds. Will the finish hold up to sticky hands, school bags bumping against doors, and daily wear?
Here is what honest experience tells us:
Family bonding is a genuine benefit when tasks are age-appropriate and well-supervised
Safety planning is non-negotiable, not just a precaution
Durability concerns are valid, especially since painted cabinets’ real-world wear depends heavily on cabinet quality, prep work, and the paint products chosen
Success rate improves dramatically when families invest time in setting kitchen goals before lifting a brush
“The finish looks amazing but family life is tough on surfaces. How long it lasts really comes down to how well you prep and what paint you use.” — A commonly heard sentiment from Ottawa homeowners who have done this project themselves.
With the motivations and potential challenges clear, let’s move into what you’ll need before starting.
What you need: Tools, safety, and prep checklist
Walking into this project without a solid supply list is a recipe for disaster. You will make unnecessary trips to the hardware store, lose momentum, and risk using the wrong product in a space where your kids eat and spend time.
Here is a clear breakdown of what you need:
Category | Item | Family-friendly note |
Paint | Low-VOC cabinet-grade paint | Safer for kids and pets indoors |
Primer | Shellac-based or water-based bonding primer | Shellac grips better but has stronger fumes |
Applicators | Foam rollers, fine-bristle brushes | Foam rollers reduce brush marks significantly |
Tape | Painter’s tape (1.5 inch and 2 inch) | Great task for older kids to help with |
Safety | Nitrile gloves, N95 masks, safety glasses | Size-appropriate gear for children helping |
Cleaning | Degreaser or natural cleaning methods | Remove grease and grime before sanding |
Drop cloths | Canvas or plastic sheeting | Protect countertops and floors |
Ventilation | Box fan positioned to push air out | Keep windows open throughout the project |
One of the most important choices you will make is your paint. Low-VOC (volatile organic compound) products release fewer harmful fumes into the air, which matters a great deal when children are in the home. Water-based cabinet paints have come a long way in terms of durability, and many professional-grade options are now available at local paint stores in Ottawa.
Pro Tip: If you are using a shellac-based primer for better adhesion, plan that step for a time when kids are out of the house. The fumes are stronger and dissipate slowly. Switch to a water-based topcoat once the primer is fully cured.
Prepping your kitchen properly is just as important as the paint you choose. Chipping and peeling in real-world use trace back almost always to skipped prep steps, not paint quality alone. Clean every surface thoroughly, sand lightly to create adhesion (this is called “scuff sanding”), wipe away all dust, and tape off areas you don’t want painted.
Make sure to review these painting safety tips before you start, especially if this is your first cabinet project. Having a plan for where kids will be during critical steps, such as priming or first coats, keeps everyone safe without derailing the project.
Keep kids out of the kitchen during priming and for at least two hours after applying each coat. Good ventilation is not optional. It is essential.
Once you have everything ready and the workspace is prepped, the next step is to coordinate the process to fit family routines and involve everyone safely.
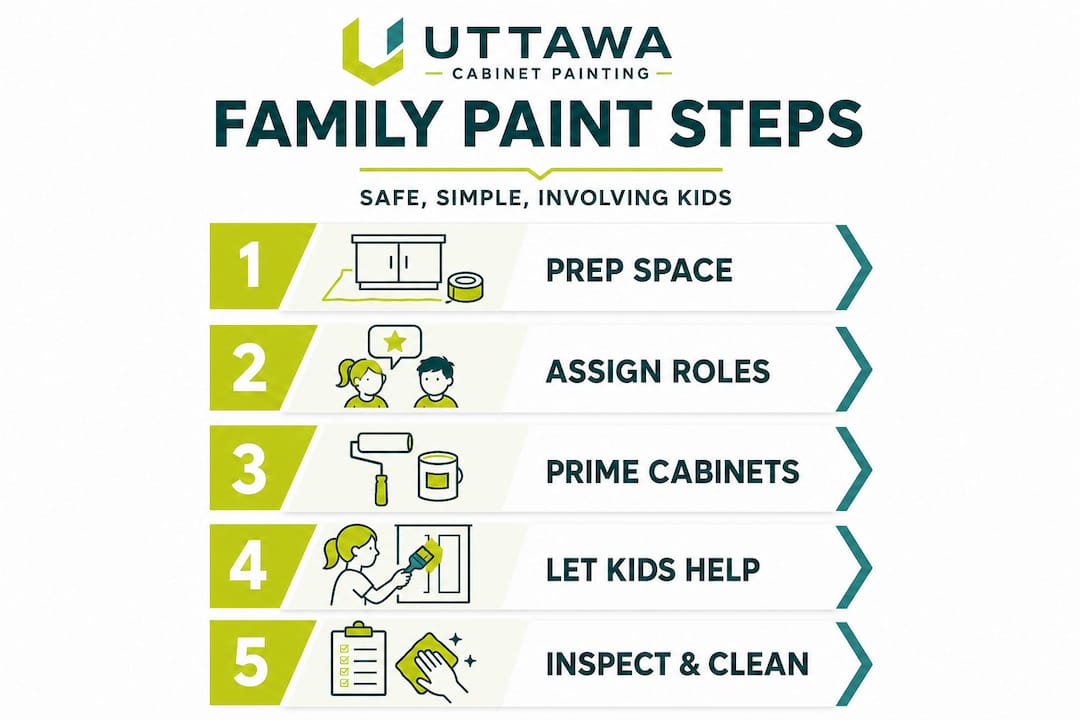
Family-friendly painting steps: A safe and fun process
Breaking the project into clear stages helps you manage the kitchen downtime and keeps kids from getting bored or wandering into wet paint.
Remove cabinet doors and hardware. Label each door with painter’s tape and a marker so reassembly is easy. Older kids can help carry doors to the workspace.
Clean all surfaces. Use your degreaser or natural cleaner on every surface you plan to paint. This is an excellent task for children aged six and up, using gloves and gentle scrubbing pads.
Sand lightly. Use 220-grit sandpaper on cabinet faces and doors. Adults should handle this step. Keep kids away while sanding to avoid dust inhalation.
Wipe down with a tack cloth. Remove all sanding dust before any product touches the surface. This step is quick but critical.
Apply primer. One coat of a quality bonding primer, applied evenly. Use a foam roller on flat surfaces and a small brush for edges and corners.
Let it cure. Paint chipping and peeling often result from rushing drying times. Follow the manufacturer’s recommendation, typically four to six hours minimum between coats.
Apply first topcoat. Use smooth, even strokes. Foam rollers deliver a near-seamless result on flat cabinet faces.
Lightly sand between coats. A quick pass with 320-grit paper smooths any imperfections and gives the next coat better adhesion. Wipe clean.
Apply second topcoat. This final layer should look uniform and clean. Older kids can try a supervised brush stroke on a lower door panel.
Reassemble after full cure. Wait at least 24 to 48 hours before rehanging doors and reinstalling hardware. This prevents surface damage during handling.
Approach | Timeline | Pros | Cons |
One-day blitz | 8 to 10 hours | Fast, less disruption overall | Rushing drying times risks poor adhesion |
Weekend spread | 2 days | Better curing time, less fatigue | Kitchen partially unusable for two days |
Phased (upper/lower) | 4 to 5 days | Kitchen stays usable throughout | Requires more planning and setup |
For most Ottawa families, the weekend spread or phased approach delivers noticeably better results. You can explore some of these easy kitchen cabinet transformations for visual inspiration before you commit to a color or style. And when it comes to deciding between matte, eggshell, or satin finishes, this guide on choosing cabinet paint finishes lays out the trade-offs clearly.
Pro Tip: Give kids their own “station.” Set up a small table in the garage or basement where they can paint a spare wooden board or a thrifted cabinet door in any color they like. They feel involved, they learn the process, and your main project stays protected.
After painting, it’s important to ensure everything is finished properly and the kitchen is ready for daily life.

Troubleshooting and cleaning up: What to expect with kids at home
Even a well-planned project hits bumps. Here is what to watch for and how to handle it quickly.
Common issues and fixes:
Drips: Catch them while wet with a brush. If dry, sand lightly and apply a thin touch-up coat.
Brush marks: Lightly sand with 320-grit paper once dry and re-roll with a foam roller for a smoother finish.
Sticky surfaces: Usually a sign the coat was too thick or the humidity was high. Give it 24 more hours and do not rush handling.
Smudges or fingerprints: Kids and wet paint are a bad combination. Clean smudges immediately with a barely damp cloth on water-based paint.
Paint in high-friction areas prone to daily contact, like door edges or corner pulls, is especially vulnerable to chipping in active family homes. Extra care in these zones makes a real difference.
For cleanup, use water and mild dish soap for water-based products. Rinse brushes thoroughly and let them air dry bristle-side down. Dispose of used materials properly. A quick run through this kitchen cleaning checklist after the project helps you restore order and confirms nothing was missed.
One meaningful thing you can do after the project wraps up: let your kids see the finished result and acknowledge their contribution. Asking a child to point out “their” door panel or the section they taped off creates a genuine sense of pride and responsibility. It turns a home improvement project into a memory.
Pro Tip: Keep a small amount of your topcoat paint in a labeled jar in your utility closet. Future touch-ups take five minutes and keep the finish looking fresh for years.
Now that you know how to manage issues and cleanup, let’s talk about verifying your results and keeping cabinets looking great over time.
Verifying results and maintaining your newly painted cabinets
Once everything is reassembled and cured, do a careful walk-through inspection before the kitchen goes back to full use.
What to check:
Door alignment: Misaligned doors cause repeated surface friction. Slight chipping in high-contact areas over time is common in family kitchens, so getting alignment right from day one reduces wear significantly.
Coverage uniformity: Look for thin spots, especially near edges and around hardware holes.
Adhesion: Gently press your fingernail into a hidden area. If the paint dents or peels, additional curing time or a light touch-up coat is needed.
Hardware fit: Ensure hinges and handles are tight and correctly positioned.
For ongoing care in a busy family kitchen, keep these habits in mind:
Wipe cabinets down weekly with a damp cloth and mild soap
Avoid abrasive scrubbers, which scratch the topcoat
Address small chips immediately before they expand
Keep dishwasher steam from consistently hitting nearby cabinet surfaces by cracking the door open at the end of cycles
Involve your kids in this maintenance too. Teaching them to wipe their handprints off cabinet doors after cooking or crafting builds good habits and protects the finish. Understanding the benefits of professional painting also helps you decide when a quick DIY touch-up is enough versus when a full professional refinish makes more sense.
What Ottawa families learn when painting cabinets together
Here is an honest perspective we want to share with you. Many families approach this project expecting a perfect, showroom result and a bonding experience all at once. Sometimes that happens. But real life in an Ottawa home with active kids is tough on freshly painted surfaces.
Long-term reviews show that DIY cabinet finishes may not hold up as well as professionally applied ones, particularly under consistent family wear and tear. That is not a reason to avoid the project. It is a reason to be realistic about what you are signing up for and to make smart choices at every stage.
What we consistently see is that a hybrid approach works best for busy Ottawa families. Let the family lead the prep: cleaning, taping, removing hardware, and doing that first exciting walk-through to choose the color. Then bring in a professional for the primer and topcoat application. You get the bonding experience and the involvement, plus a finish with the durability and precision of a professional cabinet painting job.
Kids learn that home improvement takes patience, that quality materials matter, and that their input shapes the space they live in. Those are lessons worth far more than a perfectly painted door panel.
Ready to upgrade your kitchen? Explore more options in Ottawa
If your cabinet project feels bigger than a weekend DIY, or you want a finish that goes beyond what brushes and rollers can achieve at home, we are here to help. At Ottawa Cabinet Painting, we work with families across Ottawa to deliver cabinet painting quotes that are transparent, competitive, and designed around your schedule. Browse our before and after results to see what a professional finish looks like on real Ottawa kitchens. For families who want seamless, durable results inside their cabinet boxes and on the frames, our interior cabinet services cover every detail. We back our work with a 6-year warranty because we know your family’s kitchen needs to last.
Frequently asked questions
Is it safe to paint kitchen cabinets with kids in the house?
Yes, as long as you use low-VOC or non-toxic paints, ensure strong airflow throughout the space, and keep children out of the room during application and drying periods.
How durable is painted cabinetry in family kitchens?
Durability depends on cabinet quality, thorough prep work, and how much daily wear the surface absorbs, but using a high-quality bonding primer and cabinet-grade topcoat significantly extends the life of the finish.
What’s the best way for children to help with cabinet painting?
Give children safe, specific tasks like taping edges, wiping down surfaces with mild cleaner, or supervised painting on a spare board, so they feel genuinely involved without putting the main project at risk.
How can I prevent paint from chipping on my kitchen cabinets?
Proper scuff sanding, a quality bonding primer, and a durable topcoat are your best defense against chipping and peeling, especially on door edges and areas that get frequent contact in a family kitchen.
Recommended
Comments