Kitchen Cabinet Repainting Near Me: Step-by-Step Success
- demoore5506
- Dec 1, 2025
- 7 min read
Over 80 percent of american homeowners believe that a kitchen update can instantly boost both home value and daily comfort. Still, many overlook the careful steps required for a truly professional cabinet transformation. Tackling your own repainting project means knowing not just how to paint, but how to assess, prep, and maintain every surface so the results stand out and last. With the right approach, your cabinets can become the highlight of any american kitchen.
Table of Contents
Quick Summary
Key Point | Explanation |
1. Thoroughly assess cabinet condition | Inspect doors, drawers, and frames for damage before starting the repainting process. Careful evaluation is crucial for a successful finish. |
2. Prepare surfaces carefully before painting | Clean and sand cabinets properly to ensure paint adheres well. Skipping these steps will jeopardize the final appearance. |
3. Select high-quality paint for durability | Choose a paint specifically designed for kitchen cabinets with a satin or gloss finish to ensure longevity and ease of cleaning. |
4. Allow adequate drying time between coats | Wait 24 hours between each coat for optimal coverage and finish quality. Rushing this step leads to uneven results. |
5. Implement regular maintenance for lasting results | Use mild cleaners and soft cloths to keep cabinets looking new. Regular inspections will help catch any damage early. |
Step 1: Assess Cabinet Condition and Plan Your Update
Preparing for a kitchen cabinet repainting project requires a detailed inspection and strategic planning. Your goal is to evaluate the current state of your cabinets and create a comprehensive roadmap for transformation.
Start by thoroughly examining each cabinet door, drawer front, and frame for existing damage. Look closely for signs of wear such as deep scratches, chipped paint, water stains, or warped surfaces. Proper surface preparation is critical to achieving a professional finish. Drawing from professional painting guidelines, you will want to clean the surfaces using a gentle grease removing solution and a damp sponge, which helps eliminate accumulated grime and ensures better paint adhesion.
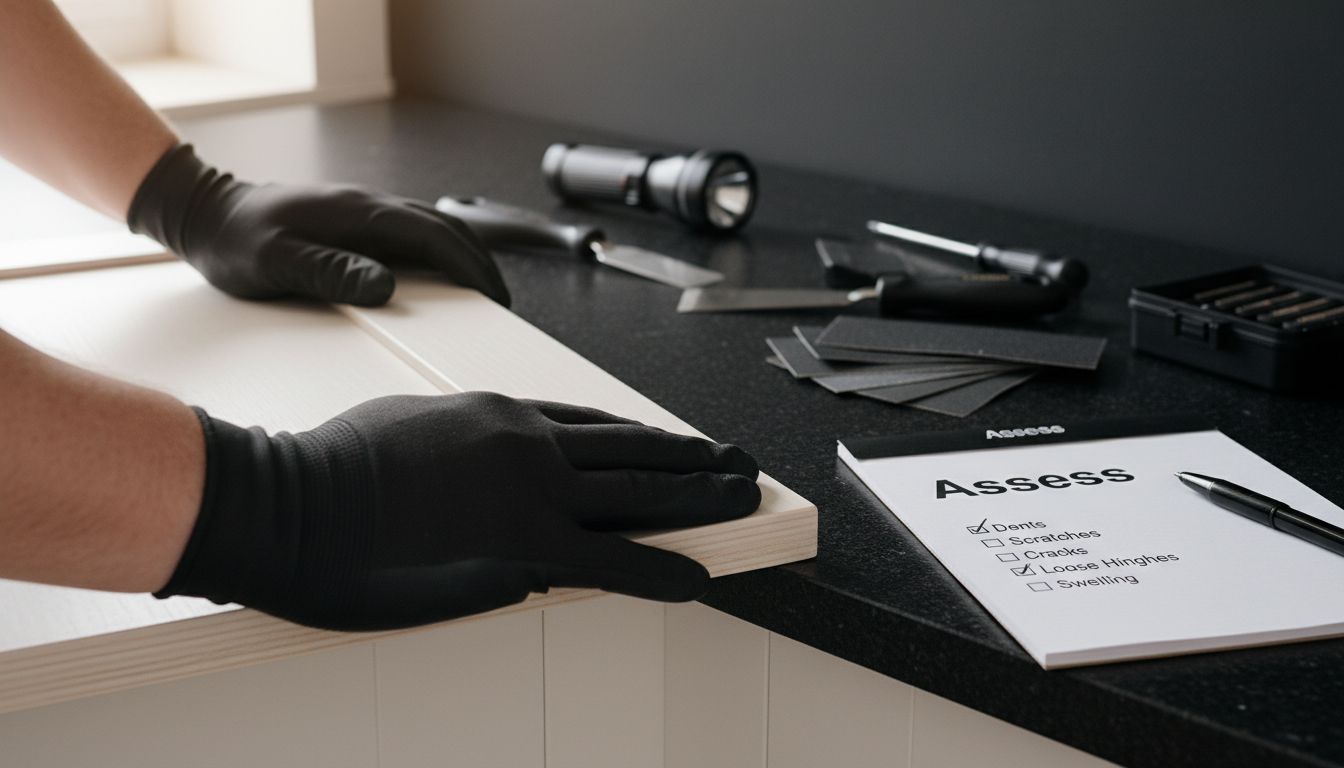
Careful sanding becomes your next crucial step. Use medium-grit sandpaper to create a slightly rough surface that will help the primer and paint grip effectively. Pay special attention to areas with significant wear or previous paint buildup. This meticulous preparation will determine the quality and longevity of your cabinet refinishing project. As you assess each cabinet, document your observations and develop a clear plan for repairs and color selection that will breathe new life into your kitchen space.
Warning: Rushing through the assessment phase can lead to subpar results. Take your time to understand the unique characteristics of your cabinets before diving into the painting process.
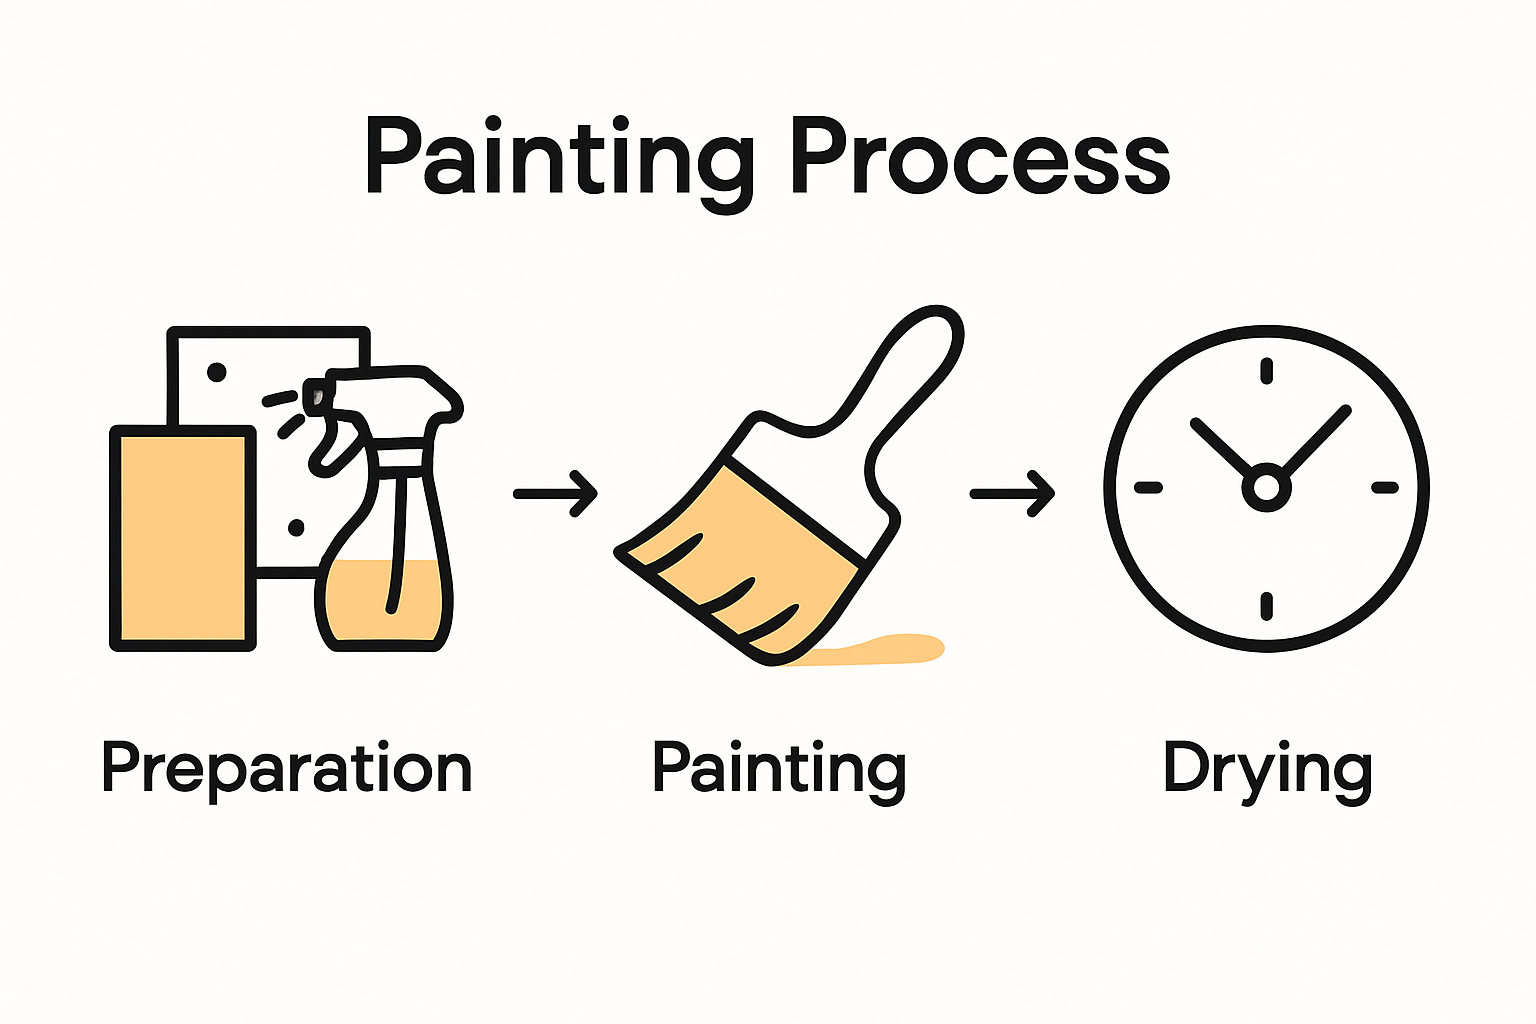
Step 2: Prepare Work Area and Cabinets for Repainting
Transforming your kitchen cabinets requires meticulous preparation that sets the foundation for a professional quality finish. Your goal in this critical stage is to create a clean controlled environment and ensure your cabinets are perfectly primed for painting.
Begin by completely clearing out your cabinets and removing all hardware including handles knobs and hinges. Thorough surface preparation is fundamental to achieving a flawless result. Using warm soapy water and damp rags clean the interior and exterior surfaces methodically. For older cabinets with significant grease buildup strategically use a degreaser to eliminate accumulated oils and grime. Professional painting guidelines recommend carefully sanding surfaces with medium 180 to 220grit sandpaper to create an optimal surface texture that helps primer and paint adhere effectively.
Protect your workspace by laying down drop cloths plastic sheeting and masking tape to prevent accidental paint splatter. Create a dedicated painting area with adequate ventilation and stable work surfaces where cabinet doors and drawers can be laid flat during the painting process. Remove any dust from sanding using a tack cloth to ensure an immaculate surface ready for primer application.
Warning: Skipping thorough cleaning and surface preparation will compromise your final paint finish. Take time to complete each step carefully and systematically.
Step 3: Apply Premium Paints for a Flawless Finish
Achieving a professional cabinet painting result requires selecting the right paint and applying it with precision. Your mission is to transform your kitchen cabinets with a durable smooth finish that looks like it was done by a professional.
Professional painters recommend choosing a tough kitchen paint with exceptional durability that can withstand daily wear and kitchen environment challenges. Select a paint specifically designed for cabinets with a satin or gloss finish that resists knocks bumps heat and humidity. When applying paint use a high quality nylon and polyester brush for edges and detailed areas while utilizing a microfiber roller for larger flat surfaces. This technique ensures even coverage and minimizes visible brush strokes.
Apply the first coat using smooth consistent strokes moving in the same direction. Allow each coat to dry completely before applying the next layer typically waiting 24 hours between applications. Professional techniques suggest applying two to three thin coats rather than one thick coat for optimal coverage and a furniture like finish. Pay careful attention to maintaining a wet edge to prevent lap marks and ensure a seamless appearance across all cabinet surfaces.
Warning: Rushing the painting process or using low quality tools will compromise your final result. Patience and precision are key to achieving a showroom quality cabinet transformation.
Step 4: Verify Quality and Reinstall Hardware
The final stage of your cabinet painting project requires careful inspection and thoughtful hardware reinstallation. Your goal is to transform your freshly painted cabinets into a polished finished masterpiece that looks professionally crafted.
Proper curing time is critical before reinstalling hardware, so be patient and wait three to five days after painting. During this period examine each cabinet surface meticulously for any imperfections like uneven coverage thin spots or minor drips. Use natural daylight to help identify subtle irregularities that might need touch ups. When you are confident in the paint quality carefully clean your original hardware or consider investing in new handles and knobs that complement your fresh cabinet color.
When reinstalling hardware use a precise measuring tool to ensure consistent placement across all cabinets. Start by marking exact screw locations and drilling pilot holes if needed to prevent wood splitting. Attach hardware gently using smooth controlled movements to avoid scratching your newly painted surfaces. If you are using the original hardware thoroughly clean each piece and inspect for wear before reattaching.
Warning: Rushing the hardware reinstallation can damage your meticulously painted cabinets. Take your time and work with careful precision to maintain the professional finish you have worked hard to achieve.
Step 5: Maintain Cabinets for Lasting Results
Your freshly painted kitchen cabinets represent a significant investment that requires thoughtful ongoing care. Understanding how to protect and maintain your newly transformed surfaces will ensure they continue looking pristine for years to come.
Proper maintenance techniques start with gentle daily cleaning using soft microfiber cloths and mild cleaning solutions specifically designed for painted surfaces. Avoid harsh chemical cleaners or abrasive sponges that could damage the paint finish. Wipe down cabinet surfaces regularly to prevent grease and dirt buildup focusing on areas around handles and near cooking spaces where grime tends to accumulate most quickly. Pay special attention to cleaning up spills immediately to prevent potential staining or paint damage.
Establish a routine maintenance schedule that includes periodic deep cleaning and careful inspection of your cabinet surfaces. Every few months conduct a thorough examination for any signs of wear chipping or discoloration. Touch up small imperfections promptly using matching paint to prevent further deterioration. Consider using protective liners in cabinet interiors and being mindful of potential moisture exposure that could compromise your paint finish.
Warning: Neglecting routine maintenance can rapidly diminish the beautiful results of your cabinet painting project. Consistent gentle care is the key to preserving your investment and keeping your kitchen looking showroom fresh.
Elevate Your Kitchen with Expert Cabinet Repainting Today
If you have been following the detailed steps to repaint your kitchen cabinets you understand how important thorough preparation and premium paint application are for a flawless and durable finish. Many homeowners worry about the time disruption and potential mess of a full renovation but desire a rejuvenated kitchen that feels warm and inviting. The article highlights challenges like sanding, cleaning, and ensuring the perfect paint cure before reinstalling hardware which can be overwhelming without professional guidance.
At Ottawa Cabinet Painting we specialize in transforming your existing cabinets into stunning focal points using expert refinishing methods that avoid costly replacements. Our process respects your home by minimizing chaos and completing your project typically in around ten days. You benefit from a smooth durable surface backed by a 6-year warranty. Ready to upgrade your kitchen with a high-end look and lasting quality trust the team that shares your attention to detail and passion for a beautiful kitchen space.
Start your kitchen makeover journey by visiting Ottawa Cabinet Painting and discover how professional cabinet painting saves you money while elevating your home. Get in touch today for a personalized quote and take the first step toward a kitchen that truly reflects your lifestyle and taste.
Frequently Asked Questions
How can I assess the condition of my kitchen cabinets before repainting?
Start by thoroughly inspecting each cabinet door and drawer for damage like scratches, stains, or warps. Document your findings to guide your repair and color selection process before you begin painting.
What steps should I take to prepare my kitchen cabinet surfaces for painting?
Begin by cleaning the cabinets with soapy water and sanding them with medium-grit sandpaper. This prepares the surfaces for primer and helps the new paint adhere better, significantly improving the final result.
How many coats of paint should I apply to my kitchen cabinets for the best finish?
Apply two to three thin coats of paint for optimal coverage and a smooth finish. Allow each coat to dry completely before adding the next to avoid uneven spots and ensure a professional look.
What should I do to maintain my newly painted kitchen cabinets?
Clean the cabinet surfaces regularly with a soft microfiber cloth and mild cleaning solutions designed for painted surfaces. Establish a routine inspection every few months to check for wear or chips, and touch up any imperfections promptly to keep your cabinets looking their best.
How long should I wait before reinstalling hardware after painting my cabinets?
Wait three to five days after painting to allow the finish to cure properly before reinstalling hardware. This time ensures your cabinets are fully set and reduces the risk of damaging the paint during installation.
Recommended
Comments