Kitchen Disruption Minimization for Ottawa Homeowners
- Axcell Painting

- 3 hours ago
- 8 min read

TL;DR:
Kitchen disruption minimization involves planning phases, temporary setups, and containment to keep household routines intact during renovation. Proper preparation for the most disruptive early weeks and zone-based planning help reduce chaos and maintain functionality. Ottawa homeowners can choose cabinet refinishing to update kitchens quickly and with less household disturbance.
Kitchen disruption minimization is the practice of maintaining daily household functionality while construction work reshapes your kitchen space. For Ottawa homeowners, explaining kitchen disruption minimization means understanding how to plan phases, set up temporary cooking areas, and control dust so your family keeps eating well and living normally throughout the remodel. The core tools are phased construction scheduling, zone-based workflow planning, and professional containment protocols. Get these three right and a kitchen remodel becomes a manageable project rather than a household crisis.
What are the main remodel phases and how do they affect disruption in Ottawa?
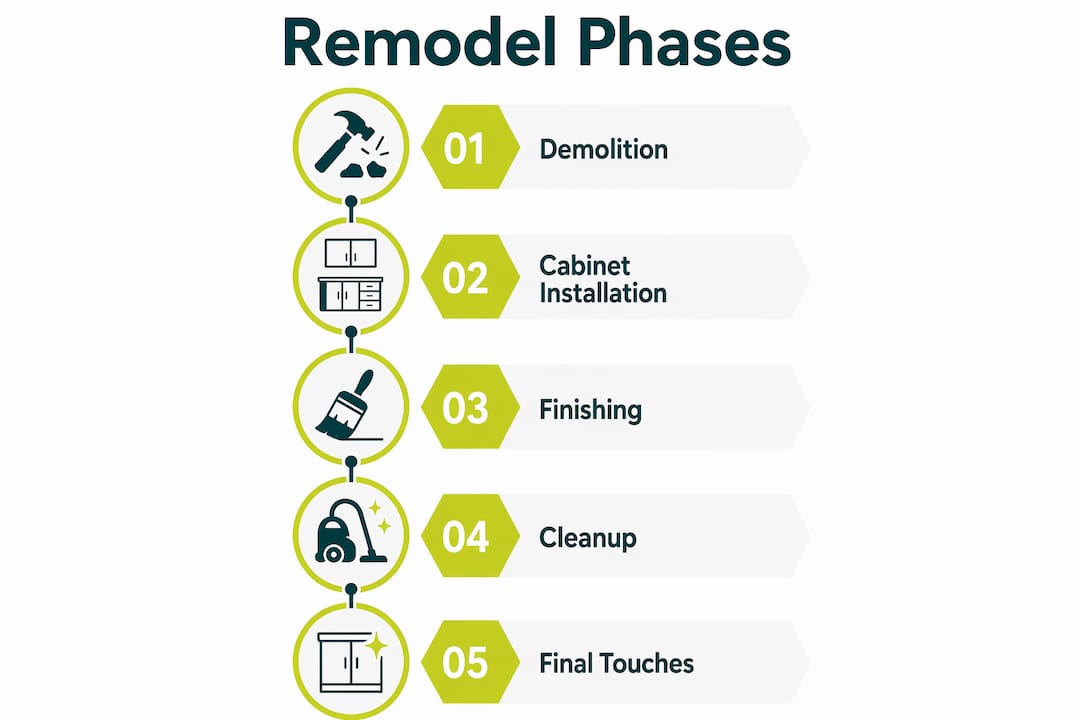
A full kitchen remodel typically runs 6 to 8 weeks, with the first two weeks being the most disruptive. That is when demolition and rough-in work happen. Walls open up, cabinets come out, and drywall dust travels everywhere. Meal routines shift dramatically during this window.
After week two, disruption drops noticeably. Cabinet installation and finishing work are loud but contained. You can often use a temporary kitchen setup without much interference from the crew. Understanding this arc helps you plan your household schedule around the worst of it rather than being caught off guard every day.
Phase | Typical Timing | Disruption Level | What Happens |
Demolition and rough-in | Weeks 1–2 | High | Walls open, old cabinets removed, plumbing and electrical rough-in |
Cabinet installation | Weeks 3–4 | Moderate | New cabinets set, countertop templating begins |
Countertops and fixtures | Weeks 5–6 | Low to moderate | Stone or laminate installed, sink and faucet connected |
Finishing and punch list | Weeks 7–8 | Low | Paint, hardware, final inspections, cleanup |
The table above shows why the first two weeks demand the most preparation. If your temporary kitchen is ready before demolition starts, you absorb the worst phase without scrambling. Homeowners who wait until week one to set up a backup cooking area consistently report more stress and more disrupted meal patterns than those who prepare in advance.
Knowing the phases also helps you communicate with your contractor. Ask for a written schedule before work begins. When you know cabinet installation starts on a specific Monday, you can plan grocery runs and meal prep around it rather than reacting to surprises.
How can zone-based planning improve kitchen workflow efficiency?
Modern kitchen design has moved away from the classic work triangle toward zone-based layouts. The work triangle connected the sink, stove, and refrigerator in a triangle to minimize walking distance. Zone-based planning goes further by grouping tasks rather than just appliances.
Approach | Core Logic | Best For | Limitation |
Work triangle | Minimize distance between sink, stove, fridge | Compact, single-cook kitchens | Breaks down with multiple users |
Zone-based design | Group tasks: prep, cooking, cleanup, storage | Families, multi-cook households | Requires more floor space |
Kitchen work triangles still work well in compact spaces, but zone-based layouts reduce back-and-forth friction in larger kitchens. A dedicated coffee zone near the refrigerator, for example, keeps morning traffic away from the main prep area. A baking zone with its own counter space and storage prevents flour and mixing bowls from cluttering the cooking zone.
This principle applies directly to temporary kitchen setups during a remodel. Even in a basement or spare room, you can organize by zones rather than just piling appliances together. A folding table for prep, a microwave and toaster oven for cooking, and a dedicated bin for dishes creates a functional three-zone temporary kitchen. That structure reduces daily frustration more than any single appliance upgrade.

Pro Tip: Label each zone in your temporary kitchen with a piece of masking tape. It sounds simple, but it keeps every family member from turning the prep table into a storage dump.
What practical steps minimize disruption during an Ottawa kitchen remodel?
Reducing kitchen disruptions during construction comes down to five concrete actions. Each one addresses a specific pain point that Ottawa homeowners consistently encounter.
Set up your temporary kitchen before demolition begins. Establish a fully functional secondary kitchen with a dedicated refrigerator, microwave, toaster oven, and prep surface. Treat it as a real kitchen, not a camping setup. Homeowners who do this right after signing the contract report far more stable daily routines than those who improvise after the fact.
Insist on professional dust containment. Plastic sheeting, negative air pressure, and sealed HVAC vents prevent drywall, wood, and tile dust from spreading through your home. Without these measures, fine particles reach bedrooms and living areas within hours. Ask your contractor to confirm their containment protocol in writing before work starts.
Plan meals in advance. Batch cooking on weekends reduces weeknight stress significantly. Stock your temporary kitchen with shelf-stable foods, disposable plates, and easy-prep items. This is not about eating poorly for two months. It is about removing daily decision fatigue from an already stressful period.
Keep transit routes clear. Secondary disruptions in mudrooms and back hallways often cause more daily friction than the kitchen construction itself. Establish a clear rule with your contractor: tools and materials stay inside the work zone. A cluttered back hall creates tripping hazards and adds stress every time someone enters or leaves the house.
Communicate with your contractor weekly. A short weekly check-in, even ten minutes, keeps you informed about schedule shifts. When you know a noisy task is coming, you can arrange to be out of the house or plan quieter activities for that day.
Pro Tip: Ask your contractor to send a brief text or email each Friday with the plan for the following week. Most contractors are happy to do this, and it eliminates the anxiety of not knowing what Monday will bring.
What cost and time strategies support minimizing kitchen chaos?
The single most effective cost and time decision is locking down all design choices before demolition starts. Finalizing cabinet styles and finishes before work begins shortens the construction timeline and prevents the costly delays that extend disruption by weeks. Contractors call this a procurement freeze. It means no changes after the contract is signed.
Finalize every finish selection before demolition day. Cabinet door styles, hardware, countertop material, and paint colors should all be confirmed. Late decisions force contractors to pause, reorder, and reschedule, adding days or weeks to your timeline.
Budget $100 to $200 for your temporary kitchen. This investment in folding tables, compact appliances, and storage bins pays for itself in reduced dining-out costs and lower daily stress. A $150 setup that keeps your family eating at home saves money compared to two months of restaurant meals.
Budget for increased food costs during the remodel. Even with a temporary kitchen, you will spend more on convenience foods and occasional takeout. Plan for this in your renovation budget rather than treating it as an unexpected expense.
Preserve your existing kitchen layout wherever possible. Moving plumbing and electrical adds cost and time. Keeping the sink and stove in their current positions is one of the most effective ways to avoid total kitchen tear-out delays. Ottawa homeowners who preserve their layout consistently report shorter disruption periods than those who redesign from scratch.
Consider cabinet refinishing before committing to full replacement. Painting or refinishing existing cabinets delivers a high-end result without the demolition timeline. This approach cuts weeks off the disruption period and costs a fraction of full cabinet replacement.
Noise is another underrated cost factor. Soft-close hardware on doors and drawers reduces daily kitchen noise significantly. Plan for it at the design stage, because retrofitting it later adds labor cost. A quieter kitchen is a less disruptive kitchen, both during and after the remodel.
Key Takeaways
Effective kitchen disruption minimization requires early preparation, clear phase awareness, and deliberate zone planning before a single cabinet comes down.
Point | Details |
Phase awareness reduces stress | Disruption peaks in weeks 1–2; plan your temporary kitchen setup before demolition starts. |
Zone-based planning beats the work triangle | Task-specific zones reduce daily friction for multi-user households during and after renovation. |
Temporary kitchen setup is a real investment | A $100–$200 temporary kitchen preserves meal routines and reduces dining-out costs over 6–8 weeks. |
Procurement freeze shortens timelines | Finalizing all finish selections before demolition prevents delays that extend disruption by weeks. |
Secondary areas matter as much as the kitchen | Keeping mudrooms and transit routes clear of tools reduces daily household friction significantly. |
What Ottawa homeowners miss about kitchen disruption minimization
Working with Ottawa homeowners on kitchen projects, we see the same blind spots come up repeatedly. Everyone focuses on the kitchen itself. Almost no one thinks about the mudroom, the back hall, or the basement stairs until those spaces become impassable. The research backs this up: secondary disruptions outside the kitchen often cause more daily routine issues than the construction zone itself. We tell every homeowner to walk their contractor through every transit route on day one and set clear boundaries.
The second thing people miss is how much the temporary kitchen setup matters psychologically, not just practically. A well-organized temporary kitchen with labeled zones and a real refrigerator keeps the household feeling normal. A chaotic pile of appliances on a card table does the opposite. We have seen families sail through eight-week remodels because they treated their basement setup like a real kitchen. We have also seen families crack under the stress of a three-week remodel because their temporary setup was an afterthought.
The third overlooked factor is noise design. Planning for soft-close hardware and appliance placement early in the design process pays dividends every single day after the remodel ends. A quieter kitchen is genuinely less disruptive to live in. Most homeowners do not think about this until they are already living with a cabinet that slams shut every time someone makes a snack at midnight.
The honest truth is that kitchen disruption minimization is 80% planning and 20% execution. The homeowners who struggle are almost always the ones who started planning after demolition day.
— Ottawa
How Ottawacabinetpainting helps Ottawa homeowners refresh kitchens with less disruption
A full kitchen tear-out is not always the answer. Ottawacabinetpainting specializes in cabinet painting and refinishing that delivers a factory-finished, showroom look without the weeks of demolition and reconstruction. The process preserves your existing layout, which means no plumbing moves, no electrical rough-in, and no extended period without a functional kitchen. Ottawacabinetpainting’s typical project runs around ten days, a fraction of the 6 to 8 week timeline of a full remodel. For Ottawa homeowners who want updated interior cabinet finishes without the chaos, this is a direct and proven path to a beautiful kitchen with minimal household disruption.
FAQ
What is kitchen disruption minimization?
Kitchen disruption minimization is the practice of maintaining household functionality and reducing daily chaos during a kitchen remodel. It involves temporary kitchen setups, dust containment, phased scheduling, and zone-based planning.
How long does a kitchen remodel disrupt your home in Ottawa?
A full kitchen remodel typically disrupts your home for 6 to 8 weeks, with the first two weeks being the most intense due to demolition and rough-in work.
What is the best way to set up a temporary kitchen during a remodel?
Set up your temporary kitchen before demolition starts, not after. A dedicated refrigerator, microwave, and prep surface organized by task zones keeps meal routines stable throughout the project.
How does zone-based kitchen planning reduce disruption?
Zone-based planning groups tasks like prep, cooking, and cleanup into dedicated areas, which reduces back-and-forth movement and keeps multiple users from interfering with each other during daily cooking.
Can cabinet painting reduce kitchen renovation disruption?
Yes. Cabinet painting or refinishing preserves your existing layout and avoids demolition entirely, cutting weeks off the typical remodel timeline and keeping your kitchen partially functional throughout the process.
Recommended
Comments