How to paint kitchen cabinets for a durable finish
- demoore5506
- Mar 12
- 8 min read
Your kitchen cabinets see daily wear from cooking, cleaning, and constant use. If they look tired but your layout still works, you don’t need a costly replacement. Painting your cabinets offers an affordable way to refresh your kitchen’s appearance while protecting surfaces for years ahead. This guide walks you through the complete process, from gathering materials to achieving a professional, long-lasting finish that transforms your space.
Table of Contents
Key takeaways
Point | Details |
Proper preparation ensures durability | Thorough cleaning, sanding, and priming create the foundation for paint adhesion and chip resistance. |
Multiple thin coats beat one thick layer | Applying several thin coats produces a factory-like finish that resists wear. |
Semi-gloss finish balances beauty and function | This sheen level offers durability and easy cleaning for busy kitchens. |
Quality paint saves money long term | Premium products reduce repainting frequency and maintain appearance longer. |
A refreshed finish adds home value | Updated cabinets make kitchens feel newer and increase property appeal. |
What you need: tools, materials, and preparation
Before touching a brush to wood, gather everything required for a smooth workflow. You’ll need sandpaper in 120 and 220 grit, a quality primer designed for cabinets, semi-gloss paint formulated for durability, brushes or foam rollers, painter’s tape, cleaning supplies including degreaser, and drop cloths. Missing even one item can derail your project midstream.
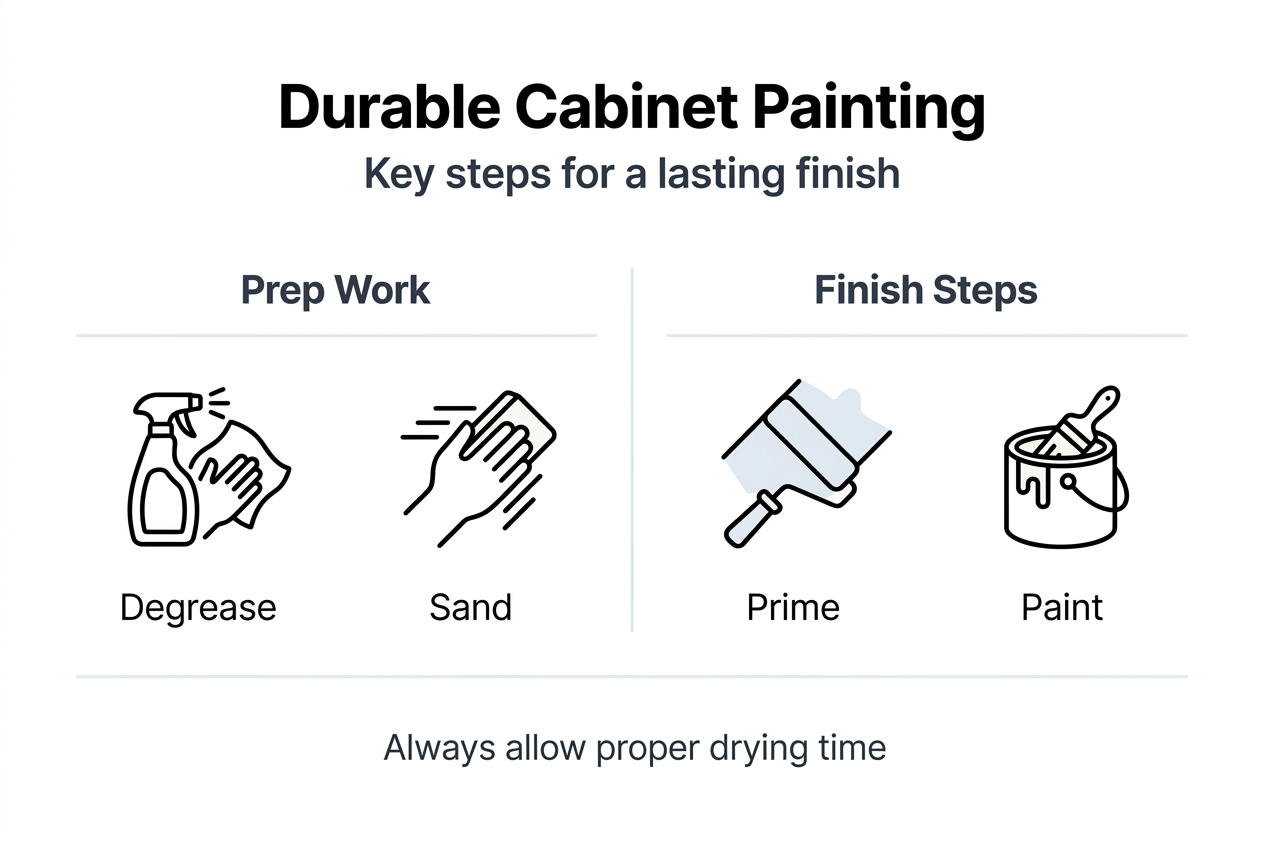
Cleaning is your first critical task. Kitchen cabinets accumulate grease and cooking residue that prevents paint from bonding properly. Skipping thorough cleaning is a major mistake that causes premature failure. Mix warm water with dish soap or use a dedicated degreasing cleaner. Scrub every surface, including edges and corners where grime hides. Rinse with clean water and let everything dry completely before moving forward.
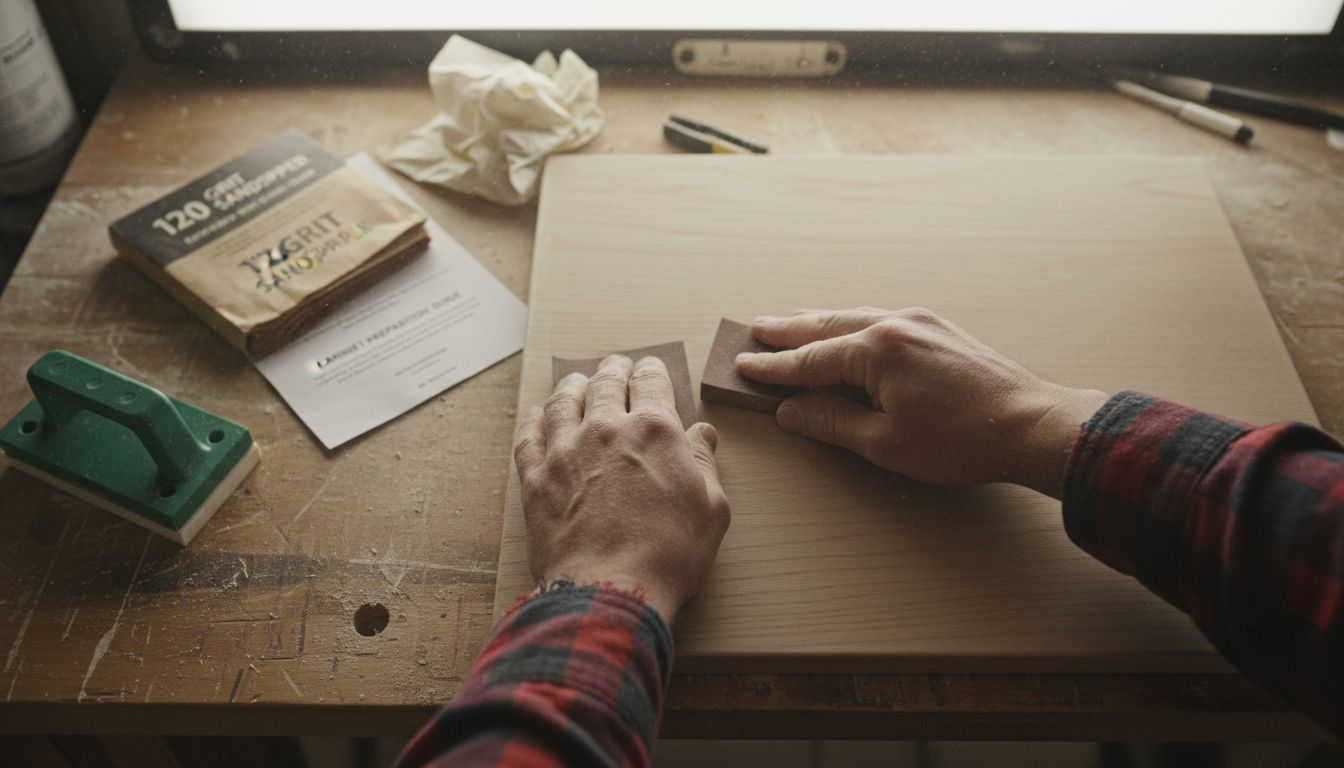
Sanding creates microscopic grooves that help new paint grip existing finishes. Use 120-grit sandpaper to scuff glossy surfaces, then smooth with 220-grit. You’re not removing old finish entirely, just roughening it enough for adhesion. Wipe away all dust with a tack cloth afterward. This step determines whether your paint lasts two years or ten.
Priming seals the surface and provides a uniform base for your topcoat. Quality primer blocks stains, evens out color variations, and dramatically improves paint adhesion. Apply a thin, even coat and let it cure fully according to manufacturer instructions. Rushing this stage compromises everything that follows. For detailed techniques on achieving factory-smooth results, explore our kitchen cabinet spraying guide.
Pro Tip: Mix a tablespoon of trisodium phosphate (TSP) into warm water for stubborn grease. This industrial-strength cleaner cuts through years of buildup that dish soap can’t touch.
Tool/Material | Purpose | Selection Tip |
Degreaser | Removes cooking oils and grime | Choose a formula safe for wood surfaces |
120-grit sandpaper | Scuffs existing finish | Use a sanding block for even pressure |
Primer | Seals wood and improves adhesion | Select one designed for kitchen cabinets |
Semi-gloss paint | Provides durable, cleanable finish | Invest in best paint for kitchen cabinets rated products |
Foam roller | Applies smooth, brush-mark-free coats | Use 4-inch size for cabinet faces |
Step-by-step cabinet painting process for quality results
With preparation complete, you’re ready to transform your cabinets. Follow this proven sequence for results that rival professional work.
Apply primer: Using a foam roller or quality brush, coat all cabinet surfaces with primer. Work in the direction of the wood grain to minimize visible strokes. Let this layer dry for the time specified on the product label, typically four to six hours.
Sand primer lightly: Once dry, smooth the primed surface with 220-grit sandpaper. This removes any raised grain or imperfections. Wipe clean with a tack cloth before painting.
Apply first paint coat: Pour your semi-gloss paint into a clean tray. Load your roller or brush lightly to avoid drips. Apply a thin, even layer across all surfaces. Multiple thin coats create durability that thick applications can’t match. Let this coat dry completely, usually overnight.
Light sanding between coats: After the first coat cures, sand gently with 220-grit paper to remove any texture. This step ensures each subsequent layer bonds perfectly and creates that smooth, professional feel.
Apply second coat: Repeat the painting process with another thin layer. You’ll notice coverage improving dramatically. The semi-gloss finish balances professional appearance with practical durability for kitchen environments.
Apply third coat if needed: Evaluate coverage after your second coat dries. Dark woods or bold color changes often require a third application for full opacity. Never rush by applying thick coats to compensate.
Pro Tip: Professional cabinet painters often use HVLP sprayers for the smoothest possible finish. If you’re investing in quality paint, consider renting a sprayer for one day. The results justify the extra cost. Learn more about professional techniques in our refinishing wooden cabinets guide.
Paint Layer | Drying Time | Key Action |
Primer | 4-6 hours | Sand lightly before first coat |
First coat | 12-24 hours | Light sanding creates smooth base |
Second coat | 12-24 hours | Evaluate if third coat needed |
Final coat | 48-72 hours | Allow full cure before reassembly |
Proper drying between coats prevents soft spots that dent or scratch easily. Temperature and humidity affect cure time, so extend waiting periods in cold or damp conditions. Understanding kitchen cabinet paint sheen durability helps you choose finishes that withstand your household’s specific wear patterns.
Common mistakes and tips for a flawless cabinet paint job
Even experienced DIYers stumble on cabinet painting. Recognizing pitfalls before you start saves frustration and money.
Avoid these frequent errors:
Inadequate cleaning: Grease under new paint causes adhesion failure within months. Skipping proper cleaning leads to peeling and chipping.
Thick paint application: Loading your brush or roller heavily creates runs, sags, and uneven texture. Thin coats always win.
Skipping primer: Going straight to topcoat seems faster but results in poor coverage and weak adhesion.
Rushing drying time: Touching or recoating before paint cures leaves fingerprints and soft spots that never fully harden.
Poor ventilation: Paint fumes concentrate in enclosed kitchens. Open windows and use fans to maintain air circulation.
Wrong temperature: Painting in spaces below 50°F or above 90°F affects how paint flows and cures.
Proper surface preparation makes the difference between a cabinet refresh that lasts two years versus one that looks factory-fresh after a decade. Investing time in cleaning and priming pays dividends in durability.
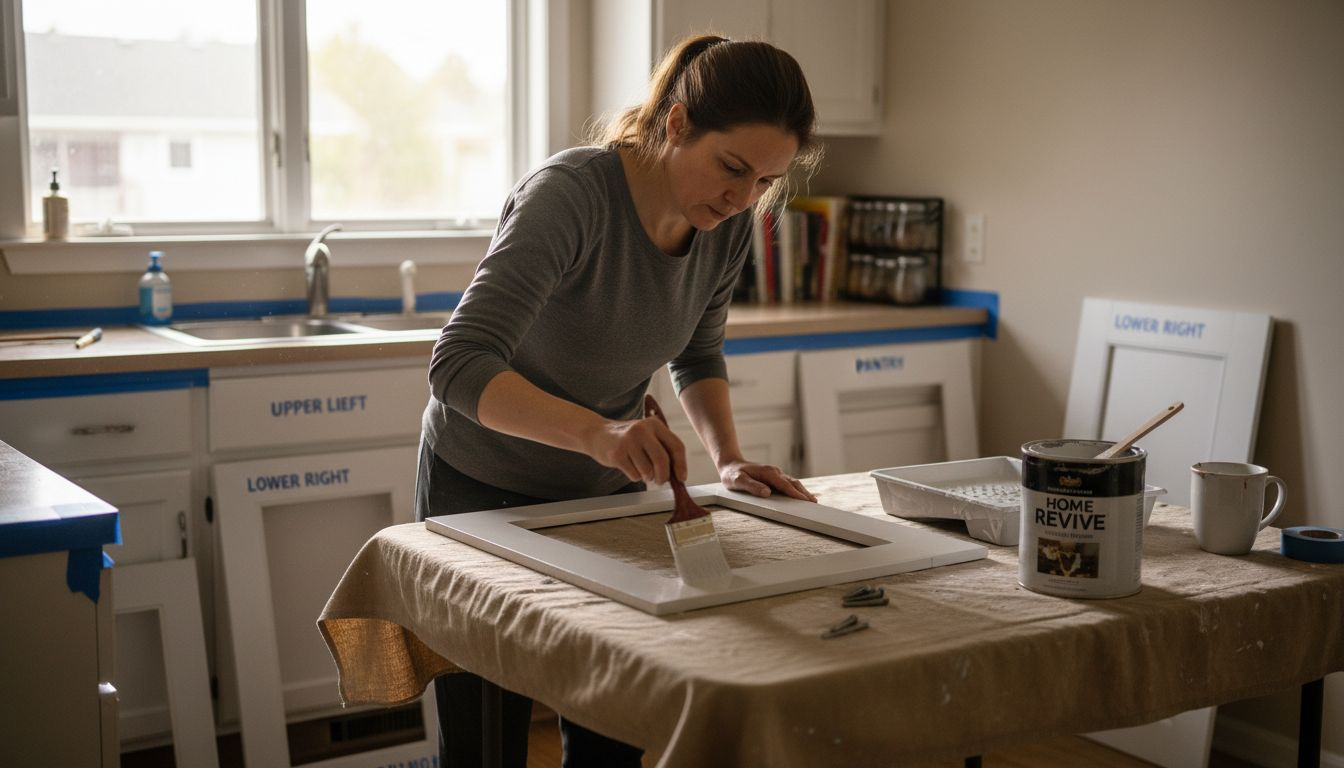
Workspace setup matters as much as technique. Remove all cabinet doors and hardware before starting. Label each piece so reassembly goes smoothly. Paint doors flat on sawhorses rather than hanging, which prevents drips and allows even coverage on both sides. Cover countertops and floors thoroughly since paint splatters travel farther than expected.
Pro Tip: Apply painter’s tape along edges where cabinets meet walls or appliances. Remove tape while the final coat is still slightly tacky, not fully dry. This prevents pulling up dried paint edges and creates crisp lines.
Explore various cabinet paint finish options to understand how sheen level affects both appearance and maintenance. Your choice impacts how easily you can clean cooking splatters and how visible wear becomes over time. For broader context on selecting the right products, review our kitchen paint finish choices guide that covers all kitchen surfaces, not just cabinets.
What to expect: finishing touches and maintaining your cabinets
After your final coat cures completely, typically 48 to 72 hours, you can reassemble your kitchen. Handle doors gently even when paint feels dry, since full hardness takes up to 30 days.
Reinstall hardware: If you’re reusing existing handles and hinges, clean them thoroughly before attaching. New hardware offers an opportunity to update your kitchen’s style further.
Inspect for touch-ups: Walk through each cabinet with good lighting. Look for thin spots, drips, or areas you missed. A small artist’s brush works perfectly for fixing minor imperfections.
Allow full cure time: Wait at least a week before placing items back inside cabinets. Paint continues hardening during this period, and premature use can leave imprints or damage the finish.
Protect your investment: Avoid slamming doors or placing hot pots directly against painted surfaces for the first month while the finish reaches maximum hardness.
Maintaining your newly painted cabinets requires minimal effort but consistent attention:
Clean with gentle soap: Use warm water and mild dish soap on a soft cloth. Harsh chemicals or abrasive sponges damage even durable finishes.
Wipe spills immediately: Cooking oils and acidic foods can etch paint if left sitting. Quick cleanup prevents staining.
Inspect quarterly: Look for chips or wear spots. Touch them up promptly before moisture penetrates and causes larger problems.
Avoid hanging wet towels: Moisture trapped against painted surfaces encourages peeling at edges.
A professional cabinet refresh significantly increases home value by making kitchens feel newer and more modern. Real estate professionals consistently report that updated cabinets rank among the top features buyers notice during showings. Even if you’re not selling soon, you’ll enjoy the improved aesthetics daily. Understanding whether cabinet painting is worth it for your specific situation depends on your cabinets’ structural condition and your renovation budget. For comprehensive perspective on kitchen investments, review what adds value to your home to see how cabinet updates compare to other improvements.
Discover professional cabinet painting services in Ottawa
While this guide equips you for successful DIY cabinet painting, many homeowners prefer professional results without the time investment. Expert cabinet painters bring specialized equipment, proven techniques, and efficiency that transforms kitchens in days rather than weeks.
Professional services offer distinct advantages:
Expert preparation: Trained technicians know exactly how to clean, sand, and prime for maximum adhesion
Factory-quality finishes: HVLP spray systems create silky-smooth surfaces impossible to achieve with brushes
Minimal disruption: Professionals work quickly while protecting your home from mess and fumes
Guaranteed durability: Established companies back their work with warranties that DIY projects can’t match
If you’re considering professional help, explore interior cabinet painting services that handle every detail from start to finish. Request a free consultation to discuss your vision and receive accurate pricing. Many homeowners find that professional costs remain surprisingly affordable compared to cabinet replacement. Review stunning cabinet painting transformations to see what’s possible when skilled craftspeople handle your project. Get detailed cabinet painting quotes that break down exactly what your investment covers, with no hidden fees or surprises.
How to paint your kitchen cabinets: FAQ
How long does it take to paint kitchen cabinets?
A complete DIY cabinet painting project typically requires seven to ten days. This includes cleaning (one day), priming (one day plus drying), applying multiple paint coats (three to four days with drying time between each), and final curing before reassembly. Professional services compress this timeline to around five days thanks to specialized equipment and experience.
What’s the best type of paint finish for kitchen cabinets?
Semi-gloss finish provides the ideal balance of durability and aesthetics for kitchen cabinets. It resists moisture and grease while remaining easy to clean. Satin finishes work for less-used cabinets, but they show wear faster in high-traffic kitchens. Learn more about paint sheen durability to choose what fits your lifestyle.
Can I paint cabinets without sanding?
Skipping sanding is possible with specialized bonding primers, but results rarely match properly prepared surfaces. Sanding creates mechanical adhesion that chemistry alone can’t replicate. The extra hour spent sanding prevents years of premature wear. Light sanding between coats remains essential regardless of your primer choice.
How often will I need to repaint kitchen cabinets?
Properly painted cabinets last six to ten years before requiring a refresh. Durability depends on paint quality, preparation thoroughness, and daily wear. High-traffic households might see five to seven years, while careful maintenance extends lifespan beyond a decade. Touch-ups along the way keep cabinets looking fresh longer.
Does painting cabinets increase home value?
Updated kitchen cabinets consistently rank among the top features that attract buyers and justify higher asking prices. While you won’t recoup 100% of costs immediately, painted cabinets make your entire kitchen appear newer and better maintained. Real estate data shows kitchens with refreshed cabinetry sell faster than comparable homes with dated finishes. Explore comprehensive cabinet painting benefits to understand both immediate enjoyment and long-term financial returns.
Recommended
Comments