Cabinet painting process steps for a modern kitchen
- Axcell Painting

- Mar 19
- 10 min read
Your kitchen cabinets define the style and feel of your entire cooking space, but a full renovation can cost tens of thousands of dollars and disrupt your home for weeks. Professional cabinet painting offers a practical, affordable alternative that transforms dated cabinets into modern showpieces without the expense or chaos of replacement. This guide walks you through the complete cabinet painting process, from essential preparation steps to final finishing touches, so you understand exactly what creates a durable, beautiful result. Whether you’re planning a DIY project or evaluating professional services, knowing these steps helps you achieve the sleek, contemporary kitchen you want.
Table of Contents
Key takeaways
Point | Details |
Preparation determines success | Thorough cleaning, sanding, and priming create the foundation for paint adhesion and long-term durability. |
Multiple thin coats beat thick layers | Applying several light coats with proper drying time prevents drips, bubbles, and uneven coverage. |
Right finish matters for kitchens | Semi-gloss and satin finishes balance durability with cleanability for high-use cabinet surfaces. |
Common mistakes are preventable | Skipping prep steps or rushing drying times causes peeling, chipping, and poor results. |
Professional results require patience | Following each process step carefully delivers a modern, high-end look that lasts years. |
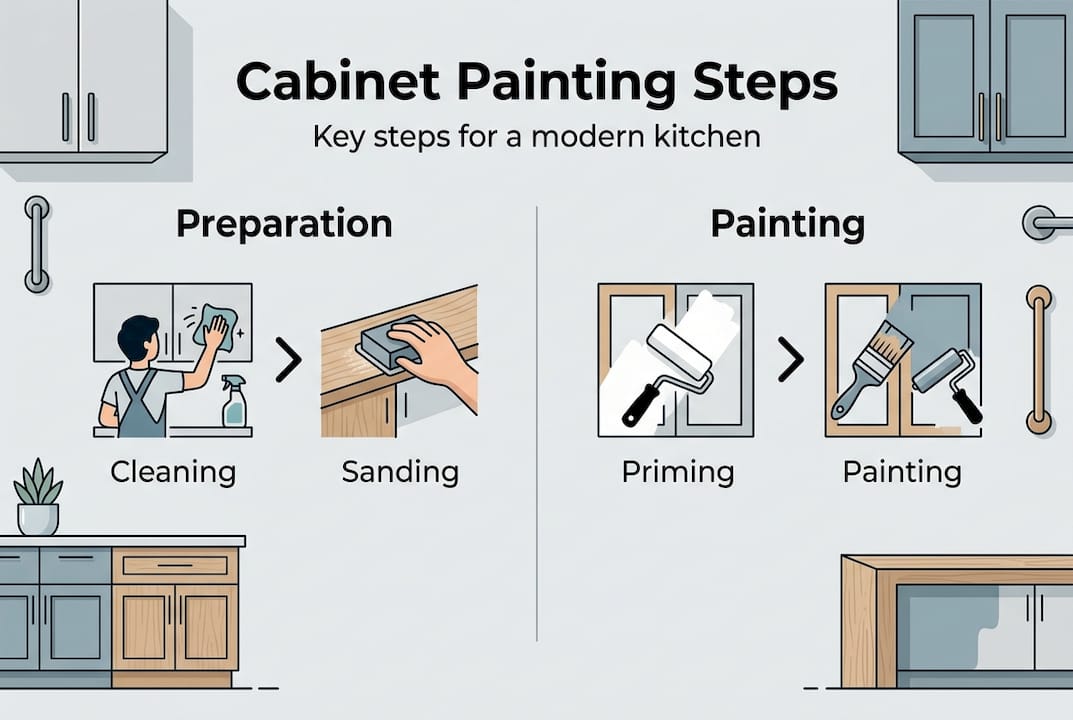
Understanding the preparation essentials for cabinet painting
Successful cabinet painting starts long before you open a paint can. The preparation phase determines whether your finish lasts six months or six years. Proper cleaning, sanding, and priming are critical for paint adhesion and durability, yet many homeowners rush through these steps and face disappointing results.
Cleaning removes the invisible enemies of paint adhesion: cooking grease, food residue, and accumulated grime. Kitchen cabinets collect an oily film from daily cooking that creates a barrier between wood and paint. Use a degreasing cleaner specifically designed for kitchen surfaces, working from top to bottom to avoid recontaminating cleaned areas. Rinse thoroughly with clean water and let cabinets dry completely, which can take 24 hours in humid conditions.
Sanding smooths the existing finish and creates microscopic scratches that help new paint grip the surface. Start with 120-grit sandpaper to remove the glossy topcoat, then progress to 220-grit for a smooth base. Focus on removing shine rather than stripping wood bare. Sand in the direction of the wood grain to avoid visible scratches. Wipe away all dust with a tack cloth before moving to the next step.
Priming seals the wood, blocks stains, and creates a uniform surface for paint. Different cabinet materials require specific primers. Oil-based primers work well for wood cabinets with tannin bleed, while bonding primers excel on laminate or previously painted surfaces. Apply primer in thin, even coats and sand lightly with 220-grit paper between coats for the smoothest foundation.
Preparation Material | Purpose | Application Method |
Degreasing cleaner | Removes cooking oils and grime | Spray and wipe with microfiber cloth |
120-grit sandpaper | Removes glossy finish | Hand sanding or orbital sander |
220-grit sandpaper | Creates smooth surface | Light hand sanding |
Tack cloth | Eliminates dust particles | Wipe gently over all surfaces |
Bonding primer | Seals and prepares surface | Brush, roller, or spray application |
Pro Tip: Remove all cabinet doors, drawers, and hardware before starting preparation. Label each piece with painter’s tape and a number system so you can reinstall everything in the correct location. This simple step prevents confusion during reassembly and ensures a professional-looking result.
Safety matters during preparation work. Wear a dust mask when sanding to protect your lungs from fine particles. Work in a well-ventilated area and use protective eyewear. Keep cleaning products away from food preparation areas and store them safely away from children and pets. Taking these precautions protects your health while you transform your kitchen.
For homeowners exploring their options, a kitchen refinishing near me guide provides local context for understanding the preparation process. Understanding why expert kitchen cabinet refinishing emphasizes these preparation steps helps you evaluate whether to tackle the project yourself or hire professionals.
Step-by-step cabinet painting process for professional results
Once preparation is complete, the actual painting process follows a methodical sequence that builds quality layer by layer. Applying multiple thin coats and allowing drying time ensures a smooth, durable finish that resists chips and wear.
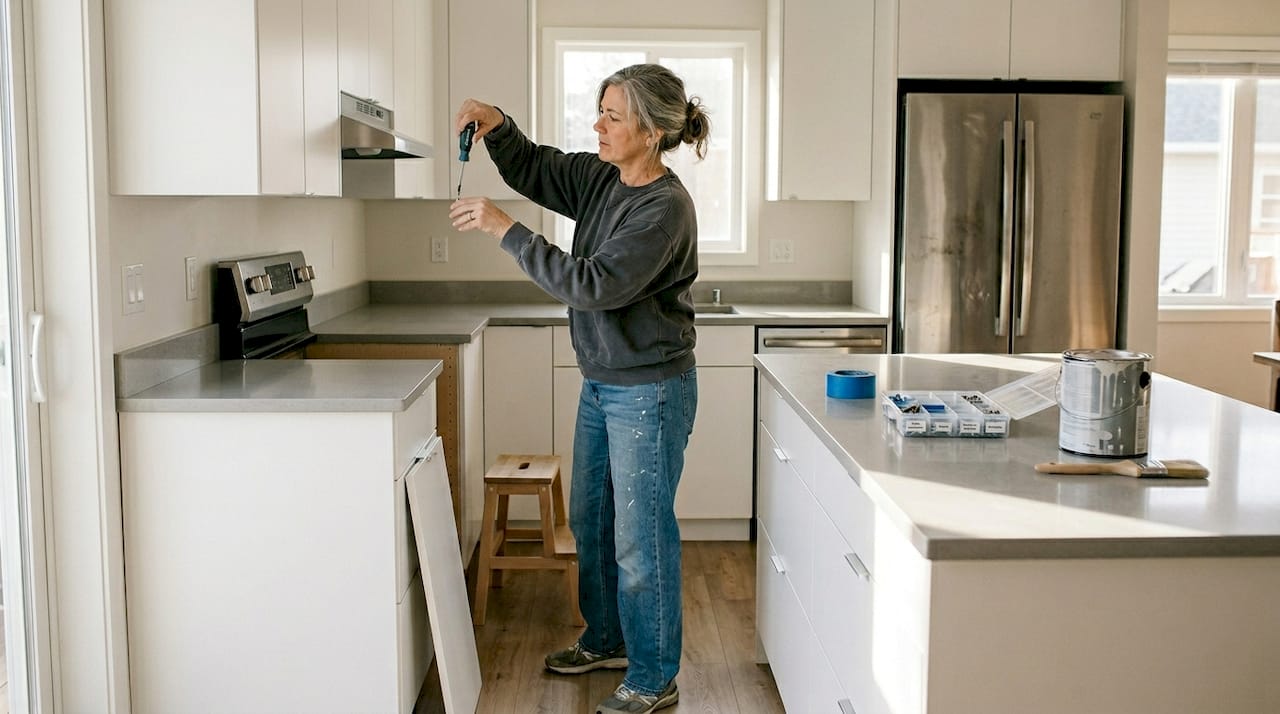
Remove and organize all cabinet components. Take off doors, drawers, and hardware, placing screws in labeled bags. Set up a dedicated painting area with sawhorses or a work table. Arrange pieces so you can paint multiple surfaces efficiently without waiting for one side to dry.
Apply your first primer coat to cabinet boxes and frames. Use a high-quality angled brush for corners and detailed areas, then switch to a small foam roller for flat surfaces. Work in the direction of the wood grain. Let primer dry according to manufacturer instructions, typically 4 to 6 hours.
Sand the primed surface lightly with 220-grit sandpaper. This step creates an ultra-smooth base for paint. Remove all dust with a tack cloth. This light sanding between coats is what separates amateur results from professional finishes.
Paint your first color coat using the same brush and roller technique. Thin, even layers prevent drips and create a more durable finish than thick coats. Pay attention to edges and corners where paint tends to accumulate. Let this coat dry completely, usually 6 to 8 hours.
Apply a second color coat after another light sanding and dust removal. Most cabinets need at least two color coats for even coverage and depth. Dark colors or dramatic color changes may require a third coat. Patience here pays dividends in the final appearance.
Finish with a protective topcoat or sealer. This clear layer adds durability and makes cabinets easier to clean. Choose between water-based polyurethane for a modern matte look or oil-based for traditional richness. Apply with a fine brush or spray for the smoothest result.
Pro Tip: Maintain a wet edge while painting by working quickly and systematically. Start at the top of each cabinet and work downward, blending each new section into the previous one before it dries. This technique eliminates visible brush marks and creates a seamless finish.
High-quality tools make a measurable difference in results. Invest in brushes with fine, synthetic bristles that hold paint well and release it smoothly. Choose foam rollers with a fine nap for cabinet surfaces rather than the thick nap used for walls. Clean tools thoroughly between coats to prevent dried paint from creating texture in your finish.
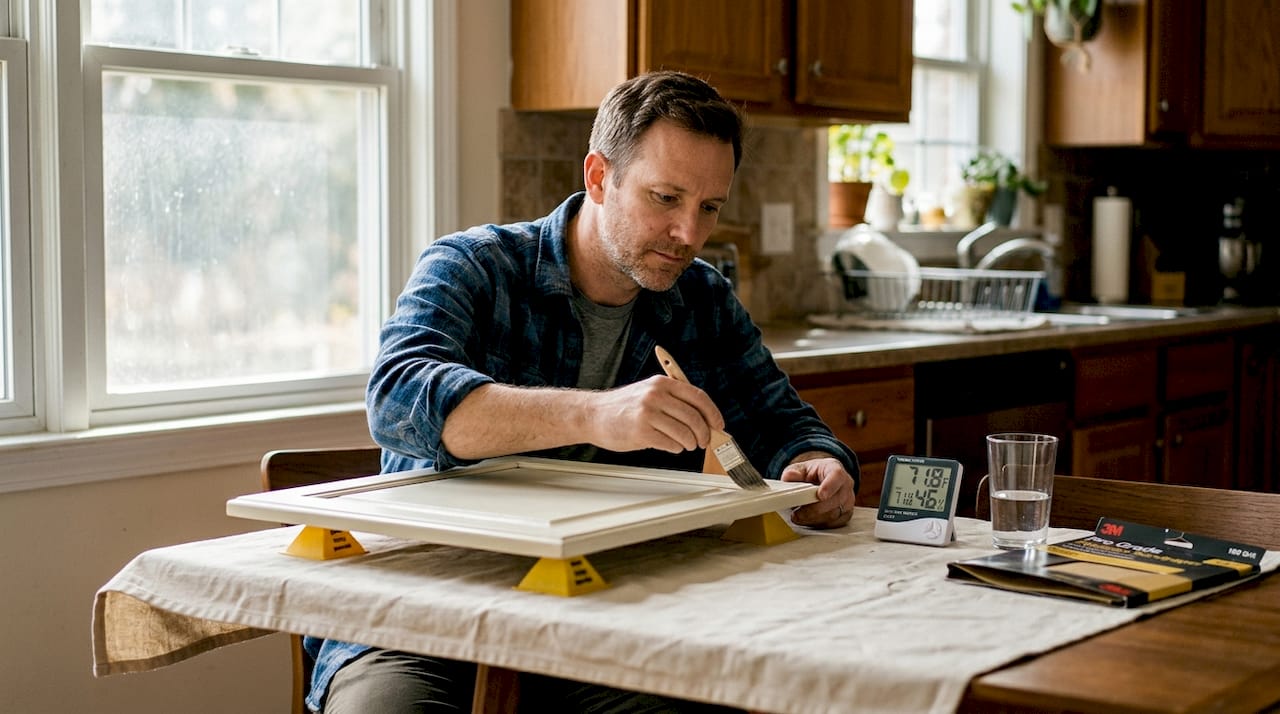
Temperature and humidity affect drying times and paint behavior. Ideal conditions range from 50 to 85 degrees Fahrenheit with moderate humidity. Avoid painting on extremely humid days when paint takes longer to cure and may develop a cloudy appearance. Use fans to improve air circulation but don’t aim them directly at wet paint, which can cause premature drying and texture issues.
The professional cabinet painting steps detailed here represent industry best practices developed through years of experience. Following this sequence carefully produces results that rival factory finishes.
Troubleshooting common cabinet painting mistakes and how to avoid them
Even experienced painters encounter challenges during cabinet projects. Understanding common problems and their solutions helps you maintain quality throughout the process. Common errors like paint peeling or uneven coverage often stem from skipped prep or rushed drying.
Insufficient drying time between coats ranks as the most frequent mistake. Paint may feel dry to the touch but still be curing underneath. Applying the next coat too soon traps solvents, causing bubbling, wrinkling, or poor adhesion. Always follow the manufacturer’s recommended drying times and add extra time in humid conditions. When in doubt, wait longer.
Painting over contaminants creates adhesion failures. Even microscopic grease or dust prevents paint from bonding properly. If you notice paint peeling or flaking after application, the surface wasn’t clean enough. Strip the affected area, clean thoroughly, and start over. There’s no shortcut around proper preparation.
Improper sanding techniques leave visible scratches or create an uneven surface. Sanding too aggressively removes too much material and creates low spots. Sanding too lightly leaves a glossy surface that paint can’t grip. Use consistent, moderate pressure and always sand with the grain. Check your work under bright light to spot problems before painting.
Drips and runs: Apply thinner coats and watch for accumulation in corners and along edges. Catch drips immediately with a dry brush before they set.
Brush marks: Use high-quality brushes and maintain a wet edge. Consider switching to a spray system for the smoothest finish.
Orange peel texture: This bumpy appearance comes from spray painting at the wrong distance or pressure. Practice technique on scrap material first.
Color inconsistency: Ensure thorough mixing before each use and maintain consistent application thickness across all surfaces.
Sticky finish: Usually caused by painting in high humidity or over contaminated surfaces. Allow more drying time and ensure proper ventilation.
“The difference between a good cabinet painting job and a great one comes down to patience and attention to detail. Every shortcut you take shows in the final result, but every extra hour you invest in proper technique pays back in years of beauty and durability.”
Fixing mistakes costs more time and money than preventing them. If you discover problems after paint has dried, assess whether light sanding and an additional coat will correct the issue. Severe problems like widespread peeling or bubbling require stripping and restarting. Learn from each challenge and adjust your technique for the next section.
For homeowners weighing DIY versus professional services, understanding these potential pitfalls provides valuable perspective. The cost-effective cabinet renewal tips available through experienced providers can help you avoid expensive mistakes and achieve better results faster.
What to expect after your cabinet painting project – results and maintenance
Completing your cabinet painting project delivers immediate visual impact and long-term functional benefits. Properly painted cabinets can last years with simple maintenance, providing a fresh modern look that transforms your entire kitchen.
Visual improvements create the most obvious benefit. Dated golden oak or dark wood cabinets become crisp white, sophisticated gray, or trendy navy. The smooth, factory-like finish reflects light differently than worn, scratched old cabinets, making your kitchen feel brighter and more spacious. Hardware updates complement the fresh paint, completing the modern transformation.
Functional durability depends on the quality of materials and application technique. Cabinets painted with proper primers, quality paint, and protective topcoats resist daily wear from hands, cleaning, and kitchen activities. The finish should feel smooth and hard, not tacky or soft. Properly cured paint develops full hardness over several weeks, becoming increasingly resistant to damage.
Maintenance preserves your investment and keeps cabinets looking fresh for years. Clean painted surfaces regularly with a soft cloth and mild soap solution. Avoid abrasive cleaners, scouring pads, or harsh chemicals that can dull or damage the finish. Wipe up spills promptly, especially acidic substances like tomato sauce or citrus juice that can etch paint over time.
Daily care: Wipe cabinet fronts with a damp microfiber cloth to remove fingerprints and light soil.
Weekly cleaning: Use a mild dish soap solution and soft cloth, then dry thoroughly to prevent water spots.
Avoid harsh products: Skip ammonia-based cleaners, bleach, or abrasive scrubbers that damage paint.
Handle hardware gently: Don’t yank doors or drawers, which stresses paint at joints and edges.
Address damage quickly: Touch up small chips or scratches before they expand or allow moisture penetration.
Maintenance Do | Maintenance Don’t |
Clean with soft cloths and mild soap | Use abrasive scrubbers or harsh chemicals |
Dry surfaces after cleaning | Leave standing water on painted surfaces |
Touch up chips promptly | Ignore damage until it spreads |
Use cabinet door bumpers | Slam doors and drawers |
Keep ventilation fans running while cooking | Allow grease buildup from cooking |
Expected lifespan varies based on usage and care. Kitchen cabinets in a household that cooks frequently face more wear than those in a home where cooking is minimal. With proper maintenance, professionally painted cabinets typically last 5 to 10 years before needing refinishing. High-traffic areas like cabinets near the stove or sink may show wear sooner than upper cabinets or those in less-used areas.
Your newly painted cabinets represent a significant upgrade in both aesthetics and home value. Real estate professionals note that updated kitchens, even through cabinet painting rather than replacement, appeal strongly to potential buyers. The modern, well-maintained appearance signals overall home care and eliminates a major renovation from buyers’ mental to-do lists.
For homeowners interested in exploring finish options and maintenance strategies further, a modern cabinet refinishing guide offers additional insights. Understanding kitchen paint finish options helps you make informed decisions about durability and style for your specific needs.
Get professional cabinet painting services in Ottawa
While understanding the cabinet painting process helps you make informed decisions, many Ottawa homeowners choose professional services for guaranteed results and time savings. Ottawa Cabinet Painting specializes in transforming dated kitchens into modern spaces through expert cabinet refinishing, delivering the high-end look you want without renovation chaos.
Our meticulous process ensures durability and beauty. We handle every step from thorough preparation through final protective coatings, using premium materials and proven techniques. Our typical ten-day timeline minimizes disruption to your household while delivering superior results that quick-turnaround competitors can’t match. Each project includes a 6-year warranty, demonstrating our confidence in workmanship and materials.
Free quotes make planning easy. We assess your cabinets, discuss your style preferences, and provide detailed estimates with no obligation. Our team explains options for finishes, colors, and hardware updates that complement your vision and budget. As a local Ottawa business, we understand the specific needs of homes in our area and build lasting relationships with homeowners we serve.
Explore our interior cabinet painting services to see the range of finishes and styles we offer. Request free spray painting quotes to start planning your kitchen transformation. View our before and after examples to see the dramatic improvements possible through professional cabinet painting.
FAQ
How long does the cabinet painting process usually take?
Typical cabinet painting projects require 5 to 10 days depending on kitchen size, number of cabinets, and drying conditions. Preparation takes 1 to 2 days, primer and paint application spans 3 to 5 days with proper drying time between coats, and final reassembly takes another day. Rushing the timeline compromises quality and durability.
Is professional cabinet painting more cost-effective than a full kitchen renovation?
Cabinet painting costs 60 to 80 percent less than full cabinet replacement while delivering dramatic visual improvements. A complete kitchen renovation can exceed $30,000, while professional painting typically ranges from $3,000 to $8,000 depending on kitchen size and finish choices. You preserve your existing layout and avoid the disruption of demolition and reconstruction.
What types of paint finishes are best for kitchen cabinets?
Semi-gloss and satin finishes offer the best balance of durability and cleanability for kitchen cabinets. Semi-gloss provides a slight sheen that resists moisture and wipes clean easily, making it ideal for high-use kitchens. Satin offers a softer, more modern look with good durability. Avoid flat finishes in kitchens, as they show wear and are harder to clean.
How can I maintain my painted cabinets to keep them looking fresh?
Clean painted cabinets regularly with a soft cloth and mild soap solution, avoiding harsh chemicals or abrasive scrubbers. Wipe up spills promptly and dry surfaces after cleaning to prevent water damage. Use cabinet door bumpers to prevent slamming, and address small chips or scratches quickly with touch-up paint before damage spreads.
Can I do cabinet painting myself, or should I hire a professional?
DIY cabinet painting saves labor costs but requires significant time, proper tools, and careful technique to achieve professional results. Mistakes in preparation or application can lead to peeling, uneven coverage, or poor durability that costs more to fix than hiring professionals initially. Professionals bring experience, specialized equipment, and warranties that ensure quality outcomes and long-term satisfaction.
Recommended
Comments