Best Paint Sprayers for Ottawa Kitchen Cabinets: DIY Guide
- Axcell Painting

- 1 day ago
- 11 min read
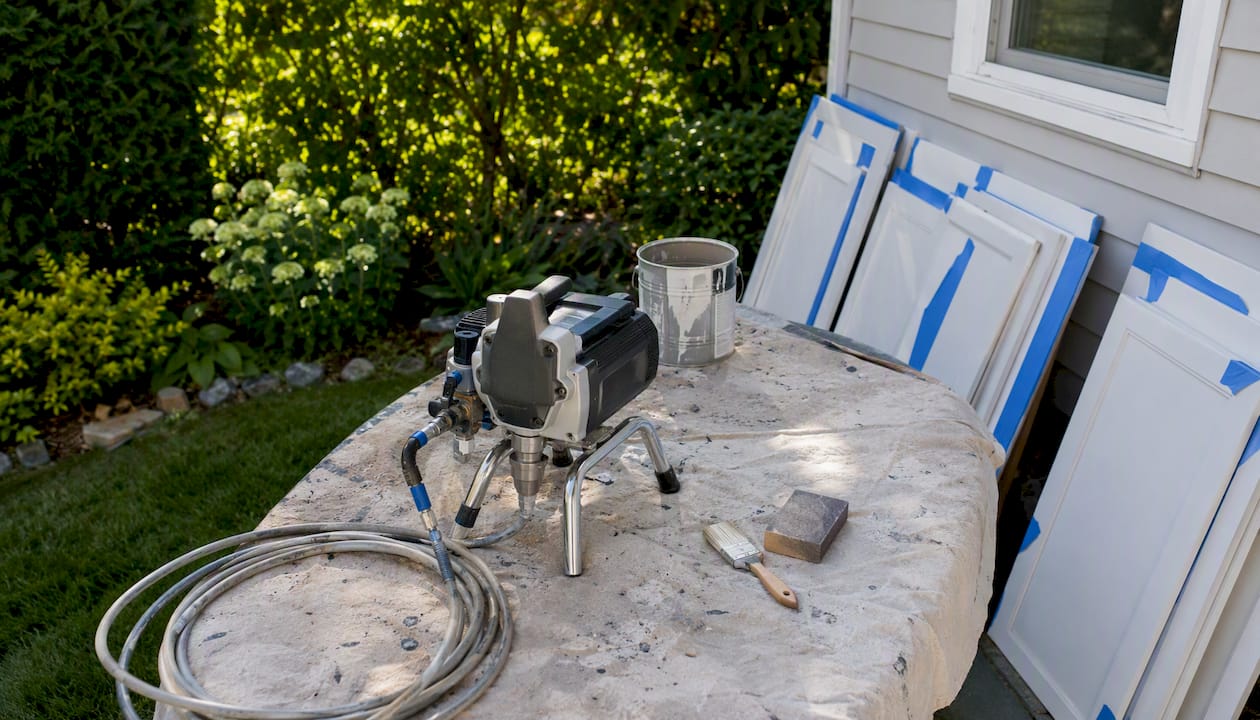
A handheld HVLP turbine sprayer is the right starting point for most DIY kitchen-cabinet projects in Ottawa. It gives you low overspray, excellent finish control, and straightforward cleanup, three things that matter enormously when you’re working inside a home with limited ventilation. Sources including Spray Painter Guide, BobVila, and Canada’s top sprayer buying guides consistently point to handheld turbine HVLP and HEA-style hybrid units as the practical choice for cabinet and furniture work. When your kitchen has more than 20 doors, or you’re shooting a waterborne lacquer that needs speed, a fine-finish airless with an FFLP tip becomes worth the extra learning curve.
Key Takeaways
A handheld HVLP turbine sprayer is the best starting point for most Ottawa DIY cabinet projects, but prep quality and environment control determine whether the finish lasts.
Point | Details |
Best sprayer category | Handheld HVLP/turbine handles most kitchens; add an FFLP tip if you use an airless. |
Prep is the majority of the work | Degrease, scuff-sand, prime, and number doors before you spray a single coat. |
Tip sizes that matter | Use a 1.4–1.8 mm fluid tip for HVLP; swap to an FFLP 210 or 310 for airless machines. |
Ottawa environment control | Keep your workspace at 65°F–75°F; use a heater in winter and a dehumidifier in summer. |
Ottawacabinetpainting | Offers a 7–10 day professional process with a 6-year warranty for homeowners who prefer a pro result. |
Table of Contents
Which paint sprayer is best for kitchen cabinets in Ottawa?
Not every sprayer on a Canadian retailer’s shelf is built for cabinet work. Here’s how the three main categories break down for a typical Ottawa DIY project.
Handheld HVLP/turbine sprayers (best for most DIYers)
These are the go-to for homeowners painting 10–20 cabinet doors. The turbine atomizes paint at low pressure, which keeps overspray manageable and lets you work in a garage or spray tent without coating everything in the room. The Wagner Flexio 3000 and 3500 are widely available at Home Depot Canada and Canadian Tire. Both handle latex and acrylic enamel without heavy thinning. The Flexio 3500 adds a higher-output turbine that cuts spray time on larger kitchens. Expect to spend a moderate amount in the low hundreds of Canadian dollars for either model.
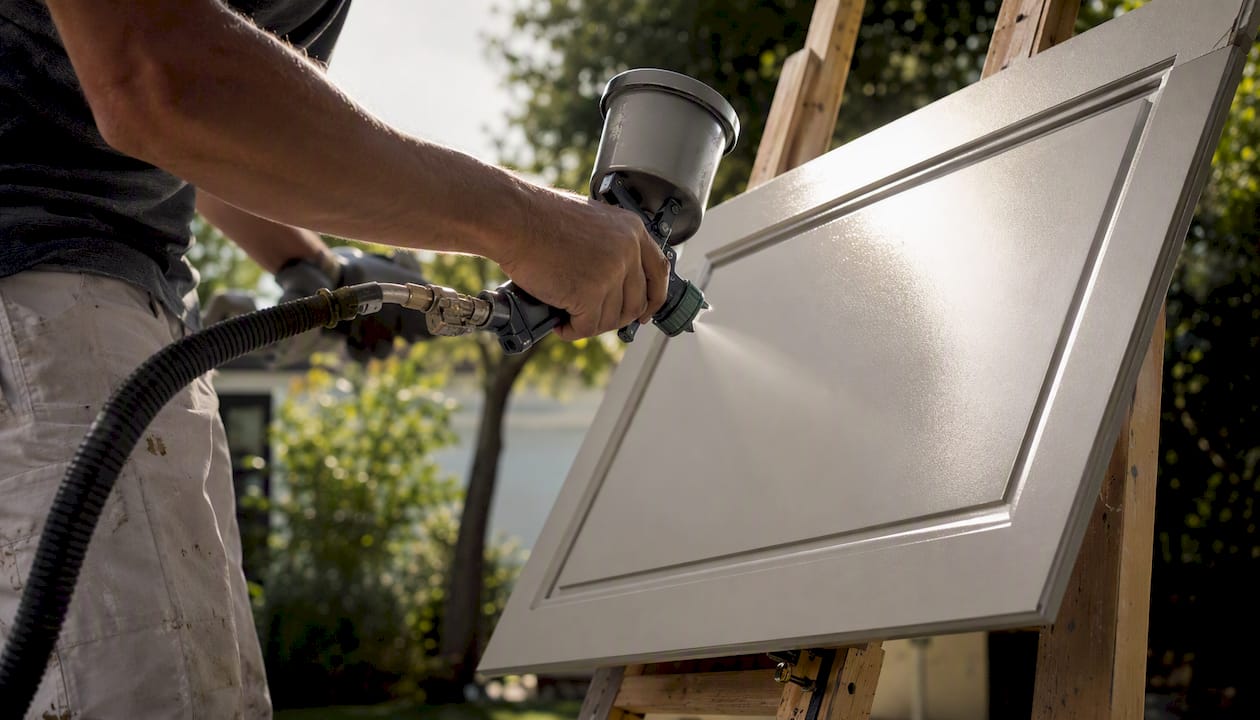
The Fuji Semi-PRO 2 is a step up in turbine power and finish quality. It’s a two-stage turbine unit that produces noticeably smoother atomization than entry-level handhelds, and it’s available through specialty paint retailers and online in Canada. Budget around the mid-hundreds of Canadian dollars. For homeowners who want a near-professional result without renting, it’s one of the most recommended options in Canadian woodworking forums.
HEA/hybrid handheld sprayers (versatile, lower overspray)
Graco’s HEA (High Efficiency Airless) technology reduces overspray compared with traditional airless while still delivering the speed of a pump-driven system. The Graco Ultra Cordless Airless handheld is the standout here. It’s battery-powered, which means no hose dragging across freshly sprayed doors, and it’s available through Home Depot Canada. It handles thicker paints without thinning and works well for homeowners who want one tool for cabinets, trim, and walls. Price runs from the mid- to upper hundreds of Canadian dollars depending on the kit.
Airless/fine-finish sprayers (large kitchens or high-volume work)
For a full kitchen gut-and-respray, or if you’re doing multiple rooms, an airless unit like the Graco Magnum X5 or the Project Painter Plus covers ground fast. The catch: out-of-box tips on Graco DIY-series machines are sized for walls, not cabinet doors. You’ll need to swap to an FFLP (fine-finish low-pressure) tip before spraying doors or trim. Both models are available at Home Depot Canada; the Project Painter Plus typically retails around $200–$250 CAD, making it a reasonable buy-or-rent candidate for a large kitchen. Rental through tool-rental counters at major hardware stores is also an option for a one-time project.
Quick comparison at a glance:
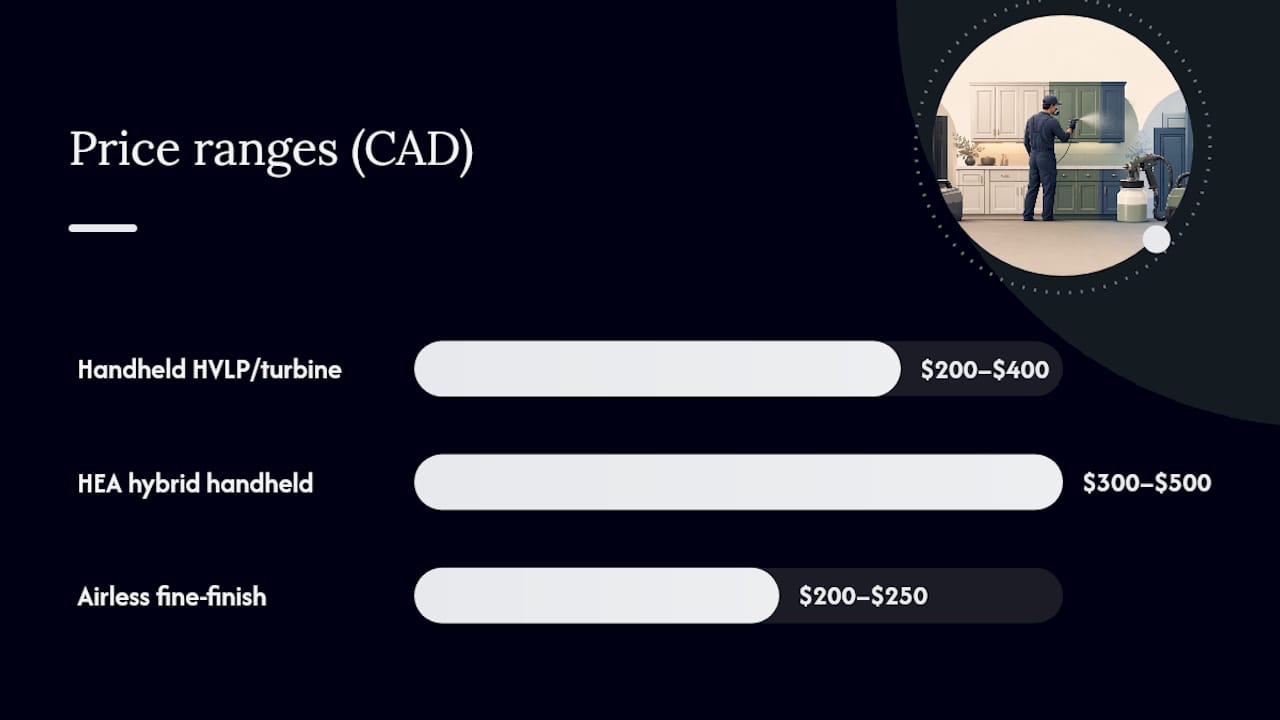
Category | Best For | Finish Quality | Ease of Cleanup | Portability | Price (CAD) | Tip Compatibility | Cabinet Paints |
Handheld HVLP/turbine | Beginners, small–medium kitchens | Excellent | Easy (warm water flush) | High | $200–$400 | 1.4–1.8 mm fluid tips | Acrylic enamel, waterborne alkyd |
HEA/hybrid handheld | Medium kitchens, versatile use | Very good | Moderate | High (cordless) | $300–$500 | Proprietary HEA tips | Most latex and enamel |
Airless/fine-finish | Large kitchens, high volume | Excellent with FFLP tip | More involved | Moderate | $200–$250 | FFLP tip swap required | Latex, lacquer, alkyd |
How to choose the right sprayer for your Ottawa kitchen cabinets
The sprayer category matters less than matching the tool to your specific situation. Work through these questions before you buy or rent.
Kitchen size and door count. Fewer than 15 doors? A handheld HVLP handles it comfortably. More than 20 doors, or a large island with face frames, consider an airless with an FFLP tip for speed.
Paint type. Waterborne alkyds like Benjamin Moore Advance level beautifully through HVLP. Thicker latex or oil-based paints may need an airless or significant thinning for an HVLP to atomize them properly.
Workspace. A spray tent in a garage is ideal. If you’re working indoors with limited ventilation, HVLP’s lower overspray is a real safety and cleanup advantage.
Budget and reuse. If this is a one-time project, renting an airless is often smarter than buying. If you plan to repaint furniture and trim over the years, a mid-range HVLP like the Fuji Semi-PRO 2 pays for itself.
Criterion | Handheld HVLP/turbine | HEA/hybrid handheld | Airless/fine-finish |
Best for | Beginners, small kitchens | Versatile DIYers | Large kitchens, pros |
Setup & cleanup | Simple, 5–10 min flush | Moderate | More involved |
Finish quality | Excellent on cabinets | Very good | Excellent with FFLP |
Portability | Excellent | Excellent (cordless) | Moderate |
Price/value | Best entry value | Mid-range | Rent for one-time use |
Tip compatibility | 1.4–1.8 mm fluid tips | HEA proprietary | FFLP swap required |
Cabinet paints | Acrylic enamel, waterborne alkyd | Most latex/enamel | Latex, lacquer, alkyd |
Spray Painter Guide recommends a 1.4–1.8 mm fluid tip for most cabinet primers and paints — it’s the range that handles acrylic enamel and waterborne alkyd without forcing you to thin aggressively.
Pro Tip: If you’re using a Graco DIY-series airless, buy an FFLP tip (such as a 210 or 310 size) before you spray a single door. The stock tip is a recipe for orange peel on flat cabinet panels.
Why prep is the most important part of any Ottawa cabinet spray job
You can own the best paint sprayer for kitchen cabinets and still end up with a finish that peels in two years. Prep is everything else.
Journeyman HQ puts it plainly: deep cleaning, sanding, and priming are the critical steps, and consistent spray technique only matters once the surface is properly prepared. Professional shops routinely estimate that prep accounts for the majority of total project time on a cabinet refinish.
Ottawa climate note: Keep your workspace between 65°F and 75°F with moderate humidity. In Ottawa, that means running a space heater in the garage from October through April, and a dehumidifier during humid July and August weeks. Paint that skins over too fast in dry winter air won’t level properly, and coats applied in high humidity can trap moisture and fail early.
For a smooth finish in Ottawa’s climate, environment control is as critical as the sprayer itself. A $30 digital hygrometer is worth every cent.
Ottawa cabinet prep checklist
Degrease thoroughly. Use a TSP substitute or a dedicated degreaser on all cabinet surfaces. Kitchen grease is the number-one cause of adhesion failure. Check that your cleaner won’t damage the existing finish before applying it — some household cleaners cause surface damage that shows up under paint.
Scuff-sand all surfaces with 150–180 grit to give the primer something to grip.
Degloss any high-sheen existing finish with liquid deglosser if sanding alone isn’t practical.
Prime with a shellac-based or waterborne-alkyd primer on stained, knotty, or previously varnished wood. For clean MDF or previously painted surfaces in good condition, a high-adhesion waterborne primer works well.
Number every door and map your layout. Doors can differ by small tolerances, and reassembly errors are one of the most common DIY mistakes. Tape a number to the hinge side of each door and sketch a simple diagram before removal.
Set up containment. A spray tent or a clean, well-ventilated garage with plastic sheeting on the floor and walls is non-negotiable. Overspray travels, and it lands on cars, tools, and anything else in the space.
Realistic Ottawa timeline for a typical kitchen (10–15 doors):
Day 1–2: Remove hardware, degrease, scuff-sand, fill holes, degloss.
Day 3: Apply primer coat; let cure overnight.
Day 4: Light sand primer (220 grit), tack-cloth, apply second primer coat if needed.
Day 5–6: First topcoat; let cure 24 hours minimum.
Day 7: Sand lightly with 320 grit, tack-cloth, apply second topcoat.
Day 8–9: Final coat if needed; allow full cure before reinstalling hardware.
Day 10: Rehang doors, reinstall hardware, touch up frames.
For more on what produces a truly smooth result in Ottawa’s conditions, this local breakdown of finish controls is worth reading before you start.
Step-by-step spraying technique for Ottawa cabinet doors and frames
Setup and technique separate a factory-smooth finish from a blotchy, uneven one. Follow this sequence carefully.
Test on cardboard first. Before touching a door, spray a piece of cardboard and adjust fan width, fluid flow, and air pressure until you get a smooth, even fan pattern with no heavy center or tailing edges.
Set your distance. Hold the gun 8–12 inches from the surface. Closer causes runs; farther causes dry spray and orange peel.
Lay doors flat on sawhorses. Horizontal spraying dramatically reduces runs and sags on flat panels. This is one of the most consistently recommended techniques across DIY and professional sources alike.
Overlap each pass by 50%. Move at a steady, consistent speed. Stopping or slowing mid-pass deposits too much material in one spot.
Spray frames vertically, on a fine setting. Reduce fluid flow slightly for vertical surfaces to minimize sag risk.
Apply thin coats. Two or three thin coats always outperform one thick one. Each coat should look slightly thin when wet — it levels as it dries.
Sand between coats with 320–400 grit. A light scuff removes dust nibs and gives the next coat something to bond to. Wipe with a tack cloth before recoating.
Reinstall in numbered order. Hang doors in the sequence you mapped during prep. Check alignment before the paint fully cures so you can adjust hinges without cracking the finish.
For HVLP guns, Spray Painter Guide’s guidance on primer and paint selection pairs well with a 1.4–1.8 mm tip for most acrylic enamels and waterborne alkyds. For airless machines, the FFLP 210 or 310 tip is the standard cabinet choice. Thin only when the paint manufacturer’s data sheet recommends it — over-thinning reduces durability.
Pro Tip: Use a wet-film thickness gauge on your first coat. It removes the guesswork about whether you’re applying enough material, and it’s especially useful for beginners who tend to spray too thin out of fear of runs.
For a beginner-focused walkthrough of door layout and numbering specific to Ottawa kitchens, this DIY door spraying guide covers the details clearly.
How to fix orange peel, runs, and other common spray defects
Even experienced painters hit problems. Knowing what caused the defect tells you exactly how to fix it.
Orange peel looks like the skin of an orange — a bumpy, textured surface instead of a smooth one. It usually means the pressure was too low, the paint was too thick, or the gun was too far from the surface. Fix: let the coat dry fully, sand with 320–400 grit until smooth, and re-spray with adjusted settings.
Runs and sags happen when too much material lands in one spot — gun too close, travel speed too slow, or fluid flow too high. If you catch a run while wet, feather it out immediately with a dry brush. If it’s already dry, sand it flat and re-spray.
Fisheyes are small craters caused by silicone or oil contamination on the surface. This is why degreasing matters so much. Fix requires sanding back to bare or primed surface, cleaning again with a wax-and-grease remover, and recoating.
Poor atomization or spitting usually points to a clogged nozzle, a tip that’s too large for the paint viscosity, or a worn needle. Clean the tip first; if the problem persists, check the needle and fluid seat for wear.
Cleaning and maintenance by sprayer type
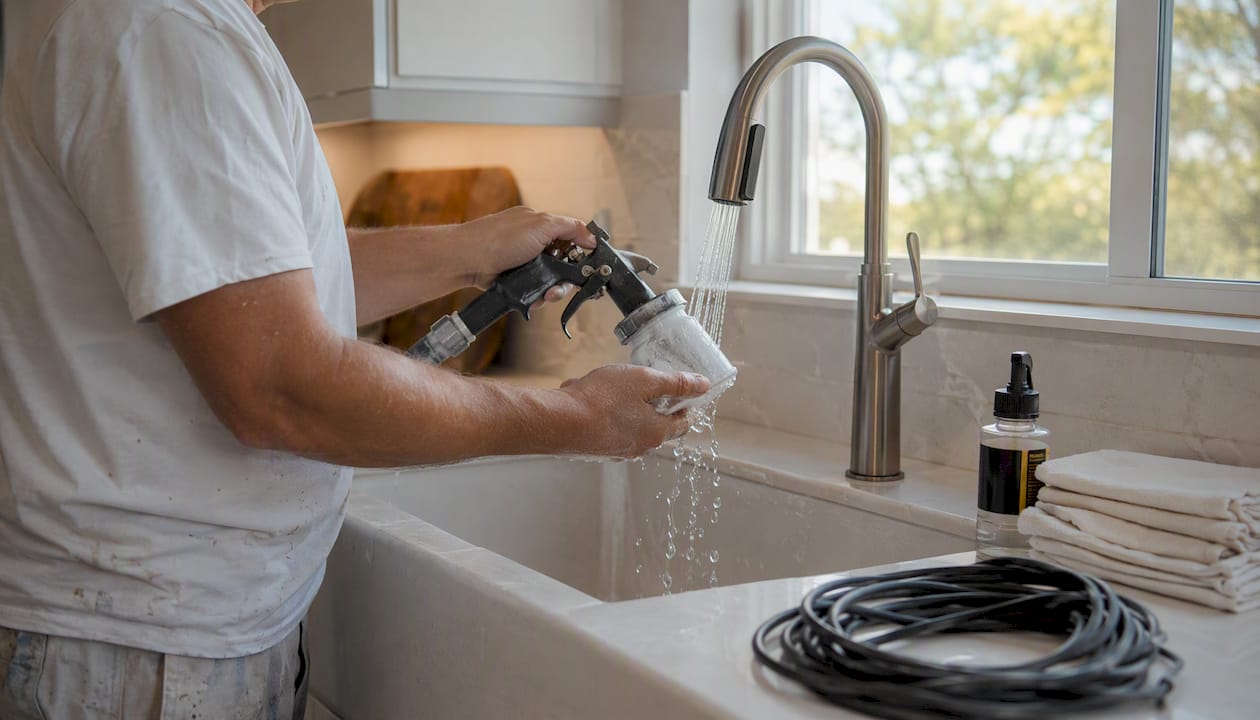
HVLP turbine sprayers: Run warm water through the cup until it sprays clear — this handles most cleanup without full disassembly. For oil-based paints, use the appropriate solvent. After every session, remove the needle and wipe it down; a drop of machine oil on the needle packing prevents sticking.
Airless sprayers (Graco Magnum/Project Painter Plus): Use the PowerFlush adapter to run clean water or solvent through the pump until it runs clear. Never let paint dry in the pump — it can damage the piston seal. Store with pump armor or a light oil in the fluid path.
For parts and service in Ottawa, Home Depot Canada and specialty paint retailers carry Graco and Wagner replacement tips and filters. Graco’s Canadian service network also handles warranty repairs on registered units.
After the job is done, caring for your newly painted cabinets properly in the first 30 days makes a real difference in long-term durability.
Buy, rent, or hire? The Ottawa DIYer’s final decision
For most Ottawa homeowners with a standard kitchen of 10–20 doors, a handheld HVLP turbine sprayer is the right buy. The Wagner Flexio 3500 or Fuji Semi-PRO 2 covers the job well, cleans up quickly, and has enough reuse value to justify the purchase. If your kitchen runs larger than 20 doors, or you’re working with a fast-drying lacquer that rewards speed, renting a fine-finish airless from a local tool-rental counter and picking up an FFLP tip is the smarter move.
The buy vs. rent vs. hire rule:
Buy if you have 10–20 doors, a clean workspace, and plan to use the sprayer again within two years.
Rent if you have more than 20 doors, a one-time project, or want an airless without the full purchase price.
Hire if your kitchen is large and complex, your workspace is limited, or you want a guaranteed result with a warranty behind it.
For a practical overview of the full painting process before you commit to either path, this homeowner guide to painting kitchen cabinets lays out the cost and effort comparison clearly.
What we’ve learned from Ottawa cabinet projects: prep and patience win every time
At Ottawacabinetpainting, we’ve seen the full range of DIY outcomes — from genuinely impressive first-time results to projects that needed a full strip-and-redo because the prep was rushed. The pattern is consistent: the homeowners who get a factory-smooth finish are the ones who spent two full days on prep before picking up a sprayer.
The sprayer choice matters, but it’s secondary. A mid-range HVLP in a properly prepped, climate-controlled space will outperform a professional-grade airless on a greasy, unsanded surface every time. Ottawa’s winters add a real variable — cold garages and dry forced-air heat both affect how paint levels and cures. Controlling that environment is not optional if you want the finish to last.
Our own process runs roughly 7–10 business days for a typical kitchen, and that timeline exists because each coat needs adequate cure time before the next one goes on. Rushing the schedule is the most common reason a cabinet finish fails within the first year. We back our work with a 6-year warranty, and that warranty is only possible because of the prep-first discipline behind every project. You can see the results in our before and after gallery.
If you’re going DIY, use the timeline in this guide as your floor, not your ceiling. And if the scope of the project grows beyond what your workspace and schedule can support, calling a pro early saves you from a costly redo.
Ottawa homeowners: get a free cabinet painting quote
Choosing the right sprayer and doing the prep work yourself is absolutely achievable for a motivated DIYer. For full-kitchen jobs with complex finishes, limited workspace, or tight timelines, hiring Ottawacabinetpainting is the faster route to a result you’ll be happy with for years. We serve Ottawa homeowners with a meticulous process, premium materials, and a 6-year warranty on every project. No guessing about tip sizes or cure windows — we handle all of it.
If you’d like a professional to take it from here, request a free cabinet painting quote and we’ll walk you through what your kitchen needs. The DIY knowledge you’ve picked up here still helps — it means you’ll ask better questions and understand exactly what you’re getting.
Sources
Recommended
Comments