Best Kitchen Refinishing Results for Ottawa Homeowners
- Axcell Painting

- 13 minutes ago
- 11 min read
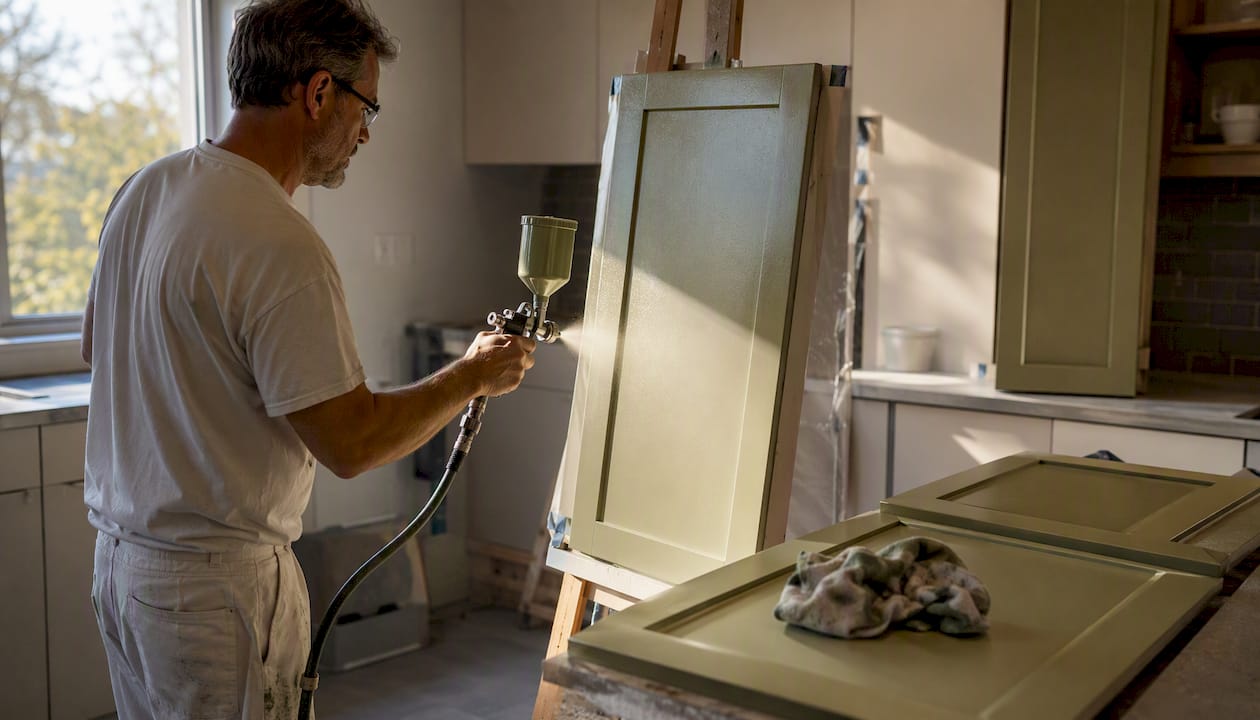
For most homeowners, a bonded primer paired with a waterborne cabinet-grade enamel applied in thin spray coats delivers the best balance of durability, finish quality, and low odor. That combination works whether you’re refreshing flat Shaker doors or tackling a full kitchen in an Ottawa condo. DIY is absolutely viable with the right enamel, an HVLP sprayer or quality foam roller, and strict prep. Hire a pro when you need a factory-smooth result on complex door profiles, when you’re working with lacquer or conversion varnish systems, or when a written warranty matters to you. Ottawa Cabinet Painting typically completes a professional job in a few working days on-site, with full cure usually achieved over the course of a week or two.
Key Takeaways
Waterborne cabinet-grade enamel applied over a bonded primer, sprayed in thin coats, delivers the best combination of durability, finish quality, and low odor for most Ottawa homeowners.
Point | Details |
Choose the right finish | Waterborne cabinet-grade enamel is the best starting point; use conversion varnish only when a pro is applying it. |
Match primer to substrate | Shellac primer for raw wood, waterborne bonding primer for veneer, adhesion-promoting primer for thermofoil or laminate. |
DIY vs. pro decision | Hire a pro for complex profiles, conversion varnish systems, or when a multi-year warranty matters to you. |
Plan for cure windows | Full cure takes 7–14 days; avoid heavy use and door stacking until the finish has fully hardened. |
Ottawacabinetpainting | Offers spray refinishing with off-site door finishing, 3–5 day on-site timeline, and a 6-year warranty for Ottawa homeowners. |
Table of Contents
What are the best kitchen refinishing finishes for Ottawa cabinets?
Not all coatings perform equally in a busy kitchen. Here’s how the main finish types rank, from most to least recommended for cabinet surfaces.
1. Waterborne cabinet-grade enamel (spray systems) The top choice for most homeowners. Low VOC, fast recoat, and excellent kitchen paint finish options across sheen levels. Sprays to a near-factory smoothness and cleans up with water. Block resistance (the coating’s ability to resist doors sticking together) is strong in quality formulas. Recoat windows are typically short, which keeps project timelines tight.
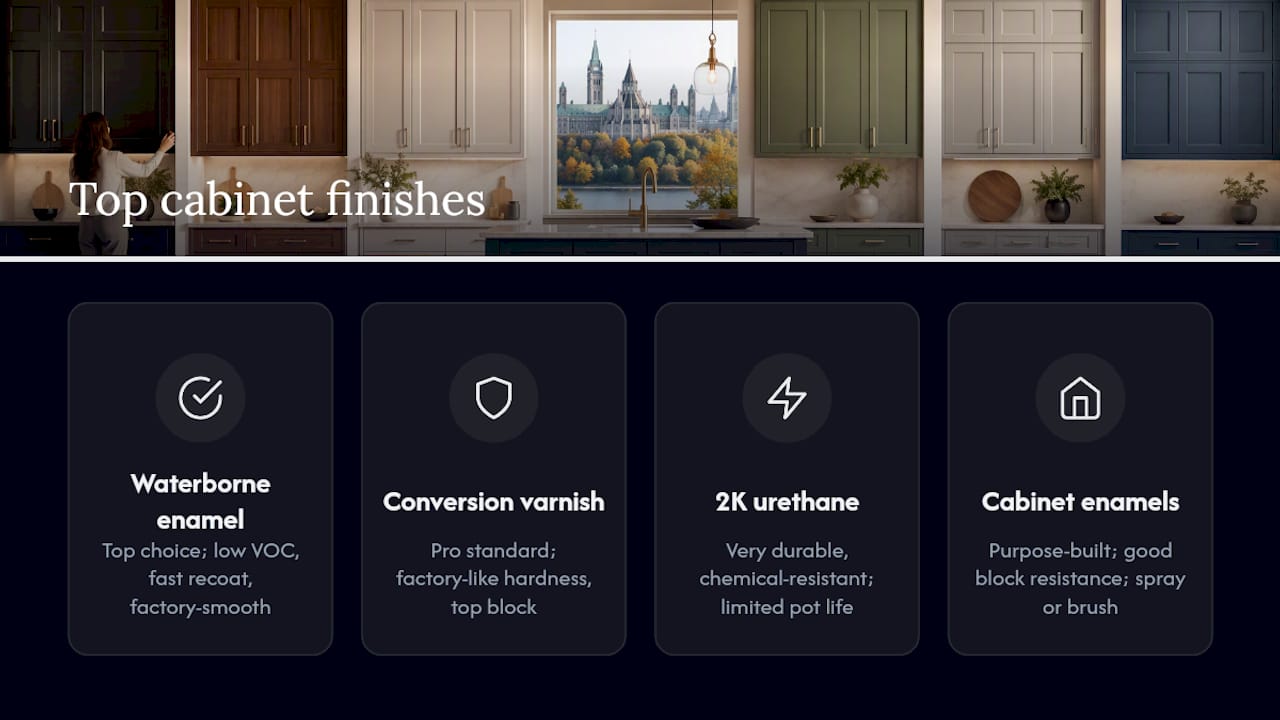
2. Conversion varnish / catalyzed lacquer The professional standard for a true factory-like finish. A two-part catalyzed system that cures chemically rather than by evaporation, producing exceptional hardness and block resistance. Requires spray application, controlled temperature and humidity, and proper respirator protection. Not a DIY product.
3. 2K urethane / two-component polyurethane Extremely durable and chemical-resistant, making it a strong pick for high-wear kitchens. Like conversion varnish, it demands spray equipment and careful mixing ratios. Pot life is limited once mixed. Best suited for professional application.
4. Cabinet-specific enamels (BEHR, Insl-X, KILZ) Purpose-built for doors, trim, and cabinetry. BEHR PREMIUM Cabinet & Trim Enamel advertises outstanding early block resistance with good flow and leveling, making it a reliable choice for both spray and brush application. Insl-X Cabinet Coat delivers an ultra-smooth, factory-like finish with superior adhesion and quick recoat performance. KILZ TRIBUTE Trim, Door & Cabinetry lists strong block resistance and fast dry times, with a two-coat minimum recommended for full protection.
5. Epoxy coatings Extremely hard and moisture-resistant. Useful for countertops or heavily worn surfaces, but difficult to touch up and prone to yellowing over time. Specialty use only.
6. Oil-based polyurethane Good durability and a rich finish, but higher VOC, longer dry times, and a tendency to yellow on white or light colors. Cleanup requires mineral spirits.
7. Acrylic/latex paint The most DIY-friendly option and widely available. Easier to apply, but lower block resistance and shorter lifespan than purpose-built cabinet enamels. Fine for low-traffic areas; not ideal for cabinet doors that see daily contact.
Modern urethane-modified and cabinet-specific enamels are specifically formulated for higher block resistance and everyday cleanability, which is why they consistently outperform standard wall paint on cabinet surfaces.
How do you choose the right finish and approach for your cabinets?
The right answer depends on your substrate, goals, and budget. Angi’s comparison of painting vs. refinishing notes that refinishing is more meticulous while painting is less invasive, but both demand careful prep to last.
Decision checklist:
Goal: Do you want a color change (paint) or to show the wood grain (refinish/stain)? Paint covers everything uniformly; refinishing preserves the natural character of the wood.
Budget: DIY materials cost a few hundred dollars; professional cabinet painting usually costs in the low thousands depending on door count and complexity.
Timeline: Can you vacate the kitchen for 3–5 days? Full cure takes 7–14 days regardless of who does the work.
Ventilation: Condo or apartment? Waterborne enamels are the practical choice. Conversion varnish and oil-based systems require serious ventilation.
Door profile complexity: Flat Shaker doors are forgiving. Raised-panel or routed profiles need spray application to avoid brush marks in the detail.
Existing finish: Urethane or lacquer over the existing surface requires a bonding primer or light scuff-sand to ensure adhesion.
Substrate | Recommended approach | Primer needed | Best finish types | DIY difficulty |
Solid wood | Paint or refinish | Shellac (tannin bleed) or waterborne bonding primer | Waterborne enamel, conversion varnish | Moderate |
Veneered plywood | Paint | Waterborne bonding primer | Waterborne enamel, cabinet-specific enamel | Moderate |
Thermofoil / laminate | Paint only (if adhesion allows) | Adhesion-promoting bonding primer | Cabinet-specific enamel | High |
When the cabinet boxes are damaged, warped, or structurally compromised, refinishing vs. replacement becomes a real conversation. Refinishing makes sense when the boxes are solid and the layout works for you.
What prep steps actually determine whether your finish lasts in Ottawa?
HGTV’s refinishing guide is direct: fine-grit sanding, thorough prep, and spray application are the keys to a professional, factory-like outcome. Skipping any prep step is a recipe for peeling within months.
Tag and remove everything. Label each door and drawer with painter’s tape and a marker before removal. Remove all hardware and set it aside.
Deep degrease. Kitchen cabinets accumulate years of cooking grease. Use a dedicated kitchen degreaser (TSP substitute works well) on every surface, including the insides of frames. This step alone determines adhesion more than any other.
Fill and repair. Use a two-part wood filler for deep gouges; lightweight spackle for small dings. Sand flush once dry.
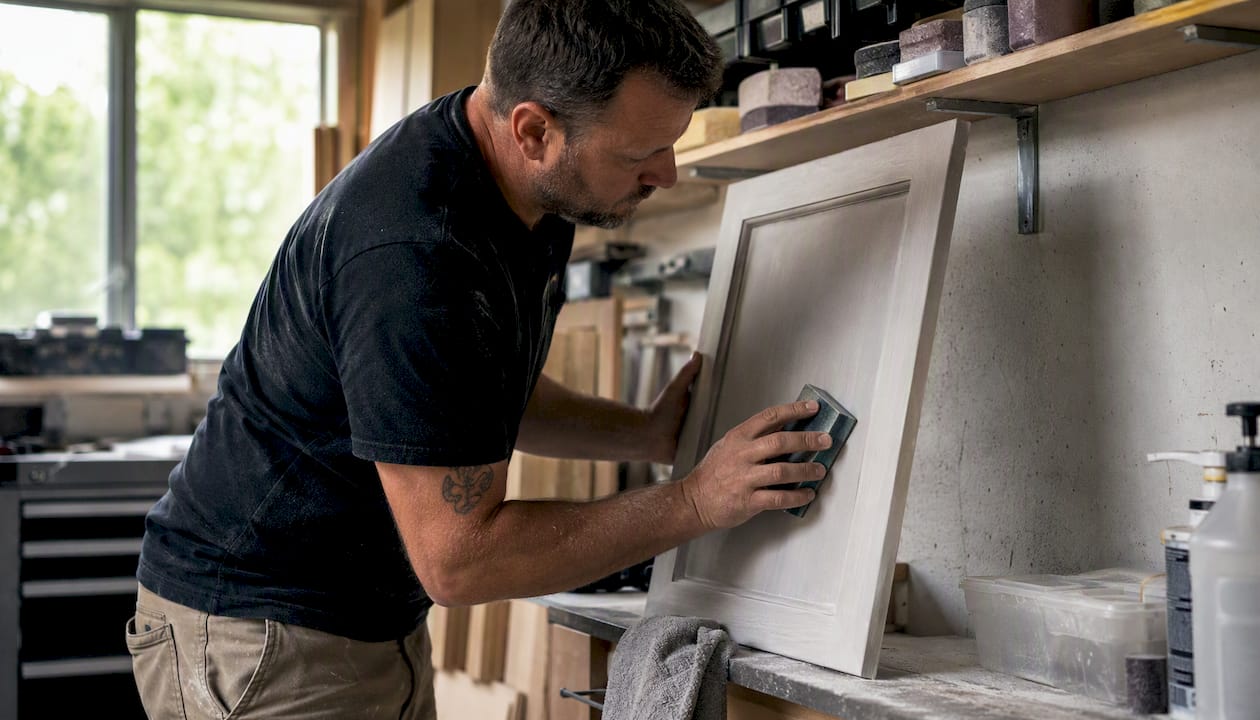
Sand to create tooth. 120-grit to break the existing finish, followed by 150–180-grit to smooth. On previously painted surfaces, scuff-sanding with 220-grit is the minimum. Glossy surfaces that aren’t sanded properly will cause adhesion failure.
Wipe clean. Use tack cloths and a HEPA vacuum to remove all sanding dust. Any dust left on the surface will telegraph through the finish.
Mask and protect. Cover countertops, appliances, and floors. Use plastic sheeting on walls adjacent to cabinet frames.
Pro tip on dust control: Professionals often remove doors and spray them off-site in a controlled booth, which eliminates airborne dust contamination entirely. If you’re spraying on-site, seal off the kitchen from the rest of the house and run an air scrubber during and after application.
Common mistakes to avoid: skipping the degrease step (the single most common cause of early peeling), sanding too lightly on glossy factory finishes, and applying the topcoat before the primer has fully dried.
Should you spray or brush and roll your cabinet finish?
Spray yields the smoothest, most factory-like finish. Brush and roll can produce excellent results on flat panels with the right technique, but spray is the clear winner on detailed profiles.
Spray options:
HVLP (High Volume Low Pressure): The standard for cabinet work. Produces fine atomization with minimal overspray. A 1.3–1.5mm needle/nozzle setup handles most waterborne enamels well. Rent a quality unit if you don’t own one.
Airless sprayer: Faster coverage, better for larger jobs, but requires more skill to avoid runs. Tip size matters: 0.011–0.013" for cabinet enamels.
Conversion varnish systems: Require professional spray equipment and a dedicated spray booth. Not a rental scenario.
Brush and roll technique for DIYers:
Use a 4" foam roller for flat panels and a quality angled brush (Purdy or Wooster) for edges and profiles. Roll first, then tip off with the brush using long, light strokes in one direction. This method works well on flat Shaker doors with cabinet-specific enamels.
Recommended tools and consumables: HVLP sprayer with 1.3–1.5mm tip, foam rollers (4" and 6"), angled sash brush, tack cloths, painter’s tape, plastic sheeting, and a quality respirator rated for organic vapors (P100/OV cartridge minimum).
Safety first: Waterborne enamels are lower odor but still require ventilation and an appropriate respirator during spray application. Oil-based and catalyzed systems demand a full-face respirator, explosion-proof fans, and no open flames. Keep the space ventilated for at least 24 hours after application. Do not allow occupants back into the kitchen until initial dry is confirmed and odors have cleared.
For more on brush, roller, and spray technique, the cabinet painting how-to guide covers each method in practical detail.
Which primers, topcoats, and cabinet kits do we recommend?
Matching your primer to the substrate is as important as choosing the right topcoat. Always check the product’s Technical Data Sheet (TDS) for surface prep requirements and recoat windows before you start.
BEHR PREMIUM Cabinet, Door & Trim Enamel: Best for homeowners who want a reliable, widely available cabinet enamel with early block resistance and good flow. Works well brushed or sprayed on previously painted surfaces. Prime all surfaces first per manufacturer guidance.
Insl-X Cabinet Coat: The go-to for a factory-like finish on both new and previously finished cabinets. Superior adhesion and quick recoat performance make it a strong pick for spray application. Available in satin and semi-gloss.
KILZ TRIBUTE Trim, Door & Cabinetry: A solid performer with strong block resistance and fast dry times. The manufacturer specifies two coats for optimum protection, which is good practice for any cabinet enamel regardless of brand.
Cabinet refinishing kits (DIY): All-in-one kits typically bundle a bonding primer, topcoat, and application tools. They’re a practical starting point for first-timers refinishing a small kitchen. Quality varies; look for kits that specify cabinet-grade enamel rather than standard latex.
Primer guidance by substrate: Use a shellac-based primer (Zinsser BIN) on raw wood prone to tannin bleed, especially oak or cherry. Use a waterborne bonding primer on previously painted or veneered surfaces. On thermofoil or laminate, an adhesion-promoting bonding primer is non-negotiable. Matching primer chemistry to your substrate is what separates a finish that lasts from one that peels at the edges within a year.
What does a typical Ottawa kitchen refinishing project cost and how long does it take?
Phase | DIY timeline | Pro timeline | Notes |
Prep and disassembly | 1–2 days | 1 day | Degreasing, sanding, filling, masking |
Priming | 1 day | 1 day | One coat; allow full dry before topcoat |
Topcoats (2 coats minimum) | 1–2 days | 1–2 days | Recoat window varies by product |
Initial reassembly | 1 day | 1 day | After initial dry, not full cure |
Full cure | 7–14 days | 7–14 days | Avoid heavy use until fully cured |
Cost context: DIY materials for a typical kitchen run roughly $200–$600. Professional cabinet painting ranges from $1,500–$5,000, with factors like door count, profile complexity, repairs needed, and whether conversion varnish is used all pushing costs higher. Properly prepared and painted cabinets can last several years with quality materials.
Statistic callout: Professional on-site time generally runs several days, with a full cure period lasting about one to two weeks. Recoat windows vary by product; always check the TDS. KILZ TRIBUTE, for example, specifies quick dry-to-touch and recoat times, recommending two coats for full protection.
Sheen level also affects long-term wear. Semi-gloss and satin finishes clean more easily than eggshell, which matters on cabinet doors that get touched dozens of times a day. The relationship between sheen and durability is worth understanding before you commit to a finish.
When does hiring a pro in Ottawa make sense?
Hire a pro when you need a factory-like finish, a fast timeline, complex door profiles, or a written guarantee. Local refinishers like Ottawacabinetpainting back their work with multi-year warranties, with a 6-year warranty as an example of what a quality Ottawa contractor offers.
What professionals do differently:
Spray doors off-site in a controlled booth, eliminating household dust and odor issues
Apply bonding primer systems matched to the specific substrate
Control temperature and humidity during application and cure
Use HEPA dust control on-site for frames and boxes
Follow structured recoat and cure windows with no shortcuts
Off-site spraying is particularly valuable in Ottawa condos where ventilation is limited and building rules may restrict solvent-based coatings. Community discussions on platforms like Houzz consistently point to off-site spraying as the best solution for homeowners with limited ventilation.
Questions to ask any refinisher before hiring:
What coatings do you use, and can I see the TDS?
What warranty do you offer, and what does it cover?
Where are the doors sprayed — on-site or off-site?
How do you contain dust and overspray on-site?
What is the full timeline from start to reassembly?
Are you insured, and can you provide references or before/after photos?
What is your policy if adhesion or finish issues appear within the warranty period?
For a broader look at what professional refinishing delivers versus DIY, the cabinet refinishing durability guide covers long-term maintenance and what to expect from a quality finish over time.
What Ottawa refinishers know that most guides skip
We work in Ottawa conditions, and a few things come up on every job that most online guides don’t address.
Ottawa’s humidity swings between dry winters and humid summers, and that matters for cure windows. Waterborne enamels cure more slowly in cold or humid conditions, which is why we lean toward them for their low odor and condo-friendliness but always build in extra cure time in shoulder seasons. Rushing reassembly when humidity is high is one of the most common causes of early blocking failures we see on DIY jobs.
Three pro-level tips worth knowing:
Respect the full cure window. Early block resistance means the doors won’t stick immediately, but it doesn’t mean the finish is fully hardened. Avoid stacking items on shelves or slamming doors for the full 7–14 day cure period.
Replace hinge screws and consider soft-close hardware on reassembly. Stripped screw holes are common on older cabinets. Fill them with a wooden toothpick and wood glue before reinstalling. New soft-close hinges reduce door impact and extend finish life.
Test adhesion on a small patch first. On any previously finished surface, apply primer to a hidden area, let it cure, then try a tape pull test before committing to the full job. This is especially important on thermofoil and factory-lacquered surfaces.
Always read the manufacturer TDS before you start. Recoat windows, surface prep requirements, and temperature minimums are all listed there, and ignoring them is what turns a good product into a failed finish.
Ready to get a professional spray finish quote in Ottawa?
Ottawacabinetpainting gives Ottawa homeowners a direct path to a factory-smooth kitchen without the cost or disruption of a full renovation. The process uses bonded primer systems and spray-applied cabinet-grade enamels, with doors finished off-site for a dust-free result. On-site time typically runs 3–5 working days, and the work is backed by a 6-year warranty.
If you’re in a condo or have limited ventilation, off-site spraying is the answer. You get professional results without solvent odors filling your home.
Before you hire anyone, use this short checklist: ask for the TDS on the coating they use, confirm whether doors are sprayed on-site or off, ask about the warranty terms, and request before/after photos from recent Ottawa jobs. A contractor who can’t answer those questions clearly isn’t the right fit.
Request a free spray refinishing quote and see what a properly refinished kitchen looks like in the before and after gallery.
Sources
Always check each product’s Technical Data Sheet before starting work. Recoat windows, minimum temperatures, and surface prep requirements are product-specific and override general guidance.
Recommended
Comments