How to Get the Best Cabinet Spraying Near Me Results
- demoore5506
- Jan 18
- 8 min read

Starting a kitchen upgrade does not have to mean weeks of messy demolition or a huge expense. Many Ottawa homeowners are looking for affordable ways to refresh their kitchens, focusing on quality finishes that last. Cabinet painting offers a practical solution, blending modern style with durability. This guide walks you through every essential step so you can achieve a beautiful kitchen transformation while keeping disruption and costs low.
Table of Contents
Quick Summary
Essential Point | Explanation |
1. Assess Cabinet Condition First | Evaluate your cabinets for damage or wear to determine if they are suitable for painting and what repairs may be needed. |
2. Prepare Thoroughly Before Painting | Clear your kitchen, remove hardware, clean surfaces, and sand for proper paint adhesion to ensure a smooth finish. |
3. Choose Qualified Professionals | Research local cabinet sprayers, compare quotes and portfolios to find experts experienced in kitchen cabinet refinishing. |
4. Coordinate Project Details Effectively | Schedule consultations to establish clear timelines and job requirements, ensuring minimal disruption during the project. |
5. Inspect Work for Quality | After painting, check for consistent finish and functionality of cabinets to confirm satisfaction with the results. |
Step 1: Assess Your Cabinets and Service Goals
Before diving into cabinet painting, evaluating your current kitchen setup and understanding your specific service goals is crucial for achieving outstanding results. This initial assessment helps you determine whether your cabinets are good candidates for professional spraying and what aesthetic outcomes you want to achieve.
Start by conducting a thorough visual inspection of your cabinets. Look for signs of wear, existing damage, or structural issues that might impact the painting process. Check for peeling veneer, deep scratches, water damage, or areas with significant wood movement. Understanding the current condition helps determine whether you need basic refinishing or more extensive repairs. Pay close attention to the material composition wood, laminate, or thermofoil as this significantly influences the painting approach.
Here’s a quick summary of common cabinet materials and their impact on the painting process:
Material Type | Paint Suitability | Durability | Preparation Needs |
Solid Wood | Highly suitable | Very durable | Requires cleaning and light sanding |
Laminate | Moderately suitable | Good durability | Needs special primers for adhesion |
Thermofoil | Low suitability | Less durable | May require replacement if damaged |
Next, clarify your service goals. Are you seeking a complete color transformation, wanting to update an outdated kitchen aesthetic, or looking to increase your home’s market value? Each objective might require a slightly different approach. Consider factors like your kitchen’s existing color scheme, natural lighting, and overall design style. Some homeowners prefer a subtle refresh while others want a dramatic change that completely reinvents their space.
Pro Tip: Take clear, well-lit photographs of your cabinets from multiple angles before your consultation to help professionals accurately assess your specific refinishing needs.
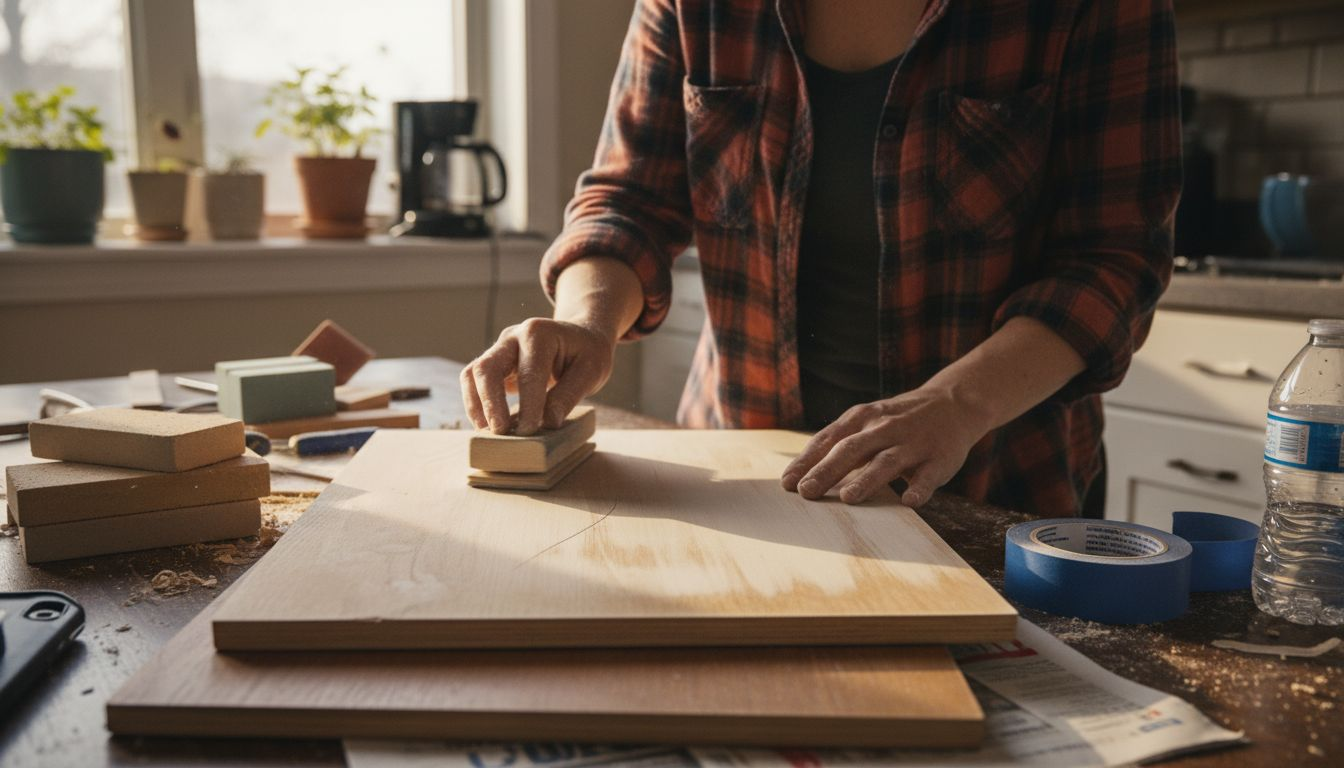
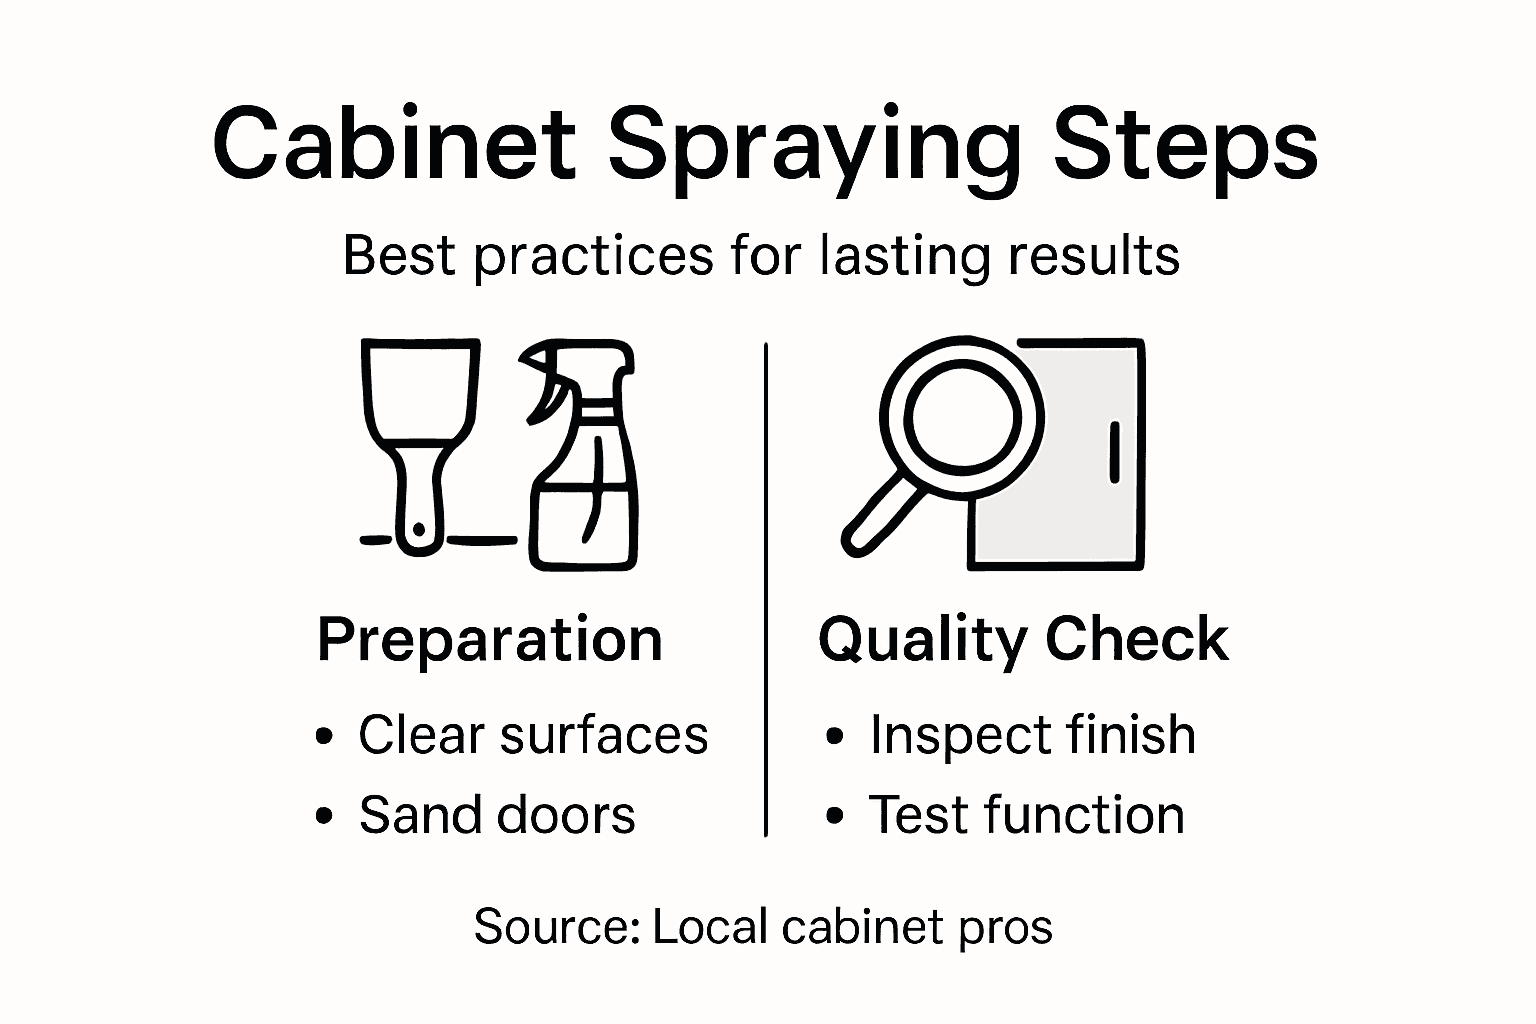
Step 2: Prepare Kitchen Surfaces for Spraying
Preparing your kitchen surfaces is a critical step in achieving a professional cabinet painting result. The right preparation ensures that your new paint finish will adhere properly, look smooth, and last for years to come.
Begin by completely clearing out your kitchen workspace. Remove all items from countertops, drawers, and cabinets to create a clean working environment. Next, carefully remove hardware from cabinet doors and drawers. This includes handles, knobs, and hinges. Place these items in labeled plastic bags to keep them organized and prevent loss. Then, thoroughly clean all surfaces using a degreasing cleaner to remove years of accumulated cooking residue, oils, and dirt. Pay special attention to areas around handles and near cooking zones where grease tends to build up.
After cleaning, you will need to sand the surfaces to create the ideal texture for paint adhesion. Use medium grit sandpaper to lightly scuff the existing finish, which helps the new paint grip effectively. Be careful not to sand too aggressively, as this can damage the wood surface. If your cabinets have any existing damage like scratches or dents, now is the time to fill these with wood filler and sand them smooth once dry.
Pro Tip: Cover your kitchen floors and countertops with drop cloths or plastic sheeting to protect them from dust and potential paint overspray during the preparation process.
Step 3: Select Local Cabinet Spraying Professionals
Choosing the right cabinet spraying professionals is crucial to achieving a transformative kitchen makeover that meets your expectations and delivers long lasting results. Your selection process will determine the quality, durability, and overall aesthetic of your newly refinished cabinets.
Start by researching local professionals who specialize in cabinet painting and spraying. Look for professional cabinet painting services with established reputations in Ottawa. Request multiple quotes and compare their portfolios carefully. Pay attention to their experience specifically with kitchen cabinet refinishing, not just general painting. Check online reviews, ask for before and after photographs, and request references from previous clients. Verify that the professionals use high quality equipment and premium paint products designed for kitchen surfaces.
During your consultation, ask detailed questions about their preparation process, the type of paint they use, estimated project timeline, and warranty offerings. A reputable professional should provide transparent information about their approach and be willing to explain their techniques. Confirm they will handle surface preparation, priming, and multiple paint coats to ensure a smooth factory like finish. Verify they are licensed, insured, and can provide a written estimate that breaks down all potential costs.
Compare the benefits of hiring professional cabinet sprayers versus DIY efforts:
Factor | Professional Service | DIY Approach |
Finish Quality | Factory-smooth finish | May show brush marks |
Project Duration | Fast and efficient | Can take several weekends |
Warranty | Usually given | No formal coverage |
Equipment Used | Commercial-grade sprayers | Basic household tools |
Pro Tip: Request to see samples of their previous cabinet spraying work in person to get a true sense of the finish quality and color accuracy.
Step 4: Coordinate Service Dates and Job Requirements
Coordinating service dates and job requirements is a critical step in ensuring a smooth and efficient cabinet spraying project. Proper planning will minimize disruptions to your daily routine and help you achieve the best possible results for your kitchen transformation.
Begin by scheduling a detailed consultation with your selected professional to establish clear project timelines. Discuss the specific dates for surface preparation, painting, and drying periods. Understand the full scope of the project including the estimated number of days required for complete completion. Confirm the exact hours the team will be working in your home and plan accordingly. This might involve making arrangements for meal preparation, protecting other areas of your home, and ensuring minimal disruption to your family’s daily activities.
Create a comprehensive job requirement document that outlines all expectations. Include specific details about color selections, finish type, preparation requirements, and any unique challenges in your kitchen space. Discuss material deliveries, workspace protection, and cleanup procedures. Verify the professional’s approach to handling unexpected issues and confirm the communication protocol during the project. Ensure you have a clear understanding of the warranty, payment schedule, and what happens if any complications arise during the cabinet spraying process.
Pro Tip: Set aside a dedicated space for storing kitchen items during the project and create a temporary kitchen setup to maintain your daily routine.
Step 5: Inspect Finished Cabinets for Quality
Inspecting your newly painted cabinets is the final crucial step in ensuring you receive the professional results you invested in. A thorough quality review will help you identify any potential issues and confirm that the project meets your expectations.
Begin by checking cabinet surfaces for consistent finish quality. Examine each door and drawer front under good lighting, looking for even color distribution, smooth texture, and absence of drips or uneven paint application. Run your hand gently across surfaces to detect any imperfections like bubbling, rough spots, or paint thickness variations. Pay special attention to edges, corners, and areas around hardware mounting points where painting precision is most challenging.
Next, verify the functional aspects of your refinished cabinets. Test the operation of each door and drawer to ensure they open and close smoothly without sticking or misalignment. Check that hardware is securely attached and properly aligned. Confirm that the paint finish feels durable and resists light scratching. If your service included any specific color matching or custom finish requirements, compare the final result against the original agreement to ensure complete satisfaction.
Pro Tip: Document any potential concerns with clear photographs taken in natural light to facilitate easy communication with your painting professionals if follow up is needed.
Transform Your Kitchen Cabinets with Expert Spraying Services
If you are looking for the best cabinet spraying near you, it is important to address challenges like proper surface preparation, selecting the right paint, and finding a professional who delivers a smooth, durable finish. This article highlights key pain points such as managing kitchen disruptions, achieving consistent color and texture, and ensuring long-lasting results that truly transform your space without the expense of a full replacement. Terms like “surface preparation,” “paint adhesion,” and “quality inspection” underscore the meticulous process needed for a flawless makeover.
At Ottawa Cabinet Painting, we understand how much your kitchen means to you. Our local experts specialize in professional cabinet refinishing that preserves your kitchen layout while giving your cabinets a high-end, modern look. We focus on thorough cleaning and sanding, premium paint application with commercial-grade sprayers, and careful scheduling to minimize household disruption. With a typical project timeline of around ten days and a 6-year warranty, we ensure your investment lasts and your kitchen feels warm and welcoming again.
Ready to experience a kitchen transformation that combines expert craftsmanship with personalized care Visit our cabinet painting service page to learn more about our process and benefits. Then request a quote at Ottawa Cabinet Painting to take the first step toward beautiful, durable cabinets today.
Frequently Asked Questions
What should I assess before hiring cabinet spraying professionals?
Before hiring cabinet spraying professionals, evaluate the condition of your cabinets and clarify your goals. Conduct a visual inspection for wear or damage, and determine whether you want a minor refresh or a complete transformation. Take detailed photos to share with potential professionals during consultations.
How can I prepare my kitchen for cabinet spraying?
To prepare your kitchen for cabinet spraying, start by removing all items from countertops and cabinets, then meticulously clean surfaces. Next, remove hardware and apply a degreasing cleaner to eliminate cooking residue. Ensure you cover floors and counters with drop cloths to protect against dust and paint overspray.
How do I choose the right cabinet spraying service?
To select the right cabinet spraying service, research local professionals with experience in kitchen cabinet refinishing. Request multiple quotes, check online reviews, and review their portfolios for quality. During consultations, ask specific questions about their preparation and painting processes to ensure they align with your expectations.
What should I discuss with professionals during consultation?
During consultation, discuss project timelines, specific color selections, and preparation details. Create a comprehensive job requirements document outlining your expectations. Confirm how they will handle unexpected issues and ensure a clear communication protocol is in place throughout the project.
How do I inspect my finished cabinets for quality?
To inspect your finished cabinets for quality, check for consistent finish quality and smooth texture in good lighting. Look for defects like drips or uneven application and test the functionality of doors and drawers. Document any concerns with photos to facilitate communication with your professionals if any follow-up is needed.
How long should I expect the cabinet spraying process to take?
The cabinet spraying process typically takes several days, depending on the scope of work and drying times. Confirm time estimates during your initial consultation to plan accordingly. For instance, you might expect the entire process, from preparation to completion, to take 5–10 business days.
Recommended
Comments