Kitchen Cabinet Spraying Guide for a Smooth, Modern Finish
- demoore5506
- Feb 4
- 8 min read
Every parent faces the challenge of keeping their Ottawa kitchen organized, safe, and welcoming—even as the cabinets start to look worn. Managing regular life with kids makes the thought of a full renovation stressful, but you still want a fresh, clean look for your family’s favorite space. Updating cabinets with lead-safe work practices will protect your home, save money, and create a modern finish with minimal mess or downtime.
Table of Contents
Quick Summary
Key Point | Explanation |
1. Thoroughly Prepare the Workspace | Clear your kitchen and cover surfaces to create a clean, safe spray zone, ensuring a flawless painting environment. |
2. Deep Clean and Sand Cabinets | Completely clean and properly sand cabinets before painting to ensure good paint adhesion and a smooth finish. |
3. Choose the Right Primer | Select a primer suitable for your cabinet material to enhance paint adhesion, durability, and appearance. |
4. Use Proper Spray Painting Techniques | Apply thin, even coats while using a spray gun to achieve a professional-quality finish without overspray. |
5. Inspect and Reinstall Cabinets Carefully | Check for imperfections and reinstall hardware methodically to maintain the quality of the newly painted surfaces. |
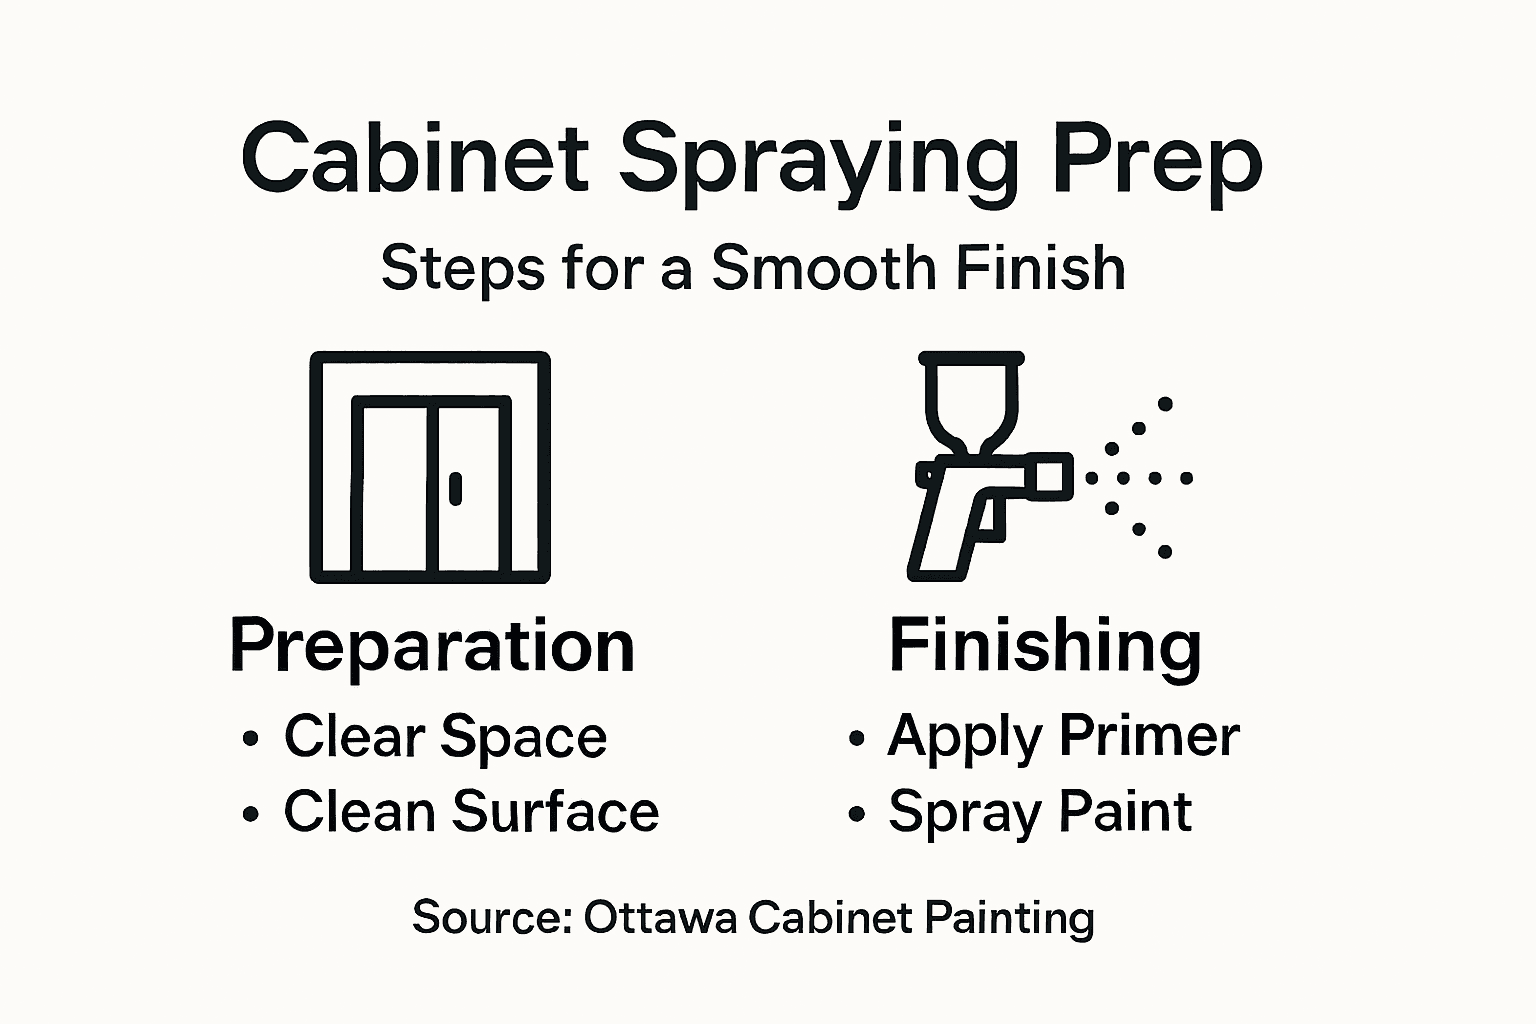
Step 1: Prepare kitchen and cabinets for safe spraying
Preparing your kitchen for cabinet spraying requires strategic planning and careful attention to safety protocols. We’ll transform your kitchen workspace into a professional spray zone that protects your home and ensures a flawless finish.
First, clear out your kitchen completely. Remove all items from countertops, drawers, and cabinets to create an unobstructed work area. This isn’t just about convenience - it’s about creating a clean environment for precise painting. Lead-safe renovation practices recommend containing your workspace to prevent dust and debris from spreading.
Next, establish your protective perimeter. Cover floors, countertops, and nearby surfaces with high-quality drop cloths or plastic sheeting. Use painter’s tape to secure coverings and create crisp, clean lines. Your goal is total surface protection.
Personal safety comes next. Proper protective equipment is non-negotiable:
Wear a respirator rated for paint vapors
Use chemical-resistant gloves
Wear safety glasses
Dress in long sleeves and pants
Consider disposable coveralls for maximum protection
Ventilation is crucial. Open windows and set up fans to create cross-air circulation. If possible, use a spray booth or create a designated spray area with plastic sheeting and adequate airflow.
Ensure your cabinets are meticulously cleaned and sanded before spraying. Remove all hardware, fill any imperfections, and create a smooth surface that will accept paint beautifully.
Proper preparation is 80% of a perfect paint job - never rush this stage.
Pro tip: Create a dedicated workspace with plastic sheeting that extends at least 6 feet in every direction to contain overspray and protect surrounding areas.
Step 2: Clean and sand cabinet surfaces thoroughly
Preparing your cabinets for a professional-grade paint finish requires meticulous cleaning and sanding. We’ll walk you through transforming your worn cabinet surfaces into the perfect canvas for a smooth, modern makeover.
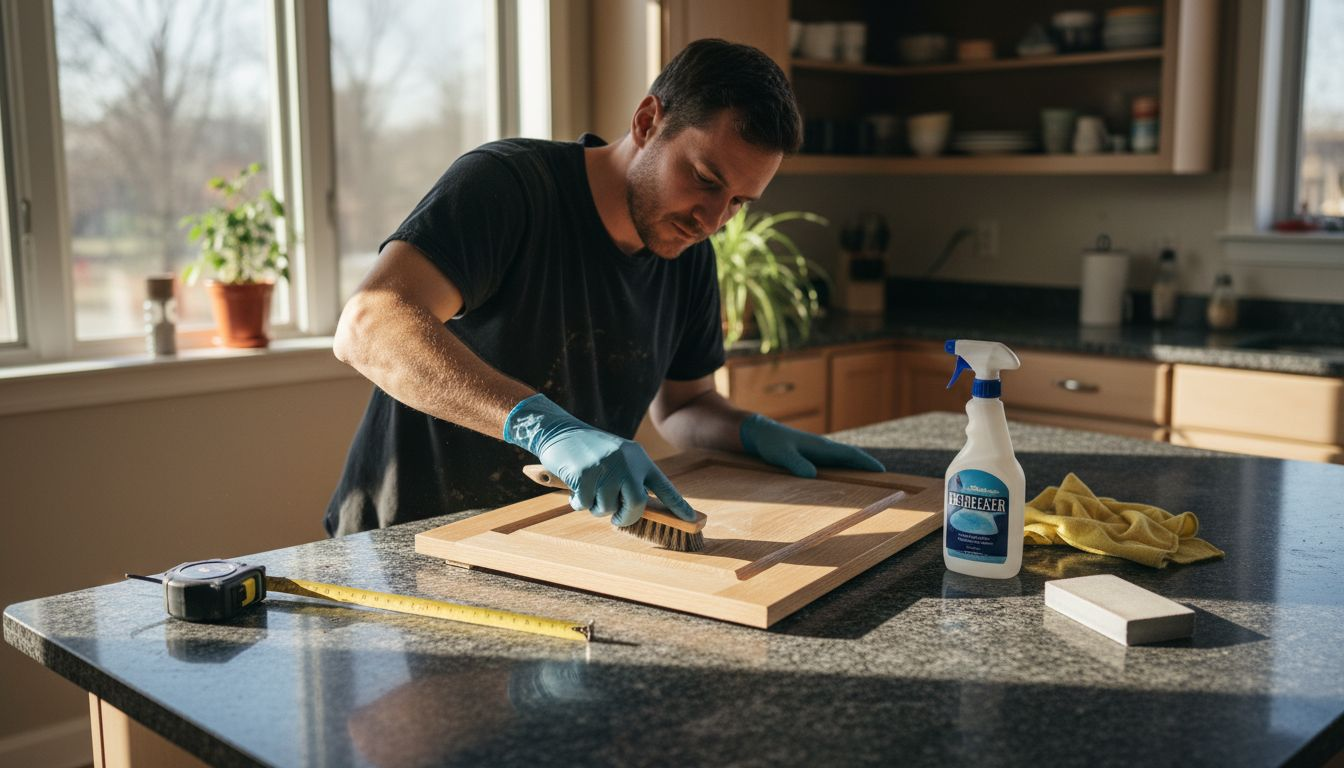
Start by deep cleaning your cabinet surfaces. Kitchen cleaning protocols emphasize removing all dirt, grease, and accumulated residue before any refinishing work. Use a strong degreasing solution and multiple clean microfiber cloths to ensure thorough removal of grime.
Your cleaning process should be systematic and comprehensive:
Remove all cabinet hardware and hinges
Wash surfaces with a specialized kitchen degreaser
Rinse thoroughly with clean water
Dry completely with lint-free cloths
Allow surfaces to air dry for at least 2 hours
After cleaning, sanding becomes critical. Choose the right sandpaper grit based on your cabinet’s current condition:
For smooth surfaces: Use 120-150 grit sandpaper
For rough or heavily textured surfaces: Start with 80 grit
Finish with 220 grit for ultimate smoothness
Sanding techniques matter as much as the grit you select. Always sand in the direction of the wood grain to prevent visible scratches. Use light, consistent pressure and move systematically across each surface.
Proper sanding creates the foundation for a flawless paint finish - take your time and be thorough.
After sanding, remove all dust using a tack cloth or vacuum with a soft brush attachment. This step ensures a clean surface that will accept primer and paint beautifully.
Compare the impact of proper vs. skipped kitchen surface preparation:
Preparation Level | Likely Result | Durability | Professional Appearance |
Thorough Prep | Smooth paint, strong adhesion | Long-term | Factory-quality look |
Rushed/Skipped | Peeling, rough surface, streaks | Short-term | Noticeable imperfections |
Pro tip: Wear a dust mask and work in a well-ventilated area to protect yourself from fine wood and paint dust particles during the cleaning and sanding process.
Step 3: Apply primer for adhesion and durability
Priming your kitchen cabinets is a critical step that determines the longevity and professional finish of your painting project. We’ll guide you through selecting and applying the perfect primer to transform your cabinets into a showroom-worthy surface.
Coating application techniques emphasize the importance of primer selection and proper application. The right primer acts as a foundation that ensures paint adhesion, durability, and a smooth final appearance.
Choose your primer strategically based on your cabinet material:
Here is a summary to help you select the ideal primer for your cabinet type:
Cabinet Material | Recommended Primer Type | Benefit |
Wood | Oil-based or shellac-based | Blocks stains, strong adhesion |
Laminate | Bonding primer for slick surfaces | Ensures paint sticks properly |
Metal | Rust-inhibiting metal primer | Prevents rust, smooth finish |
Previously Painted | High-adhesion multipurpose primer | Covers old finish, bonds well |
Wood cabinets: Use oil-based or shellac-based primers
Laminate surfaces: Select a bonding primer specifically designed for slick surfaces
Metal cabinets: Opt for rust-inhibiting metal primers
Previously painted surfaces: Select a high-adhesion multipurpose primer
Application requires precision and technique:
Use high-quality synthetic brushes or foam rollers
Apply thin, even coats
Work in long, smooth strokes
Allow each coat to dry completely
Lightly sand between primer coats for ultimate smoothness
Key application tips include maintaining consistent pressure and avoiding oversaturation. Aim for complete but thin coverage that fills minor imperfections without creating heavy buildup.
A perfect primer coat is your secret weapon for a professional-looking cabinet transformation.
Pay attention to drying times and environmental conditions. Humidity and temperature significantly impact primer performance and drying speed.
Pro tip: Test your primer on a small, inconspicuous cabinet area first to ensure compatibility and desired finish before committing to the entire project.
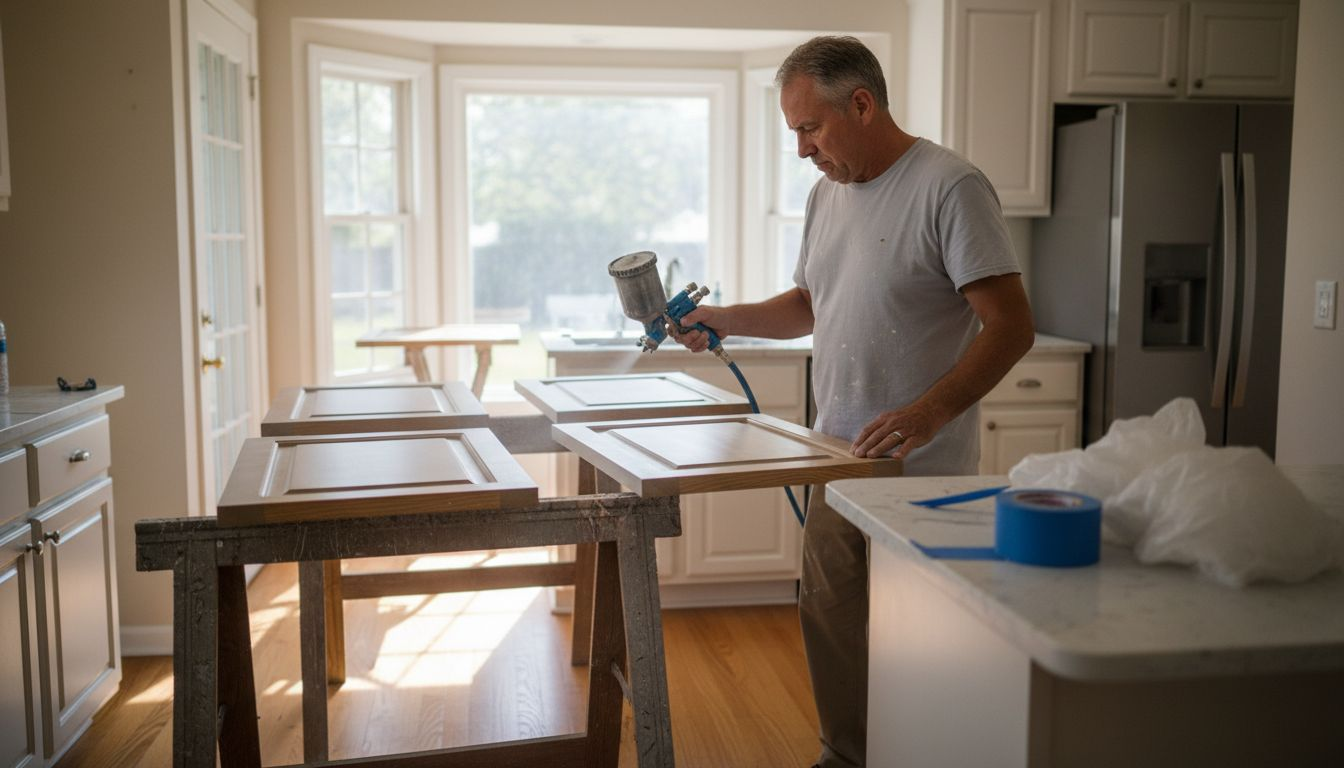
Step 4: Spray paint cabinets for a smooth finish
Transforming your kitchen cabinets with a professional spray paint finish requires precision, technique, and the right equipment. We’ll walk you through creating a flawless, modern look that rivals factory-finished cabinets.
Spray painting best practices emphasize the importance of proper technique and equipment. Choose an HVLP (High Volume Low Pressure) spray gun for maximum control and minimal overspray.
Prepare your spray setup with meticulous attention to detail:
Select a well-ventilated workspace or spray booth
Hang cabinet doors horizontally for even coverage
Use sawhorses or specialized hanging equipment
Cover surrounding areas with plastic sheeting
Wear full protective gear including respirator and safety glasses
Spray painting technique is critical for a smooth finish:
Hold spray gun 6-8 inches from surface
Move in steady, overlapping horizontal passes
Apply thin, even coats
Pause briefly between passes
Maintain consistent speed and distance
Spray pattern techniques require practice and patience. Start with light, sweeping motions and build color gradually. Multiple thin coats always produce better results than one thick coat.
Professional painters know: patience and technique create a factory-smooth finish.
Allow sufficient drying time between coats. Environmental conditions like temperature and humidity significantly impact paint performance and finish quality.
Pro tip: Practice your spray technique on cardboard or scrap wood to develop muscle memory and understand your spray gun’s specific characteristics before tackling your actual cabinets.
Step 5: Inspect and reinstall cabinets for lasting results
With your freshly painted cabinets complete, the final stage involves careful inspection and precise reinstallation to ensure a professional, long-lasting finish. We’ll guide you through the crucial steps of bringing your transformed kitchen back to life.
Kitchen maintenance protocols emphasize the importance of thorough inspection and secure reinstallation to maintain kitchen functionality and hygiene.
Carry out a comprehensive cabinet inspection:
Check for any paint imperfections or uneven areas
Verify paint adhesion and smoothness
Examine hardware mounting points
Test door and drawer alignment
Ensure no dust or debris is trapped in paint surface
Reinstallation requires precision and patience:
Clean hardware before reattaching
Use original screw holes when possible
Tighten hardware evenly to prevent misalignment
Adjust hinges for perfect door positioning
Test doors and drawers multiple times
Careful reinstallation techniques will preserve your professional paint job. Work slowly and methodically to maintain the quality of your hard work.
Precision in reinstallation transforms a good paint job into a great kitchen upgrade.
Allow the paint to cure completely before heavy use. Most paints require 5-7 days of minimal handling to achieve maximum durability.
Pro tip: Keep a small touch-up kit with matching paint and fine brushes for addressing any minor imperfections that might emerge during the reinstallation process.
Achieve a Flawless Kitchen Cabinet Finish with Expert Spraying Services
If you are ready to overcome the challenges of proper kitchen cabinet spraying such as thorough surface preparation, precise primer application, and mastering spray techniques then Ottawa Cabinet Painting is your trusted local partner. We understand how critical each step is—from deep cleaning and sanding to expertly applying primer and paint for that silky smooth modern finish that transforms your kitchen without a full costly renovation.
Why struggle with overspray, uneven coats, or paint peeling when our professionals use proven methods aligned with lead-safe and coating application best practices? At Ottawa Cabinet Painting, we minimize household disruption and deliver long-lasting durability backed by a 6-year warranty. Our detailed process respects your home’s heart with attention to detail and care in every spray pass. Don’t wait for imperfections to appear on your freshly painted cabinets take the next step toward a stunning kitchen upgrade by contacting us today for a personalized quote and experience the difference of spray cabinet refinishing done right.
Explore how we turn your kitchen into the warm, functional space you deserve by visiting Ottawa Cabinet Painting and discover our approach to professional cabinet painting. If you want expert guidance on preparation and spraying techniques, learn more by reaching out now to secure your project timeline and start your transformation with trusted local experts.
Frequently Asked Questions
How do I prepare my kitchen for cabinet spraying?
To prepare your kitchen for cabinet spraying, start by clearing out all items from countertops, drawers, and cabinets. Then, cover surfaces with drop cloths and secure them with painter’s tape to prevent overspray.
What safety equipment do I need while spraying cabinets?
You need a respirator rated for paint vapors, chemical-resistant gloves, safety glasses, and long sleeves and pants. Consider wearing disposable coveralls for maximum protection against paint splatter.
What type of primer should I use for my kitchen cabinets?
The type of primer to use depends on your cabinet material. For wood, use oil-based or shellac-based primers; for laminate, a bonding primer is best; for metal, choose a rust-inhibiting primer.
How do I apply spray paint for a smooth finish on cabinets?
To apply spray paint, hold the spray gun 6-8 inches from the cabinet surface and use steady, overlapping horizontal passes. Apply thin coats, pausing briefly between passes to ensure even coverage and prevent runs.
What should I look for when inspecting my painted cabinets?
When inspecting your painted cabinets, check for paint imperfections, adhesion, and smoothness. Ensure doors and drawers align properly and that no dust is trapped in the paint surface.
How can I ensure a long-lasting finish after reinstalling my cabinets?
To ensure a long-lasting finish after reinstallation, verify that hardware is tightened evenly and check door and drawer alignment. Allow the paint to cure completely for 5-7 days before heavy use to maximize durability.
Recommended

Comments