How to Paint Oak Cabinets for a Fresh Kitchen Look
- demoore5506
- Aug 10, 2025
- 8 min read
Painting oak cabinets seems like a quick way to refresh your kitchen and people everywhere are searching for easy upgrades that make a huge difference. Yet it might shock you that prep work alone can take up to 70 percent of the entire project time. Most assume a fresh coat of paint is the secret but skipping critical steps like cleaning and priming is what leads to those frustrating chips and peeling paint down the road.
Table of Contents
Quick Summary
Takeaway | Explanation |
Choose high-quality enamel paint | Use semi-gloss or satin finishes for durability and easy cleaning on oak cabinets. |
Invest in professional-grade tools | Reliable brushes, rollers, and a good sprayer help achieve an even, smooth coat. |
Properly prep surfaces before painting | Thorough cleaning, sanding, and priming create a strong foundation for paint adhesion. |
Apply multiple thin coats of paint | Thin layers prevent drips and ensure a professional-looking finish; allow adequate drying time between coats. |
Maintain cabinets for longevity | Use soft cloths and mild cleaners to preserve the new paint and protect your investment. |
Choosing the Right Paint and Tools
Selecting the perfect paint and tools is crucial when transforming your oak cabinets. The right materials can mean the difference between a professional-looking finish and a DIY disaster. Oak’s distinctive grain and porous surface require specific preparation and paint selection to achieve a flawless result.
Understanding Paint Types for Oak Cabinets
Not all paints are created equal when it comes to oak cabinets. According to Popular Mechanics, professional painters recommend using high-quality enamel paint specifically designed for wood surfaces. Semi-gloss or satin finishes work best for kitchen cabinets, offering durability and easy cleaning while providing a subtle sheen that highlights oak’s natural texture.
Key Paint Considerations:
Durability: Choose paints resistant to moisture, grease, and frequent cleaning
Adhesion: Select paints formulated to bond well with wood surfaces
Color Retention: Opt for premium paints that maintain color vibrancy
Essential Tools for a Professional Finish
To help you choose the best supplies for painting oak cabinets, here’s a summary table of recommended tools and their purposes as discussed above:
Tool | Recommended Type/Brand | Purpose |
Primer | Zinsser Bin Advanced Shellac | Superior adhesion/seals wood grain |
Roller | Flock rollers | Minimal texture, smooth application |
Brush | Fine finish brushes | Detailed work and edge precision |
Sandpaper | Fine wet-or-dry sandpaper | Surface preparation |
Sanding Block | Any high-quality | Ensures even surface preparation |
Architectural Digest recommends investing in specialized tools to achieve a smooth, professional paint application. A professional-grade paint sprayer can provide an incredibly even coat, though it requires more skill and preparation. For those preferring traditional methods, high-quality tools are non-negotiable.
Recommended Painting Tools:
Primer: Zinsser Bin Advanced Shellac primer for superior wood adhesion
Rollers: Flock rollers for minimal texture and smooth application
Brushes: Fine finish brushes for detailed work and edge precision
Sandpaper: Fine wet-or-dry sandpaper for surface preparation
Sanding Block: Ensures even surface preparation
Primer Selection for Oak Cabinets
Primer is your secret weapon when painting oak cabinets. The wood’s prominent grain and porous nature demand a high-quality primer to create a smooth base. Architectural Digest suggests consulting paint professionals to select the right primer. An enamel undercoater primer helps seal the wood, provides better paint adhesion, and creates a uniform surface that masks wood grain variations.
If you want more detailed guidance on preparing your cabinets, check out our comprehensive guide on cabinet preparation that walks you through every critical step before painting.
Remember, patience and proper preparation are key to achieving a stunning, long-lasting finish that will transform your kitchen’s appearance.
Prepping Oak Cabinets for Painting
Painting oak cabinets requires meticulous preparation to ensure a professional and long-lasting finish. The intricate grain and porous nature of oak demand careful surface treatment before any paint touches the wood. Skipping or rushing through preparation steps can lead to uneven color, poor adhesion, and a finish that looks amateur.
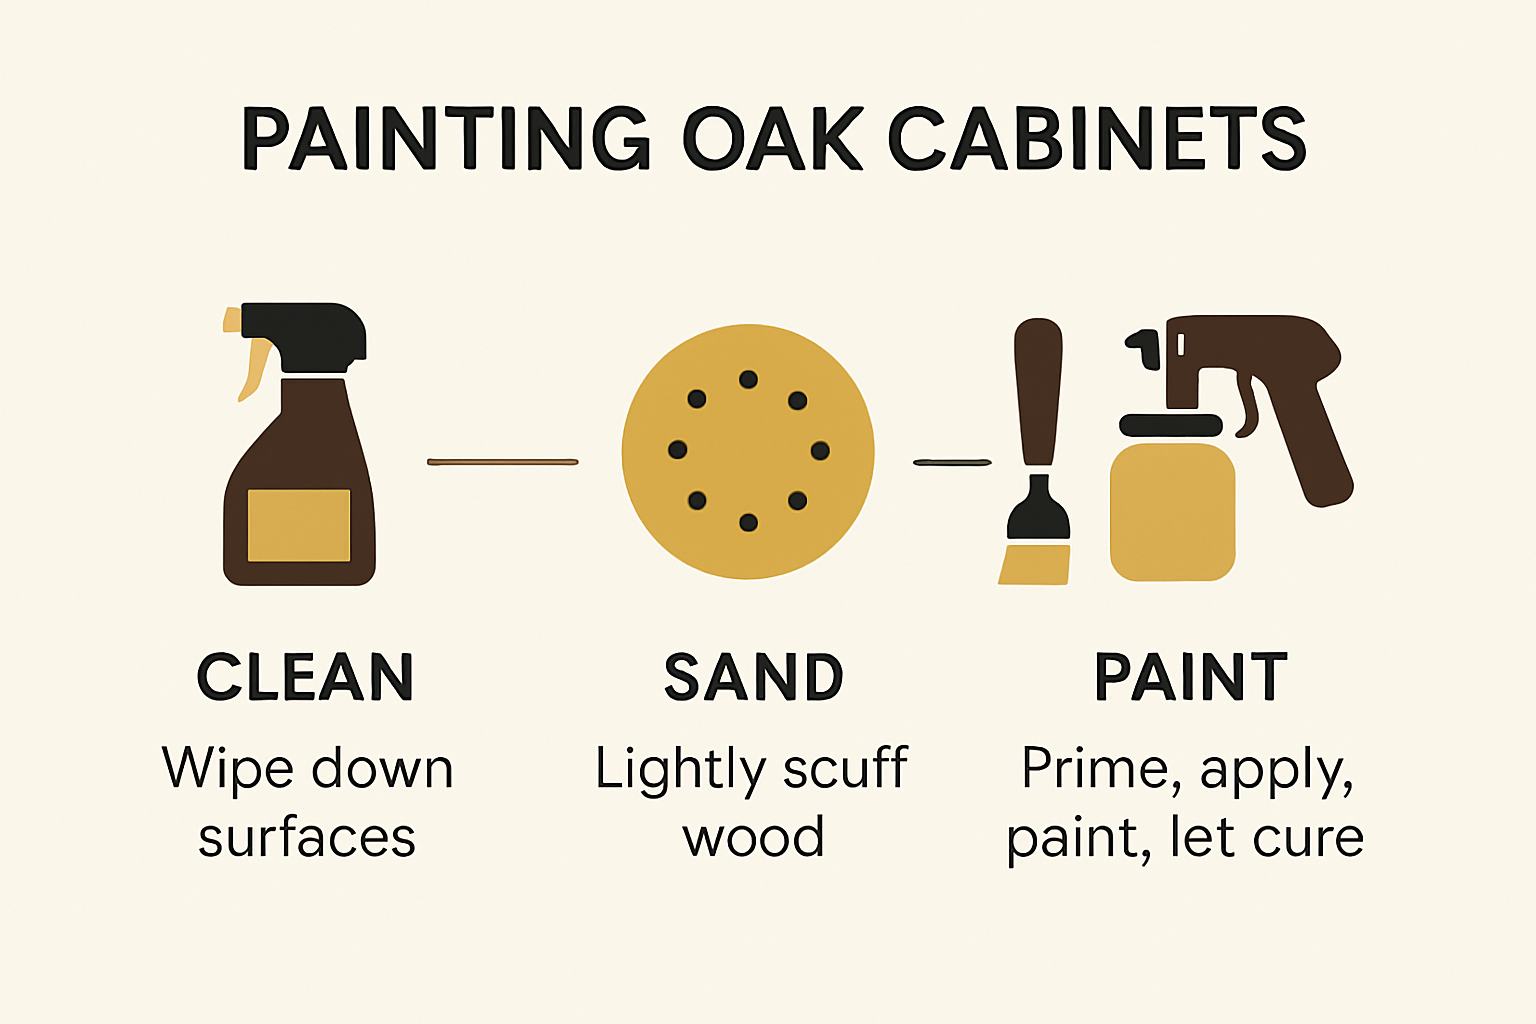
Thorough Cleaning and Degreasing
Before touching a paintbrush, you must eliminate every trace of grease, dirt, and grime. According to This Old House, professional painters recommend using a powerful degreasing agent to remove years of accumulated kitchen residue. Cooking oils, food splatters, and hand oils create a barrier that prevents paint from adhering properly.
Cleaning Essentials:
Degreaser: Use a professional-grade kitchen cleaner
Microfiber Cloths: For streak-free cleaning
Protective Gloves: To protect your hands during cleaning
Sanding for Superior Paint Adhesion
HGTV emphasizes the critical role of sanding in preparing oak cabinets. The goal is to create a slightly rough surface that allows paint to grip effectively. Use a wood sanding block to prevent rounding over wood edges and ensure an even texture. Start with medium-grit sandpaper and progress to fine-grit for a smooth foundation.
Sanding Techniques:
Sanding Block: Maintains flat surfaces and prevents edge rounding
Progression of Grits: Move from medium to fine sandpaper
Even Pressure: Apply consistent pressure to create uniform surface
Priming for a Flawless Finish
Priming is the secret weapon in transforming oak cabinets. The Washington Post recommends using a high-quality, stain-blocking primer specifically designed for wood surfaces. This crucial step prevents wood tannins from bleeding through the paint and creates a uniform base for your chosen color.
If you want a comprehensive walkthrough of cabinet preparation, explore our detailed guide to cabinet painting prep that breaks down each step with professional insights.
Professional preparation transforms ordinary oak cabinets into a stunning kitchen centerpiece. Take your time, follow each step carefully, and you’ll achieve a result that looks like it was done by a professional.
Step-by-Step Painting Process Explained
Below is a step-by-step summary table for the full cabinet painting process, clarifying each stage and its key tasks for easier reference:
Step | Key Tasks |
Cleaning & Degreasing | Remove grease, dirt, and grime with degreaser and cloths |
Sanding | Use sanding block and progress from medium to fine grits |
Priming | Apply stain-blocking primer to create an even base |
Preparing Workspace | Remove doors/hardware, label, set up drop cloths/table |
Painting | Apply multiple thin coats with brush/roller/sprayer |
Drying & Curing | Allow proper dry time between coats and final cure (24-48h) |
Reassembly | Reattach hardware and doors carefully |
Transforming oak cabinets requires a methodical approach that goes beyond simple paint application. The painting process demands precision, patience, and careful technique to achieve a professional-looking finish that will withstand daily kitchen use.
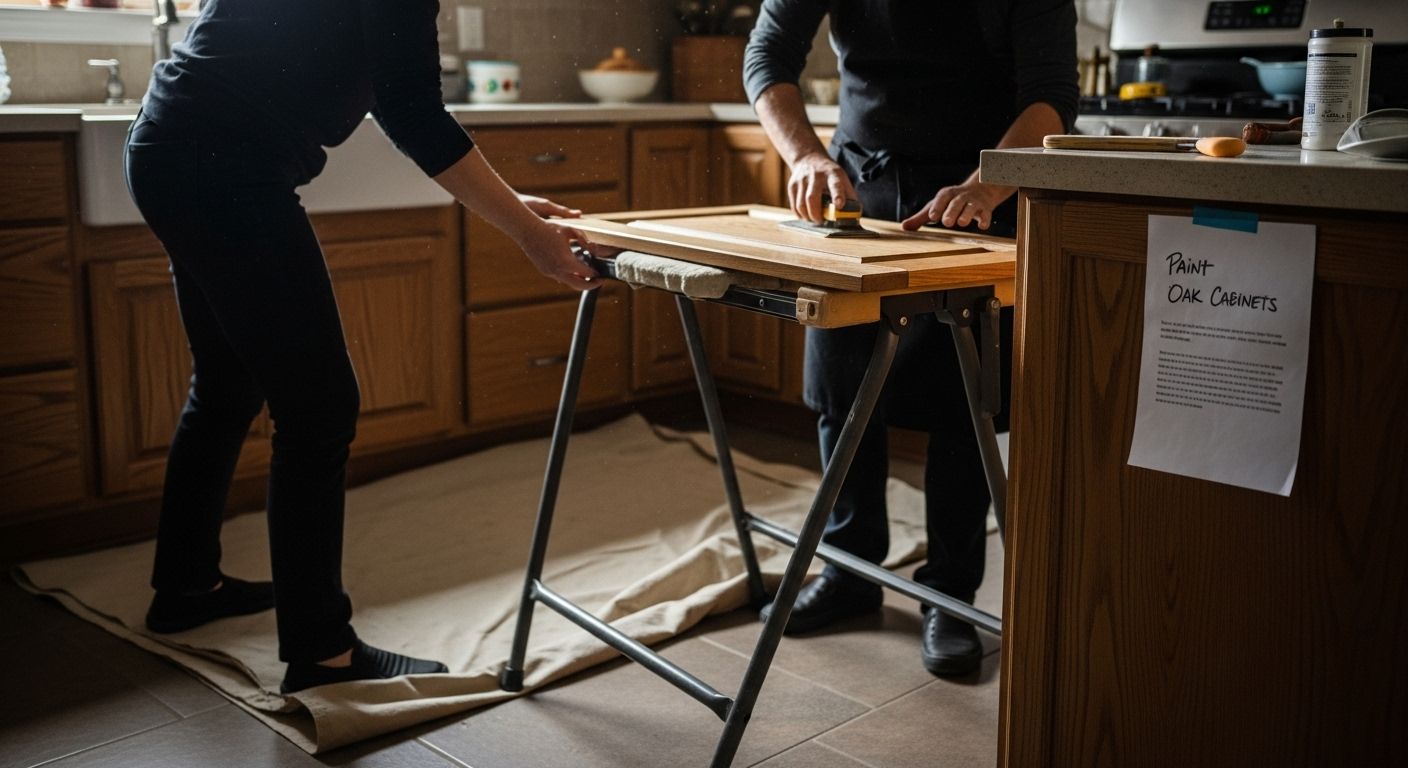
Preparing the Workspace
Benjamin Moore recommends creating a dedicated painting area that minimizes dust and allows for proper drying. Remove cabinet doors and hardware completely, labeling each piece to ensure correct reinstallation. Set up a well-ventilated workspace with drop cloths, sawhorses, or a dedicated painting station that allows you to work systematically and efficiently.
Workspace Essentials:
Plastic Drop Cloths: Protect surrounding surfaces
Numbered Labels: Track door and hardware placement
Ventilated Area: Ensure proper air circulation
Sawhorses or Work Tables: Create elevated painting surfaces
Applying Paint with Precision
Architectural Digest emphasizes the importance of applying multiple thin coats rather than one thick layer. Start with a high-quality brush or foam roller, using long, smooth strokes that follow the wood grain. Apply paint in thin, even layers, allowing sufficient drying time between coats. Most professionals recommend at least two to three light coats for optimal coverage and a smooth finish.
Painting Techniques:
Thin Coats: Multiple light layers prevent drips and uneven surfaces
Grain Direction: Always paint parallel to wood grain
Drying Time: Allow recommended time between coats
Even Pressure: Maintain consistent application
Finishing and Reassembly
HGTV recommends allowing a full 24-48 hours of curing time after final paint application before reassembling cabinets. This crucial waiting period ensures the paint hardens completely, preventing scratches or damage during reinstallation. When reattaching hardware, use gentle pressure and ensure all screws are aligned correctly.
Learn more about our expert cabinet painting techniques to ensure a flawless finish that transforms your kitchen.
Patience is the key to a professional-looking cabinet paint job. Rush the process, and you risk a finish that looks amateurish and wears quickly. Take your time, follow each step carefully, and you’ll achieve a stunning kitchen transformation that looks like it was done by a professional.
Tips for a Durable and Smooth Finish
Achieving a professional-grade, durable finish on oak cabinets requires more than just paint application. The right techniques can transform your cabinets from ordinary to extraordinary, ensuring they withstand daily wear and tear while maintaining their stunning appearance.
Understanding Wood Grain and Finish Dynamics
The National Kitchen & Bath Association highlights the critical importance of understanding oak’s unique open grain structure. Open grain wood like oak requires specialized treatment to achieve a smooth, lasting finish. This means paying extra attention to grain filling, sanding techniques, and finish application to minimize surface imperfections.
Grain Management Strategies:
Wire Brushing: Enhance wood grain texture and paint adhesion
Grain Filling: Use specialized wood filler for smooth surfaces
Strategic Sanding: Progress through increasingly fine sandpaper grits
Advanced Finishing Techniques
Wikipedia’s wood finishing guide offers comprehensive insights into creating a professional finish. The key is a methodical approach that involves multiple preparation and application stages. Begin with careful moisture content assessment, as wood moisture can significantly impact paint adhesion and long-term durability.
Professional Finishing Steps:
Moisture Testing: Ensure wood is at optimal moisture levels
Progressive Sanding: Start coarse, finish fine
Sealing Coats: Prevent paint bleeding and enhance durability
Inter-coat Sanding: Lightly sand between finish layers
Protecting Your Investment
A durable finish is about more than initial application. Consider protecting your newly painted cabinets with proper maintenance techniques. Implement a regular cleaning routine using non-abrasive materials, and avoid harsh chemicals that could compromise the paint’s integrity.
Long-Term Care Recommendations:
Soft Cleaning Cloths: Prevent surface scratching
Mild Cleaning Solutions: Preserve paint finish
Immediate Spill Cleanup: Prevent staining and damage
Avoid Direct Heat: Protect paint near cooking areas
Patience and attention to detail separate amateur paint jobs from professional-quality finishes. By understanding the nuanced requirements of oak cabinets and implementing these expert techniques, you’ll create a stunning kitchen transformation that looks beautiful and stands the test of time.
Frequently Asked Questions
What type of paint is best for oak cabinets?
High-quality enamel paint is recommended for oak cabinets, preferably with a semi-gloss or satin finish for durability and easy cleaning.
How do I prepare my oak cabinets for painting?
Proper preparation includes thorough cleaning and degreasing, sanding to create a rough surface for better adhesion, and applying a high-quality primer to create a smooth base.
How many coats of paint should I apply to my cabinets?
Applying multiple thin coats of paint is advisable, typically at least two to three coats, allowing adequate drying time between each to prevent drips and ensure a smooth finish.
How can I maintain the painted finish on my oak cabinets?
To maintain the painted finish, use soft cleaning cloths, mild cleaners, and ensure spills are cleaned up quickly to prevent staining or damage.
Ready for Oak Cabinets That Truly Impress?
You have learned that painting oak cabinets takes more than just a quick brush and some paint. From the article, you know that skipping detailed prep steps is the main reason for peeling, chipping, and lackluster results. Many people get frustrated with DIY efforts that fall short, especially when dealing with oak’s strong wood grain and porous surface. It is understandable to want a flawless kitchen update but still worry about creating a mess or losing access to your kitchen for weeks.
Let Ottawa Cabinet Painting bring your vision to life with an expert touch. Our team uses the highest-grade primers, professional tools, and time-tested techniques discussed in the article so you enjoy cabinets that look and feel high-end. See real transformations and discover how we deliver premium results with minimal kitchen disruption. Learn about our smooth process and exclusive 6-year warranty by visiting our main website or explore our detailed approach in our step-by-step cabinet prep guide. Act now to secure your personalized, hassle-free quote and enjoy the heart of your home the way you have always imagined.
Recommended
Comments