Prepping Cabinets for Paint: Easy Steps for 2025 Upgrades
- demoore5506
- Jul 26, 2025
- 8 min read
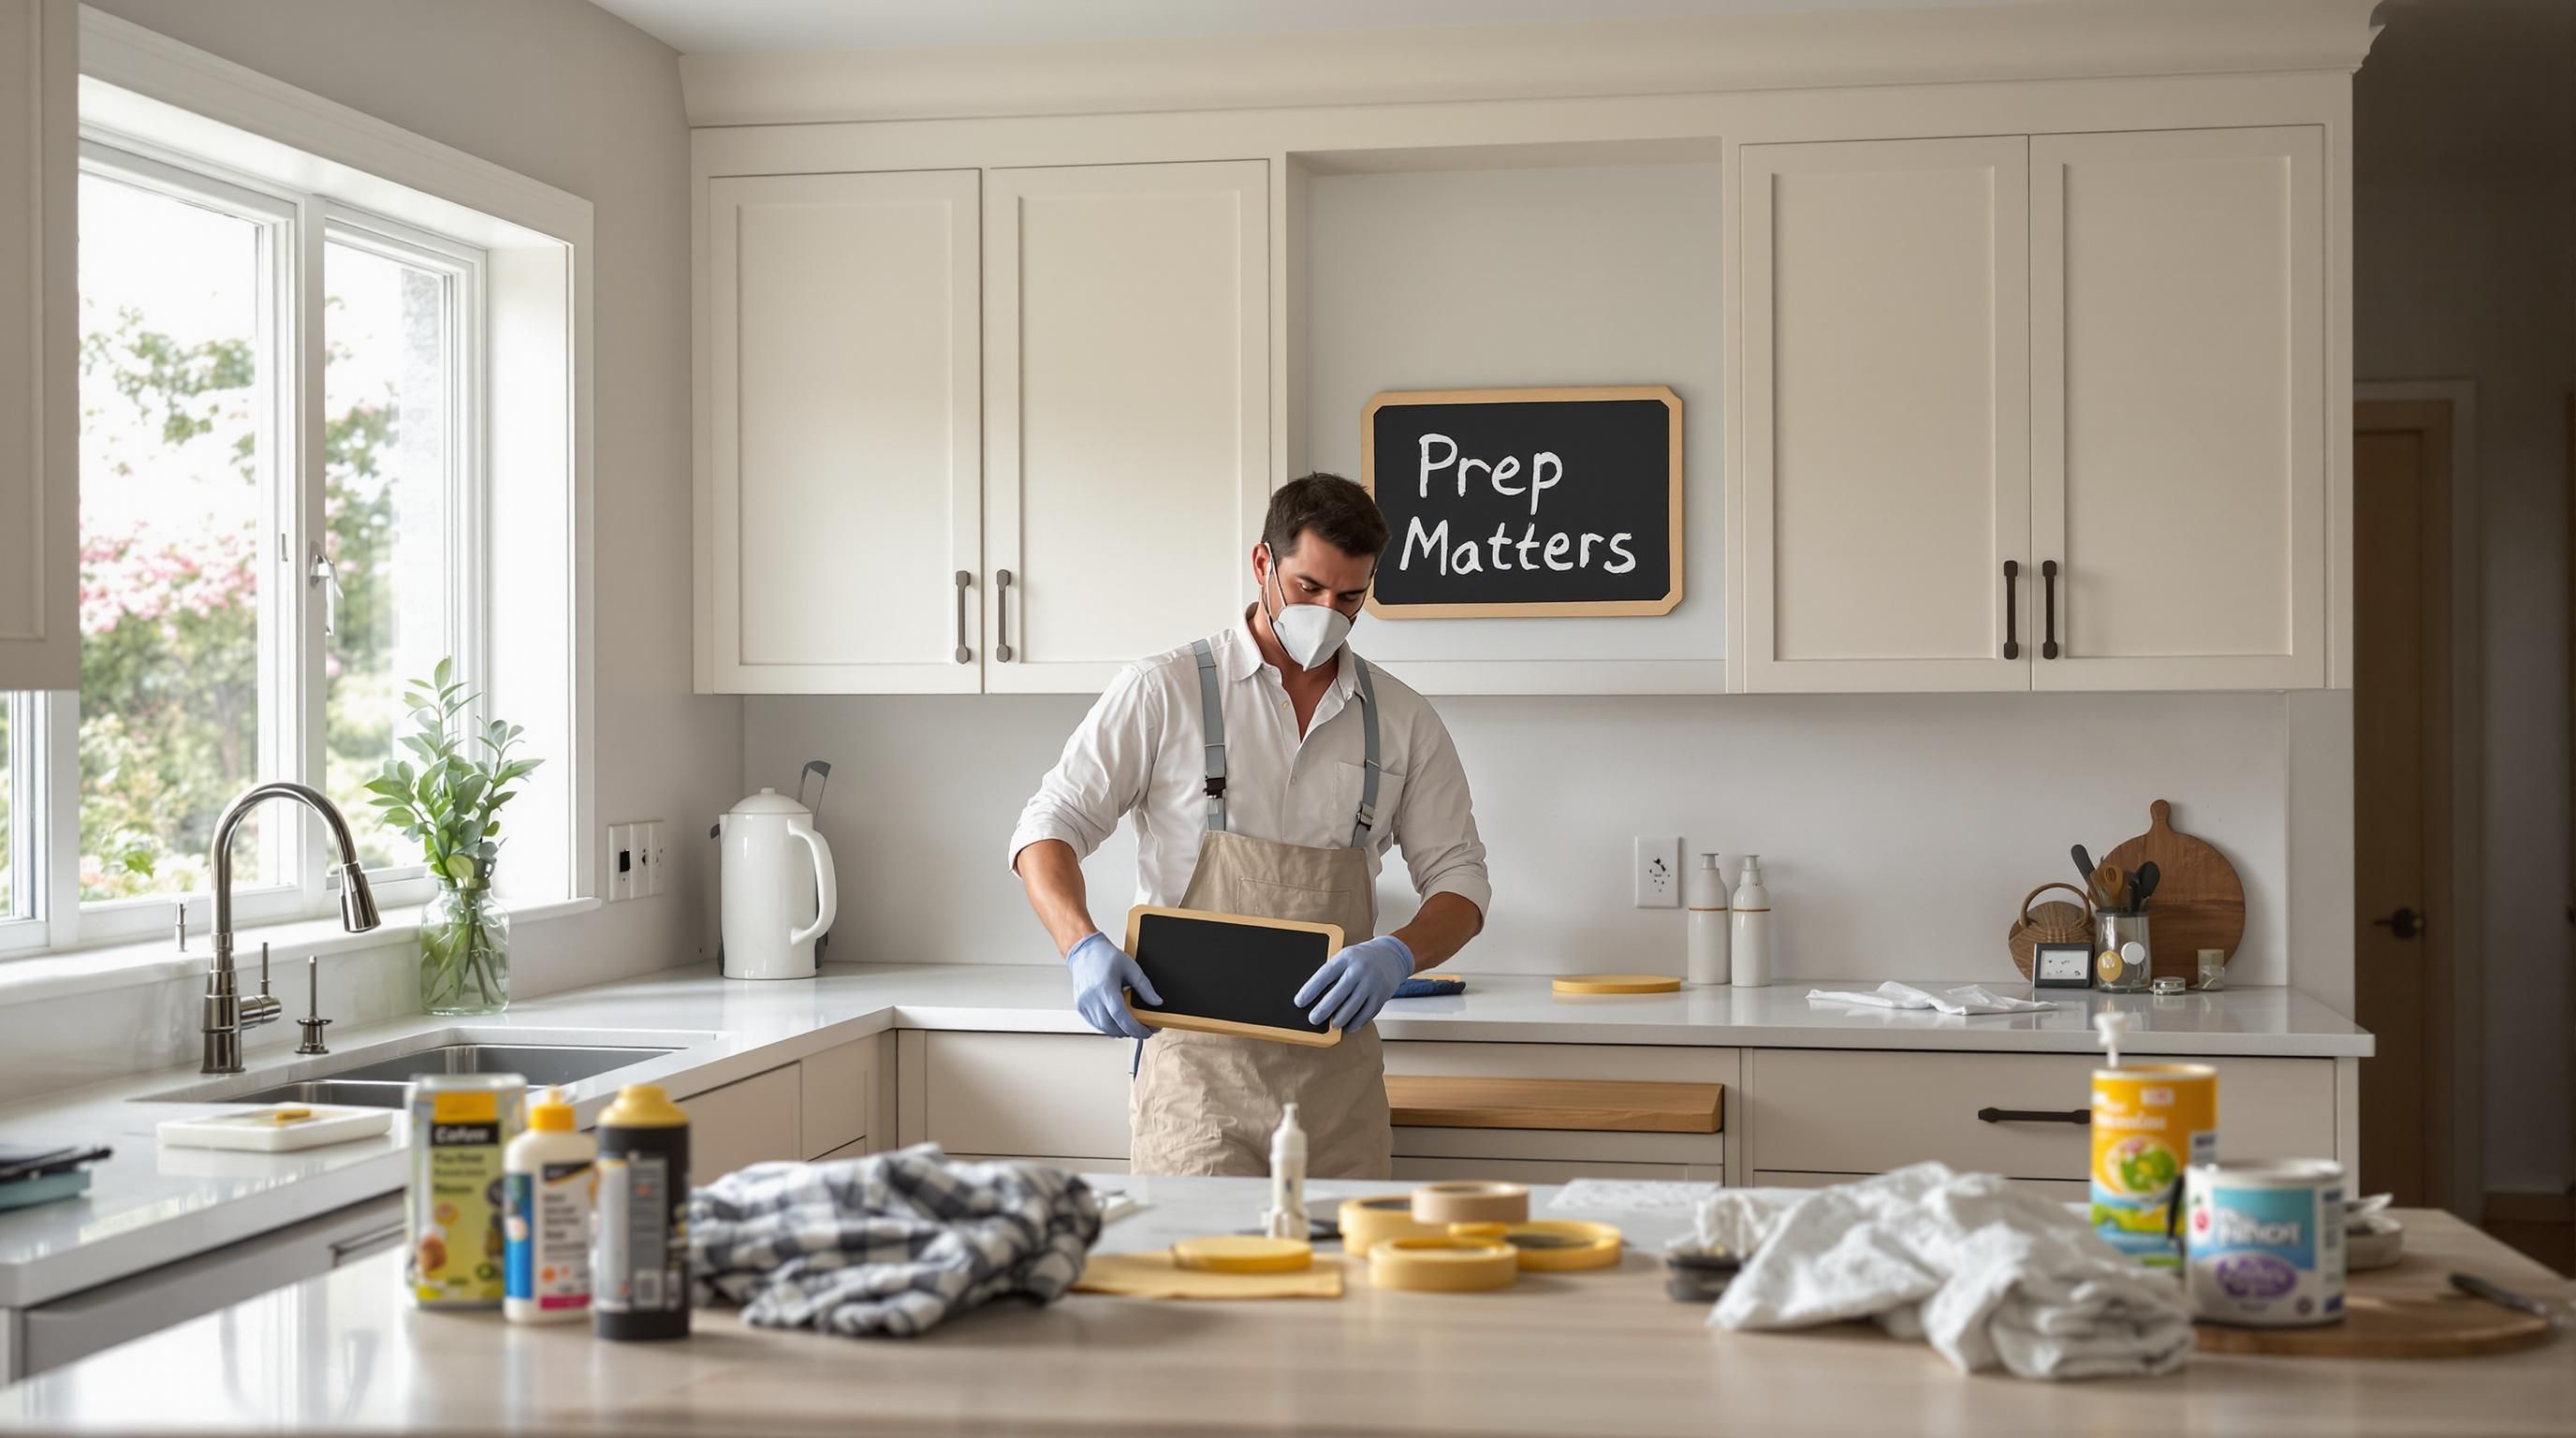
Prepping cabinets for paint might sound like a quick chore, but experts reveal a staggering truth. Preparation makes up 85% of a professional painting job, far more than simply brushing on a new color. Most people focus on choosing paint, yet skipping the right prep can leave you with peeling finishes and wasted time. What really matters is the hidden work you do long before you even pick up a brush.
Table of Contents
Quick Summary
Takeaway | Explanation |
Proper prep is essential for longevity | Adequate cleaning and sanding ensure paint adheres properly, leading to a lasting finish. |
Invest in quality tools and supplies | Use professional-grade cleaners, primers, and brushes for the best results during cabinet prep. |
Follow a structured prep process | Start with cleaning, then sand, prime, and finish to achieve a flawless cabinet paint job. |
Avoid common mistakes during prep | Ensure thorough degreasing and repairs to prevent paint failure and visible imperfections. |
Create a safe and clean workspace | Protect surrounding areas with drop cloths and painter’s tape to avoid mess and ensure a smooth application. |
Why Proper Prep Is Crucial for Painted Cabinets
Prepping cabinets for paint is not just a preliminary step but the foundation of a successful cabinet transformation. Without proper preparation, even the most expensive paint will fail to deliver the professional, long-lasting finish homeowners desire.
The Critical Role of Surface Preparation
According to Mauro Henrique, a painting expert, a staggering 85% of a painting project involves preparation. This statistic underscores the paramount importance of meticulous surface preparation before applying any paint. Kitchen cabinets endure constant exposure to moisture, heat, grease, and daily wear. These environmental factors create challenging surfaces that require thorough cleaning and conditioning.
Consumer Reports highlights that thorough cleaning and sanding are essential steps before painting. These actions remove accumulated grease, grime, and previous finishes while creating a surface texture that allows paint to adhere properly. Skipping or rushing through these preliminary steps can lead to multiple issues: paint peeling, uneven coverage, and a finish that looks unprofessional and deteriorates quickly.
Consequences of Inadequate Preparation
Inadequate surface preparation can transform what should be an exciting home upgrade into a costly, frustrating experience. Paint applied to uncleaned or improperly sanded surfaces will likely:
Peel and Chip Rapidly: Without proper adhesion, paint will not bond correctly to the cabinet surface.
Show Imperfections: Existing scratches, dents, and previous paint layers will remain visible.
Deteriorate Quickly: Grease and grime trapped beneath the paint will cause premature breakdown.
The Washington Post advises that meticulous preparation, including cleaning, sanding, and priming, is crucial when repainting wooden cabinets. This process ensures better paint adhesion and a longer-lasting, professional appearance.
Professional painters understand that preparation is not a step to rush or minimize. It requires patience, attention to detail, and the right techniques. By investing time in proper surface preparation, homeowners can achieve a cabinet transformation that looks stunning and withstands years of daily use.
If you want to understand more about the intricacies of cabinet painting, check out our comprehensive guide on cabinet refinishing for additional insights into creating a flawless finish.
Essential Tools and Supplies for Cabinet Prep
Successful cabinet painting starts with having the right tools and supplies. Professional painters understand that proper preparation requires a comprehensive toolkit designed to transform your kitchen cabinets with precision and efficiency.
Professional-Grade Preparation Essentials
Kieser’s Painting outlines a comprehensive list of 11 essential supplies that form the backbone of any successful cabinet painting project. These tools go beyond basic paint and brushes, encompassing a range of specialized equipment that ensures a smooth, professional finish.
Critical cleaning and preparation supplies include:
Degreasing Cleaners: Powerful solutions that cut through years of accumulated kitchen grime
Fine-Grit Sandpaper: Multiple grits for progressively smoothing cabinet surfaces
Wood Filler: For repairing minor scratches and imperfections before painting
Painting and Protection Materials
Evolution of Style provides a detailed breakdown of materials needed for comprehensive cabinet door preparation. Beyond basic painting supplies, professionals recommend investing in high-quality protective equipment and precision tools.
Key materials include:
High-Quality Primer: Creates a smooth base for paint adhesion
Professional Paint Brushes: Ensure smooth, streak-free application
Painter’s Tape: Protects surrounding surfaces and creates clean edges
Safety and Workspace Preparation
My Design Rules emphasizes the importance of not just painting supplies, but also personal protection and workspace preservation. Homeowners should consider:
Respirator Masks: Protect against paint fumes and dust
Disposable Gloves: Prevent skin contact with chemicals
Drop Cloths: Shield floors and countertops from paint splatter
If you want to explore the full scope of cabinet refinishing and understand the cost implications, learn more about our cabinet painting process to make an informed decision about your kitchen upgrade.
Here is a table summarizing the essential tools and supplies needed for prepping cabinets for paint, as mentioned throughout this section:
Tool/Supply | Main Purpose | Section Mentioned |
Degreasing Cleaners | Remove grease and grime | Preparation Essentials |
Fine-Grit Sandpaper | Smooth surfaces and remove finishes | Preparation Essentials |
Wood Filler | Repair minor scratches/imperfections | Preparation Essentials |
High-Quality Primer | Ensure paint adhesion and uniform surface | Painting/Protection |
Professional Paint Brushes | Provide smooth, streak-free application | Painting/Protection |
Painter’s Tape | Protect adjacent surfaces, create clean edges | Painting/Protection |
Respirator Masks | Protect against paint fumes and dust | Safety/Workspace |
Disposable Gloves | Prevent skin contact with chemicals | Safety/Workspace |
Drop Cloths | Protect floors/countertops | Safety/Workspace |
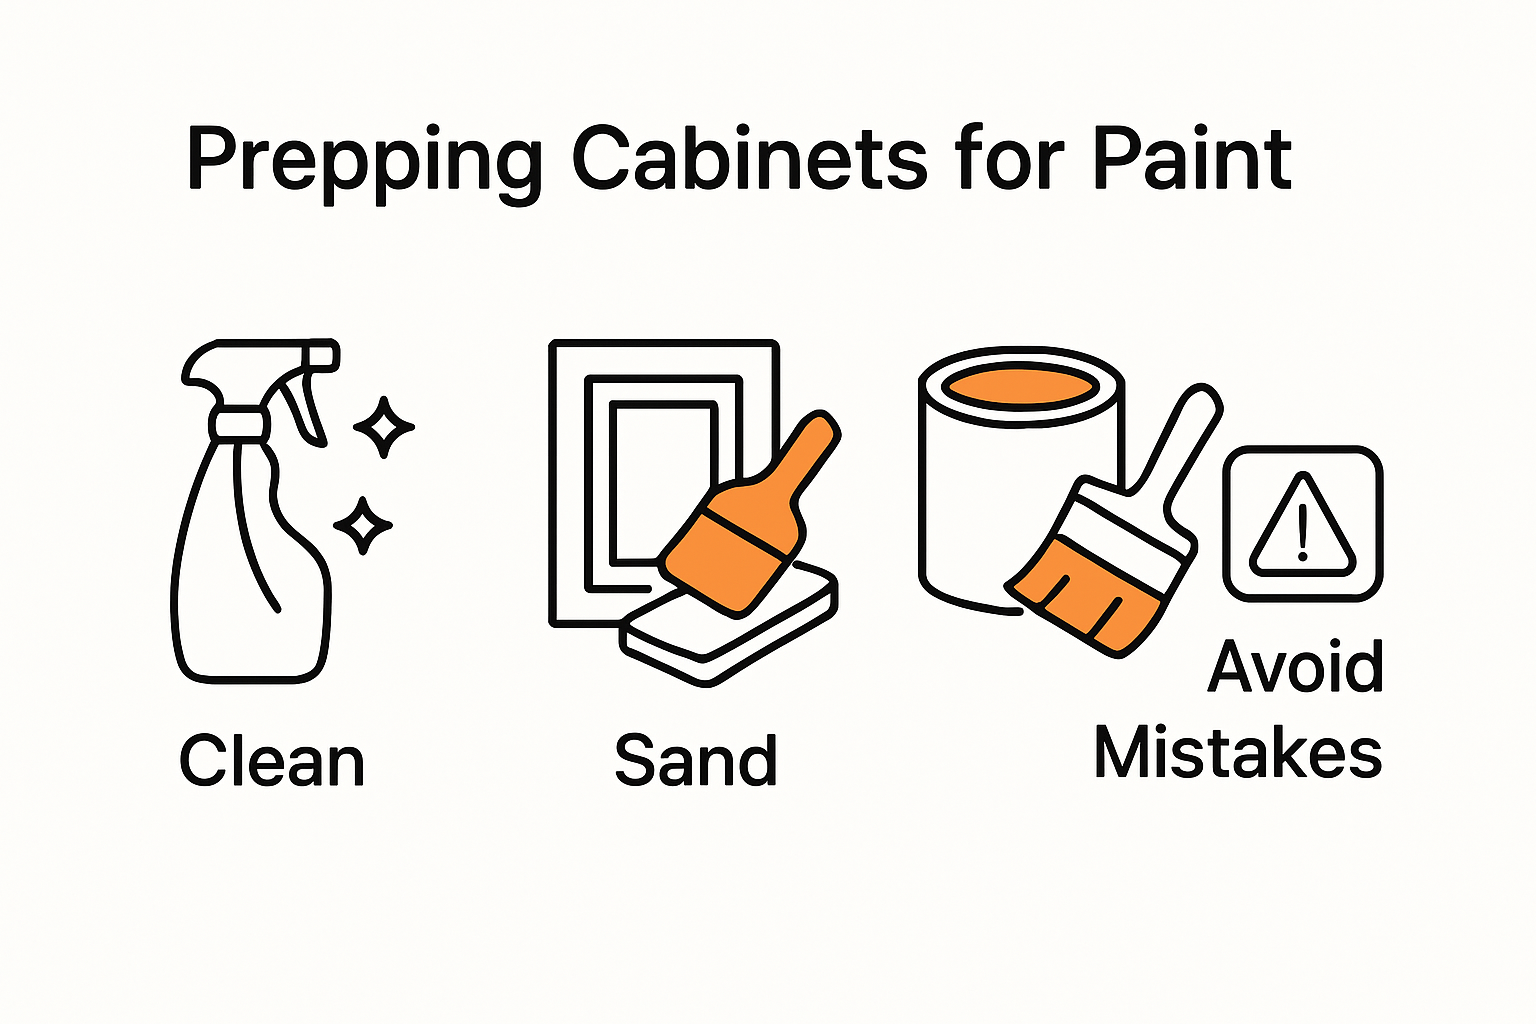
Step-by-Step Guide to Prepping Cabinets for Paint
Transforming your kitchen cabinets begins with a meticulously planned preparation process. Professional painters understand that each step matters, and cutting corners can compromise the final result.
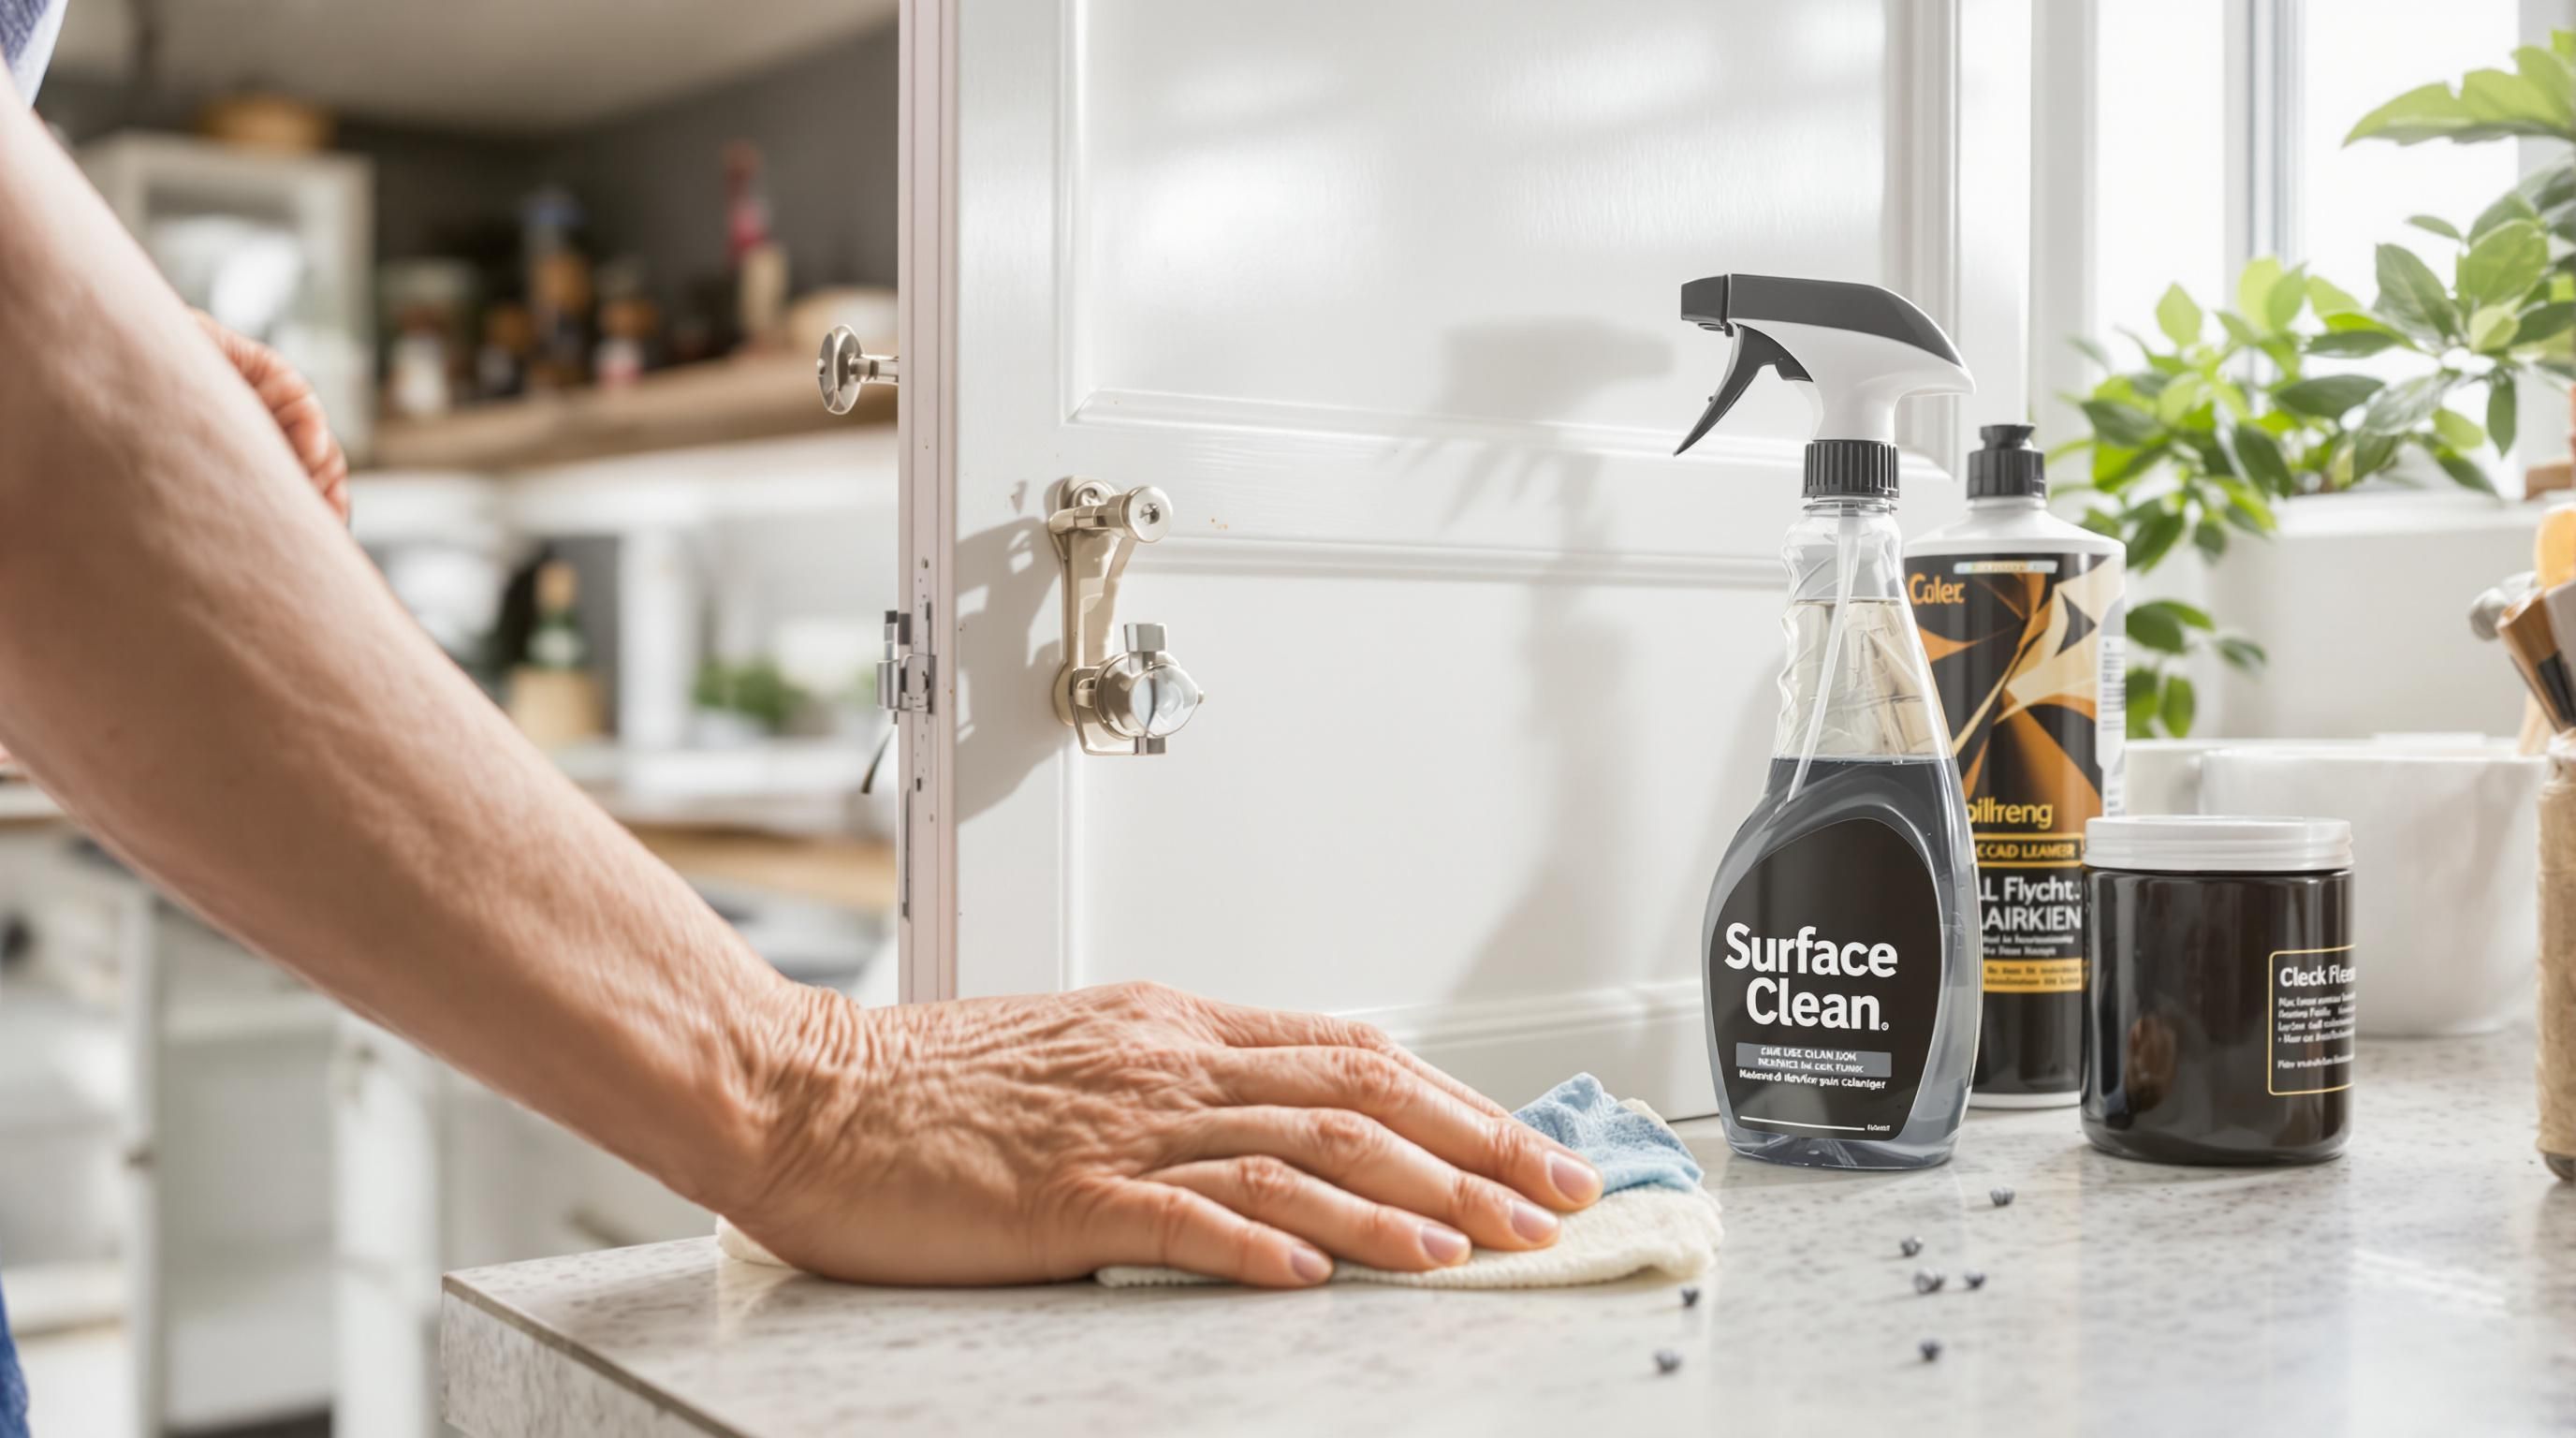
Initial Cleaning and Surface Assessment
Popular Mechanics recommends starting with a comprehensive cleaning process that goes beyond simple surface wiping. Begin by removing all cabinet hardware such as handles, knobs, and hinges. This allows for complete access to the cabinet surfaces and ensures no areas are accidentally missed during painting.
Use a degreasing cleaner specifically designed for kitchen surfaces. These specialized cleaners cut through years of accumulated cooking residue, oils, and grime that can prevent paint from adhering properly. Pay special attention to areas near the stove and around handles where grease tends to accumulate most heavily.
Sanding and Surface Preparation
This Old House emphasizes the critical nature of proper sanding. Use progressively finer grit sandpaper to create a smooth surface that allows paint to bond effectively. Start with medium-grit sandpaper to remove the existing finish and smooth out imperfections, then transition to fine-grit paper for a ultra-smooth base.
After sanding, use a tack cloth to remove all dust particles. Any remaining debris can create bumps or imperfections in the final paint finish. For wooden cabinets with significant damage, apply wood filler to repair scratches or dents, then sand those areas smooth once the filler has dried completely.
Priming and Final Preparation
HGTV recommends using a high-quality primer specifically designed for kitchen cabinets. This crucial layer creates a uniform surface and improves paint adhesion. Apply primer using smooth, even strokes, and allow sufficient drying time between coats.
Before painting, create a clean workspace by using painter’s tape to protect surrounding surfaces and laying down drop cloths. Ensure proper ventilation and maintain a consistent room temperature to support optimal paint application and drying.
If you want to explore more about the intricacies of cabinet refinishing and understand the potential costs involved, discover our comprehensive cabinet painting process for a complete overview of what to expect.
Below is a table outlining the key steps in prepping cabinets for paint, helping you visualize the sequential process required for a professional finish:
Step | Key Actions | Purpose |
Remove Hardware | Take off handles, knobs, and hinges | Expose all surfaces for even prep/paint |
Deep Clean with Degreaser | Scrub all cabinet surfaces to remove grime and oils | Ensure proper paint adhesion |
Sand Surfaces | Use medium then fine-grit sandpaper to smooth finish and remove gloss | Prepare base for primer/paint |
Repair Imperfections | Fill dents/scratches with wood filler and sand smooth | Create a flawless surface |
Dust Removal | Wipe down surfaces with tack cloth | Remove fine sanding debris |
Apply Primer | Coat cabinets with bonding primer | Enhance adhesion, block stains |
Protect Workspace (Tape/Drop Cloths) | Cover floors, countertops, and tape off adjacent areas | Prevent paint mess, protect surfaces |
Common Mistakes to Avoid During Cabinet Prep
Cabinet painting might seem straightforward, but numerous pitfalls can transform a promising project into a costly renovation nightmare. Understanding and avoiding common mistakes can save homeowners significant time, money, and frustration.
Preparation and Cleaning Errors
Consumer Reports emphasizes that thorough preparation is the foundation of a successful cabinet painting project. One of the most critical mistakes homeowners make is inadequate cleaning. Skipping deep degreasing or using inappropriate cleaning solutions can prevent paint from adhering properly.
Common preparation mistakes include:
Insufficient Degreasing: Failing to remove years of accumulated kitchen grime
Rushing Surface Preparation: Not spending enough time sanding and smoothing surfaces
Ignoring Minor Repairs: Overlooking small holes, dents, or imperfections before painting
Technical Application Mistakes
Kieser’s Painting highlights technical errors that can compromise the final finish. Skipping primer is a cardinal sin in cabinet painting. Primer creates a uniform surface, improves paint adhesion, and helps achieve a professional-looking result.
Critical technical mistakes to avoid:
Incorrect Paint Selection: Using interior wall paint instead of cabinet-specific paint
Neglecting Primer: Applying paint directly to bare surfaces
Inconsistent Application: Creating uneven coats or visible brush strokes
Hardware and Workspace Preparation Errors
Powers Painting & Decorating points out often-overlooked mistakes related to hardware and workspace preparation. Proper removal and protection of surrounding areas are crucial for a clean, professional finish.
Workspace and hardware mistakes include:
Painting with Hardware Attached: Complicating the painting process and creating uneven surfaces
Inadequate Workspace Protection: Failing to use drop cloths and painter’s tape
Poor Ventilation: Painting in spaces with limited air circulation
Homeowners seeking a comprehensive understanding of the cabinet painting process can explore our detailed refinishing guide to ensure a successful kitchen transformation.
Frequently Asked Questions
What is the most important step in prepping cabinets for paint?
Proper surface preparation is crucial; it makes up 85% of a professional painting job. Thorough cleaning and sanding ensure the paint adheres correctly, leading to a long-lasting finish.
How do I prepare cabinets for painting?
Start by removing all hardware, then clean surfaces with a degreasing cleaner. Sand the surfaces to smooth out imperfections and create texture for paint adhesion. Finally, apply a high-quality primer before painting.
What tools do I need for prepping cabinets for paint?
Essential tools include degreasing cleaners, fine-grit sandpaper, wood filler for repairs, high-quality primer, professional paint brushes, painter’s tape, respirator masks, disposable gloves, and drop cloths to protect surfaces.
What common mistakes should I avoid when prepping cabinets for paint?
Avoid insufficient degreasing, rushing the sanding process, neglecting to apply primer, and painting with hardware attached. Ensuring adequate preparation and workspace protection is key to achieving a professional finish.
Experience Flawless Cabinet Upgrades Without the Stress
Have you realized how the right prep work can make or break your cabinet painting project? Our article revealed that skipping proper cleaning, sanding, and priming leads to paint that peels, chips, and looks unprofessional. Many homeowners worry about wasting time and money, only to end up with a less-than-ideal finish or a kitchen in chaos for weeks. Ottawa Cabinet Painting solves these exact worries by focusing on detailed preparation and a proven refinishing process. You get the look and longevity you want without the hefty cost or disruption of a full renovation.
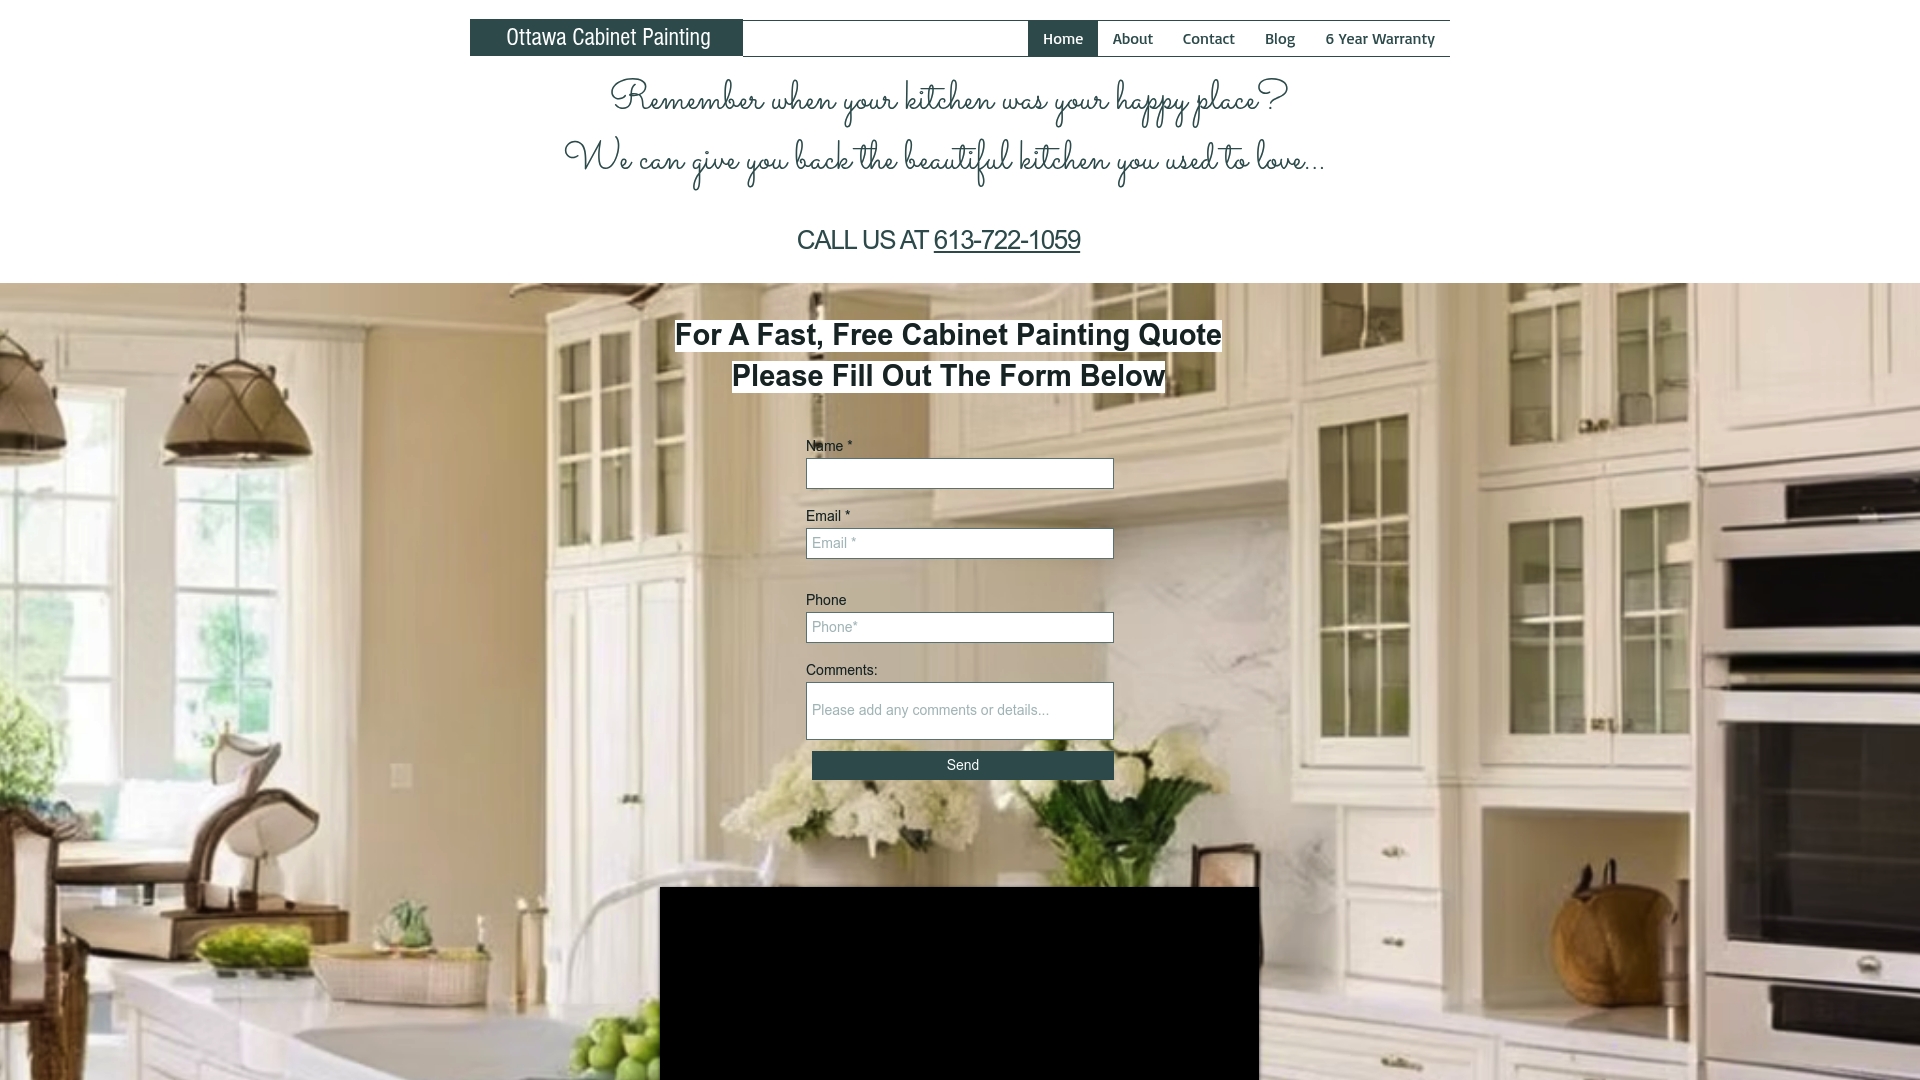
Let your kitchen shine with expert-level preparation and a silky smooth finish. Act now to protect your investment, avoid costly mistakes, and enjoy stunning cabinets sooner. Visit Ottawa Cabinet Painting to learn about our process and get a personalized quote. Still have questions about how professional prep makes the difference? See our cabinet refinishing guide for a behind-the-scenes look at what sets us apart. Your transformed kitchen is just a click away.
Recommended
Another important aspect of Kitchen Remodeling in Tustin, CA is selecting high-quality materials that offer durability and style. Quartz countertops, hardwood flooring, and energy-efficient appliances are popular choices among homeowners looking for long-term value. These upgrades not only enhance aesthetics but also reduce maintenance and energy costs over time.