Expert Kitchen Cabinet Refinishing Near Me Made Easy
- demoore5506
- Feb 3
- 7 min read
Every busy Ottawa family knows the challenge of keeping a kitchen both functional and beautiful without taking on an expensive renovation. Kitchens are the heart of Canadian homes, but daily life can quickly leave cabinets looking worn and outdated. For homeowners wanting a fresh look while protecting their budget, careful preparation and cleaning are the keys to a flawless, long-lasting cabinet transformation that adds instant appeal and value.
Table of Contents
Quick Summary
Key Point | Explanation |
1. Thoroughly prepare your workspace | Clear out cabinets and cover surfaces to avoid damage and ensure smooth painting. |
2. Clean cabinets effectively | Use warm, soapy water and degreasers to remove residue, ensuring proper paint adhesion. |
3. Sand surfaces for smoothness | Smooth out imperfections with appropriate sandpaper for an even finish before painting. |
4. Apply primer and paint correctly | Use high-quality primer and thin paint layers to achieve a durable, professional look. |
5. Reassemble and inspect carefully | Match hardware precisely and check for imperfections to ensure a flawless final result. |
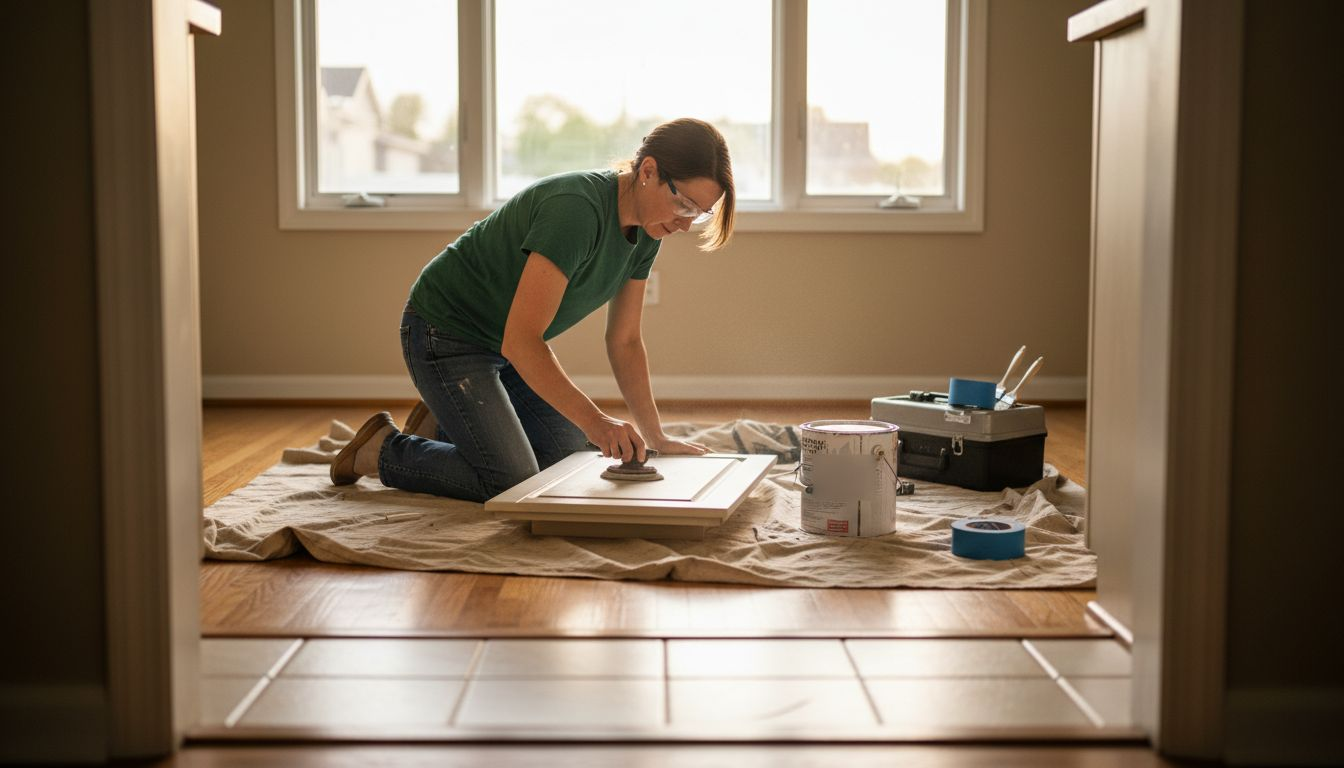
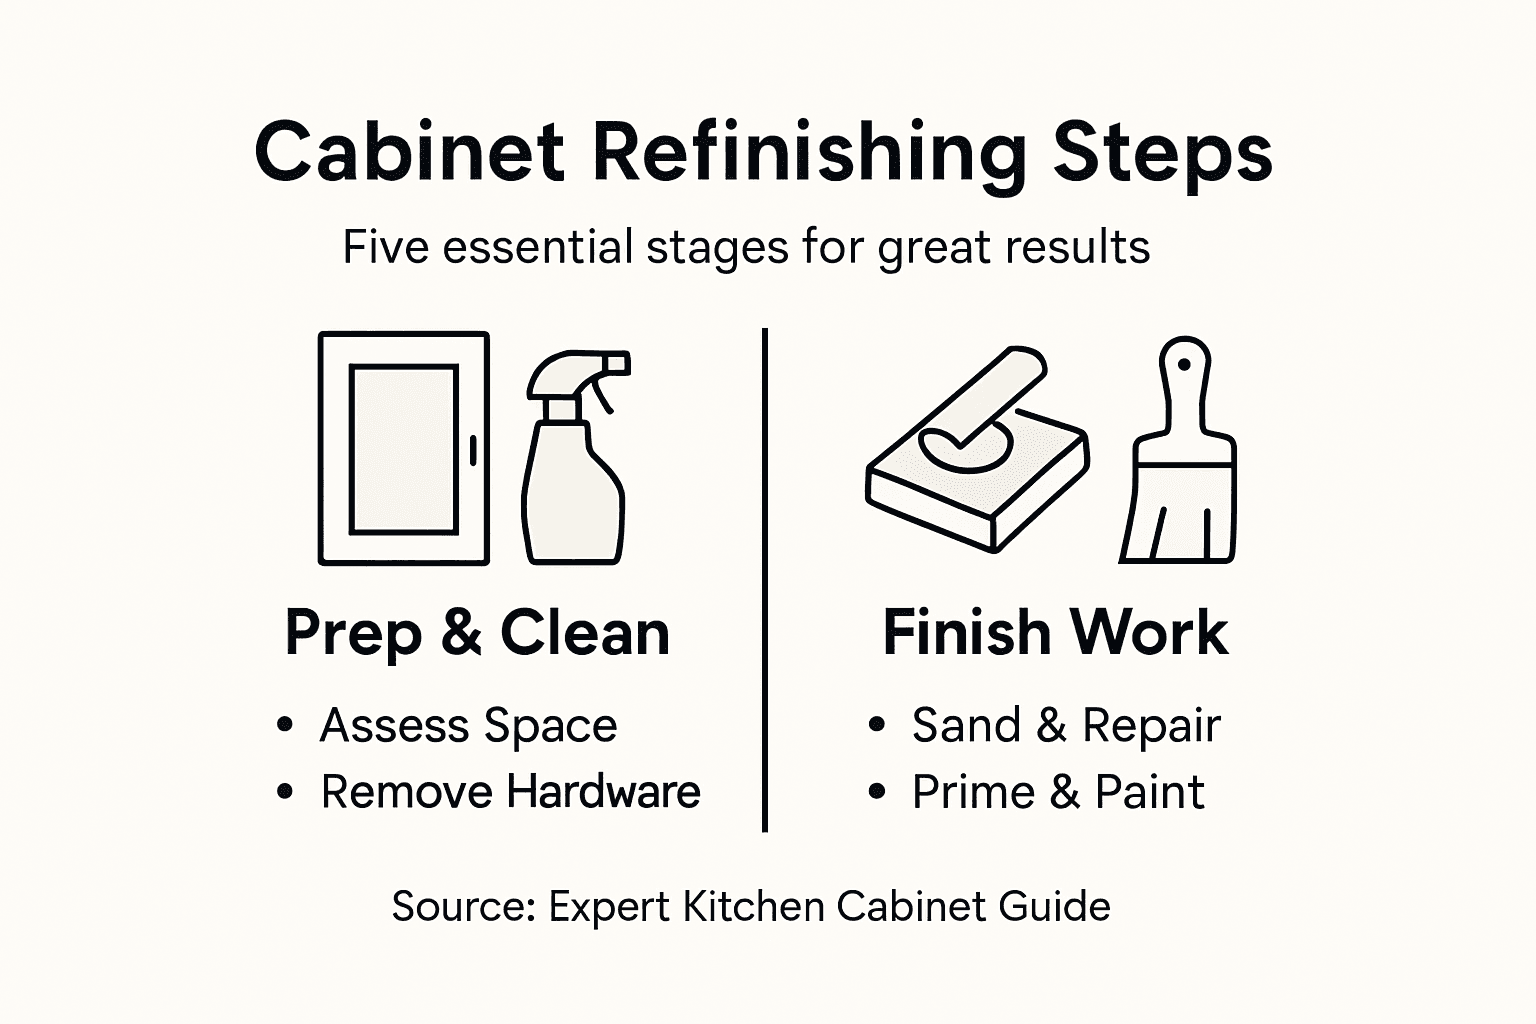
Step 1: Assess and Prepare Your Kitchen Space
Before diving into your kitchen cabinet refinishing project, you’ll need to carefully assess and prepare your kitchen space. This crucial first step ensures a smooth, efficient process and helps protect your home from potential paint damage.
Start by completely clearing out your kitchen cabinets. Remove all dishes, appliances, and loose items from shelves and countertops. Kitchen organization strategies can help you temporarily store these items safely during the refinishing process.
Your preparation checklist should include:
Protecting countertops with heavy-duty drop cloths
Removing cabinet hardware like knobs and handles
Cleaning surfaces thoroughly to remove grease and grime
Taping off areas that should not be painted
Ensuring proper ventilation in the workspace
A well-prepared workspace is the foundation of a professional cabinet refinishing result.
Pay special attention to covering your floors, appliances, and adjacent surfaces. Use painter’s tape and plastic sheeting to create protective barriers. This step prevents accidental paint splatters and ensures a clean, professional finish.
Pro tip: Take clear, labeled photos of your cabinet hardware placement before removal to make reinstallation easier after refinishing.
Step 2: Remove Hardware and Clean All Cabinets
Now that your kitchen space is prepared, it’s time to focus on removing hardware and thoroughly cleaning your cabinets. This critical step ensures a smooth surface for painting and helps achieve a professional-looking refinish.
Begin by carefully removing all cabinet hardware, including handles, knobs, and hinges. Proper hardware removal techniques will help prevent damage to your cabinets and make the refinishing process more manageable. Place each piece of hardware in labeled plastic bags to keep track of their original locations.
Your cleaning process should include:
Washing surfaces with warm, soapy water
Using a degreasing cleaner for stubborn kitchen grime
Scrubbing corners and hard-to-reach areas
Wiping down all surfaces with a clean, damp cloth
Allowing surfaces to dry completely before painting
Thorough cleaning is the foundation of a flawless cabinet refinishing project.
Pay special attention to removing any built-up grease, food residue, and dirt. Cleaning thoroughly prevents paint adhesion issues and ensures a smooth, long-lasting finish. For best results, use a non-residue cleaner that won’t leave behind any film or buildup.
Pro tip: Use a mixture of dish soap and warm water with a soft sponge to clean cabinets gently but effectively, avoiding abrasive materials that could scratch the surface.
Step 3: Sand Surfaces and Repair Imperfections
Sanding is the transformative step that prepares your kitchen cabinets for a flawless new finish. By carefully smoothing surfaces and addressing any damage, you’ll create the perfect canvas for your cabinet refinishing project.
Begin by selecting the right sandpaper - medium to fine-grit works best for most cabinet surfaces. Surface preparation techniques are critical for achieving a professional-looking result. Focus on removing old finishes, smoothing out rough areas, and creating a uniform surface that will help your new paint adhere perfectly.
Your sanding and repair process should include:
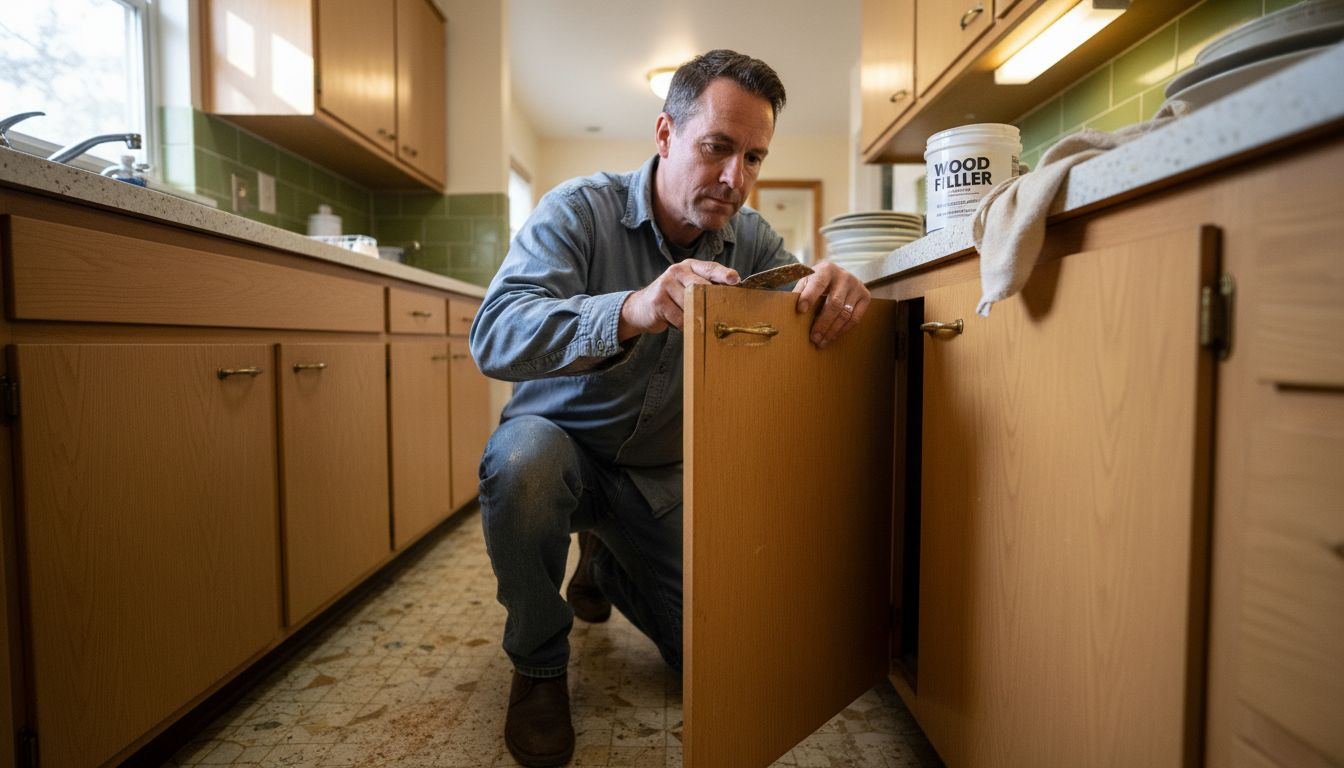
Inspecting cabinets for dents, scratches, and imperfections
Using wood filler to repair small holes and gouges
Sanding filled areas smooth once the filler has dried
Wiping away all sanding dust with a tack cloth
Checking for evenness across all surfaces
Smooth surfaces are the secret to a showroom-quality cabinet finish.
Repair work requires patience and attention to detail. Take your time filling small imperfections with wood filler, allowing each layer to dry completely before sanding. Use light, even strokes when sanding to avoid creating new marks or uneven spots.
Pro tip: Invest in a sanding block or electric sander to maintain consistent pressure and achieve a more uniform surface compared to hand sanding.
Step 4: Prime and Apply Premium Paint Finishes
Priming and painting are the transformative stages that will turn your kitchen cabinets from worn to wow. This critical step determines the final look and durability of your cabinet refinishing project, so precision and patience are key.
Coating application techniques are essential for achieving a professional-grade finish. Choose a high-quality, shellac-based primer compatible with your selected paint type, ensuring maximum adhesion and stain prevention.
Your priming and painting process should include:
Selecting a primer that matches your paint type
Applying primer evenly with a foam roller or high-quality brush
Allowing primer to dry completely between coats
Sanding lightly between primer layers for smoothness
Choosing a premium paint finish suitable for kitchen cabinets
A flawless paint application transforms cabinets from ordinary to extraordinary.
Apply paint in multiple thin, even coats rather than one thick layer. This technique prevents drips, ensures smoother coverage, and helps create that showroom-quality finish. Use long, consistent strokes and maintain a wet edge to avoid visible brush or roller marks.
Compare paint finish options for kitchen cabinets:
Paint Finish Type | Durability Level | Appearance | Recommended For |
Satin | Moderate | Soft sheen | Low-traffic kitchens |
Semi-gloss | High | Reflective shine | Most kitchen cabinets |
High-gloss | Very High | Glass-like finish | Accent cabinets |
Matte | Low | Modern/smooth | Decorative areas |
Pro tip: Invest in high-quality synthetic brushes or foam rollers and practice your technique on a scrap piece of wood to perfect your application before tackling the actual cabinets.
Step 5: Reassemble Cabinets and Inspect Work
With your freshly refinished cabinets now complete, the final stage is carefully reassembling all components and conducting a thorough quality inspection. This critical step ensures your hard work translates into a stunning, professional-looking kitchen upgrade.
Kitchen cabinet reassembly procedures require meticulous attention to detail. Start by laying out all hardware and matching each piece precisely to its original location, using the reference photos you took during disassembly.
Your reassembly and inspection checklist should include:
Aligning doors and drawers perfectly
Checking hinge alignment and smooth operation
Verifying hardware is securely fastened
Examining paint finish for consistency
Testing drawer and cabinet door movements
Precision during reassembly transforms a good refinishing project into an exceptional one.
Inspect each cabinet carefully for any imperfections or areas that might need touch-ups. Look closely at corners, edges, and high-traffic areas to ensure the finish is uniform and durable. Pay special attention to how hardware fits and functions after the refinishing process.
Here’s a summary of common mistakes and pro tips for successful cabinet refinishing:
Common Mistake | Impact on Results | Pro Tip to Prevent Issue |
Skipping thorough cleaning | Paint may peel or not adhere well | Use degreaser and let dry fully |
Not removing all hardware | Uneven finish, hardware damage | Label and store hardware carefully |
Rushing sanding process | Visible imperfections remain | Use proper grit and sanding tools |
Thick paint coats | Drips and uneven coverage | Apply multiple thin, even layers |
Inadequate workspace protection | Paint splatters on floors/surfaces | Use drop cloths and painter’s tape |
Pro tip: Keep a small amount of touch-up paint on hand for quick repairs and maintain the pristine look of your newly refinished cabinets.
Transform Your Kitchen Cabinets with Expert Refinishing Solutions
If you are ready to overcome the challenges of cabinet refinishing like thorough surface preparation, sanding, priming, and applying premium paint finishes for a durable showroom-quality look, Ottawa Cabinet Painting has you covered. We understand the frustrations of protecting your kitchen space and ensuring a smooth, flawless finish without disrupting your daily life. Our professional team follows a meticulous process that mirrors the expert steps in the article, such as removing hardware carefully, extensive cleaning, and using top-grade paints to bring your cabinets back to life.
Why settle for costly and chaotic renovations when you can enhance your kitchen with expert cabinet refinishing near you Our local specialists provide a seamless experience that respects your home and timeline, typically completing the transformation in around ten days. Discover how we minimize the hassle while guaranteeing lasting beauty and functionality with a 6-year warranty. Explore our professional cabinet painting services to start your journey toward a kitchen you love. Take the first step now by visiting Ottawa Cabinet Painting for a free quote and personalized consultation. Let us help you refine your kitchen with care and precision today.
Frequently Asked Questions
How can I prepare my kitchen for cabinet refinishing?
Begin by completely clearing out your kitchen cabinets, removing all dishes and items from shelves and countertops. Protect countertops and floors with drop cloths and tape off areas that shouldn’t be painted to ensure a clean workspace and prevent damage.
What steps should I take to clean my cabinets before refinishing?
Wash all surfaces with warm, soapy water, using a degreasing cleaner for stubborn grime. Make sure to wipe down all areas thoroughly and let them dry completely, as this will help the new paint adhere properly.
How do I properly sand my cabinets for a smooth finish?
Select medium to fine-grit sandpaper and focus on removing old finishes and smoothing rough areas. After sanding, wipe away all dust with a tack cloth to create a flawless surface for painting.
What type of primer and paint should I use for kitchen cabinets?
Choose a high-quality, shellac-based primer that is compatible with your selected paint type for maximum adhesion. Apply multiple thin coats of premium paint to achieve a professional-looking finish that lasts long.
How can I ensure my cabinet hardware is correctly reassembled?
Lay out all hardware in the order of removal based on your reference photos, and align doors and drawers properly during reassembly. This will help prevent misalignment and ensure smooth operation after refinishing.
What common mistakes should I avoid during cabinet refinishing?
Avoid skipping thorough cleaning, rushing the sanding process, and applying thick paint coats, as these can lead to poor adhesion and uneven finishes. Take your time with each step to achieve the best possible results.
Recommended

Comments