How Do I Refinish Cabinets Myself in Ottawa?

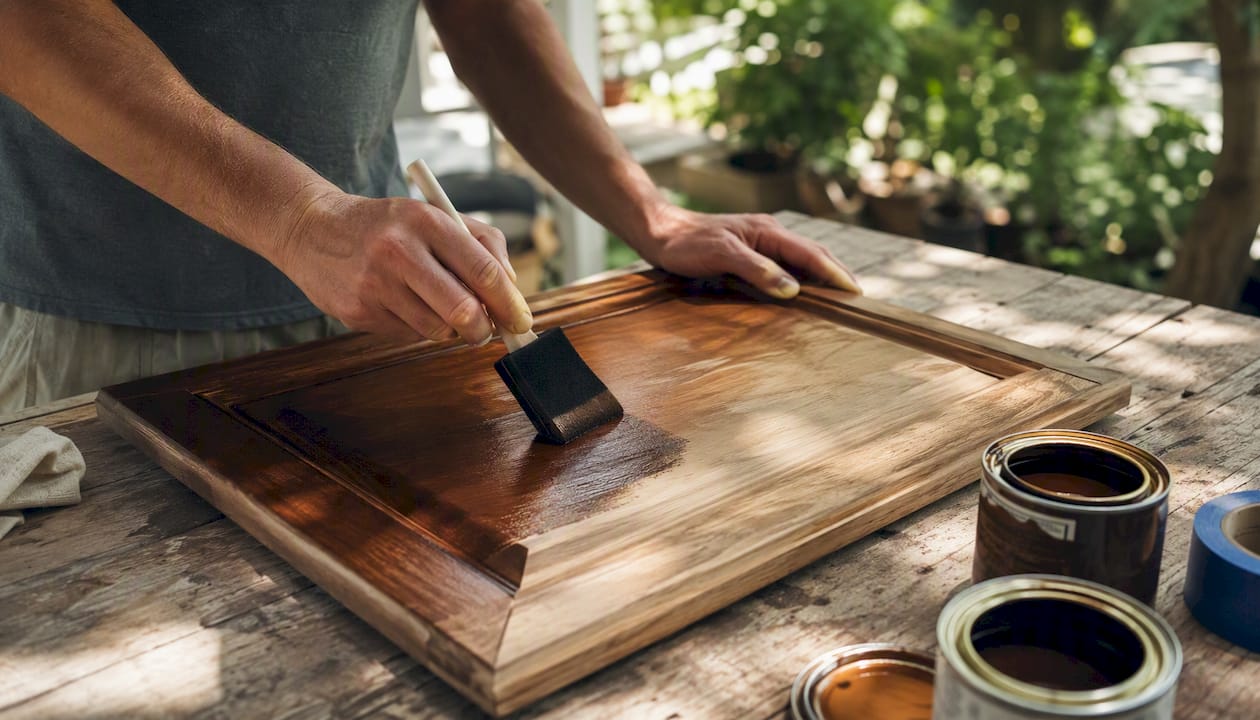
Most homeowners can refinish their own kitchen cabinets, provided the cabinet boxes and doors are structurally sound. The process follows one reliable path: remove doors and hardware, clean and degrease every surface, choose between stripping, sanding, or deglossing based on the existing finish, repair any damage, prime, apply your finish coats, seal with a topcoat, then cure and rehang.
For a typical Ottawa kitchen, plan on several days elapsed and a significant number of hours of actual work, spread across a week rather than crammed into a weekend. That timeline surprises a lot of first-timers, who assume painting cabinets is a Saturday project. It isn’t, and treating it like one is the single fastest way to end up with a finish that peels within a year.
Here’s the minimum viable workflow, start to finish:
Remove doors, drawers, and hardware, then label everything
Clean and degrease every surface (grease is invisible but it’s everywhere)
Choose your prep method: strip, sand, or degloss
Fill gouges, fix loose veneer, and address hardware holes
Prime with a bonding primer suited to the surface
Apply two to three thin finish coats, sanding lightly between each
Seal with a topcoat and let it cure fully before rehanging
Materials for a DIY job typically run $200 to $400, according to Hbdepot’s pro-level DIY guide, covering primer, cabinet-grade paint, sandpaper, tape, and brushes or a sprayer rental. Compare that to a professional refinish, which generally runs several thousand dollars for an average kitchen, and the DIY math looks appealing. Just know that most of those 25 to 40 hours go into prep work, not painting.
Key Takeaways
Durable cabinet refinishing depends far more on preparation, degreasing, sanding, and priming, than on the paint brand or brush you choose.
Point | Details |
Prep is most of the work | Degreasing and scuff-sanding take longer than painting and determine whether the finish lasts. |
Match method to material | Strip failing finishes, scuff-sand intact ones, and treat thermofoil as a refacing candidate instead. |
Use bonding primer | High-adhesion primers block stains and grip slick surfaces better than standard primer. |
Thin coats beat thick ones | Two to three thin coats with light sanding between outperform one heavy coat every time. |
Consider a local pro for big jobs | Ottawa Cabinet Painting offers on-site quotes and a 6-year warranty for homeowners short on time or facing large kitchens. |
Table of Contents
How Do I Refinish Cabinets From Start to Finish?
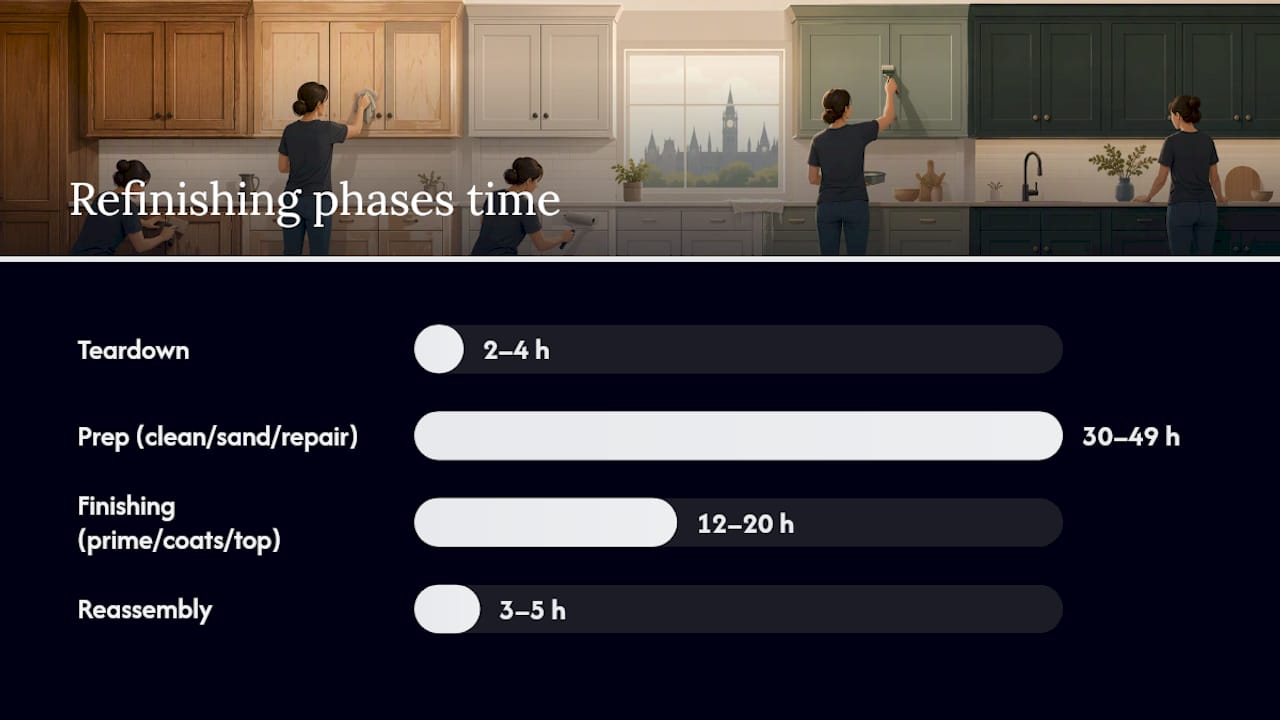
The full project breaks into four phases: teardown, prep, finishing, and reassembly. Teardown is fast. Prep eats most of your time. Finishing feels satisfying but demands patience. Reassembly is where a little organization from day one pays off.
A medium Ottawa kitchen, say 20 to 25 doors and drawer fronts, moves through these phases at a fairly predictable pace once you’ve done the first two or three doors and found your rhythm.
Phase | Typical Time | What Happens |
Teardown & labeling | 2 to 4 hours | Remove doors/hardware, photograph, bag and tag parts |
Cleaning & degreasing | 3 to 5 hours | TSP wash, rinse, dry, spot-check for residue |
Surface prep (sand/strip/degloss) | 25 to 40 hours | Grit progression or chemical stripping, dust removal |
Repairs & filling | 2 to 4 hours | Wood filler, veneer fixes, hole patching |
Priming | 4 to 6 hours | One to two coats, drying time between |
Finish coats | 6 to 10 hours | Two to three coats, light sanding between |
Topcoat & cure | 2 to 4 hours active, days to cure | Sealing and hardening before rehanging |
Reassembly | 3 to 5 hours | Rehang doors, reinstall hardware, check alignment |
Materials-only costs for the whole job usually land in that $200 to $400 range mentioned above. If you’re comparing that against hiring it out, a professional refinish sits at $3,500 to $7,500 for context, though that figure includes labor, equipment, and warranty coverage you won’t get doing it yourself.
One distinction matters before you start: refinishing means restoring your existing doors and boxes by stripping or sanding and applying new paint or stain, while resurfacing (also called refacing) means applying new veneer or swapping in entirely new doors, as explained in this comparison of refinishing versus resurfacing. If your cabinet boxes are solid but the door style feels dated beyond saving, refacing might serve you better than refinishing.
What Tools and Materials Do You Need to Refinish Cabinets?
You don’t need a garage full of equipment, but a few tools genuinely change the outcome. Skimping on a $15 degreaser to save money, then fighting adhesion failures for weeks, is the classic false economy of this project.
Sanding and prep tools:
Random orbital sander (5-inch pad, variable speed)
Sandpaper in 120, 150, 220, and 320 grit
Sanding sponges for curves and inside corners
Shop vacuum with a fine dust filter
Application tools:
High-quality synthetic-bristle brush (2-inch angled sash brush)
Mini foam rollers for flat panels
HVLP sprayer or airless unit for a factory-smooth finish
Painter’s tape and rosin paper for masking
Consumables and finishes:
TSP (trisodium phosphate) or a commercial degreaser
Wood filler for gouges and old hardware holes
Bonding or high-adhesion primer
Cabinet-grade paint, or stain if you’re keeping the wood look
Water-based polyurethane or conversion varnish for the topcoat
Safety gear:
Half-face or full respirator rated for organic vapors
Nitrile gloves and safety glasses
Fan-based ventilation setup, especially in a closed kitchen
If you’re only doing one kitchen, renting an HVLP sprayer makes more sense than buying one outright. Most hardware rental counters in Ottawa carry them, and the spray-quality difference over brushing is dramatic on flat door panels.
Pro Tip: Buy sandpaper in bulk. You’ll go through more sheets than you expect, and running out mid-project on a Sunday when stores are closed will stall your whole schedule.
How Do You Prep Cabinets Before Painting or Staining?
Disassembly seems simple until you’re staring at 22 identical white doors with no idea which one came from where. Spend the extra 20 minutes here. It saves hours later.
Photograph every cabinet face before removing anything, so you have a reference map of the kitchen.
Number each door and drawer front with painter’s tape and a marker, matching a number to its cabinet opening.
Remove doors first, then hinges, then drawer fronts and slides.
Bag hardware for each door separately, label the bag with the same number, and store bags in one labeled box.
Set doors on a flat, padded surface (sawhorses with towels work well) to avoid warping while they sit for days.
Fill any exposed screw holes temporarily with tape if you’re not repairing them yet, to keep track of orientation.
Labeling feels tedious in the moment, but reassembly without it turns into a frustrating puzzle, especially once hinges and holes are involved that don’t always align the same way twice.
Once everything is off the wall, degreasing comes next. Kitchen cabinets accumulate a thin film of cooking grease that’s invisible to the eye but disastrous for paint adhesion. Degreasing with TSP or a commercial degreaser before sanding or priming is a step that gets skipped constantly, and it’s one of the top reasons DIY paint jobs fail within months.
Mix TSP per label instructions, or use a ready-made degreaser
Wipe every surface, including inside edges and the tops of upper cabinets
Rinse with clean water to remove residue
Dry fully before sanding
Work in a ventilated space and wear gloves, since TSP is caustic
Should You Strip, Sand, or Degloss Your Cabinets?
The right prep method depends entirely on what’s already on your cabinets, and guessing wrong here wastes both time and money.
Solid wood cabinets with a thick, failing, or alligatored finish generally need full stripping. Cabinets with an intact factory finish, whether lacquer or a light coat of paint, usually just need scuff-sanding or a liquid deglosser. Thermofoil and laminate surfaces are a different story entirely, and refinishing them with standard paint often fails regardless of prep.
Solid wood, thick or peeling finish: strip fully
Solid wood, intact lacquer or thin finish: scuff-sand or degloss
Painted wood in good condition: light sand, then repaint
Thermofoil or laminate: refinishing is risky; refacing is usually the better route
Oak or other open-grain wood, staying with wood tone: sand carefully, then gel stain
Choose stripping for very old or failing finishes, or when switching from a dark stain to a light one; choose scuff-sanding or a deglosser when the existing finish is intact and adhesion tests fine, since that approach saves time and avoids harsh chemicals.
If you do need to strip, and the cabinets are staying mounted on the wall while you work, a gel or semi-paste stripper works better than a liquid. Gel and semi-paste strippers cling to vertical surfaces instead of running down and puddling on your floor.
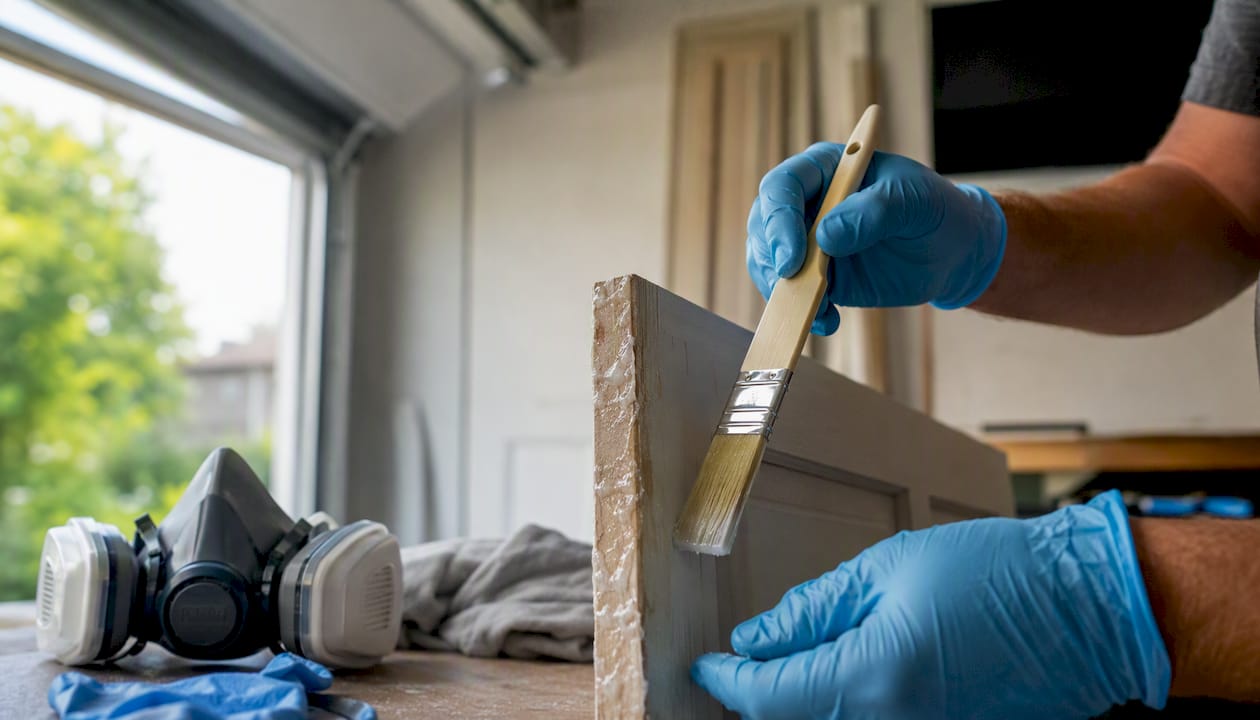
Sanding grit progression matters more than most first-timers realize:
Grit | Purpose |
120 | Removes old finish, levels rough spots |
150 | Smooths out 120-grit scratches |
220 | Final smoothing before primer |
320 to 600 | Scuff-sanding between finish coats |
Forum threads on lacquered cabinets back this up. DIYers who successfully refresh factory lacquer report scuff-sanding to 320 to 600 grit between coats, then spraying a fresh lacquer layer for that smooth, factory look, without ever stripping down to bare wood.
Pro Tip: Test adhesion before committing to a full scuff-sand. Press a piece of tape onto the existing finish and pull it off. If finish comes with it, you need to strip, not just scuff.
If you’re using a chemical stripper of any kind, ventilation isn’t optional. Open windows, run a box fan exhausting outward, and wear a respirator rated for organic vapors, not a basic dust mask. VOCs from strippers and solvent-based lacquers build up fast in a closed kitchen and can cause real harm with extended exposure.
How Do You Fix Damaged Cabinets Before Refinishing?
Small damage doesn’t disqualify a cabinet from refinishing, but it does need addressing before you touch a primer can. Painting over a gouge just telegraphs the flaw through every subsequent coat.
Clean out any loose material from dents, gouges, or chips.
Apply wood filler with a putty knife, slightly overfilling since it shrinks as it dries.
Sand flush once fully cured, usually 24 hours for two-part fillers.
For loose veneer edges, apply wood glue underneath, clamp, and let cure overnight.
Fill old hardware holes with wood filler or dowel plugs if you’re relocating pulls or handles.
Spot-prime all repaired areas before your first full primer coat.
Veneer that’s lifting at the edges but still adhered underneath: usually repairable with glue and clamping
Veneer that’s cracked, bubbled across a wide area, or missing chunks: often not worth repairing
Doors with structural warping or water damage at the base: replacement is usually cheaper than repair
Thermofoil doors deserve a specific warning. The vinyl-like coating on thermofoil doesn’t accept standard paint adhesion the way real wood or MDF does, and heat from an oven-adjacent cabinet can cause peeling even after a seemingly successful paint job. Particleboard cores underneath thermofoil also don’t hold up to aggressive sanding or stripping. If your cabinets are thermofoil and showing wear, refacing or resurfacing is usually the smarter move over attempting a full refinish.
What Primer and Paint Should You Use for Cabinets?
Primer choice is where a lot of DIY projects quietly succeed or fail, long before the topcoat ever goes on. Slick, factory-finished surfaces need a bonding primer specifically, not just whatever’s on the shelf at the front of the store.
High-adhesion primers, such as Kilz Premium, are built to grip challenging surfaces and block stains from bleeding through, which matters if your existing cabinets have dark stain or water rings underneath. Oil-based and shellac-based primers generally bond better to slick or previously varnished surfaces, while water-based bonding primers have closed the gap significantly and clean up far easier.
Paint versus stain, the real tradeoffs:
Paint lets you change color completely, including going from dark oak to bright white
Paint hides grain and imperfections better than stain
Stain preserves the natural wood look and grain pattern
Stain generally shows less wear-and-tear scuffing than a solid painted surface over years of use
If you’re staining and want to keep the wood character, oak cabinets respond well to careful sanding, often finishing around 320 grit, followed by a gel stain, which sits on the surface rather than soaking unevenly into oak’s open grain, according to woodworking forum discussions on refinishing oak.
Application method comparison:
Method | Best For | Finish Quality |
Brush (tip-and-roll) | Frame edges, detail work | Good with practice, visible texture possible |
Foam roller | Flat panels | Smooth, minimal texture |
HVLP sprayer | Doors, drawer fronts | Smoothest, most factory-like |
Airless sprayer | Large volume jobs | Fast but harder to control thin coats |
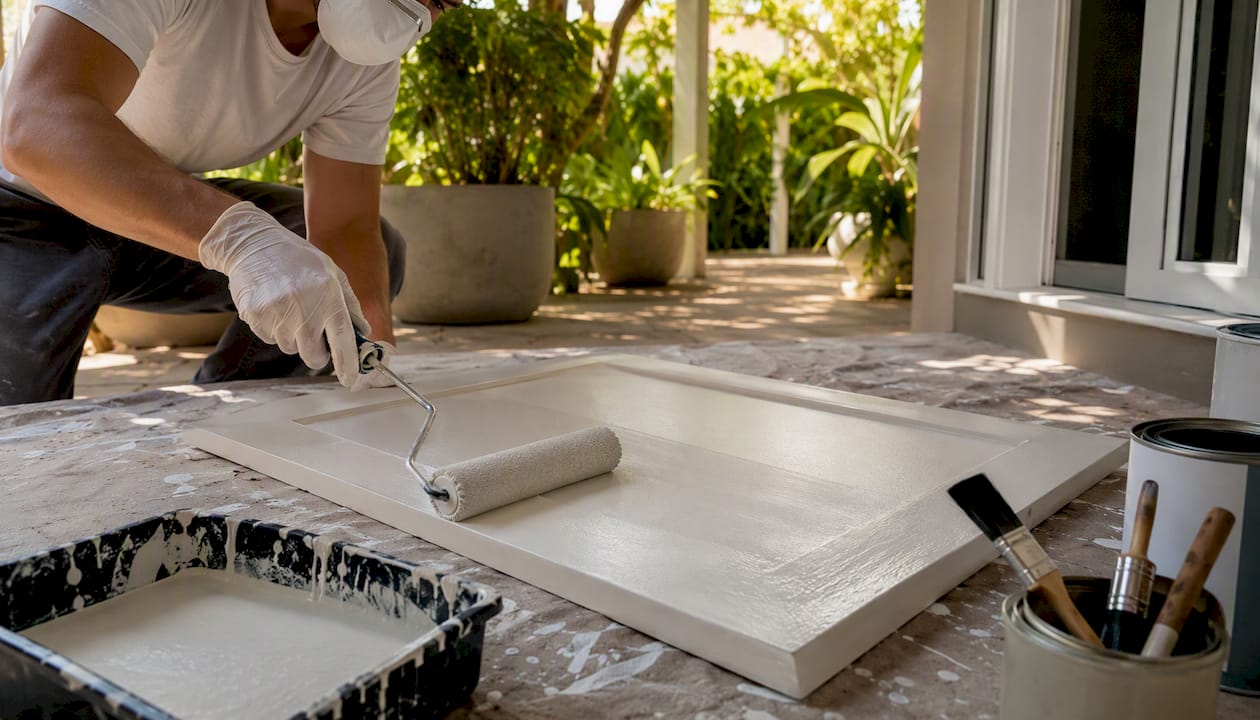
Tip-and-roll technique means rolling paint on for even coverage, then immediately tipping it off with a dry brush to eliminate roller stipple. It’s slower than spraying but requires no booth setup, which makes it practical for a garage or basement workspace.
Pro Tip: Thin your paint slightly more than the can recommends if you’re spraying. A finish that’s a touch too thick clogs HVLP tips and causes texture problems that are nearly impossible to sand out on a curved panel.
What Topcoat Should You Use to Seal Painted Cabinets?
The topcoat is what stands between your finish and years of grease, water splashes, and daily handle grabs. Skipping it, or rushing the cure time, undoes everything you did right up to this point.
Water-based polyurethane: dries clear, low odor, easier cleanup, moderate durability
Oil-based polyurethane: more durable and slightly ambering over time, longer dry times, stronger odor
Conversion varnish: highly durable, chemical-resistant, often used by professionals, requires careful mixing
Lacquer: dries fast, sprays beautifully thin, but needs proper ventilation and spray equipment
Two coats is the minimum for real kitchen durability. Three coats gives noticeably better resistance around sinks and stovetops where moisture and heat concentrate.
Handling time and full cure time are two different clocks, and confusing them is a common mistake. Most water-based topcoats feel dry to the touch within a few hours, but full hardness, the point where the surface resists scratching and denting under normal use, can take two to four weeks. Rehang doors too early and you risk sticking, blocking, or soft spots that never fully recover.
The broader rule that governs all of this comes down to patience: prep harder than you want to, paint thinner than you think you should, and wait longer than the can says. Every step of the process rewards restraint over speed.
Sand lightly between topcoat layers with 400 grit to knock down any dust nibs or texture, and always confirm your topcoat is chemically compatible with your paint or stain before applying. Oil-based topcoats over certain water-based paints can cause lifting if you don’t test a small area first.
What Does a Realistic DIY Cabinet Refinishing Schedule Look Like?
Here’s a schedule that reflects how the work actually unfolds for a medium kitchen, rather than an idealized version that ignores drying time.
Day | Task |
Day 1 | Teardown, labeling, photograph everything |
Day 2 | Degrease and clean all surfaces |
Day 3 to 4 | Sand, strip, or degloss depending on your decision |
Day 4 | Fill and repair damage, spot-prime repairs |
Day 5 | Prime all surfaces, allow full dry time |
Day 6 | Apply two finish coats, sanding lightly between |
Day 7 | Apply topcoat, begin cure period before rehanging |
Cost breakdown for a typical DIY project:
Primer: $30 to $60
Cabinet-grade paint or stain: $60 to $150
Sandpaper, tack cloths, tape: $30 to $50
Wood filler and repair supplies: $10 to $25
Sprayer or sander rental (if needed): $40 to $80 for a weekend
That lands you inside the $200 to $400 materials range most DIYers report for the full project.
Hidden costs catch people off guard more than the headline number does. Replacement hardware, if your existing pulls don’t fit your new holes or look dated against a fresh finish, can add $50 to $200 depending on style and quantity. Damaged doors discovered mid-project sometimes need outright replacement rather than repair. And if your first primer coat reveals stubborn stain bleed-through, a second primer pass adds both cost and a day to your schedule. Build in a contingency of an extra $50 to $75 and a spare day, and you won’t feel derailed when something small goes sideways.
What Are the Most Common Cabinet Refinishing Mistakes?
Most refinishing failures trace back to one of a handful of repeatable errors, and nearly all of them are fixable if caught early.
Runs and drips: let dry fully, then sand flat with 320 grit and recoat the area
Orange peel texture: usually from spraying too far away or paint too thick; sand smooth and respray a thinner coat
Peeling or adhesion failure: almost always a degreasing or priming shortcut; strip the affected area back and reprime properly
Visible brush strokes: switch to a foam roller or thin the paint slightly, then tip off with a dry brush
Grain raise after staining: lightly sand with 320 grit once dry, then apply topcoat as planned
Tacky finish that never fully hardens: often humidity or cold temperatures during cure; move the piece to a warmer, drier space and extend cure time
A run discovered while the paint is still wet just needs a light brush pass to smooth it out. A run discovered after it’s dried needs sanding and a fresh coat over that specific area, not a full redo of the whole door.
Prevention checklist:
Keep the workspace between 65°F and 75°F while painting and curing
Apply thin coats rather than trying to achieve full coverage in one pass
Sand lightly between every coat, no exceptions
Match your primer to your surface type, not just whatever’s cheapest
Pro Tip: If you notice tackiness that won’t resolve after several days, check your humidity. Ottawa’s damp spring and late-fall stretches can extend cure times significantly, so a dehumidifier in the workspace during those seasons genuinely helps.
When Should You Hire a Cabinet Refinishing Pro in Ottawa?
DIY refinishing works well for a lot of kitchens, but certain situations tip the scale toward hiring it out, and recognizing those signals early saves you from a half-finished kitchen and a frustrating repaint.
You have more than 25 to 30 doors and drawer fronts and limited weekends to spare
Your cabinets are thermofoil, laminate, or heavily veneered with visible lifting
There’s structural damage to boxes or frames beyond simple filling
You need the kitchen functional again within a few days, not a couple of weeks
You want a sprayed, factory-smooth finish without investing in an HVLP setup
If any of those apply, working with a local professional changes the calculation. Ottawa Cabinet Painting brings cabinet-grade spray equipment, a controlled process, and warranty backing that DIY simply can’t replicate, especially on volume jobs where consistency across two dozen doors matters more than on a single accent piece.
Local service also solves problems DIY can’t: guaranteed color matching across every door and drawer, a fixed turnaround instead of an open-ended weekend project, and warranty coverage if something needs touching up down the road. For homeowners juggling work and family schedules, minimized household disruption during the process often matters as much as the finish quality itself.
Ottawa Cabinet Painting offers on-site quotes and backs its work with a 6-year warranty, which is worth factoring in if you’re weighing the true cost difference between DIY and professional refinishing beyond just the sticker price.
A Local Refinisher’s Take on Ottawa Cabinet Projects
Ottawa’s climate throws a specific curveball at cabinet refinishing that a lot of generic how-to guides never mention: humidity swings between seasons genuinely affect cure times. A finish that hardens in three weeks during a dry August stretch might need closer to five in a damp, cold November. If you’re planning your project timeline, building in that seasonal buffer matters more here than in drier climates.
Workspace matters just as much as season. A heated garage or a spare room with a box fan and open window works far better than trying to spray doors in a basement with no airflow. Good ventilation isn’t just about safety with solvents and VOCs, it’s also what keeps your finish curing evenly instead of staying tacky in one corner of the room.
If you get partway through a project and realize the scope is bigger than expected, or the finish isn’t turning out the way you pictured, an on-site quote costs nothing and gives you a clear read on what finishing the job professionally would actually involve, warranty included.
Get an On-Site Quote for Cabinet Refinishing in Ottawa
If the schedule above looks like more time than you have, or your cabinets turned out to be thermofoil, heavily damaged, or simply too many doors for one person to manage in a week, hiring it out is a completely reasonable call. Ottawa Cabinet Painting handles the process differently than a rushed weekend job: meticulous prep work, cabinet-grade coatings sprayed for a smooth, factory-level finish, and a process built specifically to minimize disruption to your kitchen while the work happens.
Every project comes with a 6-year warranty, and quotes are based on your actual cabinets, not a generic estimate. If you want to see the kind of results a professional spray finish produces before deciding, browsing before-and-after project photos gives you a realistic sense of what’s achievable.
Ready to see what your kitchen could look like? Request a free quote for cabinet painting and refinishing and get a clear price and timeline before you decide which route fits your kitchen best.
Sources
For visual, step-by-step guidance alongside this plan, a few specific resources are worth bookmarking:
If you’re weighing hardware alongside your new finish, this guide to choosing cabinet handles is a useful next stop before you drill new holes.
Recommended
Comments