Cabinet Repainting Near Me: Achieve a Modern Finish Easily
- demoore5506
- Feb 8
- 7 min read
Kitchen renovations often feel daunting for Ottawa homeowners who want modern style without heavy expense or days of disruption. From assessing cabinet surfaces to planning colors, each step shapes a smoother, long-lasting upgrade. This guide focuses on achieving a professional-grade refinishing result while keeping your project affordable and your space livable. Discover practical tips for cleaning, prepping, and painting so your kitchen cabinets get a fresh look that endures.
Table of Contents
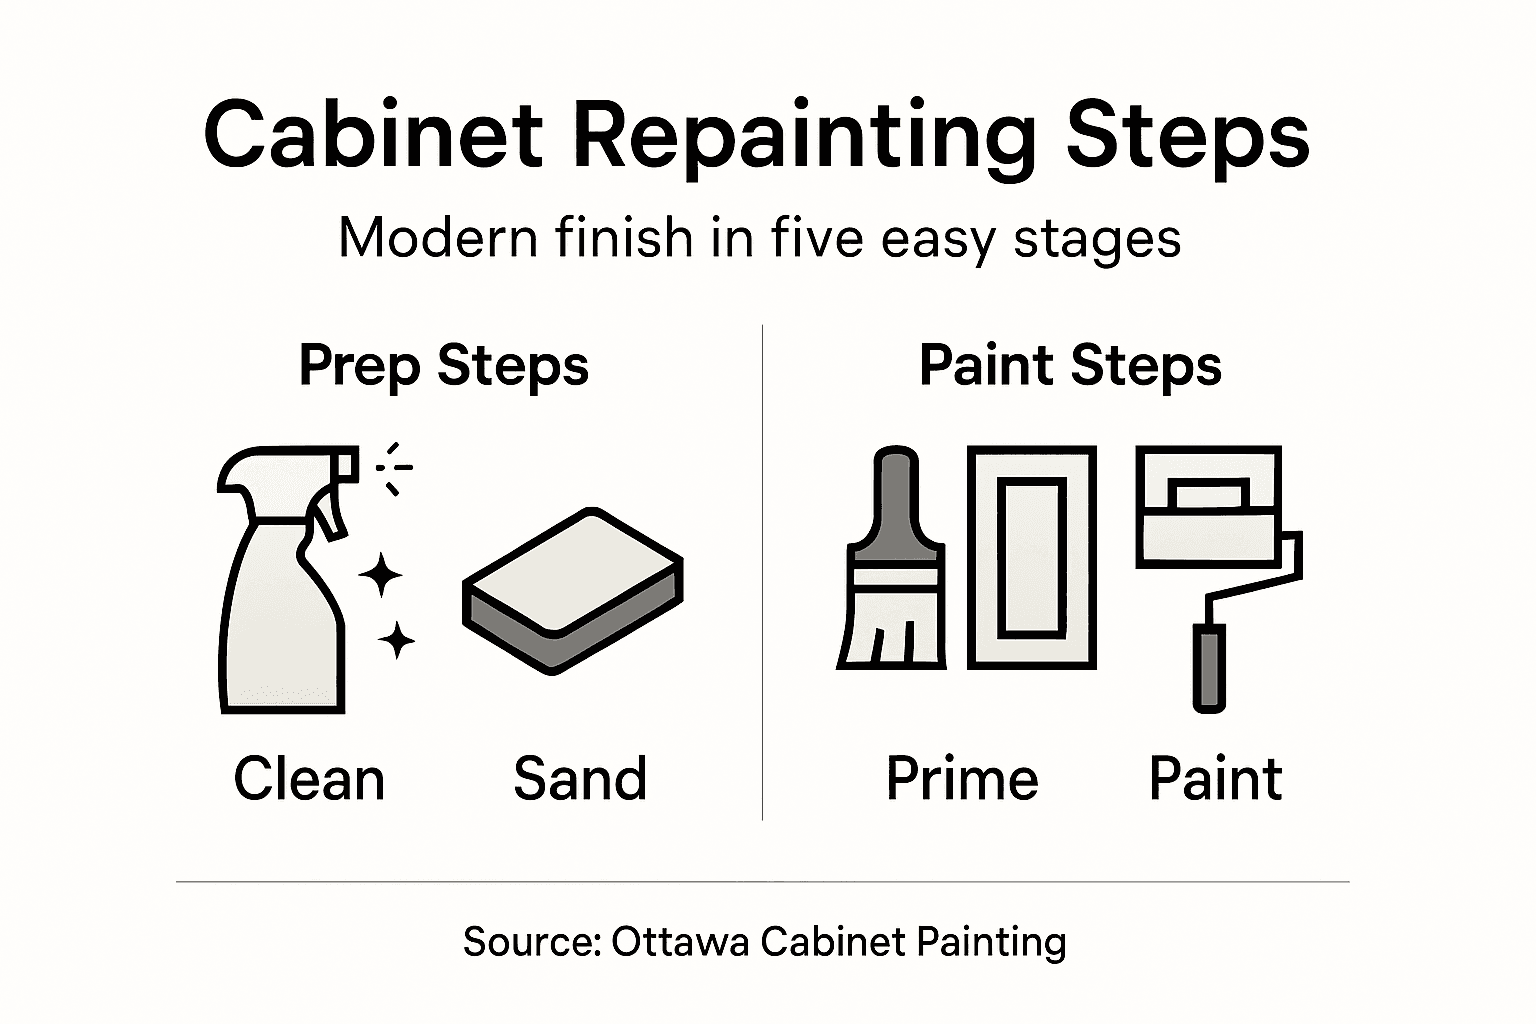
Quick Summary
Key Insight | Explanation |
1. Assess Cabinet Condition | Examine each cabinet for paint integrity, damage, and wear to plan appropriate refinishing steps. |
2. Prepare Kitchen Space | Clear all items and clean surfaces to minimize disruption and maximize paint adhesion during painting. |
3. Systematic Hardware Removal | Remove cabinet hardware with care and label parts to ensure easy reinstallation after painting. |
4. Sand and Repair Imperfections | Sand surfaces and fill imperfections for a smooth finish that enhances paint adhesion and appearance. |
5. Apply Quality Paint Carefully | Use thin, even coats of high-quality paint, inspecting for imperfections before finalizing your project. |
Step 1: Assess Cabinet Condition and Plan Colors
Transforming your kitchen cabinets starts with a thorough assessment of their current condition and strategic color selection. Understanding the surface quality and potential challenges will help you achieve a professional-grade refinishing result that looks like a showroom upgrade.
Begin by carefully examining each cabinet door and drawer front. Look for critical indicators that will impact your painting process:
Existing paint/finish integrity
Surface smoothness and damage
Wood material type
Areas of wear or previous repairs
When selecting colors, consider how different cabinet color choices can transform your space. Neutral tones like soft grays, warm whites, and muted earth tones provide timeless elegance and versatility.
Professional painters recommend testing color samples in your actual kitchen lighting to ensure the perfect match.
Carefully document any surface imperfections, as these will require specific preparation techniques. Minor scratches might need light sanding, while deeper gouges could require wood filler or more extensive repair.
Pro tip: Always clean and degrease cabinet surfaces thoroughly before beginning any painting project to ensure optimal paint adhesion and a smooth final finish.
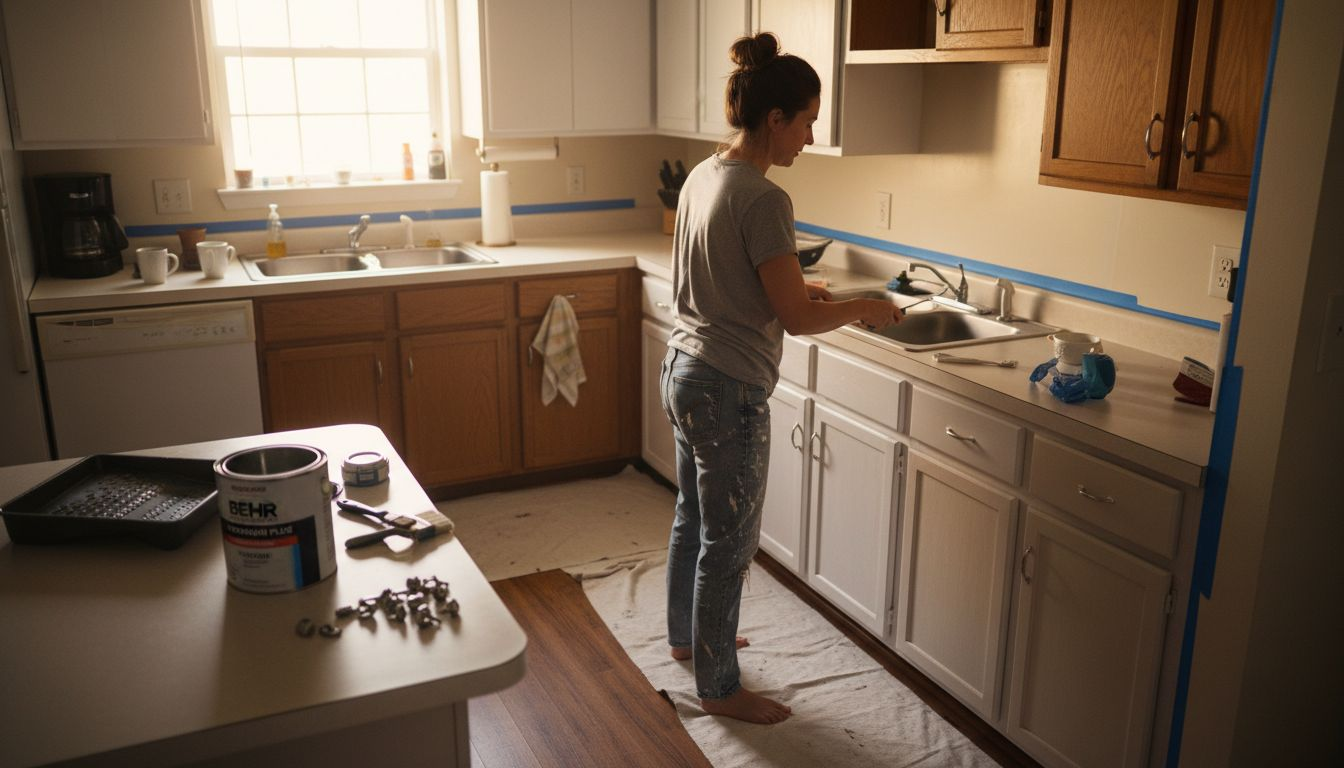
Step 2: Prepare Kitchen Space and Clean Cabinets
Effectively preparing your kitchen and cleaning cabinets is crucial for achieving a flawless painting result. This step transforms your kitchen from cluttered to canvas-ready, ensuring a professional-grade refinishing process that minimizes disruption and maximizes paint adhesion.
Start by completely clearing kitchen surfaces and removing all items from cabinets and countertops. Create a systematic approach to protect your kitchen during the painting process:
Remove all items from cabinet interiors and countertops
Relocate small appliances and kitchen accessories
Cover countertops with drop cloths or plastic sheeting
Protect floors with rosin paper or canvas drop cloths
Proper preparation prevents potential damage and ensures a smooth, professional painting experience.
Next, focus on thorough cabinet cleaning. Use a degreasing cleaner to remove years of accumulated cooking residue, oils, and grime. Pay special attention to areas around handles, edges, and corners where grease tends to build up. A clean surface is critical for paint adhesion and a smooth, lasting finish.
Pro tip: Use a microfiber cloth with a grease-cutting solution and work in small sections to ensure no spot is missed during the cleaning process.
Step 3: Remove Hardware and Protect Surroundings
Preparing for cabinet painting requires careful hardware removal and comprehensive workspace protection. This critical step ensures a clean, professional painting process while safeguarding your kitchen from potential damage.
Begin by carefully removing cabinet hardware using the right tools. You’ll need a few essential items:
Screwdriver set with multiple tip sizes
Small labeled plastic bags for hardware storage
Protective work gloves
Masking tape and painter’s tape
Systematic hardware removal prevents damage and makes the painting process significantly smoother.
Organize your hardware meticulously by creating a labeled system. Place screws and handles in separate, clearly marked bags to prevent loss and ensure easy reassembly. Take photographs of the original hardware placement as a helpful reference for reinstallation.
Protect surrounding surfaces by carefully applying painter’s tape along cabinet edges, countertops, and adjacent walls. Use rosin paper or plastic drop cloths to cover floors and countertops, creating a protective barrier against potential paint splatters.
Pro tip: Use high-quality painter’s tape and press edges firmly to prevent paint bleed and ensure crisp, clean lines during your cabinet refinishing project.
Step 4: Sand Surfaces and Repair Imperfections
Prepping your kitchen cabinets for a stunning paint transformation requires meticulous surface preparation. This critical stage determines the smoothness and professional quality of your final finish, ensuring a showroom-worthy result.
Sanding kitchen cabinet surfaces requires precision and careful technique. You’ll need the following materials:
Fine-grit sandpaper (120-220 grit)
Electric sander or sanding block
Wood filler
Putty knife
Tack cloth
Protective dust mask
Gentle, consistent sanding creates the perfect surface for paint adhesion and a smooth, modern finish.
Repair surface imperfections methodically by first identifying and filling holes, scratches, and uneven areas. Use a high-quality wood filler that matches your cabinet material, applying it carefully with a putty knife and allowing complete drying time. Once dry, sand the repaired areas until they blend seamlessly with the surrounding surface.
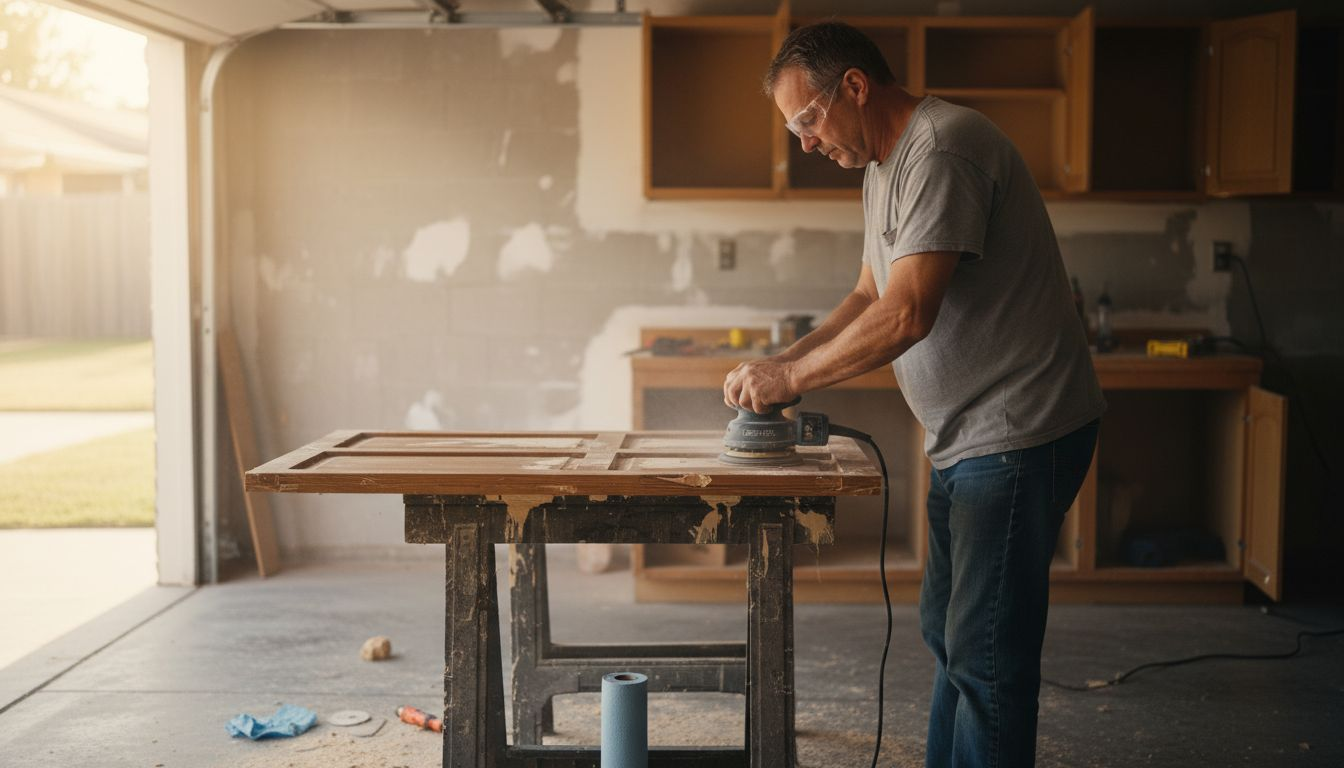
Work systematically across each cabinet surface, using light, even pressure to create a uniform texture. Sand with the wood grain to prevent visible scratches and maintain the cabinet’s natural appearance. Remove all sanding dust with a tack cloth to prepare for priming.
For reference, here is a summary of repair techniques for common cabinet imperfections:
Imperfection Type | Preparation Needed | Repair Method |
Minor scratches | Light sanding | Fine sandpaper |
Deep gouges | Filling and sanding | Wood filler + sand |
Peeling finish | Removal and smoothing | Strip, sand, prime |
Loose hinges | Hardware adjustment | Tighten or replace |
Pro tip: Invest in a dust collection attachment for your electric sander to minimize cleanup and protect your workspace from excessive dust particles.
Step 5: Prime, Paint, and Inspect for Flawless Results
The final transformation of your kitchen cabinets happens during the priming and painting stage, where precision and technique combine to create a professional-quality finish. This crucial phase determines the durability and aesthetic appeal of your cabinet refinishing project.
Begin by carefully preparing cabinets for painting, selecting a high-quality shellac-based primer designed for kitchen surfaces. Apply the primer using these key techniques:
Use a foam roller for large, flat surfaces
Select high-quality synthetic brushes for detailed areas
Apply thin, even coats
Allow complete drying between primer layers
Sand lightly between primer applications
Professional painters know that perfect preparation creates a factory-finished look.
Apply paint with methodical, deliberate strokes, working in the direction of the wood grain. Choose a premium paint specifically formulated for cabinet surfaces, which provides maximum durability and a smooth finish. Multiple thin coats will produce a more professional result than a single thick application.
Here is a quick comparison of popular cabinet paint finishes and their best uses:
Paint Finish | Appearance | Durability | Best For |
Satin | Soft sheen | Moderate | Modern, low-traffic |
Semi-gloss | Noticeable shine | High | Kitchens, bathrooms |
High-gloss | Reflective, very bright | Very high | Accent cabinets |
Matte | Non-reflective, flat | Lower | Rustic or vintage look |
Once painting is complete, conduct a meticulous final inspection. Check for even color coverage, smooth texture, and no visible brush marks. Use natural and artificial lighting to identify any imperfections that might need touch-ups.
Pro tip: Invest in high-quality painter’s lighting to reveal subtle imperfections during your final inspection, ensuring a truly flawless cabinet finish.
Elevate Your Kitchen with Expert Cabinet Repainting
If you’ve been searching for “cabinet repainting near me” to achieve a modern finish easily you understand the challenge of transforming your kitchen cabinets without the hassle and expense of a full renovation. This article highlights the importance of thorough prep work including surface sanding repairing imperfections and selecting the right paint finish to create a durable and beautiful result. Key concerns such as avoiding disruption maintaining your kitchen’s layout and getting a lasting finish are exactly what homeowners face.
At Ottawa Cabinet Painting we specialize in meticulous cabinet refinishing that delivers that showroom-quality look you want. Our proven process includes expert cleaning sanding premium primers and paints applied carefully for a silky smooth surface backed by a 6-year warranty. You can trust us to minimize household chaos with a typical timeline around ten days making your kitchen the warm functional heart of your home again. Discover how our local expertise and dedication to quality sets us apart from quick unreliable options by visiting our main services page.
Ready to give your kitchen cabinets a brand new modern look without replacing them? Learn more about our refinishing process in detail at Ottawa Cabinet Painting and request your free quote today. Take the step toward a high-end kitchen finish that lasts and enjoy the comfort and style of your refreshed home now.
Frequently Asked Questions
How can I assess the condition of my kitchen cabinets before repainting?
Start by examining each cabinet door and drawer for existing paint integrity, surface smoothness, wood material, and any wear or damage. Document any imperfections, so you know how to prepare each surface effectively for a professional finish.
What steps should I take to prepare my kitchen for cabinet repainting?
Clear your kitchen surfaces completely, including removing items from cabinets and countertops. Protect these areas with drop cloths and tape, ensuring your workspace is ready for the painting process without causing damage.
How do I remove cabinet hardware before repainting?
Carefully unscrew all cabinet handles, knobs, and hinges using a screwdriver. Keep the hardware organized in labeled bags to make the reinstallation process easier and prevent anything from getting lost.
What is the best way to sand my kitchen cabinets for painting?
Use fine-grit sandpaper or an electric sander to create a smooth surface, sanding lightly in the direction of the wood grain. Focus on repairing any imperfections with wood filler before sanding those areas down again for a seamless look.
How can I achieve a flawless finish when painting my cabinets?
Apply high-quality primer and paint in thin, even coats, using a foam roller for larger areas and a brush for detailed sections. Conduct a final inspection in natural light to check for imperfections, so you can touch up any spots for a perfect finish.
How long does it take to repaint kitchen cabinets completely?
The entire cabinet repainting process can take around a week, including assessment, preparation, painting, and drying time between coats. Plan your project to allow at least 30 days before using the cabinets to ensure the paint is fully cured.
Recommended

Comments