How to Redo Kitchen Cabinets: Ottawa's Practical Guide
- Axcell Painting
- 13 hours ago
- 12 min read
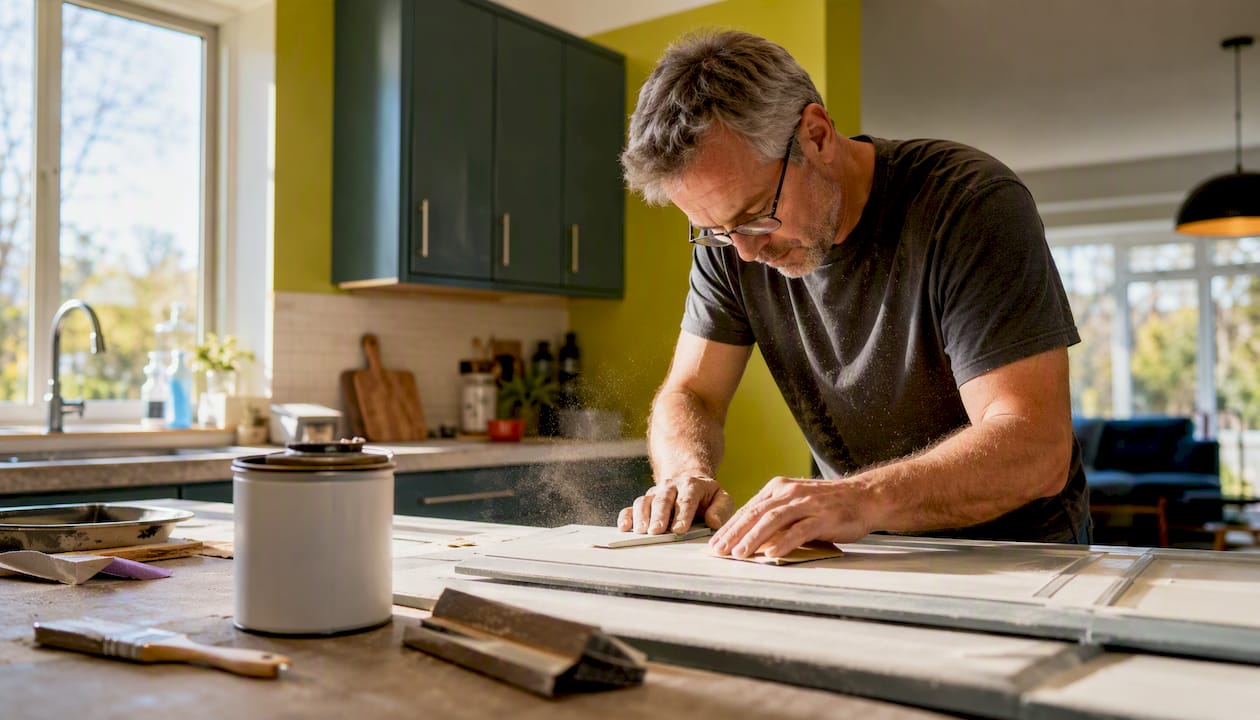
For most Ottawa homeowners with structurally sound cabinets, painting or refinishing delivers the best balance of cost, visual impact, and durability. Full replacement rarely makes financial sense when the boxes are solid. A professional-grade paint job costs a fraction of new cabinetry and, done correctly, lasts a decade or more.
Here’s the one-line decision rule: if your cabinet boxes are solid and your layout works, paint or refinish. If boxes are warped, water-damaged, or you need a layout change, reface or replace.
Paint/refinish (DIY): $250–$500 CAD in materials, 5–7 days, best for solid wood or MDF in good condition
Paint/refinish (pro): professional cabinet painting ranges from $1,500 to $8,500+ CAD depending on kitchen size, per HomeStars
Reface: $3,000–$10,000 CAD, better when doors are damaged but boxes are sound
Full replacement: $5,000–$30,000+ CAD, justified only when boxes are failing or layout must change
Pro Tip: Prep is 80% of a successful finish. Ottawa homeowners who rush the cleaning and sanding steps almost always end up with peeling paint within a year. Budget your time accordingly.
Table of Contents
12 Ottawa kitchen cabinet refresh ideas worth considering
1. Paint with new hardware
The most popular kitchen cabinet refresh for good reason. Fresh cabinet-grade enamel plus updated pulls transforms a dated kitchen for under $600 CAD in materials. Works on solid wood, MDF, and wood veneer. Choose this when your boxes are solid and you want maximum visual change at minimum cost.
2. Full paint with a glaze accent
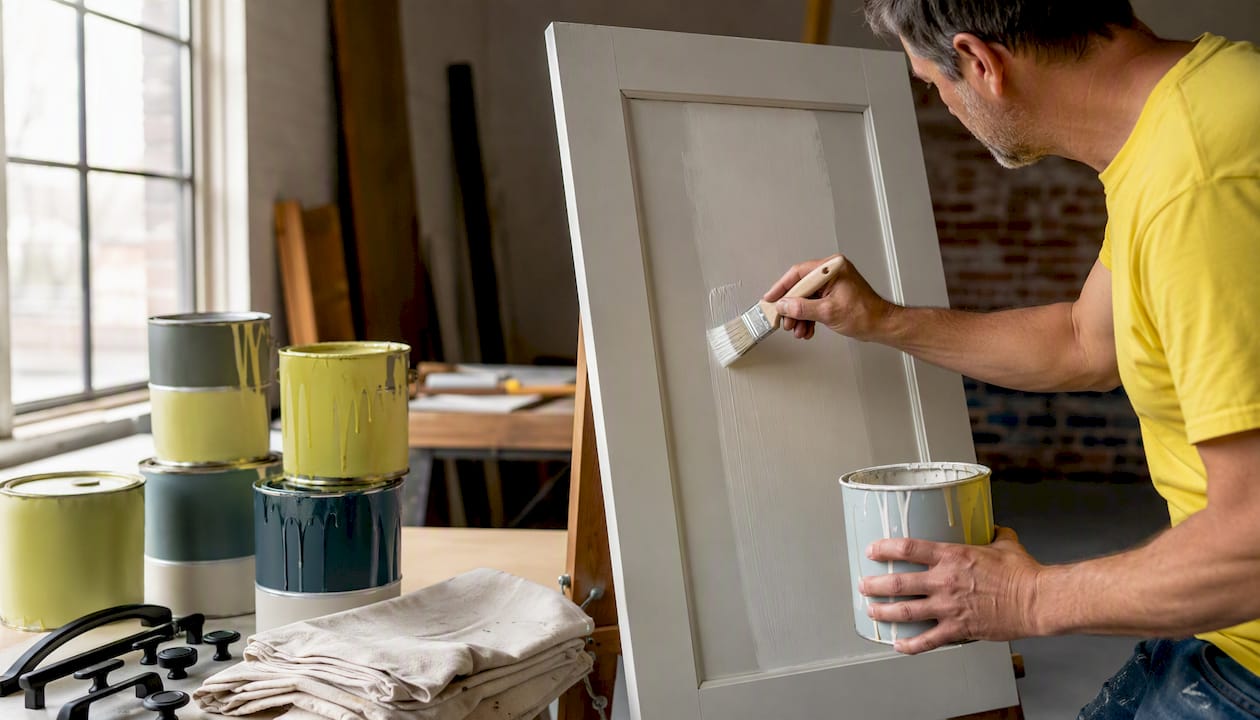
A glaze coat applied over a base color adds depth and a furniture-like quality that plain paint can’t replicate. Intermediate skill level. Cost bracket: low to medium ($400–$900 CAD DIY). Best on raised-panel doors where the glaze settles into the detail.
3. Stain or refresh solid wood
If your cabinets are real wood with a tired or yellowed stain, stripping and re-staining preserves the grain character that paint covers up. Beginner to intermediate difficulty. Material cost: roughly $200–$400 CAD. Not suitable for MDF, thermofoil, or laminate surfaces.
4. Reface with new doors and drawer fronts
Refacing keeps your existing cabinet boxes and replaces only the doors, drawer fronts, and visible face frames. High visual impact, low disruption to plumbing and layout. Cost: $3,000–$10,000 CAD professionally done. Choose this when boxes are structurally sound but doors are warped, damaged, or thermofoil is lifting.
5. Replace doors only
A step below full refacing. Order replacement doors in a new style (shaker, flat-front) and paint or stain them before hanging. DIY-friendly if you’re comfortable with basic hinge work. Cost: $800–$2,500 CAD depending on door count and material. High visual impact for intermediate DIYers.
6. Remove doors for open shelving
Pull the upper cabinet doors entirely, paint the interior box a contrasting color, and add simple shelf brackets or lighting. Cost: near zero if you already own the cabinets. Works best in kitchens with attractive dishware worth displaying. Dust accumulation is the real trade-off.
7. Add glass inserts to existing doors
A glazier or cabinet shop can cut out a door panel and install glass for $50–$150 per door. Pairs well with a fresh paint coat. Intermediate difficulty. The result reads as a custom kitchen upgrade without the custom price.
8. Install crown moulding and trim details
Crown moulding along the top of upper cabinets and light rail along the bottom adds architectural weight that makes stock cabinets look built-in. Material cost: $150–$400 CAD for a typical kitchen. Intermediate carpentry skill required. Pairs well with any paint or stain project.
9. Add toe-kick drawers
The dead space under your base cabinets can hold flat items like baking sheets or cutting boards. Toe-kick drawer kits are available at most Canadian home improvement retailers. Cost: $200–$600 CAD installed. No visual drama, but real functional gain.
10. Install under-cabinet lighting
LED strip or puck lights under upper cabinets add warmth, improve task lighting, and make a freshly painted kitchen feel finished. Plug-in options require no electrical work. Cost: $80–$300 CAD. High perceived value for minimal effort.
11. Add pull-out organizers and inserts
Roll-out shelves, lazy Susans, and drawer organizers don’t change how your cabinets look from the outside, but they change how the kitchen functions daily. Cost: $30–$200 CAD per unit. Available at IKEA, Home Depot Canada, and Canadian Tire.
12. Full cabinet replacement
The most disruptive and expensive route. Justified when boxes are water-damaged, structurally failing, or a layout change is needed. According to HomeStars, full replacement runs $5,000–$30,000+ CAD, compared to $1,500–$8,500 for professional painting. Advanced project requiring trades coordination.
Option | Typical cost (CAD) | DIY difficulty | Time to complete | Visual impact | Durability |
Paint + new hardware | $250–$600 | Beginner/Intermediate | 5–7 days | High | 8–12 years with quality enamel |
Stain/refresh wood | $200–$400 | Beginner | 3–5 days | Medium | 7–10 years |
Add crown moulding | $150–$400 | Intermediate | 1–2 days | Medium | Very high |
Glass inserts | $50–$150/door | Intermediate | 1 day | Medium | Very high |
Open shelving | Near zero | Beginner | 1 day | Medium | N/A |
Under-cabinet lighting | $80–$300 | Beginner | Half day | Medium | Very high |
Pull-out organizers | $30–$200/unit | Beginner | Half day | Low | Very high |
Replace doors only | $800–$2,500 | Intermediate | 3–5 days | High | Depends on material |
Reface (pro) | $3,000–$10,000 | Advanced/Pro | 5–10 days | Very high | 10–15 years |
Full replacement | $5,000–$30,000+ | Pro only | 4–8 weeks | Very high | 15–20 years |
How to paint Ottawa kitchen cabinets like a pro
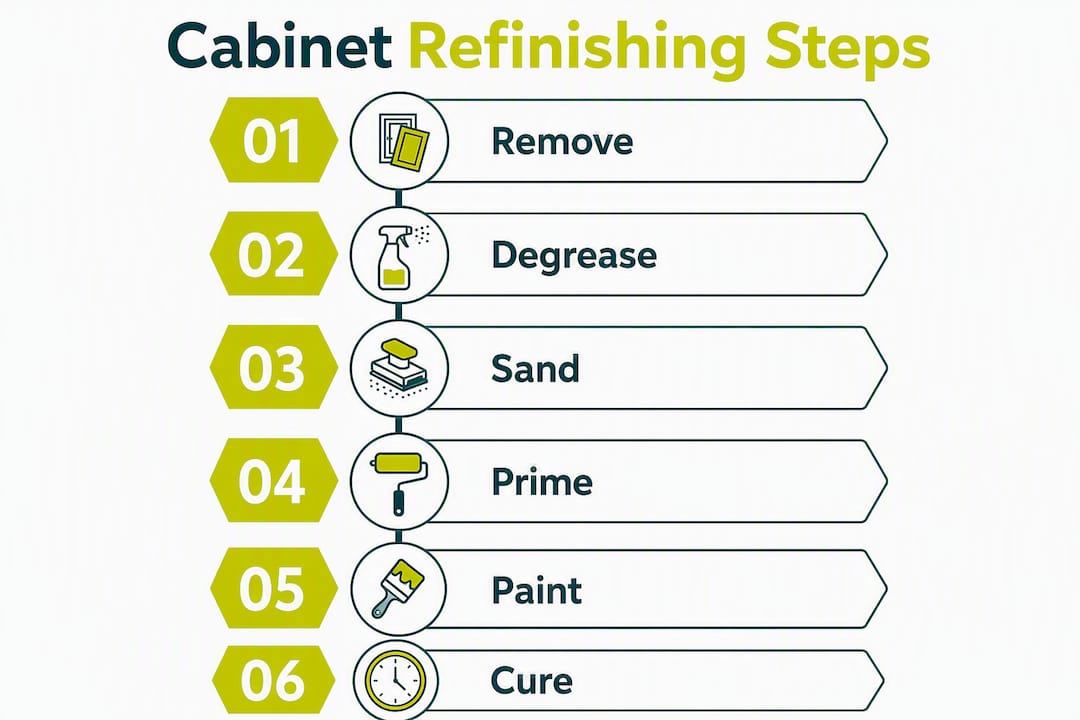
The single best DIY approach is thorough prep followed by cabinet-grade enamel applied in multiple thin coats, with adequate drying time between each. Skipping prep is the recipe for failure. A pro-level DIY paint project typically runs 5–7 days from start to finish.
Step 1: Remove and label everything
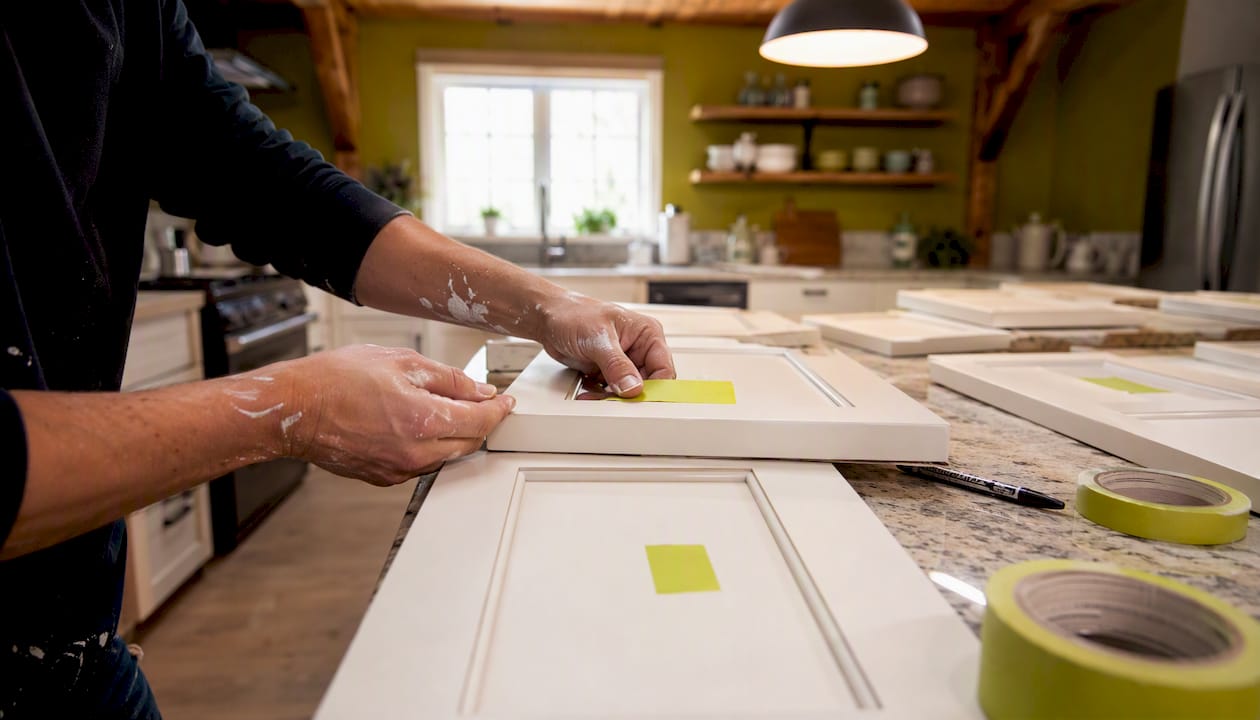
Take off every door and drawer front. Label each one with painter’s tape and a number inside the cabinet box and on the matching door. This turns reassembly into a simple matching exercise instead of a guessing game.
Step 2: Degrease thoroughly
Kitchen grease near cooktops and around handles is the most common cause of early paint failure. Use a TSP (trisodium phosphate) substitute and do two full cleaning passes, not one. Pay extra attention to edges and stile areas where invisible grease builds up.
Step 3: Sand for adhesion
Scuff-sand with 120-grit to break the existing finish, then follow with 220-grit for a smooth base. You’re not stripping the cabinet; you’re giving the primer something to grip. Wipe every surface with a tack cloth before moving on.
Step 4: Prime correctly
Use a bonding primer on laminate or thermofoil surfaces. On bare wood or previously painted cabinets in good condition, a quality shellac-based or water-based bonding primer works well. Priming is non-negotiable; skipping it is the second most common DIY mistake after inadequate degreasing.
Step 5: Apply paint in thin coats
Cut in corners and detail areas with a quality 2-inch angled brush, then immediately roll the flat surfaces with a 4-inch foam mini roller while the paint is still wet. This brush-then-roll technique levels brush marks and produces a furniture-like finish without spray equipment.
Apply two to three thin coats. Never one thick coat. Sand lightly with 320-grit between coats to knock down any raised grain or texture, then tack-clean before the next coat.
Pro Tip: Water-based alkyd urethane enamels like Sherwin-Williams Emerald Urethane Trim Enamel or Benjamin Moore Advance are the professional standard for Ottawa cabinet projects. They cure harder than standard latex, level beautifully, and carry low VOC levels — important when you’re working in an occupied home through an Ottawa winter.
Step 6: Cure before reinstalling
Paint may feel dry to the touch within hours, but full chemical cure takes considerably longer. Treat reinstalled doors gently for the first several weeks. Avoid scrubbing or heavy cleaning during this period.
Ottawa-specific note: In cold months, indoor humidity and limited ventilation slow drying and cure times for water-based systems. Run an air mover and keep the space above 15°C. Low-VOC water-based options are strongly preferable for occupied homes where ventilation is restricted. Managing humidity and ventilation in Ottawa winters is one of the most overlooked factors in a successful DIY cabinet project.
Materials checklist:
TSP substitute degreaser
120-grit and 220-grit sandpaper (plus 320-grit between coats)
Tack cloths
Quality bonding primer
2-inch angled brush
4-inch foam mini roller
Mini orbital sander or sanding block
Cabinet-grade enamel (Sherwin-Williams Emerald Urethane or Benjamin Moore Advance)
Respirator rated for paint fumes
Drop cloths and painter’s tape
Realistic Ottawa cost ranges and timelines
According to HomeStars, most Canadian homeowners pay $2,500–$5,500 for professional cabinet painting, with the full range running $1,500 for a small kitchen to $8,500+ for a large one. DIY material costs typically land in the $250–$500 CAD range for a typical kitchen.
For a medium Ottawa kitchen with roughly 20–30 doors, a professional refinish runs 5–10 elapsed days, with the kitchen usable in the evenings during that period. Full chemical cure extends beyond the project itself, so plan for gentle use of reinstalled doors for several weeks after completion.
Option | Typical cost (CAD) | DIY difficulty | Elapsed time | Visual impact | Durability/maintenance |
DIY paint (materials only) | $250–$500 | Beginner/Intermediate | 5–7 days | High | 8–10 years with proper prep |
Pro refinish (spray) | $1,500–$8,500+ | Pro | 5–10 days | Very high | 10–15 years |
Cabinet refacing | $3,000–$10,000 | Pro | 5–10 days | Very high | 10–15 years |
Full replacement | $5,000–$30,000+ | Pro/trades | 4–8 weeks | Very high | 15–20 years |
Labour accounts for roughly 60–75% of most professional cabinet painting quotes in Canada, which is why door count drives the final number more than paint product choice. Spray application adds $500–$1,500 to a typical quote but delivers a factory-smooth finish with no brush texture.
Safety and environmental note: Budget for a quality respirator ($30–$60 CAD) and an air mover for ventilation. Dispose of old hardware responsibly; many Ottawa-area metal recyclers accept hinges and pulls.
When to DIY and when to call an Ottawa pro
DIY is a good fit when:
Cabinet boxes are solid with no water damage, warping, or delamination
You’re comfortable with detail-oriented prep work and patient with drying times
You have basic tools: orbital sander, foam rollers, angled brush, respirator
Your schedule allows 5–7 days of active work plus cure time
Hire a pro when:
Thermofoil is lifting or laminate is peeling widely (bonding primer won’t hold long-term)
Cabinet boxes show rot, swelling, or structural damage
You want a factory-spray finish with no brush texture
You need the kitchen back in full use quickly and can’t manage the cure window
Questions to ask any Ottawa contractor before hiring:
What coating system do you use? (1K water-based enamel vs. 2K acrylic-polyurethane lacquer, and which brand?)
Where are the doors sprayed? (On-site vs. a controlled shop environment matters for finish quality.)
What’s your warranty, and what does it cover?
How do you control dust and protect countertops and appliances?
Can you provide before-and-after photos from Ottawa projects?
What’s the written timeline from removal to reinstallation, and when can I use the kitchen normally?
Common DIY mistakes to avoid:
Skipping the second degreasing pass near handles and cooktop areas
Applying one thick coat instead of two or three thin ones
Rehanging doors before the paint has had adequate time to cure
Using standard interior latex wall paint instead of a dedicated cabinet enamel
Design choices that work well for Ottawa kitchens
Color and finish sheen have an outsized effect on how a refinished kitchen reads. Hardware updates and small details like crown moulding can modernize cabinets cheaply and dramatically shift perceived value.
Sheen level matters more than most homeowners expect. Satin is the most forgiving choice for Ottawa kitchens: it cleans easily, hides minor prep imperfections, and reads as polished without being flashy. Semi-gloss works well on lower cabinets and islands where durability is the priority. High gloss is unforgiving. Any prep flaw, brush mark, or surface irregularity shows clearly under direct light. If you choose high gloss, your prep must be flawless.
Two-tone combinations are popular in Ottawa right now: painted lowers in a deep navy, forest green, or charcoal paired with white or off-white uppers. The island, if you have one, is a natural candidate for a contrasting color. For color selection guidance specific to Ottawa kitchens, the Ottawa kitchen color upgrade guide covers local preferences and lighting considerations in detail.
Hardware is the fastest perceived-value upgrade. Brushed brass, matte black, and brushed nickel are all strong choices depending on your cabinet color. Budget $3–$12 per pull for quality hardware from Canadian Tire, Home Depot Canada, or specialty retailers. A full kitchen hardware swap typically costs $150–$400 CAD and takes an afternoon.
What to look for in before-and-after photos when evaluating a contractor or your own work: consistent gap spacing between doors, crisp edges with no paint bleed, and even color across all surfaces with no lap marks or roller texture visible at an angle. Those details separate a professional result from a DIY job that looked good in photos but disappoints in person.
A note on finish options: Understanding the full range of cabinet paint finish options — from matte to high gloss, and from water-based alkyd to 2K lacquer — helps you match the coating to your lifestyle before you buy a single can.
Key Takeaways
For Ottawa homeowners with structurally sound cabinets, painting or refinishing with a cabinet-grade enamel delivers the best return on investment, with DIY material costs starting around $250–$500 CAD and professional results lasting 10–15 years.
Point | Details |
Start with cabinet condition | Sound boxes with no water damage or warping are the green light for painting or refinishing. |
Prep is 80% of the result | Two degreasing passes, scuff-sanding, and proper priming determine whether the finish lasts. |
Use cabinet-grade enamel | Sherwin-Williams Emerald Urethane or Benjamin Moore Advance outperform standard latex in hardness and durability. |
DIY costs $250–$500 CAD | Professional refinishing runs $1,500–$8,500+ CAD; full replacement starts at $5,000 and climbs to $30,000+. |
Ottawacabinetpainting offers local pro service | With a 6-year warranty and a meticulous spray process, Ottawacabinetpainting is a trusted Ottawa option for homeowners who want factory-quality results without DIY risk. |
An Ottawa perspective on what cabinet projects actually look like
Ottawa kitchens present a specific set of challenges that general DIY guides don’t fully address. Cold winters mean that water-based systems applied in poorly ventilated spaces can take longer to cure and are more prone to surface defects if temperature and humidity aren’t managed. We see this regularly on projects where homeowners started in November without an air mover or adequate heat in the workspace.
The projects we’re most proud of in Ottawa share one thing: the homeowner or our crew spent the right amount of time on prep. It’s not glamorous work. Degreasing cabinet frames twice, sanding methodically, and priming correctly takes patience. But that patience is exactly what separates a finish that looks great for a decade from one that starts showing wear within two years.
Local finish preferences in Ottawa lean toward satin sheens in warm whites, soft greens, and two-tone combinations. We’ve seen a strong shift toward navy lowers with white uppers over the past few years, and matte black hardware continues to be the most requested update. Our 6-year warranty reflects our confidence in the coating systems we use and the prep process we follow on every project.
If you’re planning a DIY cabinet refresh, the most important investment you can make is time on prep. If you’d rather hand it off, we’re here. Either way, your kitchen deserves a finish that holds up.
Ottawacabinetpainting: get a free estimate for your Ottawa kitchen
Painting your cabinets yourself is absolutely achievable when the conditions are right. But if you want a factory-spray finish, a written warranty, and a process that keeps your kitchen functional throughout, Ottawacabinetpainting is the local alternative to a full renovation.
The service covers cabinet painting and refinishing using professional-grade coating systems, with a meticulous prep process that includes thorough degreasing, sanding, and priming before a single drop of finish goes on. The typical Ottawa professional cabinet painting project runs 5–10 elapsed days, with the kitchen usable in the evenings. A 6-year warranty backs every job.
A free estimate answers the questions that matter before you commit: which coating system fits your cabinets, what the realistic timeline looks like, and what the total cost will be in writing. You can also view the before-and-after gallery to judge finish quality for yourself. Ready to get started? Request a free spray painting quote and get a clear answer for your specific kitchen.
Useful sources for Ottawa cabinet projects
These resources support the guidance in this article and give you places to go deeper on specific topics:
How to Paint Kitchen Cabinets: A Pro-Level DIY Guide (2026) — Hbdepot: step-by-step DIY instructions covering prep, primer, application, and timeline for a typical kitchen project.
Cost to Paint Kitchen Cabinets in Canada: A 2026 Guide — HomeStars: Canadian cost ranges by kitchen size, material, and application method, with contractor-finding tools.
Best Kitchen Cabinet Paint: Why 2K Lacquer Beats Store Paint — Arsh Art: detailed comparison of 2K acrylic-polyurethane lacquer vs. store-bought cabinet paints, with cost data for the GTA market.
Best Paint for Kitchen Cabinets: What a Professional Painter Actually Recommends — Pro Coat Property Services: product-level guidance on Sherwin-Williams Emerald Urethane and Benjamin Moore Advance, including application tips.
7 Must-Know Tips for Cabinet Painting Ottawa Homeowners — Ottawacabinetpainting: Ottawa-specific prep and painting tips, including the prep-is-80%-of-success principle.
How to Choose Kitchen Cabinet Color for a Modern Upgrade — Ottawacabinetpainting: color selection and hardware pairing guidance for Ottawa kitchens.
Best Time to Paint Cabinets in Ottawa: A Timing Guide — Ottawacabinetpainting: seasonal guidance on humidity, ventilation, and temperature for Ottawa cabinet projects.
Kitchen Cabinet Repair and Refinishing: Ottawa’s 2026 Guide — Ottawacabinetpainting: repair vs. refinish decision framework and recommended coating systems for Canadian homes.
What Is the Best Color to Paint Interior Doors? — One Day Doors & Closets: color guidance for doors and trim that pairs well with a cabinet refinish project.
Cupboard Refinishing: The Ultimate Guide — Woodyart: a practical overview of refinishing methods, surface assessment, and maintenance for kitchen cupboards.
Recommended