What Is Paint Adhesion? A DIY Guide for Ottawa Homeowners
- Axcell Painting

- 8 hours ago
- 9 min read
TL;DR:
Paint adhesion is the strength of the bond between a cured paint film and its surface, which determines its durability. Proper surface cleaning, sanding, primer choice, and correct application conditions are essential for long-lasting adhesion, especially in Ottawa’s climate. Testing methods like the ASTM D3359 tape test help identify adhesion failures early, ensuring the finish lasts for years.
Paint adhesion is defined as the strength of the physical and chemical bond between a cured paint film and the surface beneath it, and this bond determines whether your paint job lasts years or starts peeling within months. Every time paint fails on a wall, cabinet, or trim, weak adhesion is almost always the root cause. The industry standard for measuring this bond is ASTM D3359, a tape test that reveals exactly how well paint grips its substrate. For Ottawa homeowners tackling painting or refinishing projects, understanding adhesion is the difference between a finish that holds up through harsh winters and one that bubbles by spring.
What is paint adhesion and why does it matter in Ottawa?
Paint adhesion is the measure of how strongly paint bonds to a surface. Adhesion failure happens when the forces holding paint to a substrate are weaker than the mechanical or environmental stresses acting on the coating. In Ottawa, those stresses are real: freeze-thaw cycles, high humidity in summer, and dry indoor air in winter all test a paint film constantly.
The role of paint adhesion in durability cannot be overstated. A paint film that bonds well resists cracking, peeling, and flaking even under thermal expansion and contraction. One that bonds poorly will fail at the weakest point, usually the interface between paint and surface. That failure shows up as bubbling, chipping, or sheets of paint lifting away from the substrate.
The importance of paint adhesion goes beyond appearance. Peeling paint on kitchen cabinets, for example, exposes raw wood to moisture, which leads to swelling, warping, and eventually structural damage. Getting adhesion right from the start protects both your investment and your home.
How does paint adhesion work? The science of bonding
Paint bonds to surfaces through two main mechanisms: mechanical adhesion and chemical adhesion. Mechanical adhesion happens when liquid paint flows into the tiny pores and valleys on a surface, then hardens and locks in place. Chemical adhesion occurs when paint molecules form actual chemical bonds with the substrate material.
The key concept that governs both is wetting. For paint to bond well, it must spread evenly across a surface rather than bead up. A high contact angle, where a liquid droplet sits tall and round on a surface, signals poor wetting. High contact angles above 90° correlate directly with poor wetting and adhesion failure. Think of water beading on a waxed car hood. Paint behaves the same way on a low surface energy material.
Surface texture plays a major role in mechanical adhesion. A rougher surface gives paint more area to grip. This is why sanding before painting is not optional. It is the step that creates the microscopic landscape paint needs to anchor itself.
Adhesion forces pull paint toward the substrate and keep it there.
Cohesion forces hold the paint film together internally.
When adhesion forces are weaker than cohesion forces, paint peels off the surface cleanly. When cohesion is weaker, the film splits between layers.
Low surface energy materials like plastics and glossy tiles repel water-based coatings by default.
Surface energy treatments like plasma or corona raise surface energy temporarily, but coating must be applied quickly before the surface reverts.
Pro Tip: Sand glossy surfaces with 120-grit sandpaper before painting. That light scuffing creates enough mechanical texture to dramatically improve grip, even before you apply primer.
The balance between a paint film’s hardness and flexibility also affects long-term adhesion. Raw materials like Methacrylic Acid monomers influence this balance, and film hardness and flexibility must work together for a coating to stay bonded through temperature swings and physical stress.
What affects paint adhesion on home surfaces?
Several factors determine whether paint sticks or fails. Understanding what affects paint adhesion helps you control the outcome before you open a can.
Surface contamination. Grease, dust, wax, and silicone all block paint from reaching the substrate. Even a fingerprint can create a weak spot. Cleaning is the first and most critical step in the paint adhesion process.
Surface roughness. Smooth, glossy surfaces give paint nothing to grip mechanically. Sanding or scuffing creates the texture needed for a strong bond.
Primer selection. The wrong primer for a substrate is a recipe for disaster. Shellac-based primers grip difficult surfaces like stained wood or glossy paint where latex primers would slide right off.
Recoat timing. Applying a topcoat too soon traps solvents beneath the film, which causes bubbling and delamination. Every product has a manufacturer-recommended recoat window. Respect it.
Temperature and humidity. Paint applied in temperatures below 50°F or above 90°F cures poorly. High humidity slows drying and can trap moisture under the film. Ottawa’s climate makes this a real concern in early spring and late fall.
Pro Tip: Always degrease surfaces with a TSP substitute or a dedicated degreaser before sanding. Sanding over grease just spreads contamination into the surface profile.
Adhesion failure is rarely caused by one factor alone. It almost always results from a combination of poor surface prep, wrong primer, and rushed application. Treating adhesion as a system, where substrate, primer, and topcoat must all be compatible, is the only approach that produces lasting results.
How to improve paint adhesion on Ottawa home surfaces
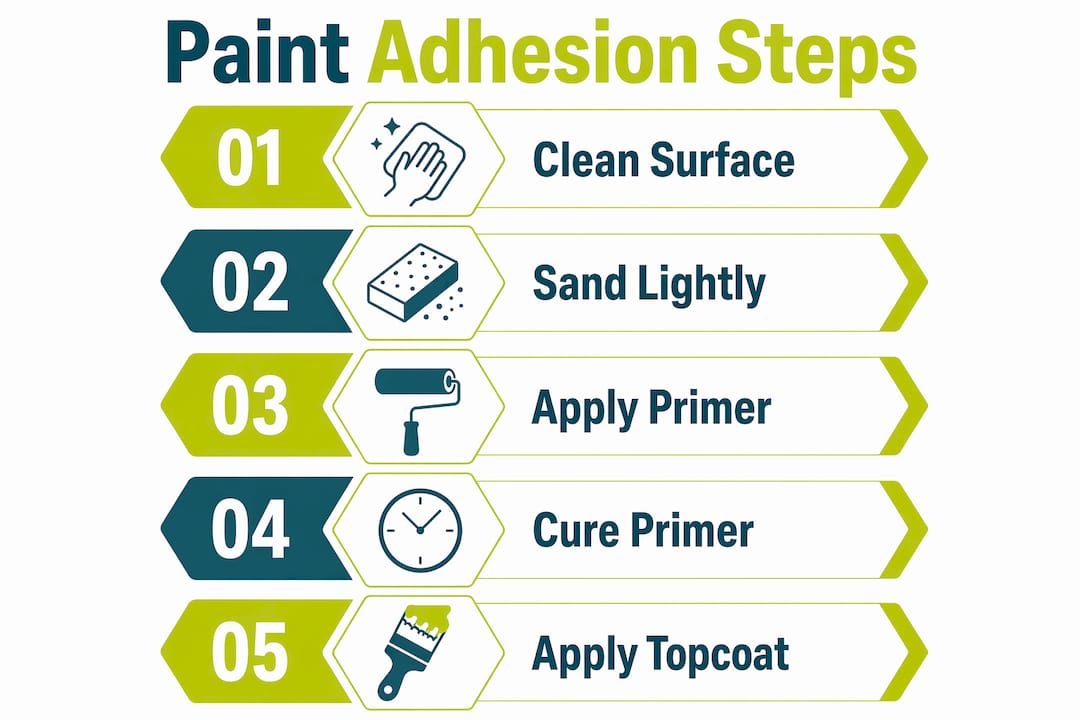
Improving paint adhesion starts well before the first coat of paint. The prep work is where the job is won or lost.
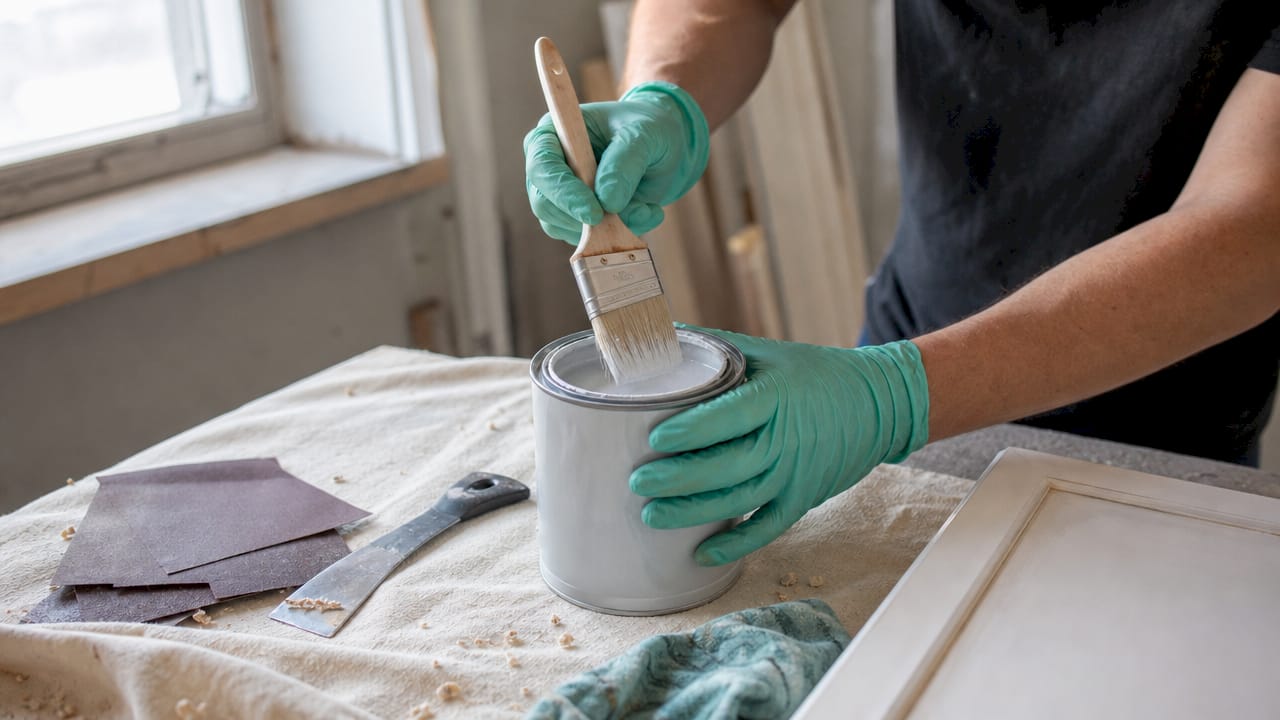
Step 1: Clean the surface thoroughly. Wash with a TSP substitute or degreaser to remove oils, grease, and dust. Rinse completely and let the surface dry. Skipping this step means painting over a contamination layer that will eventually release.
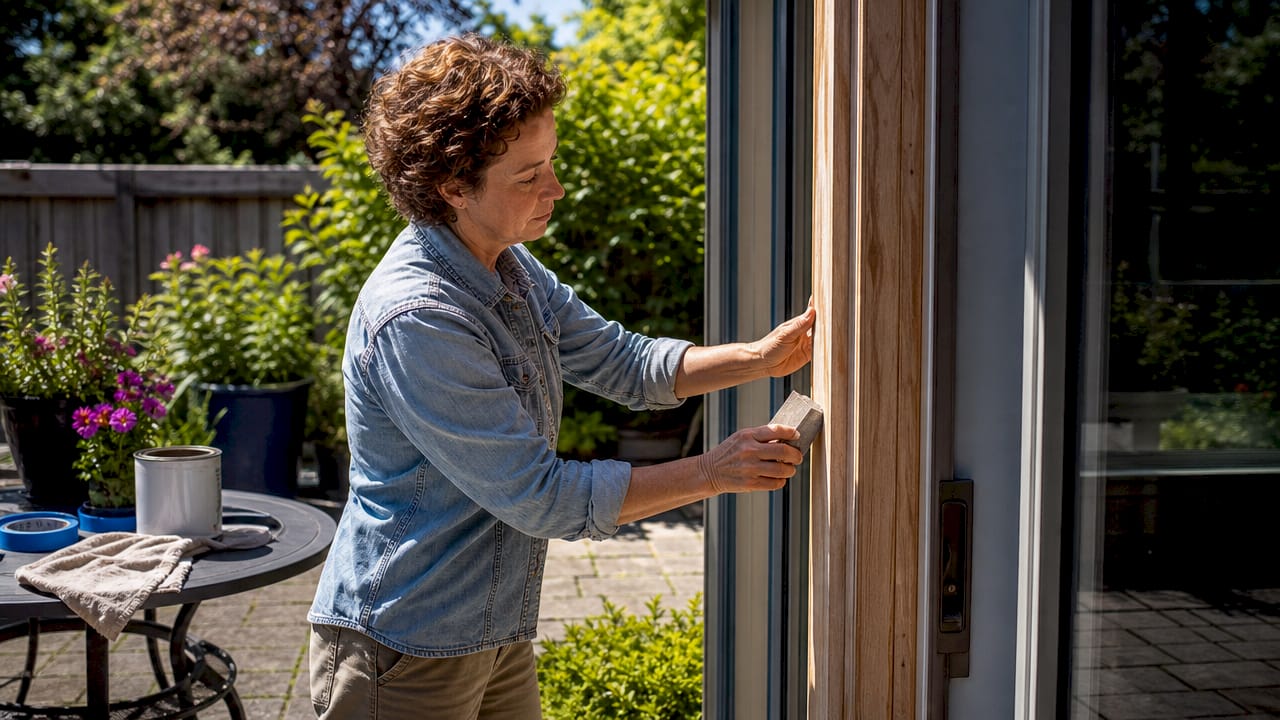
Step 2: Sand or scuff the surface. Use 120-grit to 180-grit sandpaper on wood surfaces. For glossy paint or tile, a liquid deglosser or fine scuff pad works well. The goal is a dull, uniform surface with visible micro-scratches. Mechanical roughening increases the surface area available for bonding and is non-negotiable on slick substrates.
Step 3: Choose the right primer.
For raw wood: an oil-based or shellac-based primer seals the grain and grips the surface.
For glossy or previously painted surfaces: an adhesion primer bonds to the existing coating.
For plastics and low surface energy materials: adhesion promoters chemically bond to both substrate and paint, forming a bridge that standard primers cannot create.
For stained or tannin-rich wood: shellac-based primer blocks bleed-through and locks down the substrate.
Step 4: Apply primer correctly and let it cure. Thin, even coats cure faster and more uniformly than thick ones. Follow the manufacturer’s recoat window before applying your topcoat. Rushing this step is one of the most common mistakes Ottawa DIYers make.
Step 5: Apply topcoat in the right conditions. Work in temperatures between 50°F and 85°F with humidity below 70%. Two thin coats always outperform one thick coat for both adhesion and finish quality.
Pro Tip: On kitchen cabinets, always prep cabinets properly before painting. A four-step prep process is the foundation of a finish that holds up for five or more years.
Cleaning alone is not enough for low surface energy materials. Plastics and glossy tiles require either a dedicated adhesion promoter or a mechanical treatment to alter the surface chemistry enough for paint to bond reliably.
How to test paint adhesion strength in Ottawa
Testing paint adhesion tells you whether a surface is ready for coating or whether an existing finish is failing. The most recognized method is the ASTM D3359 tape test.
Test Method | How It Works | Best For |
ASTM D3359 tape test | Cut a grid pattern in the coating, apply tape, pull off sharply, and evaluate paint removal | Quantifying bond strength on flat surfaces |
Visual inspection | Look for bubbling, peeling edges, or lifting at seams | Quick daily monitoring of existing finishes |
Scratch test | Drag a fingernail or coin across the surface to check for easy removal | Rough field check before professional testing |
The ASTM D3359 tape test cuts a grid of lines through the coating, then uses a standardized tape to pull the coating away. The percentage of paint removed determines the adhesion rating. A rating of 5B means zero paint removed. A rating of 0B means more than 65% removed.
For homeowners, visual inspection is the most practical daily tool. Signs of adhesion failure include:
Paint lifting at edges or corners
Bubbles forming under the film
Flaking or chalking on the surface
Discoloration at seams between layers
Effective adhesion testing catches problems early, well before a full coating failure develops. Catching a small area of poor adhesion early saves you from stripping and repainting an entire surface.
Professional adhesion testing is worth considering before repainting over an existing finish you did not apply yourself. You cannot know what primer or paint was used before, and an incompatible topcoat over an unknown substrate is a common cause of intercoat delamination, where paint peels between layers rather than off the surface entirely.
Key Takeaways
Strong paint adhesion requires a system-level approach: clean substrate, correct primer, compatible topcoat, and proper curing conditions working together.
Point | Details |
Adhesion is a bond, not just coverage | Paint must chemically and mechanically grip the surface to resist peeling and environmental stress. |
Surface prep determines outcome | Cleaning, sanding, and priming are the steps that decide whether paint lasts years or fails in months. |
Primer selection is substrate-specific | Shellac-based, oil-based, and adhesion primers each serve different surfaces and cannot be swapped freely. |
Recoat timing prevents delamination | Applying topcoat before primer fully cures traps solvents and causes bubbling or layer separation. |
Testing reveals hidden failures early | The ASTM D3359 tape test and visual inspection catch adhesion problems before they become full failures. |
What we have learned from Ottawa paint jobs over the years
The most common mistake we see Ottawa homeowners make is treating primer as optional. They clean the surface, skip the primer, and apply two coats of quality paint, then wonder why the finish starts lifting at the edges within a year. The primer is not a formality. It is the layer that makes the entire system work.
Ottawa’s climate adds a layer of complexity that homeowners in milder regions do not face. Paint applied in late October when temperatures drop overnight below 50°F will not cure properly, no matter how good the product is. We have seen brand-new cabinet finishes fail by spring simply because the coating was applied in conditions that prevented proper film formation.
The other pattern we see consistently is intercoat mismatch. Homeowners apply a water-based topcoat over an oil-based primer without checking compatibility, or they recoat before the first layer has fully cured. A system-level perspective on adhesion means treating substrate, primer, and topcoat as one integrated system, not three separate decisions.
If you are refinishing cabinets, the stakes are higher than a wall repaint. Cabinets face daily contact, moisture from cooking, and cleaning chemicals. A finish that was not built on proper adhesion will show wear within months. Take the time to care for newly painted cabinets correctly after the job is done, and a properly adhered finish will reward you with years of durability.
— Ottawa
How Ottawacabinetpainting delivers lasting adhesion on every project
Ottawacabinetpainting builds every cabinet finish on a foundation of professional-grade surface preparation. That means thorough degreasing, proper sanding, and the right adhesion primer for each substrate before a single coat of topcoat goes on. The result is a finish that bonds correctly from day one and holds up through Ottawa’s demanding climate year after year. If you want to see what a properly adhered finish looks like in practice, explore our professional interior painting services or get a free quote on cabinet painting in Ottawa. Every project we complete comes backed by a 6-year warranty, because we know the prep work is done right.
FAQ
What is paint adhesion in simple terms?
Paint adhesion is how strongly paint bonds to a surface. Strong adhesion means paint stays put through daily wear and weather. Weak adhesion means peeling, flaking, and early failure.
What causes poor paint adhesion?
Poor adhesion is caused by surface contamination, skipping primer, applying paint in wrong temperatures, or rushing recoat windows. Adhesion failure almost always results from multiple factors working together, not just one mistake.
How do I test paint adhesion at home?
The simplest home test is the tape test: press a piece of strong tape firmly over the painted surface, then pull it off sharply. If paint comes with it, adhesion is poor. The professional version of this test follows the ASTM D3359 standard.
Do I always need a primer for good adhesion?
Yes. Primer is the layer that bridges the gap between substrate and topcoat. On difficult surfaces like glossy paint, plastics, or stained wood, adhesion promoters are required because standard primers cannot bond to low surface energy materials reliably.
How long should I wait between coats for best adhesion?
Follow the manufacturer’s recoat window printed on the product label. Applying a topcoat before the primer or previous coat has fully cured traps solvents beneath the film and causes bubbling or delamination over time.
Recommended

Comments