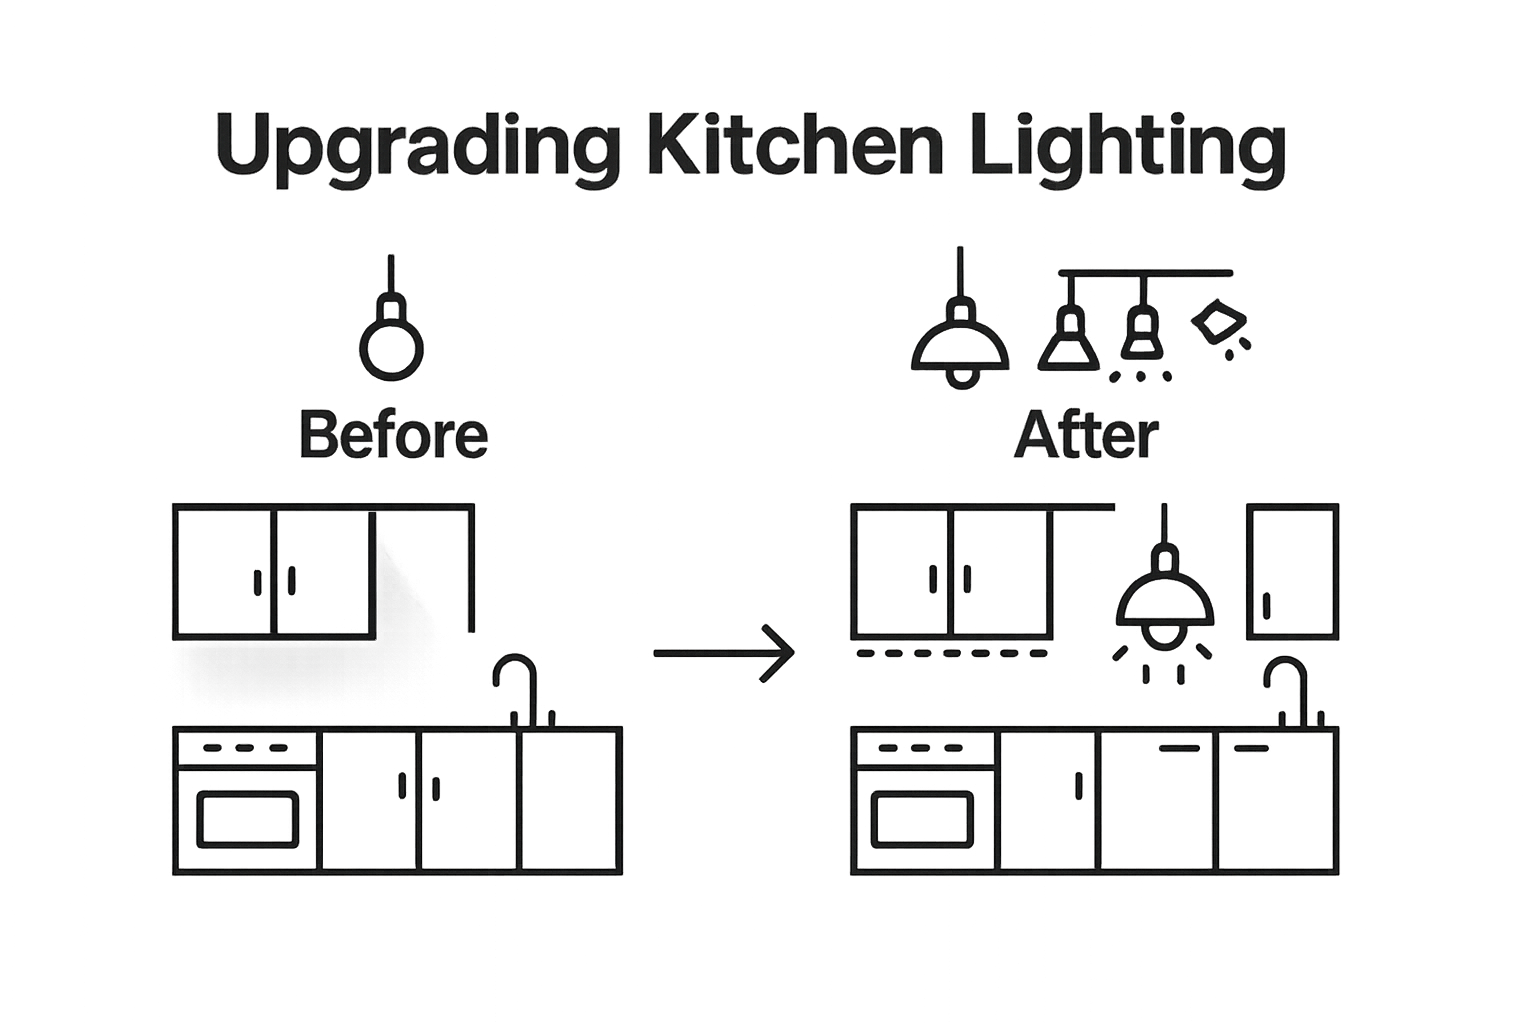
Updating Kitchen Lighting: Brighten Your Space Affordably
- demoore5506
- Aug 30, 2025
- 11 min read

Kitchen lighting can completely change the mood and functionality of your home. Most people think swapping out a light bulb or adding a flashy fixture is enough. Yet studies show that proper kitchen lighting can actually reduce accidents and improve efficiency by up to 30 percent. The trick is, almost everyone overlooks the crucial first steps that make or break your lighting upgrade.
Table of Contents
Quick Summary
Key Point | Explanation |
1. Assess your current lighting setup | Examine how natural and artificial light interact to identify dark areas needing improvement. This ensures effective lighting decisions moving forward. |
2. Prioritize layered lighting options | Use ambient, task, and accent lighting to create a well-lit, functional kitchen. Each type serves its own purpose for optimal illumination. |
3. Gather essential tools and safety gear | Prepare necessary tools like a voltage tester and wear protective gear to ensure safety and efficiency during installation. |
4. Test lighting performance thoroughly | Evaluate your new lighting under different conditions to identify areas needing adjustments, ensuring uniform illumination throughout the kitchen. |
5. Choose energy-efficient fixtures and bulbs | Select LED fixtures and bulbs with high CRI ratings to enhance the aesthetic while reducing energy costs over time. |
Step 1: Assess Your Current Kitchen Lighting Setup
Updating kitchen lighting begins with a thorough understanding of your current illumination landscape. Before purchasing new fixtures or making significant changes, you need a comprehensive assessment that reveals both functional gaps and aesthetic opportunities. This initial step helps you make informed decisions that maximize both beauty and practicality.
Start by systematically examining your kitchen’s existing lighting configuration. Walk through your kitchen during different times of day, observing how natural and artificial light interact. Take note of areas with insufficient illumination, such as countertop workspaces, cooking zones, and food preparation surfaces. Dark corners or shadows can make kitchen tasks challenging and potentially unsafe.
According to the U.S. Department of Energy, effective kitchen lighting requires a strategic layered approach. Identify your current lighting types: ambient overhead lights, task lighting under cabinets, and accent lights that highlight specific areas. Measure the wattage and lumens of existing fixtures to understand their current performance. Consider creating a simple sketch or taking photographs to document your current setup, which will help you compare potential improvements.
Consider how your kitchen’s lighting serves different functions. Cooking areas require bright, focused illumination, while dining spaces benefit from softer, more diffused lighting. Evaluate the color temperature of your current bulbs - are they producing a warm, inviting glow or a harsh, clinical brightness? Understanding these nuanced details will guide your lighting transformation strategy. Explore our guide on modern kitchen design to complement your lighting upgrade planning.
Successful assessment means critically analyzing your kitchen’s unique characteristics. Note architectural features like window placements, cabinet configurations, and overall room layout. These elements significantly influence how light disperses and where supplemental lighting might be most effective. Your goal is not just illumination, but creating a harmonious, functional space that feels welcoming and efficient.
Step 2: Choose the Right Lighting Fixtures and Bulbs
Selecting the perfect lighting fixtures and bulbs transforms your kitchen from a functional space into a vibrant, inviting environment. This critical step requires thoughtful consideration of both aesthetic appeal and practical functionality. Your choices will dramatically impact the room’s ambiance, energy efficiency, and overall visual comfort.
Begin by understanding the three primary lighting layers: ambient, task, and accent lighting. Ambient lighting provides overall illumination, typically through ceiling fixtures or recessed lights. Task lighting focuses on specific work areas like countertops and cooking zones, while accent lighting highlights architectural features or decorative elements. Each layer serves a unique purpose and contributes to a comprehensive lighting strategy.
According to the Universal Design Project, kitchen lighting should minimize shadows and provide glare-free illumination. When selecting fixtures, prioritize LED options with adjustable brightness and color temperatures. Look for bulbs with a Color Rendering Index (CRI) above 90, which ensures colors appear natural and vibrant. Opt for warm white bulbs (2700-3000K) for a cozy atmosphere or neutral white (3500-4100K) for crisp, clear illumination in work areas.
Consider fixture styles that complement your kitchen’s existing design. Pendant lights over islands can serve as both functional task lighting and decorative statement pieces. Under-cabinet LED strips provide excellent task lighting while creating a modern, streamlined look. Explore our guide on modern kitchen design to find inspiration for integrating lighting with your overall kitchen aesthetic.
Evaluate each fixture’s energy efficiency and long-term costs. LED bulbs consume significantly less electricity and have longer lifespans compared to traditional incandescent or fluorescent options. Calculate potential energy savings by comparing wattage and expected bulb life. Remember that investing in quality lighting fixtures now can lead to substantial utility bill reductions and enhanced kitchen functionality in the years to come.
Step 3: Gather Necessary Tools and Safety Gear
Preparing for a kitchen lighting update requires more than just enthusiasm - it demands careful tool selection and safety preparation. This crucial step ensures you can complete your project efficiently, safely, and with professional-grade results. Proper preparation prevents potential accidents and saves time during the actual installation process.
Start by assembling a comprehensive toolkit that includes electrical and mounting essentials. You will need a robust ladder that reaches your kitchen’s ceiling height with stable footing, voltage tester, wire strippers, electrical tape, wire nuts, and a reliable power drill with multiple drill bit sizes. Invest in a high-quality stud finder to locate secure mounting points for heavier fixtures, which prevents future installation failures or potential safety hazards.
According to Occupational Safety and Health Administration guidelines, personal safety gear is non-negotiable. Equip yourself with protective equipment including safety glasses to shield your eyes from potential debris, work gloves to protect your hands during manipulation of electrical components, and a dust mask if you will be working in areas with potential particulate matter. For electrical work, rubber-soled shoes provide an additional layer of protection against potential electrical incidents.
Your electrical toolkit should include specialized items beyond basic hand tools. A reliable multimeter helps verify electrical connections, while electrical tape and wire connectors ensure secure, professional-grade wiring. Consider having a headlamp or portable work light to illuminate tight spaces and provide hands-free illumination during complex installation stages. Explore our guide on modern kitchen design for additional insights into complementary design considerations.
Before beginning your project, verify your toolkit’s completeness. Lay out all tools and safety gear, checking each item for functionality and appropriate condition. Missing or damaged equipment can compromise both your safety and the quality of your lighting installation. Remember that patience and thorough preparation are the hallmarks of a successful kitchen lighting upgrade.
Below is a quick-reference table of essential tools and safety gear you need before starting your kitchen lighting update. This helps ensure an efficient, safe installation process.
Tool or Safety Gear | Purpose | Safety Benefit |
Ladder (ceiling height) | Reach fixtures and ceilings | Stable footing, prevents falls |
Voltage tester | Confirm power is off before working | Prevents electrical shocks |
Wire strippers | Remove insulation from wires | Reduces risk of damaging wires |
Electrical tape | Secure and insulate wire connections | Prevents accidental shorts |
Wire nuts/connectors | Join wires securely | Ensures safe electrical connections |
Power drill + drill bits | Mount fixtures securely | Reduces installation time, provides safety |
Stud finder | Locate secure mounting points | Prevents mounting failures |
Safety glasses | Eye protection from dust/debris | Reduces risk of injury |
Work gloves | Protect hands from wires and sharp objects | Prevents cuts and abrasions |
Dust mask | Protects from inhaling particulates | Enhances respiratory safety |
Rubber-soled shoes | Additional electrical insulation | Lowers risk of electric shock |
Step 4: Remove Old Fixtures and Prepare Wiring
Removing old light fixtures and preparing electrical wiring represents a critical transition point in your kitchen lighting upgrade. This delicate process requires methodical attention to detail and unwavering commitment to electrical safety. Your goal is to create a clean, secure foundation for new lighting installations that will transform your kitchen’s illumination and functionality.
Begin by completely shutting off power to the kitchen lighting circuits at your home’s main electrical panel. Double-check electrical disconnection using a voltage tester to confirm no active current remains in the wiring. This precautionary step eliminates any risk of electrical shock during fixture removal. Carefully disconnect the existing fixture by removing mounting screws and gently lowering the unit to expose the underlying electrical connections.
According to Occupational Safety and Health Administration guidelines, electrical fixtures must have no exposed live parts and should be securely supported. Inspect the existing electrical box and wiring for signs of wear, corrosion, or damage. Look for frayed wire insulation, loose connections, or signs of previous amateur repairs. If you discover any electrical irregularities, consider consulting a professional electrician to ensure safe wiring preparation.
Carefully examine the electrical box’s condition and mounting strength. Older homes might have outdated boxes that cannot support modern lighting fixtures. You may need to install a new electrical box or reinforce the existing mounting structure. Use your stud finder to locate secure mounting points, ensuring the new fixture will have robust structural support. Explore our guide on modern kitchen design for additional insights into electrical preparation techniques.
Once the old fixture is removed, clean the electrical box thoroughly, removing dust and debris that could interfere with new connections. Organize exposed wires neatly, matching color codes for proper reconnection. Verify wire integrity and prepare for new fixture installation by ensuring sufficient wire length and clean, undamaged copper connections. This meticulous preparation sets the stage for a smooth, professional-grade lighting upgrade.
Step 5: Install New Fixtures and Ensure Proper Connections
Installing new kitchen lighting fixtures represents the transformative moment where your planning and preparation culminate in a visual and functional upgrade. This critical step demands precision, patience, and a methodical approach to ensure safe, reliable electrical connections that will illuminate your space beautifully and securely.
Carefully unpack your new light fixtures, laying out all components and comparing them against the manufacturer’s installation guide. Inspect each piece for potential shipping damage and verify you have all necessary mounting hardware. Begin by positioning the mounting bracket, ensuring it is level and securely attached to the electrical box. Use a spirit level to guarantee perfect alignment, which prevents future issues with fixture positioning and prevents uneven light distribution.
According to the U.S. Department of Energy, proper electrical connections are fundamental to both fixture performance and safety. Match wire colors meticulously: connect black (hot) to black, white (neutral) to white, and green or bare copper (ground) to the ground wire. Use wire nuts to create secure, twist-on connections, ensuring no bare wire remains exposed. Wrap electrical connections with electrical tape for additional protection, creating a professional-grade installation that minimizes potential electrical hazards.
Mount the fixture carefully, supporting its full weight during installation to prevent strain on electrical connections. Tighten mounting screws gradually and evenly, checking the fixture’s alignment at each stage. Some fixtures require multiple attachment points, so take your time to ensure balanced, secure mounting. Explore our guide on modern kitchen design for additional insights into creating a cohesive lighting aesthetic.
Before completing the installation, perform a comprehensive verification process. Restore power at the circuit breaker and test the fixture thoroughly. Observe the light’s performance, checking for consistent illumination, proper dimming function if applicable, and absence of flickering or unusual sounds. A successful installation delivers uniform, crisp lighting that transforms your kitchen’s ambiance while providing reliable, safe electrical performance.
Step 6: Test Your New Lighting and Make Adjustments
Testing your newly installed kitchen lighting is the critical final phase that transforms technical installation into a functional, beautiful illumination experience. This step requires a systematic and thoughtful approach to ensure every corner of your kitchen receives optimal lighting coverage and meets your aesthetic and practical expectations.
Begin by observing your kitchen’s lighting performance during different times of day. Natural light changes dramatically throughout daylight hours, and your new fixtures should complement these variations. Start with a comprehensive visual assessment, walking through the kitchen and noting how light falls across countertops, cooking areas, and dining spaces. Pay special attention to potential shadows or areas of uneven illumination that might require additional adjustments or supplemental lighting sources.
According to the U.S. Department of Energy, effective kitchen lighting should match specific functional requirements. Test each lighting layer systematically: evaluate ambient overhead lighting for general room illumination, assess task lighting’s performance over work surfaces, and check accent lighting’s ability to highlight architectural features or decorative elements. Use a light meter if possible to measure actual illumination levels and ensure consistency across different kitchen zones. Explore our guide on modern kitchen design for additional insights into creating balanced lighting environments.
Adjust fixture positioning, angles, and bulb intensities to optimize overall lighting quality. Some installations might require minor repositioning of pendant lights or recalibrating directional can lights to eliminate unwanted shadows. Verify dimmer switch functionality, ensuring smooth transitions between different light levels and checking for any flickering or inconsistent performance. Consider the color temperature of your bulbs - warmer tones create a welcoming atmosphere, while cooler temperatures provide clearer task lighting.
Complete your testing by simulating real-world kitchen activities. Prepare a meal, read a cookbook, and perform typical kitchen tasks to confirm that your new lighting setup truly enhances functionality and comfort. A successful lighting upgrade not only illuminates your space but also creates an inviting environment that makes your kitchen feel both practical and welcoming.
Use the following table as a final checklist to verify your new kitchen lighting is safe, functional, and optimized. This summary helps ensure no important detail is overlooked after installation.
Verification Step | What to Check | Reason for Check |
Test each light switch and fixture | Lights turn on/off without flickering | Confirms successful electrical connections |
Check illumination at work areas | Countertops, cooking, and prep zones visible | Ensures functionality and safety |
Look for unwanted shadows | Corners and under cabinets well-lit | Identifies need for additional lighting |
Verify dimmer switch performance | Smooth, silent dimming | Detects electrical or compatibility issues |
Evaluate color temperature | Suits task (neutral) and ambiance (warm) | Enhances aesthetic and comfort |
Inspect for exposed wires/connections | All wires insulated and secured | Ensures electrical safety |
Assess fixture alignment | Fixtures are level and mounted securely | Prevents uneven light and loose fittings |
Transform Lighting Upgrades Into a Whole-Kitchen Makeover
You just learned how the right lighting can change everything in your kitchen. But even the brightest lights will not hide outdated or worn cabinetry. If your goal is a fresh, high-end look without the chaos and cost of a complete remodel, Ottawa Cabinet Painting has the answer. Many homeowners struggle to achieve a cohesive feel, especially when new lighting only highlights old cabinets. This can leave your kitchen feeling incomplete or less inviting than you imagined. Let us help you avoid that common disappointment and create a space that is as beautiful as it is functional.

Ready to take the next step? Discover how our cabinet refinishing services can perfectly complement your new lighting. We offer meticulous prep work and a premium finish that lasts, all with less disruption and more savings. If you want to maximize the impact of your kitchen lighting upgrade, request your free quote now through our main website. Your dream kitchen is just a click away—now is the time to make it happen.
Frequently Asked Questions
How do I assess my current kitchen lighting setup?
Start by examining your kitchen during different times of day to see how natural and artificial light interacts. Take note of areas with insufficient illumination, such as countertops and cooking zones, and document your findings with sketches or photographs to inform your upgrades.
What types of lighting layers should I consider for my kitchen?
Consider three primary lighting layers: ambient lighting for overall illumination, task lighting for specific work areas, and accent lighting to highlight architectural features. This layered approach helps to create a balanced and functional lighting scheme.
What type of bulbs provide the best color quality for kitchen lighting?
Opt for LED bulbs with a Color Rendering Index (CRI) above 90 for natural and vibrant color representation. Choose warm white bulbs (2700-3000K) for a cozy atmosphere or neutral white (3500-4100K) for clearer task illumination.
What safety precautions should I take when updating kitchen lighting?
Always turn off power to the kitchen lighting circuits at the main electrical panel before starting any installation. Use a voltage tester to confirm that no electrical current is active. Additionally, wear safety gear, such as protective glasses and gloves, to ensure a safe working environment.
Recommended
Comments