How to Achieve a Flawless Kitchen Cabinet Respray Near Me
- demoore5506
- Jan 8
- 8 min read

Most Ottawa families want a kitchen update without spending like an American celebrity. With the cost of a full renovation often exceeding $20,000, homeowners are looking for smarter, wallet-friendly alternatives. Refreshing worn cabinetry with a professional respray offers impressive results while staying within budget. This guide breaks down every critical step, so you can achieve stunning cabinets that rival new ones—without the stress or expense of a major remodel.
Table of Contents
Quick Summary
Key Insight | Explanation |
1. Assess Cabinet Condition First | Inspect cabinets for wear and damage to determine preparation needs and paint selection. This ensures a better finish and longevity. |
2. Prepare Kitchen Environment Thoroughly | Empty all cabinets, cover surfaces, and remove hardware to protect against paint spills or damage. Proper prep minimizes cleanup and protects your kitchen. |
3. Clean and Sand Cabinets Properly | Use a heavy-duty degreaser followed by sanding to create a good surface for paint adhesion. This is crucial for achieving a professional finish. |
4. Apply Quality Primer and Paint | Select a high-quality primer and premium paint, applying thin coats for durability and a smooth finish. Patience here yields superior results. |
5. Inspect for Imperfections Before Curing | Carefully check for any drips, unevenness, or rough patches after painting. Addressing issues now ensures a long-lasting and polished look. |
Step 1: Assess Cabinet Condition and Choose Paint
Assessing your kitchen cabinets before a respray is critical for achieving a professional and long-lasting finish. Understanding the current condition of your cabinets determines the preparation work and paint selection necessary for transforming your kitchen’s appearance.
Start by conducting a thorough visual and tactile inspection of your cabinets. Look for signs of wear such as chipped paint, deep scratches, water damage, or areas with existing peeling finishes. Detailed cabinet preparation techniques can help you identify potential issues that might compromise your paint job. Check each surface carefully checking for wood rot, loose hinges, or structural damage that needs repair before painting.
Below is a quick reference table for common kitchen cabinet problems and recommended solutions:
Problem Detected | Likely Cause | Recommended Action |
Peeling paint | Moisture, old finish | Sand, prime, repaint |
Deep scratches | Heavy use, impact | Fill, sand, touch up |
Water damage | Leaks, humidity | Replace or repair wood |
Loose hinges | Wear and tear | Tighten or replace screws |
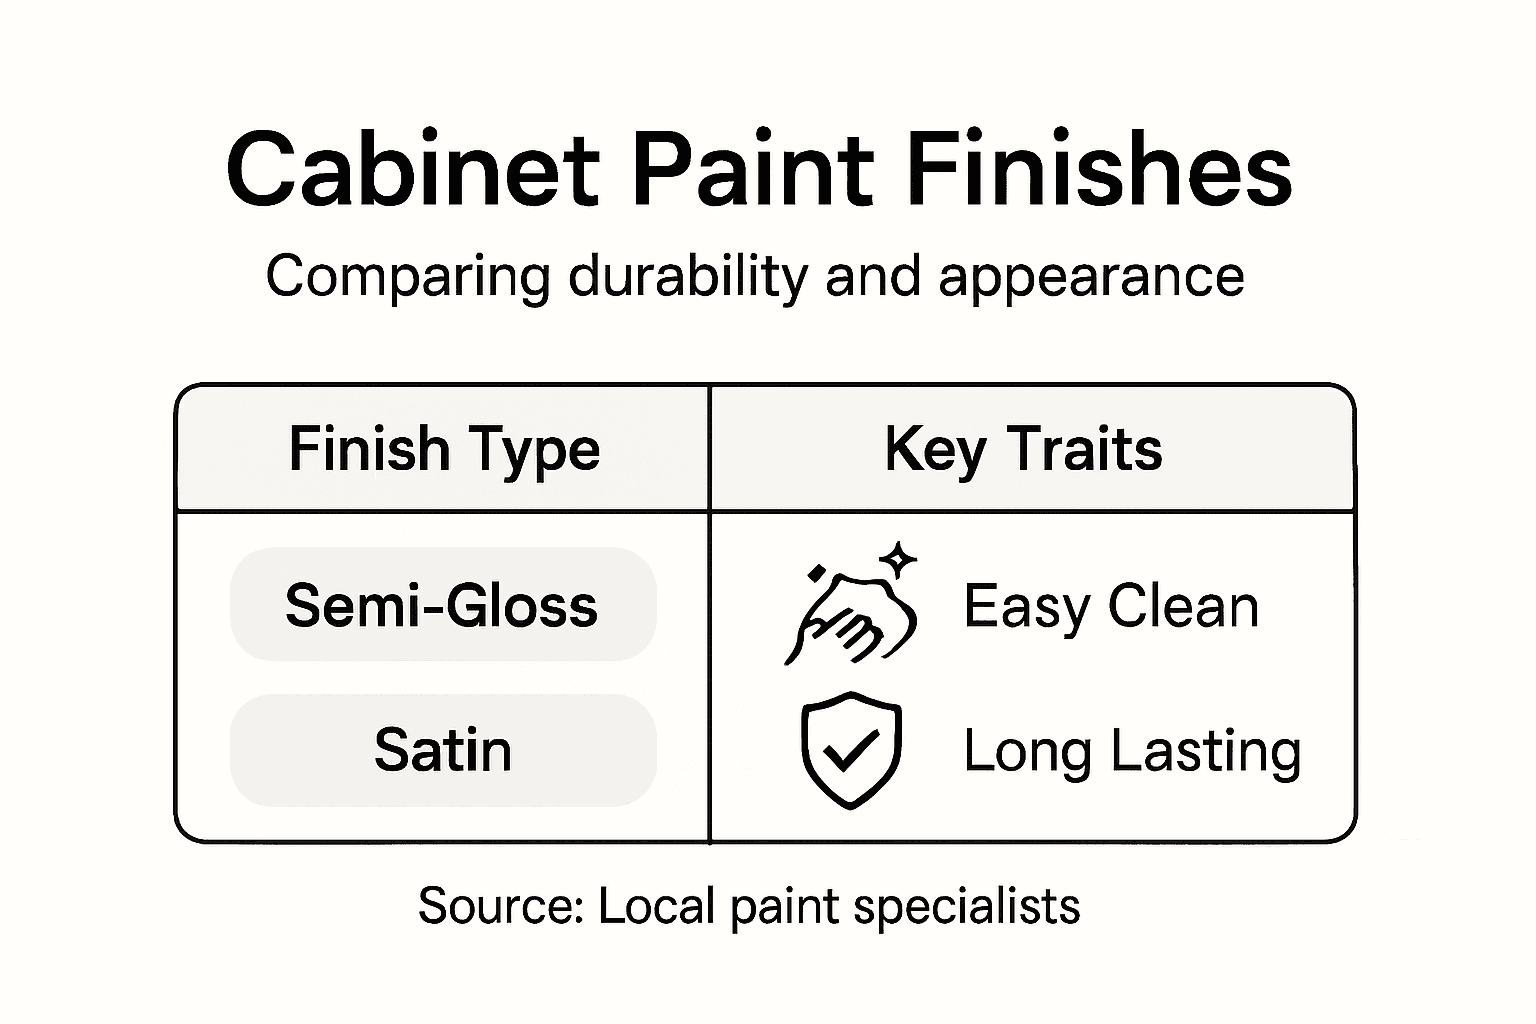
Choosing the right paint involves considering your cabinet material, desired finish, and kitchen environment. Hardwood and medium-density fiberboard cabinets require different preparation and paint types. For most kitchen settings, a semi-gloss or satin finish provides durability and easy cleaning. Professional paint selection recommendations can guide you in selecting a paint that withstands kitchen humidity and frequent cleaning.
Here’s a summary of paint finish options and their advantages for kitchen cabinets:
Finish Type | Appearance | Durability | Cleaning Ease |
Semi-gloss | Slight shine, modern look | High, resists scratches | Very easy to wipe clean |
Satin | Soft sheen, subtle look | Moderate, resists stains | Easy to clean regularly |
Matte | No shine, muted look | Lower, prone to marks | Difficult, may show stains |
Insider Tip: Always purchase a small paint sample and test it on an inconspicuous cabinet area to verify color and finish before committing to the entire project.
Step 2: Prepare Kitchen and Secure Surfaces
Transforming your kitchen cabinets requires meticulous preparation to ensure a professional and flawless finish. This step involves carefully protecting your kitchen environment and creating an optimal workspace for painting.
Begin by completely emptying all cabinets and drawers. Remove everything including dishes, utensils, and food items to prevent potential paint damage or contamination. Kitchen safety preparation techniques recommend using sturdy plastic sheets or drop cloths to cover countertops, appliances, and flooring. Secure these protective coverings with painter’s tape, ensuring complete coverage and preventing any accidental paint splatter.
Next, carefully remove all cabinet hardware including handles, knobs, and hinges. Place these items in clearly labeled plastic bags to ensure easy reassembly after painting. Use rosin builder’s paper or high quality masking paper to cover adjacent surfaces like backsplashes and walls. Pay special attention to protecting electrical outlets, switches, and any areas not intended for painting. Taking time to properly prepare your workspace will significantly reduce cleanup efforts and potential damage.
Insider Tip: Create a small workspace staging area with your painting supplies and protective materials before starting to minimize disruptions during the painting process.
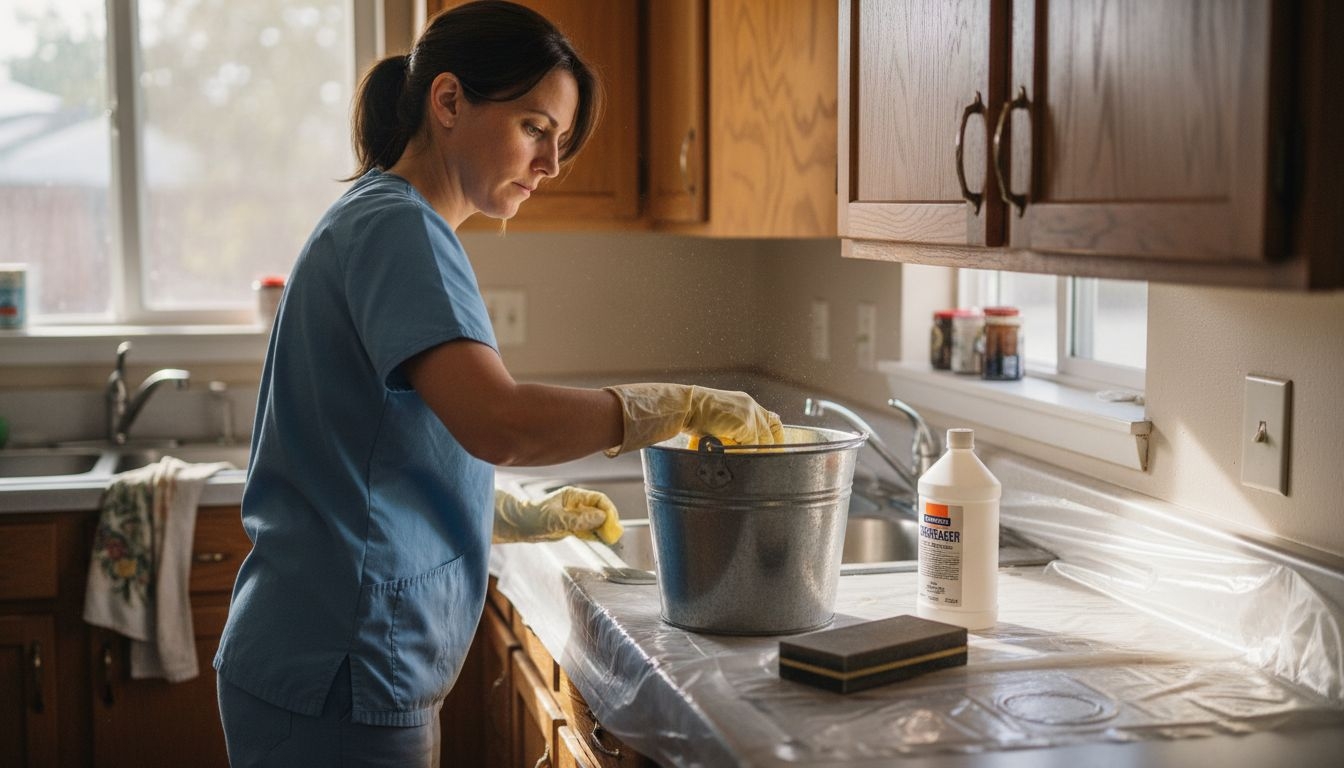
Step 3: Clean and Sand Cabinets Thoroughly
Preparing your kitchen cabinets for painting requires a meticulous cleaning and sanding process that creates the perfect surface for a professional finish. This crucial step determines how well your new paint will adhere and look for years to come.
Begin by thoroughly cleaning the cabinets with a heavy duty degreaser to remove years of accumulated grime, cooking residue, and oils. Cabinet sanding techniques recommend using a block sander with 150 to 220 grit sandpaper, always moving in the direction of the wood grain. The goal is to create a slightly rough surface that allows primer and paint to grip effectively without damaging the underlying wood structure. Work methodically across each cabinet surface using light, consistent pressure to ensure an even texture.
After sanding, use a tack cloth or vacuum with a soft brush attachment to completely remove all dust particles. Wipe down surfaces with a lint free cloth slightly dampened with rubbing alcohol to eliminate any remaining residue. This final cleaning step is critical because any dust or debris can create imperfections in your final paint finish. Take your time and be thorough to guarantee a smooth professional result.
Insider Tip: Wear a dust mask and safety glasses during sanding to protect yourself from fine wood particles and ensure a comfortable working environment.
Step 4: Apply Primer and Premium Paint Finish
Applying primer and paint is the transformative stage that will turn your kitchen cabinets from worn to showroom perfect. This critical process requires patience, precision, and professional techniques to achieve a factory finish that looks stunning and lasts for years.
Professional painting techniques recommend starting with a high quality shellac or oil based primer specifically designed for kitchen cabinets. Apply the primer using a foam roller or high quality synthetic brush, working in thin even coats and moving consistently with the wood grain. Allow each primer layer to dry completely typically 24 hours and lightly sand between coats using 220 grit sandpaper to create an ultra smooth surface. This preparation ensures maximum paint adhesion and eliminates any potential bumps or imperfections.
When applying the final paint, choose a premium cabinet paint with excellent durability. Select either a semi gloss or satin finish that can withstand kitchen moisture and frequent cleaning. Apply multiple thin coats rather than one thick coat, allowing adequate drying time between each application. Use long smooth strokes maintaining a wet edge to prevent visible brush marks or uneven texture. Maintain consistent room temperature and minimize dust to achieve that silky smooth professional finish.
Insider Tip: Invest in high quality synthetic brushes and practice your technique on a hidden cabinet area to perfect your painting approach before tackling the entire project.
Step 5: Inspect Results and Ensure Lasting Quality
The final stage of your kitchen cabinet respray is a critical quality control process that ensures your hard work translates into a professional and durable finish. This inspection goes beyond simply admiring your newly painted cabinets and focuses on identifying and addressing any potential imperfections.
Carefully examine each cabinet surface under bright natural light, checking for consistent color, smooth texture, and even paint coverage. Look for any subtle drips, brush marks, uneven areas, or spots where primer might be showing through. Pay special attention to corners, edges, and areas around hardware mounting points. Paint finish evaluation techniques recommend using a clean white cloth to gently test the paint surface for smoothness and adhesion. Run your hand carefully across the painted surface to detect any rough patches or inconsistencies that might need touch up work.
Allow the cabinets to fully cure for at least 48 hours before reinstalling hardware or placing items inside. During this curing period, maintain a consistent room temperature and avoid excessive humidity. If you notice any minor imperfections, most can be corrected with light sanding and a targeted touch up coat. Remember that professional results require patience and attention to detail during this final inspection phase.
Insider Tip: Create a detailed checklist of inspection points before starting your review to ensure you systematically evaluate every cabinet surface.
Elevate Your Kitchen with Expert Cabinet Respraying Solutions
If you’re facing the challenge of peeling paint, deep scratches, or uneven finishes on your kitchen cabinets you understand how frustrating it can be to achieve a flawless look on your own. The goal is to transform your kitchen cabinets into a durable and stylish centerpiece without the chaos and high cost of a full renovation. Our team at Ottawa Cabinet Painting specializes in that meticulous prep work including thorough cleaning, sanding, and premium paint application to deliver that silky smooth finish mentioned in the article. We focus on preserving your kitchen’s layout and ensuring long-lasting beauty with our professional process.
Don’t let cabinet wear and tear diminish the heart of your home. Experience the satisfaction of a high-end look and increased kitchen comfort without the costly replacement. Ready to upgrade your cabinets with trusted experts offering a detailed timeline and a 6-year warranty? Learn more about how we minimize household disruption and provide expert techniques at Ottawa Cabinet Painting. Take the first step today by exploring our kitchen cabinet painting services and request a free quote to start your journey toward a flawless kitchen transformation that lasts.
Frequently Asked Questions
How do I assess the condition of my kitchen cabinets before a respray?
Assess the condition of your kitchen cabinets by checking for signs of wear like chipped paint, scratches, or water damage. Inspect each surface carefully and address any structural issues before proceeding with the painting process.
What type of paint should I use for kitchen cabinets?
Choose a semi-gloss or satin finish paint that can withstand kitchen humidity and cleaning. Consider the material of your cabinets, such as hardwood or medium-density fiberboard, to select the appropriate paint type.
How should I prepare my kitchen and surfaces for cabinet respray?
Empty all cabinets and drawers, then cover countertops and floors with drop cloths. Remove hardware and use painter’s tape to secure protective coverings, ensuring that your workspace is clean and organized.
What cleaning and sanding steps are necessary before painting?
Thoroughly clean cabinets with a heavy-duty degreaser and sand them with 150 to 220 grit sandpaper, moving in the direction of the wood grain. This will create a surface that allows paint to adhere well, resulting in a smoother finish.
How can I ensure a professional finish when applying primer and paint?
Apply a high-quality primer in thin, even coats, allowing adequate drying time between layers. Use a premium cabinet paint and apply multiple thin coats for the best results, ensuring smooth strokes and minimizing visible brush marks.
What should I do during the final inspection of my painted cabinets?
Inspect each cabinet carefully for consistent color, smooth texture, and even coverage under bright light. Look for imperfections and perform touch-ups as necessary, allowing the cabinets to cure for at least 48 hours before handling them.
Recommended
Comments