Kitchen Cabinet Repainting for a High-End Modern Look
- demoore5506
- Jan 4
- 8 min read
Most Ottawa homeowners want a fresh look without paying the high price of full renovations, and repainting kitchen cabinets delivers impressive results fast. An American home improvement survey shows repainting cabinets costs up to 70 percent less than replacing them. Careful preparation protects your kitchen and makes sure your new finish lasts. Learn how smart cleaning, repair, and painting steps help you create a clean, modern space that stands up to real family life.
Table of Contents
Quick Summary
Key Insight | Explanation |
1. Clear and sanitize surfaces | Remove all items and thoroughly clean surfaces to prevent contamination. |
2. Protect your workspace | Cover floors and surfaces with drop cloths to avoid paint splatters. |
3. Repair and sand cabinets | Fill imperfections and sand surfaces for optimal paint adhesion. |
4. Apply high-quality finishes | Use premium paint and primer for a durable, professional look. |
5. Inspect and reassemble carefully | Check for imperfections and ensure hardware is reattached correctly. |
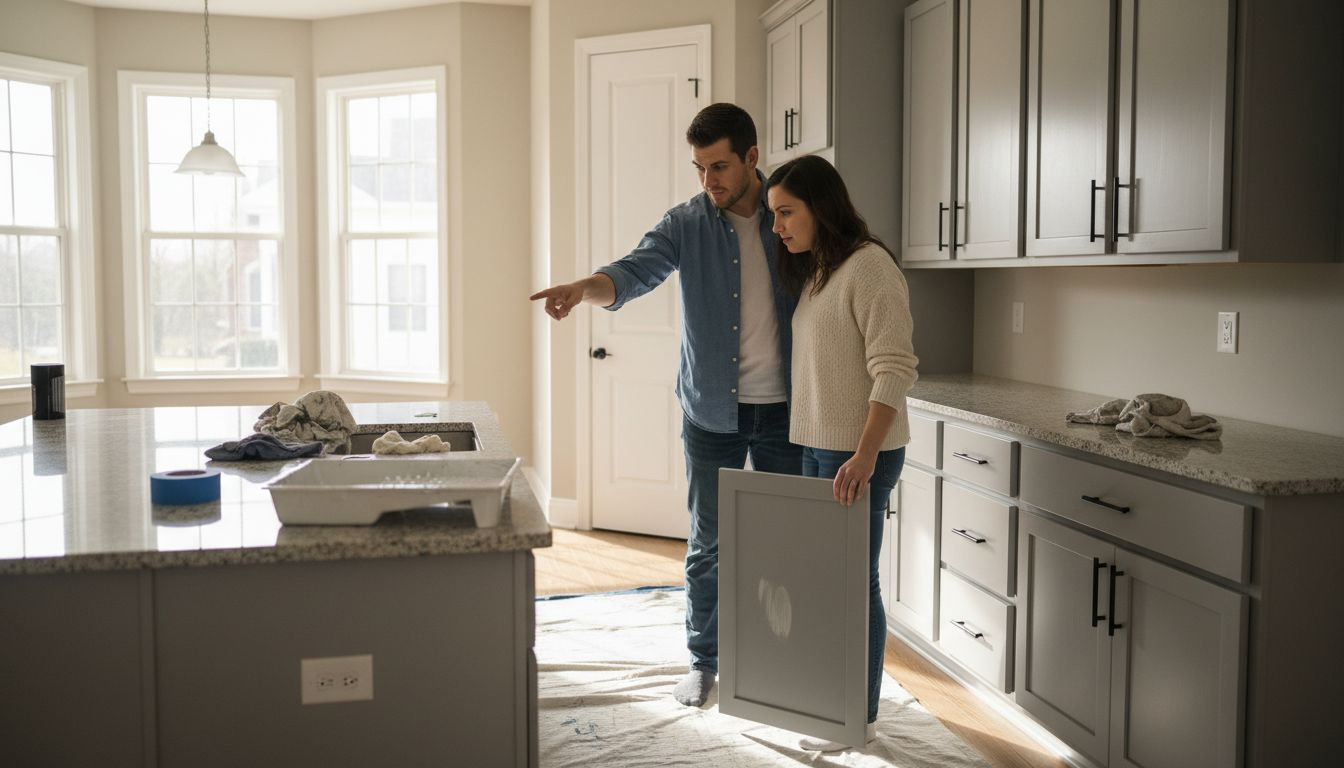
Step 1: Clear and Protect Your Kitchen
Preparing your kitchen for cabinet repainting requires strategic cleaning and protection strategies that safeguard your space and ensure a flawless painting process. Proper preparation minimizes potential contamination and creates an optimal environment for your cabinet transformation.
Start by completely clearing your kitchen surfaces and countertops. Remove small appliances, dishes, cookware, and any loose items that could interfere with your painting project. Kitchen safety practices recommend thoroughly sanitizing surfaces before beginning any home improvement work. This means wiping down counters, backsplashes, and surrounding areas with appropriate cleaning solutions to eliminate bacteria and potential contaminants that might compromise your painting results.
Next, protect your kitchen by covering countertops, floors, and adjacent surfaces with high-quality drop cloths or plastic sheeting. Use painter’s tape to secure protective materials and create clean edges that prevent accidental paint splatter. Pay special attention to appliances, flooring, and areas surrounding your cabinets. Create a contained workspace that allows for precise painting while keeping the rest of your kitchen completely protected from potential paint drips or overspray.
Pro tip: Use plastic rosin paper underneath your drop cloths for an extra layer of floor protection and to prevent potential paint seepage.
Step 2: Clean and Prep Cabinet Surfaces
Cleaning and preparing your kitchen cabinet surfaces is a critical step in achieving a professional painting finish. Your goal is to create a smooth pristine surface that allows paint to adhere perfectly and last for years.
Begin by thoroughly cleaning kitchen surfaces with professional sanitization techniques that remove all dirt, grease, and potential contaminants. Use a degreasing cleaner specifically designed for kitchen cabinets and apply it with microfiber cloths to avoid scratching the surface. Pay special attention to areas around handles and edges where grime tends to accumulate. Wipe down all surfaces multiple times to ensure complete removal of oils and residues that could prevent paint from bonding correctly.
After cleaning, inspect your cabinets for any imperfections like small holes, cracks, or uneven areas. Use wood filler or spackling compound to repair these spots, sanding smooth once dried. For cabinets with existing finishes, you may need to lightly sand the entire surface to create a rough texture that allows primer and paint to grip effectively. Use fine grit sandpaper and work carefully to avoid damaging the wood underneath.
Pro tip: Wear disposable gloves and use a tack cloth to remove all sanding dust before priming to ensure an absolutely clean surface.
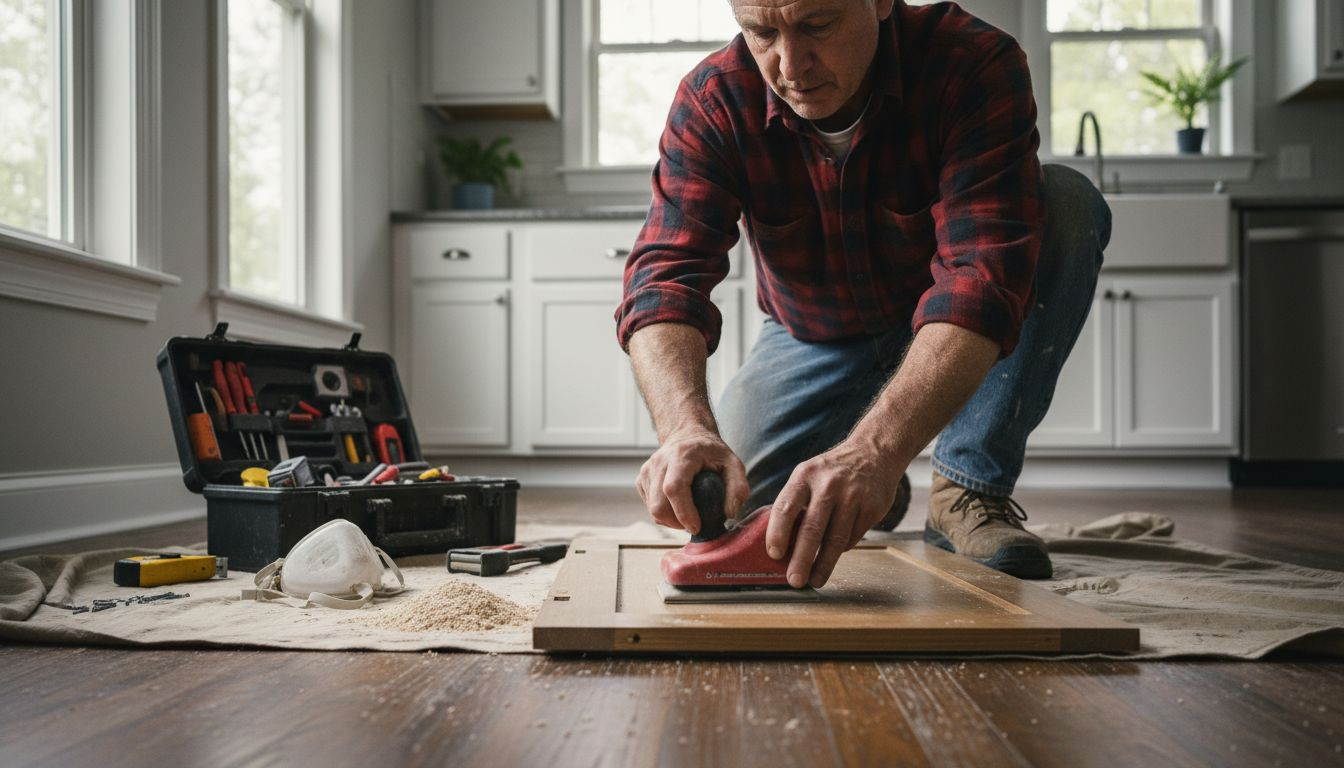
Step 3: Sand and Repair for Smoothness
Sanding and repairing your kitchen cabinets is crucial for creating a flawless painting surface that looks professional and maintains a high-end modern appearance. Your objective is to transform rough or damaged surfaces into a smooth canvas ready for a stunning new finish.
Begin by carefully selecting sanding techniques that minimize dust and protect your workspace. Use progressive grit sandpaper starting with 120-grit to remove existing finishes and imperfections, then move to 220-grit for smoothing. Work systematically across each cabinet surface using light pressure and circular motions to avoid creating deep scratches. Pay special attention to areas with existing damage or uneven texture, ensuring you create a consistently smooth foundation for painting.
After initial sanding, thoroughly inspect each cabinet surface for small holes, dents, or minor wood damage. Use wood filler or spackling compound to fill these imperfections, applying the product carefully with a plastic putty knife. Allow the filler to dry completely according to manufacturer instructions, then sand the repaired areas smooth using fine-grit sandpaper. Follow professional renovation guidelines to ensure you are protecting yourself and creating a safe working environment during this process.
Pro tip: Invest in a dust collection system or wear a high-quality respirator mask to protect yourself from fine wood particles during extended sanding sessions.
Step 4: Apply Premium Paint Finishes
Applying premium paint finishes transforms your kitchen cabinets from ordinary to extraordinary, creating a showroom worthy look that elevates your entire kitchen aesthetic. Your goal is to achieve a smooth professional finish that looks flawless and withstands daily wear and tear.
Selecting low VOC paint options provides an opportunity to create a high-end modern finish while maintaining excellent indoor air quality. Start by using a high quality primer specifically designed for kitchen cabinets, applying it with a foam roller or professional spray equipment to ensure an ultra smooth base. Use long even strokes in the same direction to prevent visible roller marks. Allow the primer to dry completely according to manufacturer instructions before moving to your final paint color.
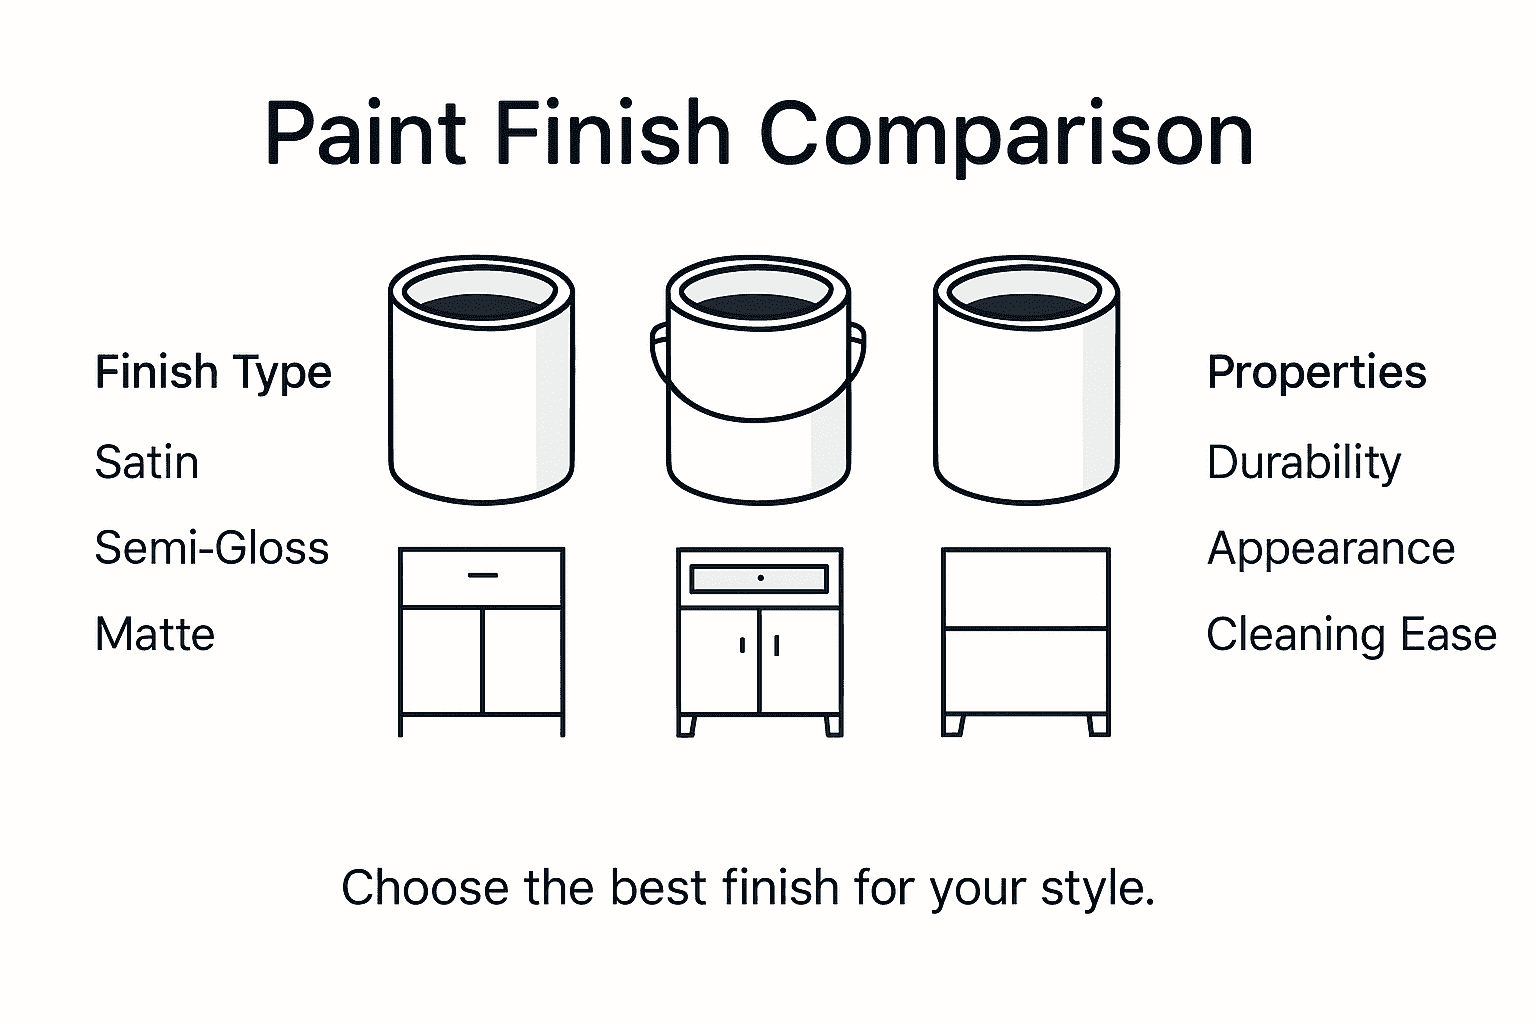
When applying the final paint coat, choose a semi gloss or satin finish for kitchen cabinets that offers both durability and easy cleaning. Apply two to three thin coats rather than one thick coat, allowing sufficient drying time between applications. Use a professional grade brush or foam roller and maintain consistent pressure and direction to create an even factory like finish. Follow professional renovation safety guidelines to ensure proper application and protection during the painting process.
Pro tip: Work in a well ventilated area and maintain a consistent room temperature between 65 and 75 degrees for optimal paint adhesion and drying.
Below is a comparison of semi-gloss and satin paint finishes for kitchen cabinets:
Finish Type | Appearance | Durability | Cleaning Ease |
Semi-gloss | Shiny, modern look | Highly durable | Wipes clean easily |
Satin | Soft sheen, subtle glow | Good durability | Cleans with gentle wipe |
Step 5: Inspect and Reassemble for Perfection
Completely transforming your kitchen cabinets involves a meticulous final inspection and careful reassembly process that ensures your newly painted surfaces look professional and function perfectly. Your goal is to create a flawless finish that showcases your hard work and attention to detail.
Conduct a comprehensive surface inspection by examining each cabinet door and surface under bright lighting to identify any imperfections. Look for uneven paint coverage, small drips, or areas that might need subtle touch ups. Use a bright LED light at an angle to highlight any inconsistencies in the finish. Gently run your hand over the surface to feel for any rough spots or paint buildup that might need additional sanding or smoothing.
Carefully reattach all hardware including hinges, handles, and drawer pulls with precision. Clean each piece before reinstallation to prevent introducing dust or debris into your freshly painted surfaces. Follow thorough sanitization practices when returning items to their original positions, ensuring your newly renovated cabinets are not only visually stunning but also completely clean and ready for kitchen use. Take your time during reassembly to guarantee everything is aligned perfectly and functions smoothly.
Pro tip: Use a magnetic screwdriver to prevent dropping screws during hardware reattachment and keep a small labeled container nearby to organize different sized hardware pieces.
Here’s a summary of key materials and their purposes for repainting kitchen cabinets:
Material | Purpose | Placement Area |
Drop cloths or plastic | Protect floors and counters from paint | Kitchen surfaces |
Painter’s tape | Create sharp paint edges, secure covers | Edges of surfaces |
Degreasing cleaner | Remove grease and contaminants | Cabinet exteriors/interiors |
Fine grit sandpaper | Smooth cabinets for better paint adhesion | All cabinet surfaces |
Wood filler/spackling | Repair small holes and dents | Damaged cabinet spots |
High quality primer | Ensures paint adherence | Base coat, all surfaces |
Low VOC paint | Provides durable, safe finish | Final color layer |
Foam roller/brush | Guarantee even paint application | Painting process |
Magnetic screwdriver | Eases hardware reinstallation | Reassembly stage |
Elevate Your Kitchen with Expert Cabinet Repainting Services
If you are facing challenges like stubborn grease buildup, surface imperfections, or the complexity of sanding and priming for a flawless cabinet repaint, you are not alone. The article highlights critical steps such as thorough cleaning with degreasing solutions, meticulous sanding for smoothness, and applying premium low VOC paint finishes. These details show how essential proper preparation and paint application are to achieve a high-end modern look that lasts. We understand the frustration of messy renovations and the desire to preserve your kitchen layout while upgrading its style.
At Ottawa Cabinet Painting, we specialize in transforming your kitchen cabinets through a careful, proven process that mirrors all the expert techniques shared in the article. Our local team provides professional cabinet painting and refinishing designed to minimize household disruption. Enjoy a silky, durable finish that rejuvenates your kitchen without the cost or hassle of a full replacement. Curious about how we deliver exceptional results over a typical ten-day timeline with a six-year warranty for peace of mind? Discover more about our kitchen cabinet transformations and start your journey toward a beautiful, functional heart of your home today.
Take the first step and contact us now to get a personalized quote. Let us help you achieve that flawless cabinet upgrade you deserve.
Frequently Asked Questions
What are the first steps to prepare my kitchen for cabinet repainting?
To prepare your kitchen for cabinet repainting, start by completely clearing your surfaces and countertops. Remove small appliances and items, and sanitize all areas to eliminate contaminants before painting.
How can I ensure a smooth finish when painting my kitchen cabinets?
Achieving a smooth finish involves properly cleaning, sanding, and repairing your cabinet surfaces before applying paint. Use fine grit sandpaper to create a rough texture for better paint adhesion and ensure all imperfections are filled and smoothed out.
Why is it important to use low VOC paint for kitchen cabinets?
Using low VOC paint is crucial for maintaining good indoor air quality while providing a durable finish for your cabinets. This type of paint minimizes harmful emissions and is particularly important in enclosed spaces like kitchens.
How many paint coats should I apply to my kitchen cabinets?
It is advisable to apply two to three thin coats of paint rather than one thick coat. Allow sufficient drying time between applications to achieve a factory-like finish that withstands daily wear.
What should I do after painting to ensure the best results?
After painting, conduct a thorough inspection of the surfaces for any imperfections that may have occurred during the process. Carefully reattach all hardware, making sure everything is clean and properly aligned to maintain a high-end look.
How can I protect my kitchen during the cabinet repainting process?
To protect your kitchen, cover countertops and floors with quality drop cloths or plastic sheeting. Use painter’s tape to secure these coverings and create sharp edges that prevent paint splatter on surrounding areas.
Recommended
Comments