How to Redo Cabinet Doors for a Modern Kitchen Look
- demoore5506
- Dec 3, 2025
- 7 min read

Most American homeowners are surprised to learn that a kitchen cabinet update can increase property value by over 8 percent. Creating a modern, professional look often starts with proper cabinet prep, not just paint selection. By following clear, organized steps, you can save time, minimize stress, and achieve flawless results that rival custom renovations.
Table of Contents
Quick Summary
Main Insight | Details |
1. Remove and Label Components | Carefully remove and label cabinet doors and hardware to ensure easy reinstallation and organization during the project. |
2. Clean and Sand Surfaces Thoroughly | Properly clean and sand cabinet surfaces to enhance paint adhesion and achieve a smooth, professional finish. |
3. Repair Damage Before Priming | Inspect for and repair any damage with wood filler before applying primer for a seamless final appearance. |
4. Use Quality Paint for Durability | Choose cabinet-specific paint and apply in thin, even coats for a long-lasting, showroom-quality finish. |
5. Reinstall Hardware with Precision | When reinstalling hardware, measure and align carefully to ensure uniformity and smooth operation. |
Step 1: Remove and Label Cabinet Doors and Hardware
Removing and labeling your cabinet doors and hardware is a critical first step in achieving a modern kitchen transformation. This process ensures you can smoothly reinstall components and maintain the precise organization needed for a professional finish.
Start by gathering essential tools: a cordless screwdriver, small labels or masking tape, plastic resealable bags, and a marker. Carefully remove each door using careful techniques by unscrewing the hinges from the cabinet frame. As you remove each door, immediately place a numbered label on its interior side corresponding to its original location. Pro tip: Use small numbered stickers or pieces of masking tape that can be easily attached and removed without damaging the wood surface.
Organize hardware meticulously by placing each door’s screws and hinges into individual labeled plastic bags. This prevents mixing components and guarantees you can precisely reinstall everything in its original position. Proper labeling prevents potential reassembly chaos and saves significant time during the painting process. Work systematically from left to right or top to bottom to maintain a clear workflow.
Careful organization now will make your subsequent painting steps dramatically smoother and more precise.
Step 2: Clean and Sand All Surfaces Thoroughly
Thoroughly cleaning and sanding your cabinet surfaces is crucial for achieving a professional grade paint finish that looks smooth and lasts for years. This critical preparation step ensures your new paint adheres properly and creates a flawless final appearance.
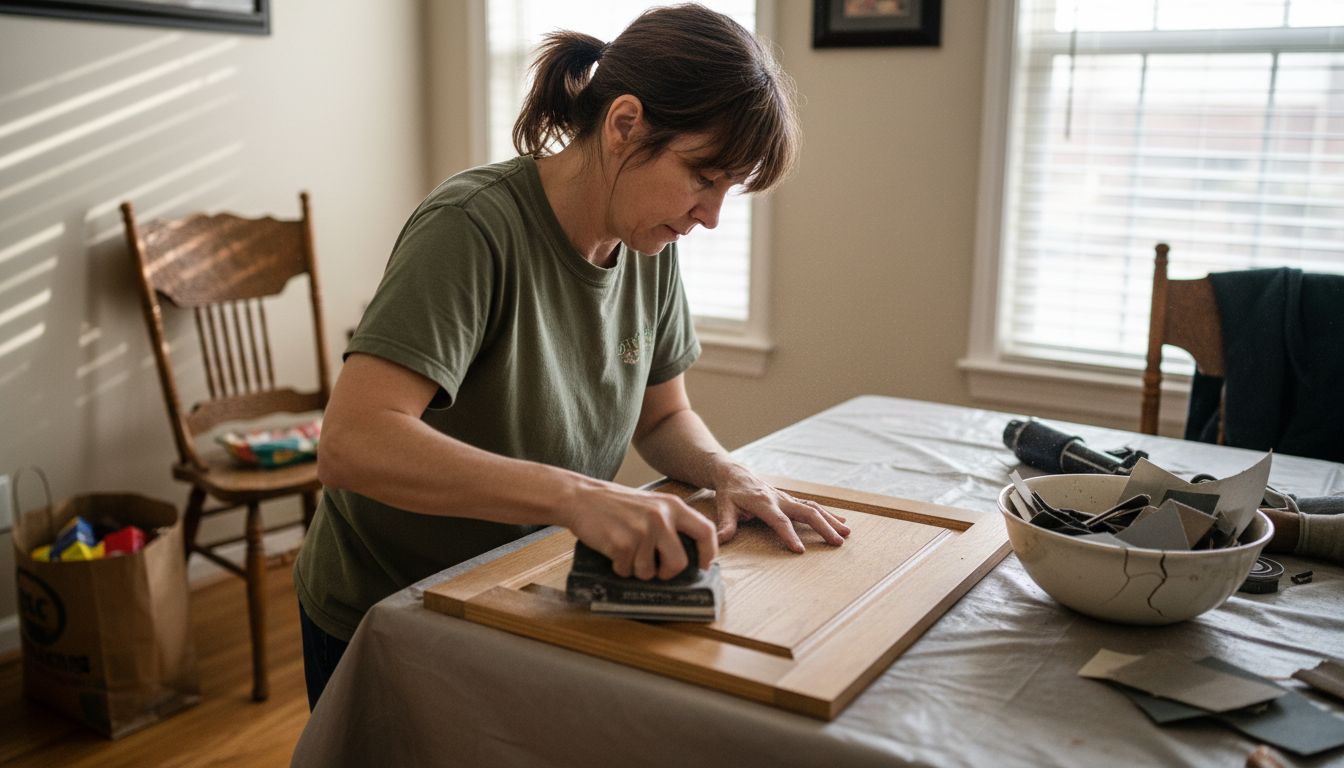
Begin by removing finish from cabinets using a gentle grease cutting cleaner and a soft sponge. Work methodically across each surface area, removing accumulated dirt grease and grime that can prevent paint adhesion. Use a degreasing solution specifically designed for kitchen surfaces to cut through stubborn cooking residue. Sanding cabinets for paint requires medium grit sandpaper between 100 and 150 grit to create the ideal surface texture. Sand all surfaces evenly using smooth circular motions without applying excessive pressure that could damage the wood.
After sanding, carefully wipe away all dust using a slightly damp microfiber cloth. Allow the surfaces to dry completely before moving forward. Pay special attention to detailed areas like corners and decorative edges where dust and grime can accumulate. Your meticulous preparation will directly impact the quality and durability of your final paint finish.
With surfaces cleaned and sanded perfectly smooth your cabinets are now ready for priming and painting.
Step 3: Repair Damage and Apply Quality Primer
Transforming your kitchen cabinets requires careful damage repair and strategic primer application. This crucial step ensures a professional grade finish that looks seamless and withstands daily wear and tear.
Repairing damaged cabinet surfaces begins with a meticulous inspection of each door and drawer front. Look for delaminated veneers small holes wood splits or worn areas that need attention. Use a tinted wood filler that matches your final paint color to repair any imperfections. Apply the filler carefully with a putty knife smooth it evenly and allow it to dry completely before sanding the repaired areas until they blend perfectly with the surrounding surface.
Next focus on primer application a foundational step that dramatically impacts your final paint finish. Select a high quality primer designed specifically for wood surfaces that offers excellent adhesion and stain blocking properties. This critical layer creates a uniform surface that helps your new paint color look rich and consistent. Work systematically applying the primer with smooth even strokes using a high quality foam roller or brush designed for cabinet painting. Allow the primer to dry thoroughly between coats following manufacturer recommendations to ensure optimal paint adhesion and a professional result.
With surfaces repaired and primed meticulously your cabinets are now prepared for the final transformative painting step.
Step 4: Paint Cabinet Doors for a Smooth, Durable Finish
Achieving a professional grade cabinet paint finish requires precision technique and strategic application. Your goal is to transform your kitchen with a silky smooth surface that looks factory fresh and withstands years of daily use.
Begin by selecting paint designed specifically for cabinet surfaces that offers exceptional durability. For the first coat use an angled brush to carefully paint uneven areas and edges then switch to a high quality foam roller for larger flat surfaces. Apply thin even strokes working systematically to prevent drips or pooling. After the first coat dries completely for 24 hours lightly sand the surface using 220 grit sandpaper to ensure optimal paint adhesion and remove any minor imperfections.
Apply the second coat using the same methodical technique focusing on creating smooth uniform coverage. Maintain consistent pressure and direction with your roller to avoid visible stroke marks. Allow the final coat to dry thoroughly for a full 24 hours before reattaching hardware or reinstalling cabinet doors. Resist the temptation to rush this process patience will reward you with a showroom quality finish that dramatically transforms your kitchen.
With your cabinet doors expertly painted you are now just steps away from completing your kitchen transformation.
Step 5: Reinstall Hardware and Check Cabinet Alignment
With your cabinet doors beautifully painted the final step involves precision reattachment and detailed alignment to achieve a professional showroom quality result. This crucial stage transforms your hard work into a stunning kitchen upgrade.
Begin by carefully measuring and aligning your cabinet hardware to ensure uniform placement and smooth operation. Lay out all your hardware pieces and compare their original positioning marks. When reinstalling hinges and handles focus on creating consistent spacing and alignment. Use a measuring tape or laser level to guarantee each piece sits exactly where it should creating a symmetrical polished appearance.

Check each cabinet door and drawer front for smooth movement by gently opening and closing them. Make small adjustments to hinges as needed to prevent rubbing or misalignment. If you notice any slight variations tighten or loosen hinge screws incrementally until the doors hang perfectly straight. Your meticulous attention to detail will result in cabinet doors that look crisp clean and professionally installed.
Congratulations. Your kitchen has now been transformed with a modern fresh look that reflects your personal style and commitment to quality craftsmanship.
Elevate Your Kitchen with Expert Cabinet Door Refinishing
Redoing your cabinet doors to create a modern kitchen look requires patience and precision, as detailed in the step-by-step process above. From carefully removing and labelling doors to thorough cleaning, sanding, and applying premium primers and paints, every stage is essential to avoid common pitfalls like misalignment or uneven finishes. If you want to skip the stress of DIY and ensure a flawless, durable finish that transforms your kitchen without the expense and mess of full renovation, our professional services at Ottawa Cabinet Painting are designed just for you.
Our local experts specialize in turning your existing cabinets into a high-end modern centerpiece. We handle everything from meticulous surface preparation to applying the perfect paint with a silky smooth finish that lasts for years. Experience less disruption in your home and the peace of mind that comes with a 6-year warranty. Ready to refresh your kitchen with quality craftsmanship and attention to every detail? Visit us now at Ottawa Cabinet Painting to request a quote and start your transformation today. Don’t wait to create the warm and functional kitchen you deserve.
Frequently Asked Questions
How do I remove cabinet doors for painting?
To remove cabinet doors, unscrew the hinges from the cabinet frame using a cordless screwdriver. Label each door with a number that corresponds to its original location to ensure easy reassembly later.
What cleaning steps should I take before painting cabinet doors?
Thoroughly clean cabinet surfaces using a gentle grease-cutting cleaner to remove dirt and grime. Apply the cleaner with a soft sponge, and follow up by sanding the surfaces to create a better texture for paint adhesion.
What type of primer should I use on cabinet doors?
Use a high-quality primer specifically designed for wood surfaces that offers excellent adhesion and stain-blocking properties. Apply the primer with smooth, even strokes and allow it to dry completely before moving on to painting.
How long should I wait between paint coats on cabinet doors?
Wait 24 hours for the first coat of paint to dry completely before applying the second coat. Lightly sand the surface with 220 grit sandpaper after the first coat to ensure optimal adhesion for a smooth, durable finish.
How do I align and reinstall cabinet hardware correctly?
To reinstall cabinet hardware, measure and mark the original positioning for consistency. After attaching hinges and handles, check the doors for smooth movement and make any necessary adjustments to ensure they hang straight and function properly.
What should I do if I notice imperfections after painting cabinet doors?
If you notice imperfections after painting, lightly sand the area and apply another coat of paint as needed. Ensure that the final coat dries thoroughly for a flawless finish.
Recommended
Comments