Door and Drawer Removal in Ottawa: A DIY Guide
- Axcell Painting

- 8 hours ago
- 8 min read
TL;DR:
Removing cabinet doors and drawers before refinishing is essential for achieving a smooth, durable finish. Proper removal involves identifying your hinge and slide types, labeling parts, supporting weight, and waiting for paint cure time. Skipping these steps often results in uneven surfaces, paint chipping, and increased rework, reducing the overall quality of the project.
Door and drawer removal is defined as detaching cabinet doors, drawer fronts, hinges, knobs, and pulls from your kitchen cabinets before any refinishing, painting, or deep cleaning work begins. This step is not optional for a quality result. Removing all hardware first avoids paint buildup on hinges and makes reinstallation far cleaner. Without this prep, you end up with uneven finishes, chipped paint around hardware, and a result that looks rushed. Whether you are planning a full cabinet repaint or a simple refresh, understanding door and drawer removal is the foundation of every successful kitchen update.
What is door and drawer removal, and why does it matter?
Door and drawer removal means taking every movable component off your cabinet frames before any prep work starts. That includes cabinet doors, drawer fronts, face frame hardware, concealed hinges, exposed butt hinges, ball-bearing drawer slides, roller slides, and undermount slides. Refinishing workflows consistently list this as the first physical step, before sanding, priming, or painting.
The reason this step matters so much is simple. Paint applied around mounted hardware never bonds cleanly to the surface beneath it. You get ridges, gaps, and eventual chipping right where the hinge meets the door. Removing everything first gives you flat, unobstructed surfaces that accept primer and paint evenly.
This process also makes hardware maintenance much easier. Once doors and drawers are off, you can inspect hinges for wear, replace pulls and knobs, and clean slide mechanisms that have collected grease and debris over years of use.
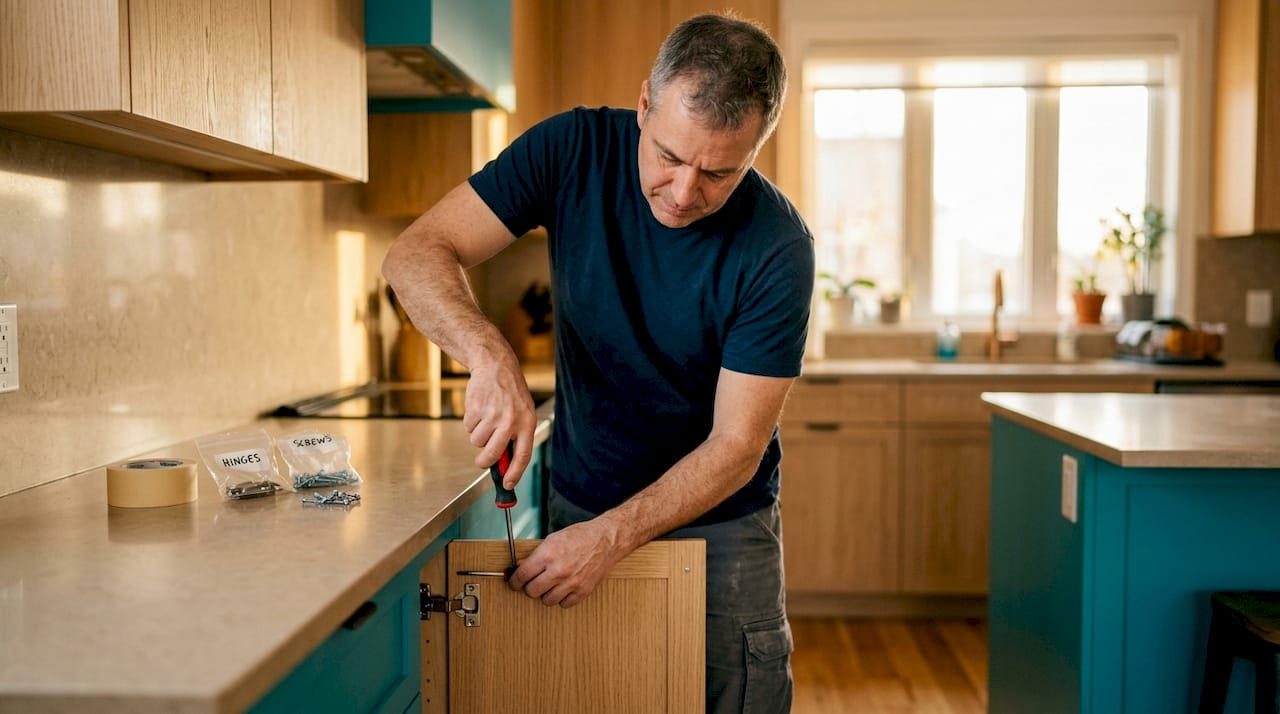
How to remove cabinet doors safely in Ottawa kitchens
Removing cabinet doors without damaging the frame or stripping screws takes a specific order of operations. The type of hinge on your cabinets determines exactly how you proceed.
For exposed or butt hinges, follow these steps:
Open the door fully and support its weight with one hand or have a second person hold it.
Start at the bottom hinge and remove those screws first. This controls the door’s weight as it comes free.
Move to the top hinge and remove those screws last.
Lift the door away from the frame and set it flat on a padded surface.
For concealed European-style hinges, the process is faster:
Open the door to about 90 degrees.
Locate the release clip or button on the hinge arm where it connects to the mounting plate.
Press the release clip and the door pops free without any tools.
Set the door flat immediately.
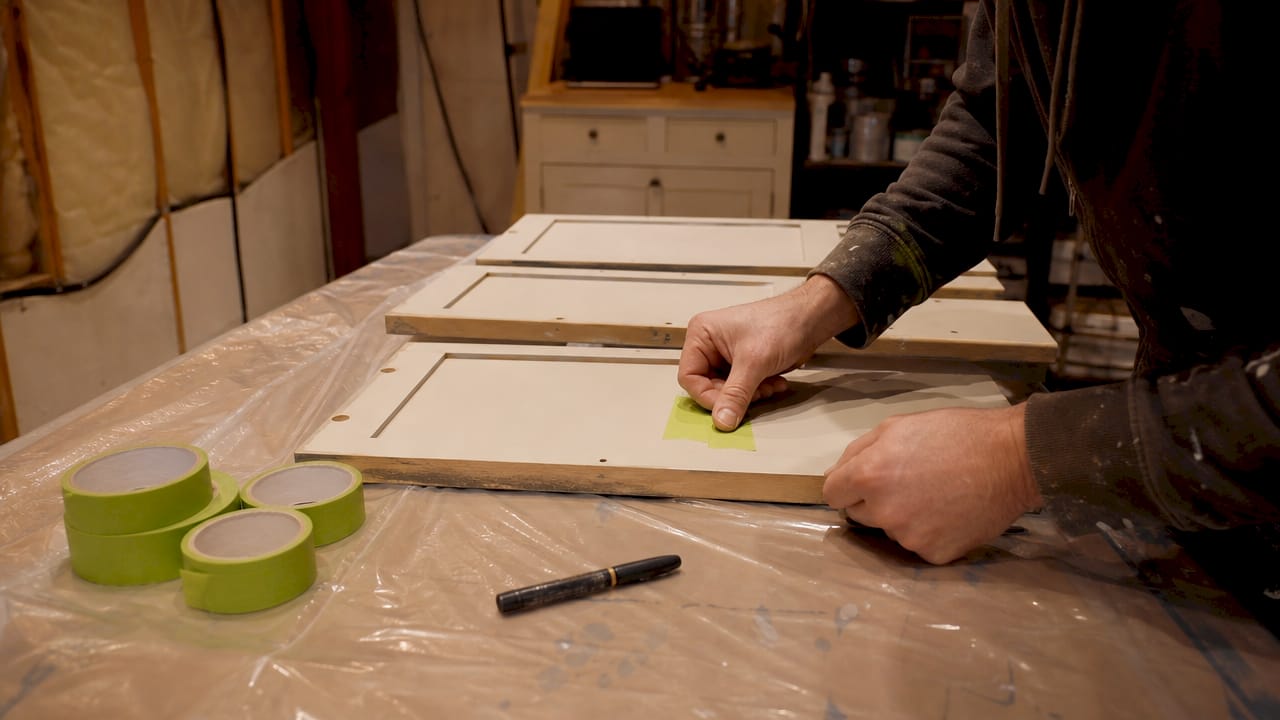
Pro Tip: Label each door with a piece of painter’s tape on the back before removal. Write the cabinet location, such as “upper left” or “lower right corner.” Store all screws in a labeled zip-lock bag taped to the matching door. This system saves significant time during reinstallation.
After removal, lay doors flat on a protected surface like moving blankets or foam padding. Doors leaned against walls warp, scuff, and pick up dust. Flat storage also lets you paint both sides without repositioning awkwardly.
Step-by-step guide to drawer removal in Ottawa homes
Drawer removal depends entirely on the type of slide mechanism your cabinets use. Identifying your slide type before you start prevents damage and frustration.
The three most common slide types in Ottawa kitchen cabinets are ball-bearing slides, roller slides, and undermount slides. Each releases differently.
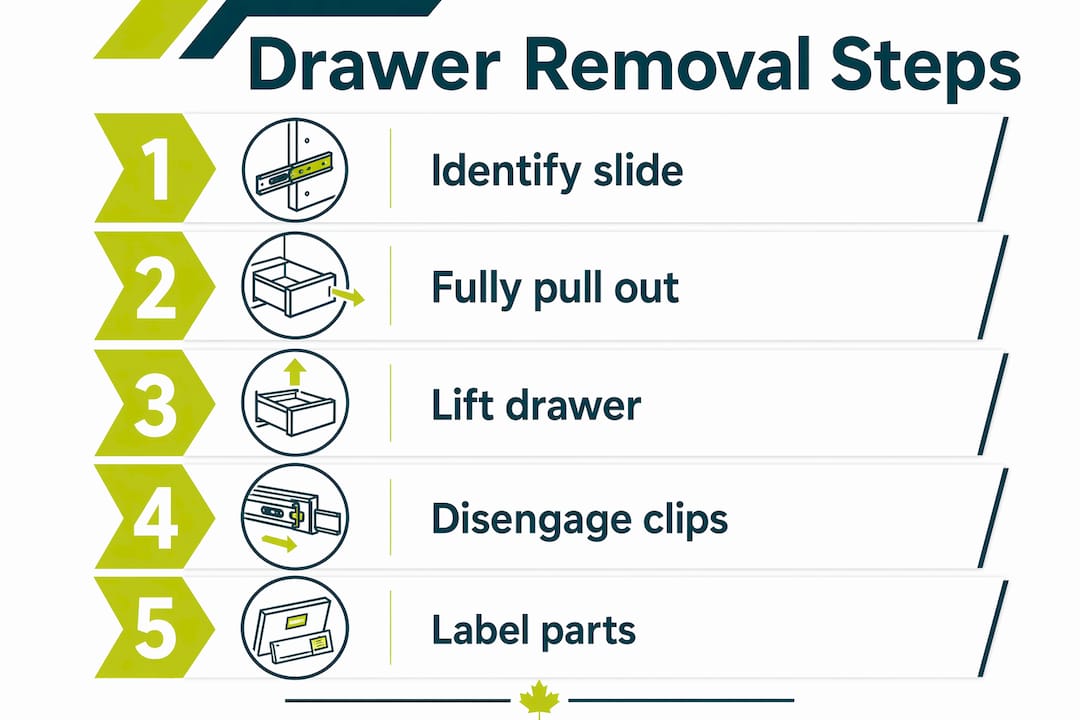
Ball-bearing slides are the most common in modern kitchens. Here is how to remove drawers with this slide type:
Pull the drawer out to its fully extended position.
Look along both sides of the drawer near the front. You will see a small plastic lever or tab on each slide.
Engage both release levers simultaneously. On most ball-bearing slides, one lever pushes down and the other pushes up.
While holding both levers, lift the front of the drawer slightly and pull it straight out.
Set the drawer on a flat, padded surface.
Roller slides are older and simpler. Pull the drawer fully out, then lift the front up at a slight angle and pull. These rarely have release levers.
Undermount slides are found on higher-end cabinetry. They attach beneath the drawer box. Look for a small clip or lever at the back of the slide, visible when the drawer is fully extended. Disconnect the clip on both sides, then lift and pull.
Pro Tip: Never force a drawer that will not release. If it feels stuck, check that both levers are fully engaged at the same time. Forcing a stuck drawer bends the slide rails and can crack the drawer box, turning a simple removal into a costly repair.
After removal, number each drawer and its corresponding opening with painter’s tape. Drawers from the same kitchen often look identical but are sized slightly differently. Mixing them up during reinstallation creates alignment problems that are tedious to fix.
Why removing doors and drawers improves your refinishing results
Skipping removal is the most common reason DIY cabinet projects look amateur. Here is what proper removal actually delivers:
Even sanding coverage. With doors off, you can sand every surface of the door face, edges, and the cabinet frame opening without working around hinges or hardware. Sanding around mounted hardware always leaves uneven spots.
Clean primer and paint application. Painting around hinges produces uneven lines and paint buildup that chips within months. Removal gives you clean, flat surfaces.
Better hardware outcomes. Removed hardware can be cleaned, polished, or replaced without risk of paint contamination. Hinges painted over lose their smooth operation.
Reduced rework. A door painted flat on a workbench needs far fewer touch-ups than one painted while mounted. Gravity works in your favor when the surface is horizontal.
“Removing doors and drawers before refinishing is not just a best practice. It is the difference between a finish that lasts years and one that starts peeling within months.”
The removal step also makes the entire refinishing system work better. Sanding, priming, and topcoat application all perform at a higher level when applied to flat, hardware-free surfaces. You also get access to the inside edges of the cabinet frame, which are visible when doors are open and often missed in shortcuts.
Common mistakes Ottawa homeowners make during removal and reinstallation
Knowing what goes wrong helps you avoid it. These are the most frequent problems we see.
Not supporting door weight during screw removal. A heavy cabinet door can strip the remaining hinge screws or crack the hinge mortise if it swings free unexpectedly. Always support the door or have a helper hold it.
Skipping the labeling step. Doors and drawers look similar. Without labels, reinstallation becomes a guessing game that leads to misaligned doors and wasted time.
Forcing drawers without releasing both levers. This bends slide rails and can split drawer boxes. Take the extra 10 seconds to confirm both sides are released before pulling.
Losing small hardware. Hinge screws, cam locks, and drawer slide clips are easy to lose. Bag and label every piece of hardware the moment it comes off.
Reinstalling before paint has cured. Cabinet paint needs time to harden fully. Cure times typically range from 48–72 hours for light use to several weeks for full hardness. Reinstalling doors too early causes the paint to stick, peel, or dent at contact points.
Pro Tip: Use a systematic labeling approach for every component. Number each door, drawer, and hardware bag with matching numbers. Photograph the kitchen before removal so you have a visual reference for reinstallation.
The reinstallation phase is where patience pays off. Rushing to put everything back before the paint is ready undoes all the careful prep work that came before it.
Key Takeaways
Door and drawer removal is the single most important prep step in any cabinet refinishing project. Skipping it guarantees an uneven finish, early chipping, and more rework.
Point | Details |
Define the process | Door and drawer removal means detaching all doors, fronts, hinges, and hardware before any refinishing begins. |
Match removal to slide type | Ball-bearing, roller, and undermount slides each release differently. Identify yours before pulling. |
Label everything immediately | Tag each door, drawer, and hardware bag at the moment of removal to prevent reinstallation confusion. |
Support door weight | Always start at the bottom hinge and support the door to avoid stripping screws or cracking the frame. |
Wait for full cure | Paint needs 48–72 hours minimum before light use. Reinstalling too early causes peeling and denting. |
What I have learned from years of Ottawa cabinet projects
After working on cabinet refinishing projects across Ottawa for years, the one thing I keep coming back to is this: the removal phase reveals how much care a homeowner is willing to put into the project. Homeowners who rush through removal almost always call us back for touch-ups.
The most underrated advice I can give you is to test your hardware release mechanisms before you commit to a full removal day. Pull one drawer out, find the levers, practice the motion. Open one cabinet door and locate the hinge release clip. Spending five minutes on this test run saves you from forcing hardware and causing damage when you are mid-project with 20 more doors to go.
I also strongly recommend laying every removed door on a flat, padded workbench or table rather than leaning them against a wall. Doors leaned upright warp slightly over days, especially in Ottawa’s variable humidity. That warp creates gaps when you rehang them. A flat surface keeps everything true.
The other lesson I have learned is that the cabinet refinishing process rewards patience at every stage. Removal done carefully means reinstallation goes smoothly. Reinstallation done after full cure means the finish holds for years. There are no shortcuts that hold up over time.
— Ottawa
Professional cabinet refinishing in Ottawa with Ottawacabinetpainting
Ottawacabinetpainting handles every step of the cabinet door and drawer removal process for Ottawa homeowners who want a professional result without the risk of DIY damage. We remove, label, and stage all doors, drawers, and hardware before any prep work begins. Our team sands, primes, and applies premium topcoats to flat surfaces for a factory-quality finish. Every component is carefully reinstalled only after full paint cure. The result is a kitchen that looks high-end and holds up for years. Ottawacabinetpainting backs all work with a 6-year warranty. Get a free cabinet painting quote and see what a proper refinishing process delivers.
FAQ
What does door and drawer removal involve?
Door and drawer removal means detaching cabinet doors, drawer fronts, hinges, and all hardware from your cabinets before refinishing or painting. This includes unscrewing or releasing hinges and disengaging drawer slide mechanisms.
How do I remove cabinet doors with concealed hinges?
Press the release clip on the hinge arm where it connects to the mounting plate. The door pops free without tools, making concealed hinge removal faster and lower risk than exposed hinge removal.
Why do I need to remove drawers before refinishing?
Removing drawers gives you full access to the cabinet frame interior and drawer faces for even sanding and painting. Painting around mounted drawers leaves uneven coverage and causes early chipping.
What tools do I need for door and drawer removal in Ottawa kitchens?
A Phillips screwdriver or cordless drill handles most hinge screws. Painter’s tape, a marker, and zip-lock bags are needed for labeling and storing hardware. No specialized tools are required for most modern concealed hinges or ball-bearing slides.
When can I reinstall doors and drawers after painting?
Wait at least 48–72 hours before light reinstallation, but allow several weeks for full paint hardness before regular use. Reinstalling too early causes the paint to stick, peel, or dent at contact points.
Recommended
Comments