Care tips for painted cabinets: Ottawa homeowner's guide
- Axcell Painting

- Apr 10
- 9 min read
TL;DR:
Proper maintenance extends painted cabinet longevity to 8-10 years and reduces costly repairs.
Use gentle cleaning methods and prompt touch-ups to prevent damage and preserve appearance.
Seek professional help for large peeling, warping, or deep stains to ensure a seamless, durable finish.
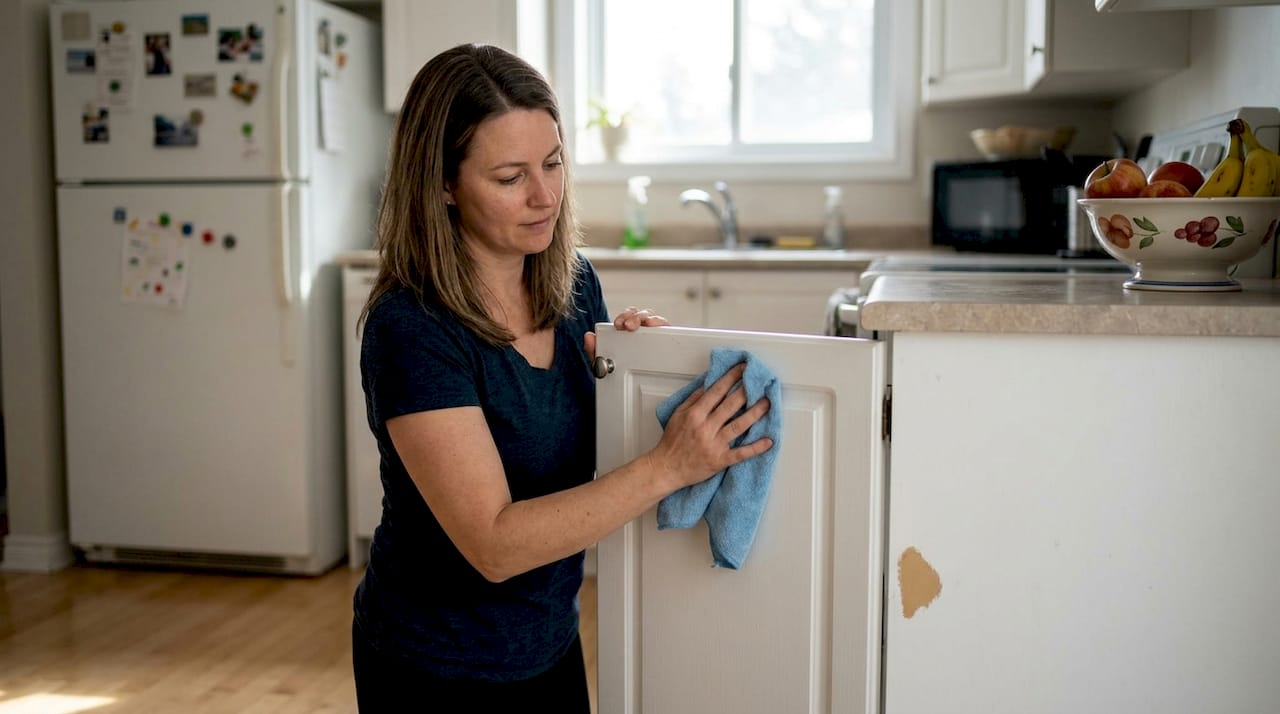
You finally did it. Your kitchen cabinets look fresh, smooth, and exactly the way you imagined. Then a few months in, you spot a chip near the sink. A greasy smudge by the stove that won’t wipe off easily. That quiet worry creeps in: will these cabinets stay looking this good? The good news is yes, they absolutely can. With the right care habits, your painted cabinets can hold their showroom look for years. This guide gives Ottawa homeowners practical, straightforward strategies to protect that investment without spending a fortune or calling in help every few months.
Table of Contents
Key Takeaways
Point | Details |
Gentle, regular cleaning | Use mild products and soft cloths to maintain painted cabinet beauty and finish. |
Act fast on chips | Touch up scrapes or chips immediately to prevent larger repairs and extend cabinet lifespan. |
Avoid harsh chemicals | Stay away from abrasive cleaners or pads to protect paint and prevent premature wear. |
Know when to call pros | Seek expert help if you see serious peeling, warping, or stains that resist cleaning. |
Why caring for painted cabinets matters
Painted cabinets are not just decorative. They protect the wood underneath from moisture, grease, and everyday wear. When that paint finish starts to fail, the damage goes deeper than appearance. Chips and cracks let moisture in, which can cause swelling and warping over time. Stains that sit too long bond with the paint and become nearly impossible to remove without stripping the finish. The result? A cabinet that looks worn out and may need a full refinishing job far sooner than it should.
Proactive care is the smarter approach, and it saves real money. A basic touch-up kit costs under $50. A professional refinishing job for a full kitchen in Ottawa typically runs between $1,500 and $3,500 depending on cabinet count and condition. Skipping routine maintenance is one of the fastest ways to push yourself toward that higher cost.
Ottawa’s climate adds another layer of challenge. Cold, dry winters followed by humid summers create seasonal moisture swings that stress paint finishes more than homeowners realize. Cooking habits matter too. Homes that cook frequently with high heat and steam put more strain on cabinet finishes near the stove and range hood. These conditions make cabinet cleaning methods more important here than in milder climates.
Proper maintenance can extend a painted cabinet’s finish up to 10 years. That kind of longevity does not happen by accident. It comes from consistent, simple habits.
Key reasons why regular cabinet care matters:
Prevents moisture from reaching the wood substrate
Stops grease buildup from bonding permanently with the finish
Catches chips early before they spread or allow water damage
Maintains the clean, polished look that made you paint them in the first place
Reduces the frequency and cost of professional refinishing
Maintenance level | Estimated finish lifespan | Refinishing cost risk |
Regular care | 8 to 10 years | Low |
Occasional care | 4 to 6 years | Medium |
No care | 2 to 3 years | High |
Now that you know what’s at stake, let’s break down what you need to get started.
Essential tools and materials for upkeep
Having the right supplies on hand makes all the difference. When the right cloth and cleaner are already under the sink, you are far more likely to wipe down cabinets after cooking instead of letting grease sit overnight. That small habit is worth more than any expensive product.
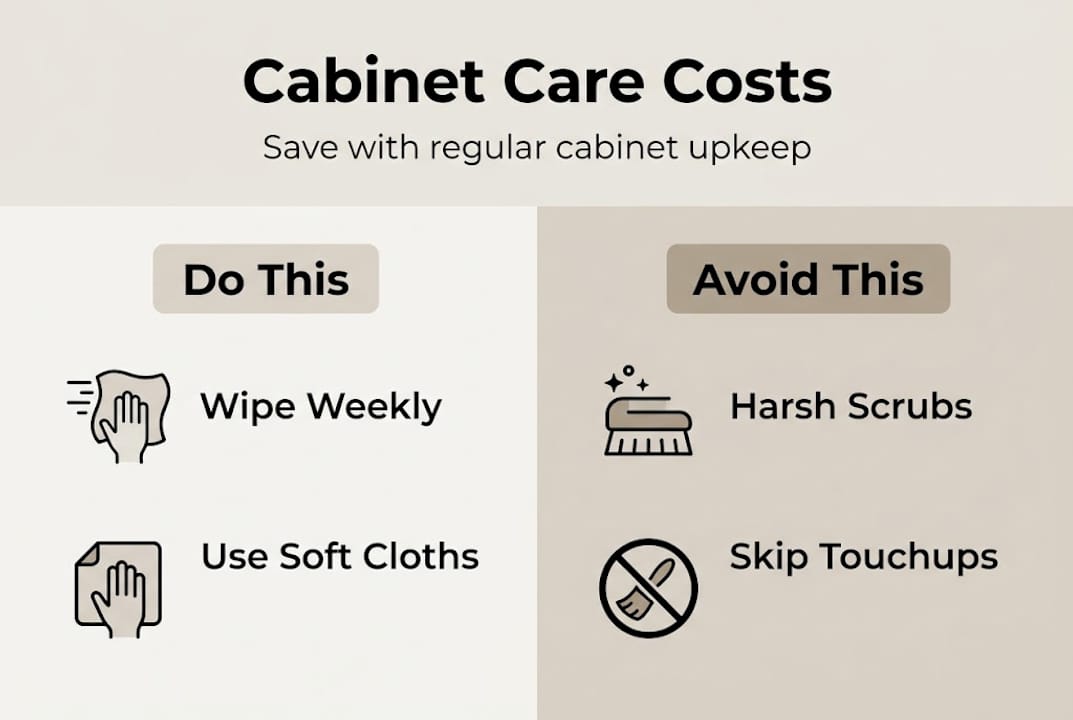
Using non-abrasive soft cloths prevents scratches on painted finishes. This is not optional. Rough sponges, scrubbing pads, and paper towels can all leave micro-scratches that dull the finish over time. Microfiber cloths are the gold standard because they lift grease and dust without any abrasion.
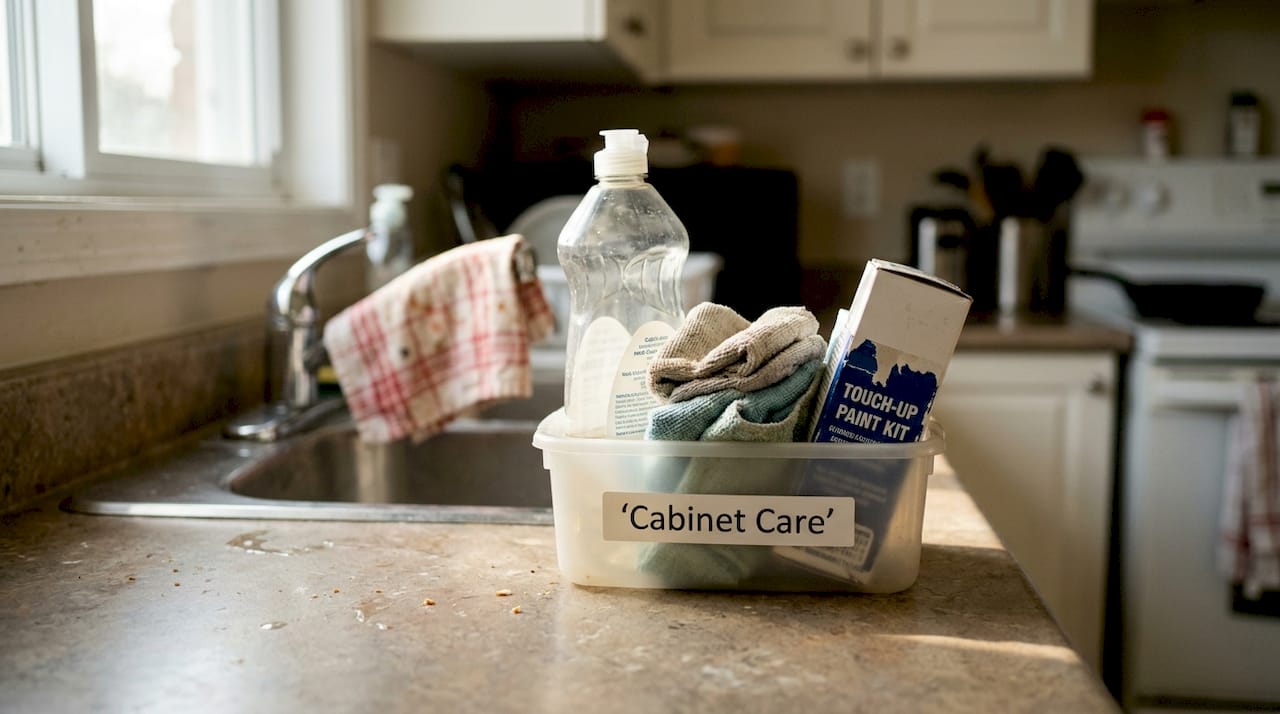
Your cabinet care kit should include:
Microfiber cloths (at least 4 to 6 on hand)
Mild dish soap or a cleaner specifically formulated for safe cleaners for painted cabinets
A small spray bottle for diluted cleaning solution
Touch-up paint matched to your cabinet color (keep the original can or ask your painter for a sample)
A fine-bristle artist’s brush for small chip repairs
Cabinet-safe polish or wax for periodic protection
Use this | Avoid this |
Microfiber cloths | Scrubbing sponges or steel wool |
Mild dish soap diluted in water | All-purpose spray cleaners |
Cabinet-specific polish | Furniture polish with silicone |
Soft artist’s brush for touchups | Wide bristle brushes that spread paint unevenly |
Damp cloth (wrung out well) | Soaking wet cloth or excess water |
Pro Tip: Keep a small labeled bin under the kitchen sink with everything you need for cabinet care. When it is all in one place, the routine takes less than five minutes and becomes second nature.
With your tools ready, you can confidently work on preserving your cabinets’ pristine look.
Step-by-step guide: Cleaning and touchups
Regular gentle cleaning maintains finish and prevents buildup. The key word is gentle. More pressure does not mean better results on painted surfaces. It means faster wear.
Daily and weekly cleaning routine:
After cooking, wipe down cabinet faces near the stove with a barely damp microfiber cloth to remove grease mist before it hardens.
Once a week, mix a few drops of mild dish soap into a spray bottle of warm water.
Spray the solution lightly onto your microfiber cloth, not directly onto the cabinet.
Wipe each cabinet face using gentle, circular motions.
Follow immediately with a dry microfiber cloth to remove any moisture.
Pay extra attention to the area around handles and pulls, where oils from hands accumulate fastest.
Touchup protocol for chips and scuffs:
Clean the chipped area thoroughly and let it dry completely.
Lightly sand the edges of the chip with 220-grit sandpaper to smooth any raised edges.
Apply a tiny amount of matching touch-up paint with a fine artist’s brush.
Let it dry fully before applying a second thin coat if needed.
Once dry, blend the edges gently with a barely damp cloth.
Pro Tip: Always test any new cleaner on a hidden area first, like the inside edge of a cabinet door. Even mild products can react differently depending on the paint brand and finish type used on your cabinets.
Important: Avoid harsh chemicals like bleach, ammonia-based cleaners, or anything labeled as a degreaser. Vigorous scrubbing is equally damaging. Both can strip the finish and leave permanent dull patches that no amount of polishing will fix.
For more detail on how to clean cabinets safely and effectively, we have a dedicated guide that walks through every scenario. Once your cabinets are clean, ongoing vigilance pays off with fewer repairs and lasting beauty.
Troubleshooting and common mistakes to avoid
Even homeowners with good intentions make mistakes that quietly shorten their cabinet finish’s life. Knowing what to watch for keeps you ahead of any real problems.
Omitting regular dusting and using abrasive pads are top causes of paint damage. Dust might seem harmless, but it mixes with cooking grease and forms a film that bonds to the finish. Once that layer hardens, removing it requires more effort and more risk of scratching.
Most common mistakes Ottawa homeowners make:
Skipping weekly cleaning and letting grease accumulate
Using too much water, which seeps into seams and causes swelling
Ignoring small chips and letting moisture get underneath the paint
Spraying cleaner directly onto cabinet surfaces instead of onto the cloth
Using the same sponge used for dishes on cabinet faces
What to do when problems appear:
Paint peeling: Stop using that area until you can clean, sand lightly, and repaint. Do not peel it further.
Stains that won’t budge: Try a paste of baking soda and water, applied gently with a soft cloth. Rinse immediately.
Dull finish: Apply a cabinet-safe polish designed for painted surfaces. Avoid anything with silicone.
Pro Tip: Prevention is always cheaper than repair. Spending five minutes a week on avoiding paint wear is worth far more than an hour of touchup work later.
Remember: Cabinet finish can be ruined with one wrong product. Always check labels before applying anything new to your painted surfaces. If it says ‘cuts through grease aggressively,’ it will likely cut through your paint finish too.
By steering clear of these pitfalls, you are well on track for long-term satisfaction with your refreshed kitchen.
When to call in the professionals
Some cabinet issues go beyond what a touch-up brush and microfiber cloth can fix. Recognizing those situations early saves you from wasting time on repairs that will not hold.
Signs that you need professional help:
Paint is peeling in large sections, not just small chips
Cabinet doors or drawer fronts are visibly warping or no longer sit flush
The finish looks faded or chalky across most of the kitchen, not just in one spot
Stains have penetrated the paint and reached the wood substrate
Previous DIY touchups look patchy and are drawing more attention than the original issue
When these signs appear, the benefits of professional cabinet painting become clear quickly. Professional cabinet painters can refresh finishes and repair deep damage more effectively than most homeowners. They have access to commercial-grade primers, spray equipment, and the experience to feather repairs seamlessly into the existing finish.
Issue | DIY approach | Professional approach |
Small chip or scuff | Touch-up paint, 30 minutes | Not needed |
Peeling in one area | Possible with prep, inconsistent results | Clean, sand, prime, repaint for seamless finish |
Widespread fading | Not recommended | Full refinishing, matched color, lasting result |
Warping or structural damage | Not fixable with paint | Assessment needed, may require replacement |
Cost estimate | $20 to $80 in supplies | $1,500 to $3,500 for full kitchen |
Reaching out to a local Ottawa cabinet professional is straightforward. A good service will assess your cabinets, explain your options clearly, and give you an honest recommendation, even if that recommendation is to hold off and keep up with regular maintenance for now. With all this guidance, let’s step back and consider the big-picture wisdom behind painted cabinet care.
Our take: The truth about long-lasting painted cabinets
We have worked on hundreds of kitchens across Ottawa, and the homeowners who are happiest with their cabinets five years later are not the ones who had the most expensive paint job. They are the ones who built small, consistent habits.
There is a common misconception that a high-quality paint finish means you can forget about maintenance. It does not work that way. Even a factory-grade finish on brand-new cabinetry requires regular cleaning to stay looking sharp. The difference with a professional paint job is that the finish is more forgiving. It gives you more time to catch problems before they become serious. But it is not invincible.
We also see homeowners swing the other way, over-cleaning with strong products because they want their cabinets spotless. That is just as damaging. The finish does not need aggressive treatment. It needs consistent, gentle attention.
The most satisfied homeowners we work with follow the Ottawa cabinet painting process with a clear understanding that the finish is the starting point, not the finish line. Small habits protect big investments. That is the honest truth.
Get expert help for your Ottawa kitchen cabinets
If you are dealing with cabinet issues that go beyond routine cleaning, or if you simply want a professional assessment of where your cabinets stand, we are here to help. At Ottawa Cabinet Painting, we offer personalized solutions for every maintenance level, whether you need a full refinishing or just some expert advice on keeping your current finish in top shape.
Explore our interior cabinet painting services to see what a professional result looks like, or request your free cabinet painting quotes to get a clear picture of your options with no pressure. Your kitchen deserves to look its best for years to come, and we are ready to help make that happen.
Frequently asked questions
What’s the best way to clean painted cabinets without damaging them?
Use a soft, damp microfiber cloth with a mild soap solution, and always dry the surface immediately after. Non-abrasive cloths and gentle cleaners maintain cabinet finishes without scratching or stripping the paint.
How often should I touch up painted cabinets in the kitchen?
Inspect your cabinets monthly and address chips or scuffs right away rather than waiting. Immediate touchups minimize long-term damage by keeping moisture out of exposed wood.
Can I use regular all-purpose cleaners on painted cabinets?
No. Regular all-purpose cleaners often contain chemicals that strip paint and dull the finish over time. Harsh cleaners can strip paint and ruin the cabinet finishing, so stick to mild soap or products made specifically for painted surfaces.
When should I hire a professional for cabinet care or repair?
Call a professional if you see significant peeling, warping, or stains that have soaked through the paint layer. Professional painters can repair deep-seated damage that DIY methods simply cannot resolve reliably.
Recommended
Comments