Avoid these cabinet painting mistakes for a lasting Ottawa kitchen
- Axcell Painting

- Apr 16
- 9 min read
TL;DR:
Proper surface prep and the right products are essential for long-lasting cabinet finishes.
DIY painting often fails within a few years due to mistakes in preparation, product choice, and application.
Professionals use specialized equipment and techniques to achieve durable, flawless results that last 10-15 years.
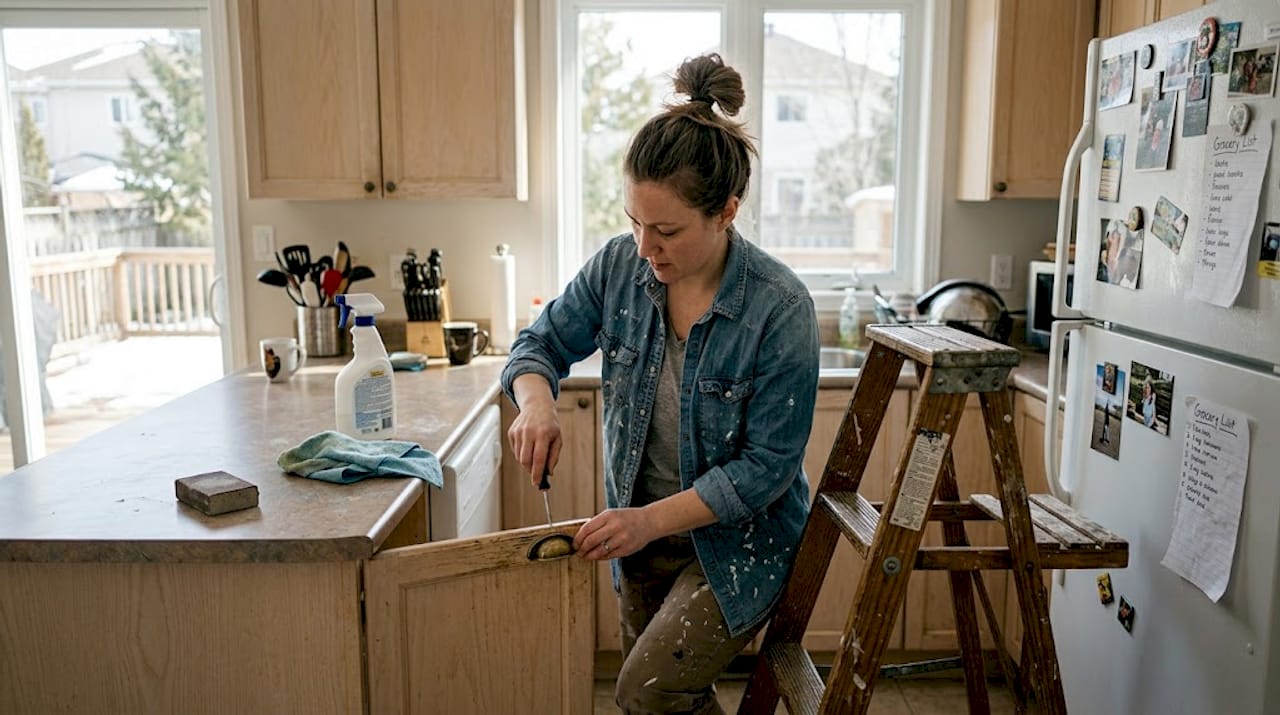
You spend a weekend painting your kitchen cabinets, feeling great about the savings. Then, within a few months, the paint peels near the stove, chips along the door edges, and streaks appear where the brush pulled unevenly. Sound familiar? Many Ottawa homeowners go through exactly this cycle, spending time and money on a DIY project only to face the same worn cabinets a year or two later. The good news is that most of these failures come down to a short list of preventable mistakes. Learn what they are, and you can make smarter choices that deliver a beautiful, lasting result without the chaos of a full kitchen renovation.
Table of Contents
Key Takeaways
Point | Details |
Prep matters most | Proper cleaning, degreasing, and sanding avoid peeling and chipping for years. |
Choose quality products | Select cabinet-grade enamels and bonding primers for lasting, washable finishes. |
Avoid rushing the process | Let paint cure fully and apply thin coats to prevent bubbling and uneven color. |
Know what not to paint | Skip damaged, laminate, or lead-painted cabinets to avoid expensive failures. |
Consider professional help | Pros achieve 10–15 year finishes with minimal disruption and mess. |
Surface prep shortcuts: The root cause of failed cabinet finishes
After understanding why failed cabinets are so common, let’s look at the first and biggest mistake most people make. Prep work is not exciting, but it is everything. Skipping or rushing surface preparation, especially degreasing with TSP (trisodium phosphate) and sanding glossy surfaces, is the number one cabinet painting mistake leading to peeling and chipping paint. In an Ottawa kitchen, where cooking grease and humidity build up over years, this matters even more than in drier climates.
The proper sequence is non-negotiable: clean with TSP to cut through grease, sand with 120 to 220 grit sandpaper to scuff the surface for adhesion, then wipe away every trace of dust before priming. Skipping any one of these steps creates a surface the paint simply cannot grip. For a full breakdown of proper prep steps, it is worth reviewing before you pick up a brush.
The most common prep shortcuts to avoid:
Wiping doors with a damp cloth instead of a proper TSP degreaser
Skipping sanding on existing glossy finishes
Painting in a dusty garage or crowded kitchen with no drop cloths
Removing hardware without labeling doors or hinges first
Starting to paint before surfaces have fully dried after cleaning
Not labeling or removing hardware and doors properly leads to misalignment during reassembly and a messy workspace that invites dust contamination.
Pro Tip: Before removing any cabinet doors, place a small strip of painter’s tape on the inside of each door and its corresponding frame. Number them with a marker so reassembly is fast and precise.
Prep work typically accounts for 50 to 70% of total job time, but it is what separates a finish that lasts 10 to 15 years from one that starts failing within a season.
For homeowners interested in modern cabinet refinishing, the same prep principles apply regardless of the finish type you choose.
Choosing the wrong paint and primer: Hidden pitfalls
Proper prep sets the stage, but even perfect prep cannot save your cabinets if you choose the wrong products. This is one of the most underestimated mistakes Ottawa homeowners make. Standard wall paint feels like a logical choice since it is already in the house, but it is simply not built for the punishment kitchen cabinets take.
Using standard wall paint instead of cabinet-grade enamel like Benjamin Moore Advance or Sherwin-Williams Emerald Urethane Trim Enamel results in tacky surfaces, poor adhesion, and quick failure. Cabinet-grade enamels are formulated to cure hard, resist moisture and grease, and clean up without dulling. The difference in durability is significant.
Feature | Standard wall paint | Cabinet-grade enamel |
Durability | Low (1 to 3 years) | High (8 to 15 years) |
Finish | Flat or eggshell | Satin or semi-gloss |
Cleanability | Poor | Excellent |
Adhesion on cabinets | Weak | Strong |
Typical cost per liter | Lower | Higher |
Primer choice is equally important. Skipping primer or using inadequate primer causes adhesion failure, especially on glossy or previously painted surfaces. Bonding primers like Zinsser BIN (a shellac-based primer) or Insl-X Stix are designed specifically to grip surfaces that regular primers cannot. For cabinet paint sheen and durability, semi-gloss and satin finishes offer the best balance between a clean look and easy wiping.
Water-based vs. solvent-based enamels at a glance:
Water-based enamels: Lower odor, faster dry time, good for most Ottawa kitchens
Solvent-based enamels: Harder cure, stronger odor, excellent for high-use areas
Both perform well when applied correctly over proper primer
Pro Tip: Match your paint and primer from the same brand when possible. Manufacturers test their systems together, so compatibility is guaranteed and adhesion tends to be stronger. Learn more about finish choices for cabinets before committing to a product.
Application errors: Tools, technique, and timing
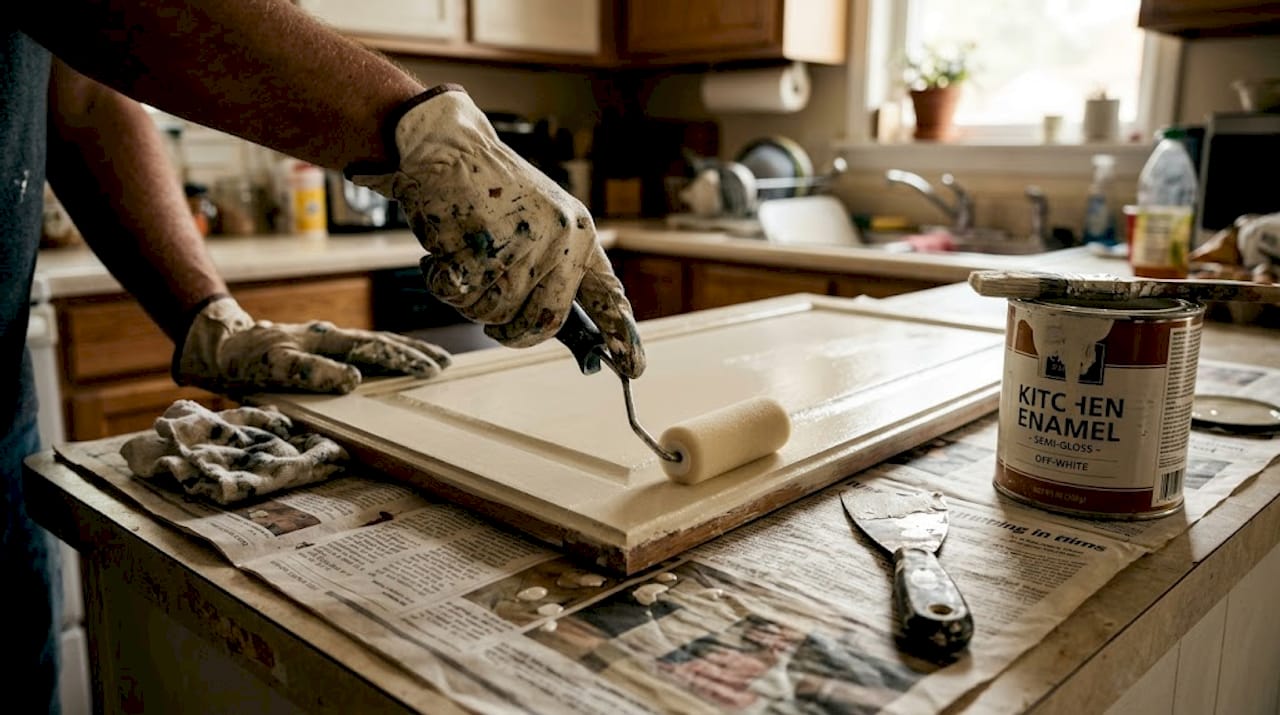
Selecting the right products is only half the battle. Errors during application can still sabotage a great paint job, even when prep and product selection were done right. The most frequent culprit is applying coats that are too thick.
Applying thick coats or using poor tools causes drips, uneven drying, and wrinkling. Thin, even coats with a high-density foam roller or a fine-finish spray setup are the right approach for smooth results. Spraying delivers the closest thing to a factory-smooth finish, but it requires masking off every surface in the kitchen and a steady hand with the equipment.
Tool | Finish quality | Skill required | Risk of errors |
Brush | Moderate | Low | Brush marks, streaks |
High-density roller | Good | Low to medium | Slight texture |
Spray system | Excellent | High | Overspray, runs |
Proper recoat and cure timeline:
Apply first thin coat and allow to dry per manufacturer’s label (typically 2 to 4 hours for water-based)
Lightly sand between coats with 220 grit and wipe clean
Apply second thin coat and allow to dry fully
Wait a minimum of 16 hours between coats for waterborne alkyd paints like Benjamin Moore Advance
Allow cabinet paint curing times of 7 to 30 days before heavy use, depending on paint type
Rushing drying, curing, and recoat times leads to bubbling, sticking doors, and soft paint that dents at the first bump. Full cure takes 7 to 30 days depending on paint type, with waterborne alkyds needing 16 or more hours between recoats.
Pro Tip: If you are short on time, do not cut cure time short. Use the kitchen carefully and avoid slamming cabinet doors for at least two weeks after the final coat.
Statistic: More than 50% of Ottawa homeowners who paint cabinets themselves end up redoing the project within 1 to 3 years due to application errors. For expert guidance, the pro painting tips on our site walk through exactly how professionals approach each coat.
Material suitability: When not to paint cabinets
Sometimes, the biggest mistake is painting when you should not. Not every cabinet surface holds paint well, and some materials create serious adhesion problems no matter how good your prep work is.
Laminate or melamine cabinets often fail when painted due to poor adhesion. These materials have a non-porous surface that resists bonding, even with bonding primers. Results may look good initially but peel within months, especially near the stove or sink where heat and moisture are high.
Cabinet types that are often unsuitable for painting:
Laminate with a slick, factory-bonded surface
Melamine-wrapped doors in poor condition
Cabinets with damaged or lifting veneer
Surfaces with previous lead-based paint (requires professional assessment)
Cabinets with significant structural damage or water-swollen wood
Before committing to a full kitchen project, test paint adhesion on a single door or inconspicuous panel. Apply your primer and a coat of paint, let it cure for 48 hours, then try peeling it with your fingernail. If it lifts easily, the surface is not suitable without additional prep or a different approach.
When there is any doubt about material type or condition, get an expert opinion before investing time and money. You can review how to paint cabinets properly to understand what materials respond well to the process.
DIY cabinet painting fails over 50% of the time for Ottawa homeowners due to poor prep, VOC exposure, and longevity issues. Professionals assess material suitability first and ensure minimal disruption with durable results that hold up for years.
DIY vs. professional cabinet painting: What really saves time and money?
If you are unsure whether to DIY or hire help, consider how mistakes compound over time. Here is what Ottawa homeowners really need to know. The upfront cost of DIY looks appealing, but the real math tells a different story.
DIY cabinet painting fails over 50% of the time for Ottawa homeowners due to poor prep, VOC (volatile organic compound) exposure, and longevity issues. Professionals ensure minimal disruption and durable results. Meanwhile, prep comprises 50 to 70% of job time, and pros spend extensively here for 10 to 15 year finishes versus DIY’s typical 1 to 3 years.
Factor | DIY | Professional |
Upfront cost | Lower | Higher |
Timeline | 2 to 4 weekends | 8 to 10 days |
Disruption | High | Minimal |
Finish quality | Variable | Factory-smooth |
Durability | 1 to 3 years | 10 to 15 years |
Professional spraying achieves a factory-smooth finish compared to rolling’s inherent texture. Hybrid pro methods also minimize mess and overspray, which is a real concern in busy Ottawa homes.
When hiring a professional is clearly the better choice:
You or a family member have allergies or sensitivities to VOCs
Your schedule does not allow for the extended cure and recoat timelines
You need a finish that lasts more than a few years without redoing
Your cabinets are an unusual material like laminate or old thermofoil
For families with young children or anyone concerned about air quality during painting, reviewing cabinet safety considerations is an important first step before deciding.
Pros bring spray equipment, protective masking, and years of product knowledge into your home. The mess stays contained, the finish comes out seamless, and you are back to using your kitchen in days rather than weeks.
Our perspective: Why shortcuts cost more than you think in Ottawa kitchens
Having compared your options, here is what our real experience in Ottawa kitchens has shown time and again. We have seen every shortcut there is, and the pattern never changes. Homeowners who rush prep, skip the bonding primer, or use wall paint are almost always back in touch within two years with the same worn finish.
DIY fails more than 50% of the time initially, and professional finishes last 8 to 15 years compared to DIY’s 1 to 3. Prep alone accounts for 70% of the work that makes the difference. Ottawa’s winters, high kitchen humidity, and the wear of daily family life demand more from a painted surface than most people expect.
We say this not to discourage anyone from DIY, but to set honest expectations. If you are going to invest time in painting your cabinets yourself, invest it in the prep. Buy the right primer. Let every coat cure properly. Those steps determine whether your kitchen still looks great after two winters or needs to be redone by then.
The work behind lasting prep results is not glamorous, but it is the entire reason some finishes hold and others don’t.
Pro Tip: Budget at least as much time for prep as for painting itself. If painting takes two days, plan two days of prep. That ratio is what separates a showroom finish from a paint job.
Sometimes, the cheapest route is paying more upfront for a finish that will not chip, yellow, or need redoing in two winters.
Ready for a flawless cabinet transformation?
If you are ready to skip the painting pitfalls altogether, here is how you can get guaranteed results. Ottawa Cabinet Painting’s local team delivers the 10 to 15 year finishes that DIY rarely achieves, using professional spray equipment, bonding primers, and cabinet-grade enamels in your home with minimal mess and disruption to your daily routine. You can see real Ottawa kitchens in our before and after results gallery to understand exactly what a professional finish looks like. When you are ready, get a clear and transparent estimate through our free spray painting quotes page. We also offer broader interior painting services for homeowners looking to refresh more than just the cabinets. Let us handle the prep, paint, and cleanup so you simply enjoy the results.
Frequently asked questions
What is the most common mistake when painting kitchen cabinets?
Failing to properly clean, degrease, and sand cabinet surfaces before painting is the number one mistake, leading directly to poor adhesion and rapid paint failure within months of application.
How long should cabinet paint cure before using the kitchen?
Cabinet paint should cure for at least 7 to 30 days before heavy use depending on paint type. Waterborne alkyds like Advance need 16 or more hours between recoats to avoid bubbling and soft spots.
Can laminate or melamine cabinets be painted successfully?
Laminate and melamine surfaces have very poor paint adhesion and often peel even when bonding primers are used, making them a risky choice for DIY painting without professional assessment.
Which paints are best for durable kitchen cabinets?
Cabinet-grade enamels like Benjamin Moore Advance or Sherwin-Williams Emerald Urethane Trim Enamel are the top choices, offering a hard cure, excellent cleanability, and durability that standard wall paints simply cannot match.
Recommended
Comments