Why Detailed Prep Is Important for Ottawa Cabinet Painting

TL;DR:
Thorough surface preparation is essential for long-lasting cabinet paint, especially in Ottawa kitchens. Skipping steps like degreasing, sanding, and priming leads to early failure and peeling within a few years. Proper prep extends the finish’s lifespan to up to 15 years and protects your renovation investment.
Detailed preparation is the single most important factor in whether a cabinet painting project lasts one year or fifteen. Before a single drop of paint touches your kitchen cabinets, the surface must be chemically clean, mechanically scuffed, and properly primed. Skip any of those steps, and the finish will fail. At Ottawacabinetpainting, we see this play out constantly: homeowners who invested in thorough prep get a factory-smooth finish that holds up for years, while those who rushed the process call us back within months. Understanding why detailed prep is important is the first step toward protecting your renovation investment.
Why detailed prep is important for Ottawa kitchen cabinets
Proper preparation is a chemical process, not just a cosmetic one. When you degrease, sand, and prime a cabinet surface, you are creating the molecular conditions that allow paint to bond and stay bonded. A surface that looks clean to the naked eye can still carry invisible cooking oils that act as release agents, preventing adhesion entirely. That is why standard soap and water is never enough before a cabinet painting project.
Up to 80% of cabinet paint failures trace back to surface preparation errors rather than the paint itself or how it was applied. That number puts the responsibility squarely on prep, not product. Ottawa kitchens face specific challenges too: cooking grease accumulates faster in smaller spaces, and seasonal humidity swings affect how primers cure and how paint adheres over time.
The importance of preparation goes beyond avoiding failure. Thorough prep is what separates a finish that looks good on day one from one that still looks good in year ten. Professional-grade degreasers, bonding primers matched to the cabinet material, and proper sanding grits are not optional extras. They are the foundation of every lasting result.
What does detailed preparation involve for Ottawa cabinet painting?
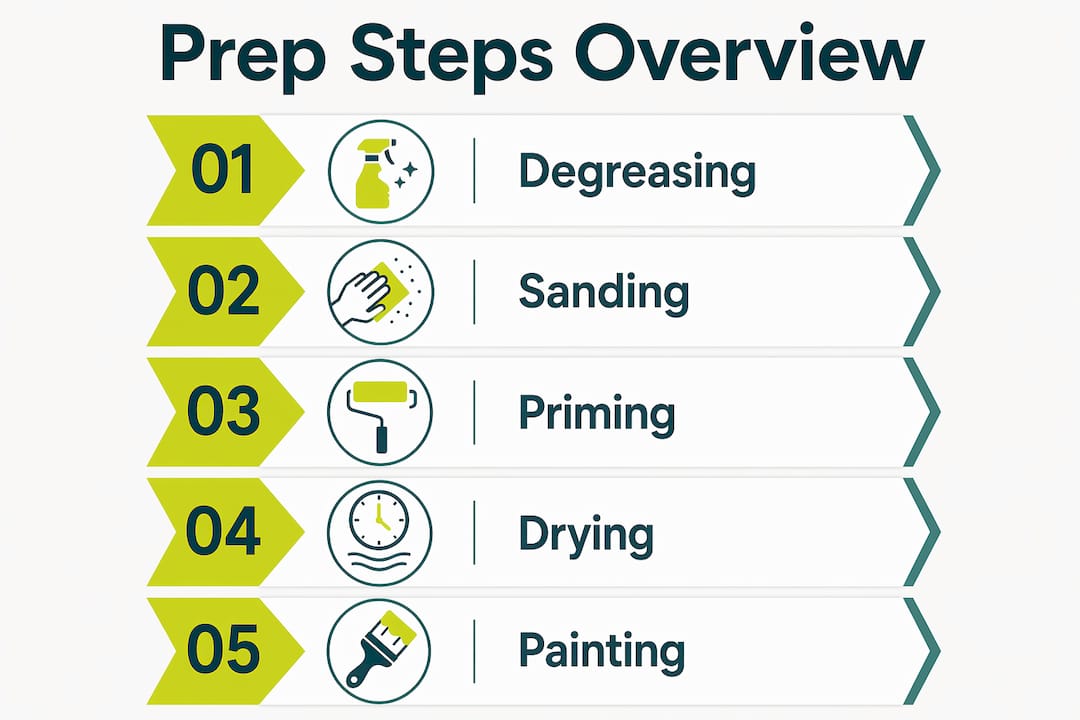
A professional prep process follows a specific sequence. Each step builds on the last, and skipping any one of them creates a weak link in the entire finish system.
Door removal and hardware stripping. Every door, drawer front, and hinge comes off before prep begins. Painting cabinets in place leads to uneven coverage and missed edges.
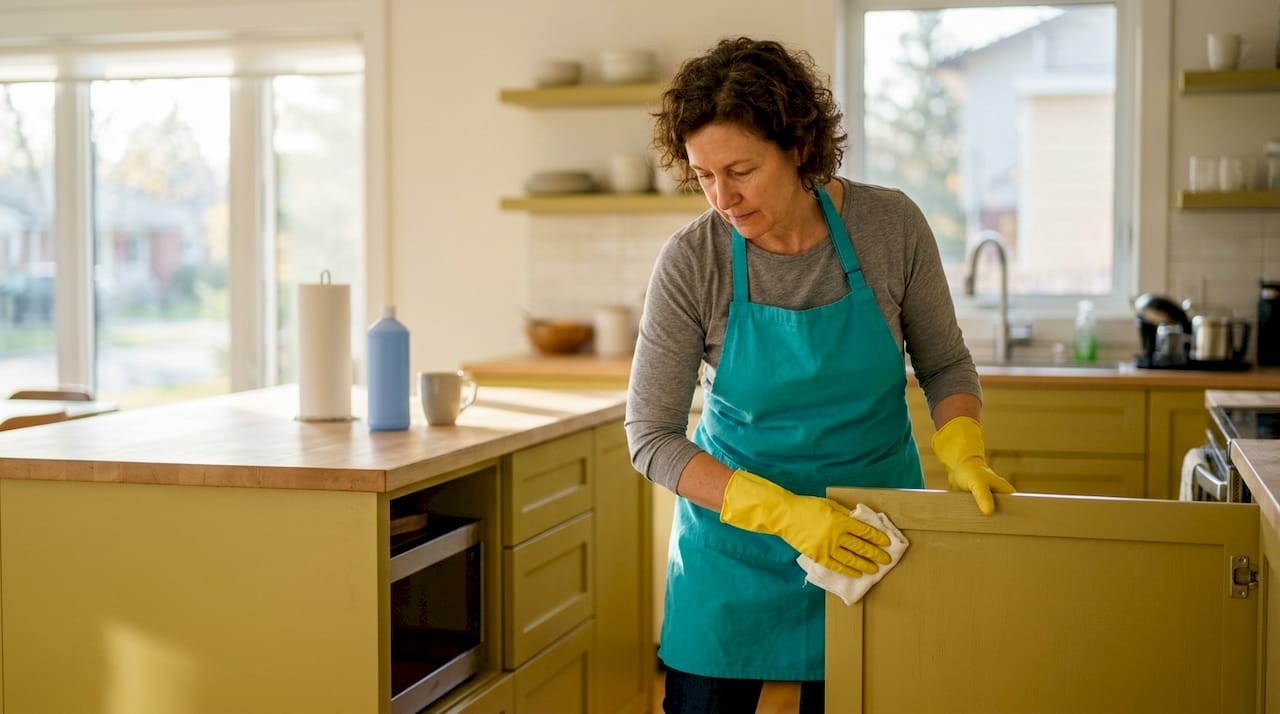
Degreasing with a specialized cleaner. Kitchen grease cannot be removed with normal soap. Professionals use TSP (trisodium phosphate) or stronger degreasers to strip invisible oils from every surface. This step alone determines whether the primer bonds or peels.
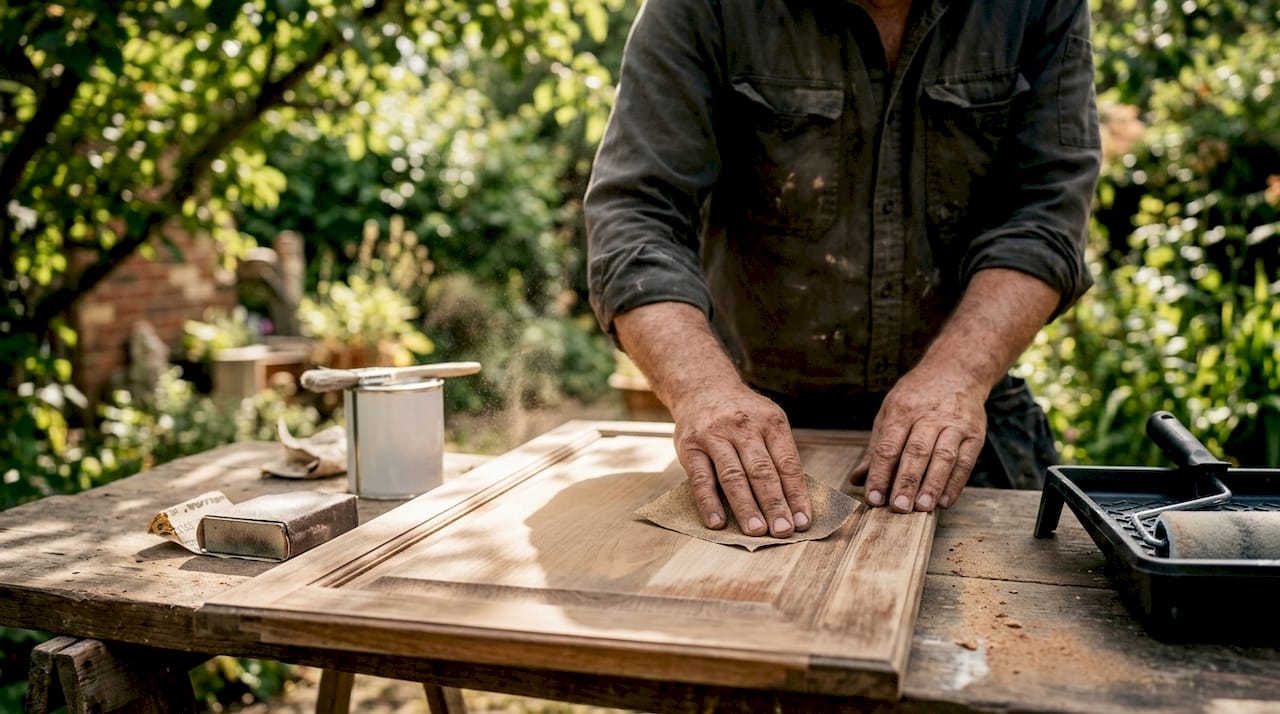
Sanding for mechanical grip. Sanding with 220-grit paper scuffs the surface so primer has something physical to grab onto. Without this mechanical grip, even the best primer will not hold long-term.
Vacuuming and microfiber dust removal. Sanding creates fine dust that settles back onto the surface. Professionals vacuum first, then wipe with a microfiber cloth to capture every particle before priming.
Filling, caulking, and grain raising. Dents, gaps, and open wood grain get filled and caulked at this stage. This is what produces that smooth, factory-finished look rather than a textured, painted-wood appearance.
Adhesion primer application with proper cure time. Adhesion primer is the critical glue between the surface and the topcoat. It must be matched to the cabinet material, whether that is laminate, MDF, or solid wood, and it must cure fully before any paint goes on.
For a medium kitchen with 11–20 doors, professional prep takes 4–8 hours when done correctly. Larger kitchens or cabinets with existing damage extend that timeline further.
Pro Tip: Never rush the degreasing step. Apply your degreaser, let it sit for the manufacturer’s recommended dwell time, then wipe it off with a clean cloth. A second pass on high-traffic areas near the stove is always worth the extra few minutes.
Why does poor preparation cause cabinet paint to fail in Ottawa?
Rushed or incomplete prep creates predictable failure patterns. Knowing what goes wrong and why makes the case for thorough planning far more concrete.
Residual grease blocks adhesion. Even a thin, invisible film of cooking oil acts as a barrier between the primer and the cabinet surface. Paint applied over that film will peel within 12–24 months on high-use doors.
Wrong primer or no primer causes chipping. Using a standard wall primer on kitchen cabinets, or skipping primer entirely, is a recipe for disaster. Cabinet refinishing requires a bonding primer specific to the surface material. Without it, the topcoat has nothing to grip.
Skipping sanding removes mechanical grip. Paint needs both chemical and physical adhesion. Degreasing handles the chemical side. Sanding handles the physical side. Skip sanding, and you have cut the bond strength in half.
Rushing drying times causes bubbling and peeling. Rushing drying times between prep stages is one of the most common DIY mistakes. Applying the next coat before the previous one has cured traps solvents underneath, which causes bubbling and early failure.
Dust contamination creates texture and weak spots. Sanding dust that is not fully removed gets sealed under the primer coat. Those particles create rough spots and micro-voids where moisture and grease can later penetrate.
Microscopic layers of cooking oils and residue, invisible to the naked eye, act as release agents that prevent paint from bonding to cabinet surfaces. Professionals use tape tests and specialized degreasers to verify that a surface is truly ready before any primer is applied. A surface that looks clean is not always a surface that is ready to paint.
The impact of poor preparation compounds over time. A finish that starts to chip at one corner will spread as moisture and kitchen steam work their way under the paint layer. What began as a small prep shortcut becomes a full repaint within a couple of years.
How does professional prep in Ottawa differ from a DIY approach?
The gap between professional and DIY preparation is wider than most homeowners expect. It is not just about tools. It is about process discipline, product selection, and time.
Prep factor | Professional approach | Typical DIY approach |
Degreaser type | Industrial TSP or commercial-grade degreaser | Dish soap or all-purpose cleaner |
Sanding method | 220-grit with full surface coverage and dust removal | Spot sanding or light scuff only |
Primer selection | Material-specific bonding primer for laminate, wood, or MDF | Standard wall primer or no primer |
Topcoat system | Spray-applied 2K polyurethane for factory finish | Brush or roller with latex paint |
Drying discipline | Full cure time observed between every stage | Rushed to next coat within hours |
Expected durability | 8–15 years with proper prep | 1–3 years before visible failure |
Spray-applied 2K polyurethane finishes, used by professionals after multi-stage prep, deliver durable, factory-smooth results lasting 10–20 years. That durability is only possible because the prep underneath it is done correctly.
Ottawa homeowners often underestimate how much time proper prep actually takes. A full cabinet painting timeline for a professional project typically runs around ten days from start to finish. Much of that time is prep and cure time, not painting. Rushing that process to save a day or two is the single most common reason Ottawa homeowners end up repainting sooner than they planned.
Pro Tip: If you are comparing quotes for cabinet painting in Ottawa, ask each contractor specifically how they degrease and what primer they use. A vague answer is a red flag. A confident, specific answer tells you they have a real process.
What are the real benefits of investing in detailed prep for your Ottawa kitchen?
The benefits of thorough planning and preparation show up in every aspect of the finished result, from how it looks on day one to how it performs five years later.
Longer-lasting finish. A properly prepped and primed cabinet can hold its finish for 8–15 years. A rushed DIY prep typically yields 1–3 years before chipping and peeling begin. That difference represents real money saved on repainting.
Better resistance to kitchen wear. Ottawa kitchens deal with steam, grease, and frequent door handling every single day. A finish built on proper prep resists all of that far better than one applied to a poorly prepared surface.
Smoother, more attractive appearance. Filling grain, caulking gaps, and sanding properly before priming produces a smooth, showroom-quality surface. Paint applied over an unprepared surface telegraphs every imperfection underneath.
Protection of your renovation investment. Cabinet painting is a cost-effective alternative to full replacement. That value only holds if the finish lasts. Detailed prep is what makes the investment worthwhile over the long term. You can see the difference in our before and after results.
Fewer callbacks and lower long-term costs. A finish that holds does not need to be redone. Homeowners who invest in proper prep avoid the frustration and expense of early repainting, touch-ups, and contractor callbacks.
Key Takeaways
Detailed preparation is the foundation of every cabinet painting project that lasts, and skipping any prep stage directly causes the adhesion failures, peeling, and chipping that force early repainting.
Point | Details |
Prep drives durability | Proper prep produces finishes lasting 8–15 years; poor prep yields 1–3 years before failure. |
Degreasing is non-negotiable | Invisible kitchen oils block primer adhesion and cause peeling within 12–24 months if not removed. |
Primer must match the surface | Bonding primers specific to laminate, wood, or MDF are required for lasting adhesion in kitchen conditions. |
Rushing cure times causes failure | Applying coats before full cure traps solvents and leads to bubbling, chipping, and early finish breakdown. |
Professional prep outperforms DIY | Industrial degreasers, 220-grit sanding, and 2K polyurethane finishes produce results DIY shortcuts cannot match. |
What we have learned about prep after years of Ottawa kitchen projects
Preparation is the part of cabinet painting that homeowners never see, and that invisibility is exactly why it gets underestimated. After years of working in Ottawa kitchens, the pattern is clear: the projects that hold up beautifully for a decade are the ones where we spent the most time on prep, not on painting.
The most common misconception we encounter is that a kitchen that looks clean is ready to paint. It is not. Cooking oils are invisible at normal viewing distance, but they are absolutely present on every cabinet surface within a few feet of the stove. A tape test, where you apply and pull a strip of tape from the surface, will often reveal just how much residue is still there after a basic wipe-down. That test changes how homeowners think about degreasing.
We have also found that primer selection makes a bigger difference than most homeowners realize. Using the wrong primer on a laminate cabinet, for example, is almost guaranteed to fail within a year regardless of how good the topcoat is. The primer is the foundation. Get it wrong, and nothing above it will hold.
The honest truth is that patience during prep is what separates a renovation you will be proud of from one you will regret. Every hour spent on proper degreasing, sanding, and priming adds years to the life of the finish. We have never had a homeowner complain that we spent too much time on prep. We have had plenty who wished their previous painter had.
— Ottawa
How Ottawacabinetpainting handles prep for lasting Ottawa results
At Ottawacabinetpainting, every project follows a multi-step prep protocol before any paint is applied. We degrease with professional-grade cleaners, sand with 220-grit for full mechanical adhesion, fill and caulk for a smooth finish, and apply bonding primers matched to your specific cabinet material. Our process is designed to deliver results that hold up in Ottawa kitchens for years, not months. If you are ready to see what a properly prepped cabinet finish looks like, request a free spray painting quote or learn more about our interior cabinet painting services. We are happy to walk you through our process and answer any questions before you commit.
FAQ
Why is detailed prep important for cabinet painting?
Detailed prep removes invisible grease, creates mechanical adhesion through sanding, and seals the surface with the right primer. Without it, paint fails within 1–3 years regardless of paint quality.
How long does professional cabinet prep take in Ottawa?
Professional prep for a medium kitchen with 11–20 doors takes 4–8 hours. Larger kitchens or cabinets with existing damage require additional time for filling, caulking, and extended cure periods.
Can I skip primer if I use a high-quality paint?
No. Adhesion primer is the critical bond between the cabinet surface and the topcoat. Skipping it is the single most common cause of finish failure in kitchen cabinets, regardless of paint brand or quality.
What happens if I do not degrease my cabinets before painting?
Residual cooking oils act as a release agent that prevents primer from bonding. Paint applied over undegreased surfaces typically peels within 12–24 months on high-use cabinet doors.
How long do professionally prepped cabinet finishes last in Ottawa?
Professionally prepped and painted cabinets using bonding primers and 2K polyurethane topcoats last 8–15 years. DIY prep with standard products typically produces finishes that fail within 1–3 years.
Recommended

Comments