Spot Pro Flat Lay Cabinet Finishes in Ottawa, Ask for 6 Year Warranty
- Axcell Painting

- 14 minutes ago
- 8 min read
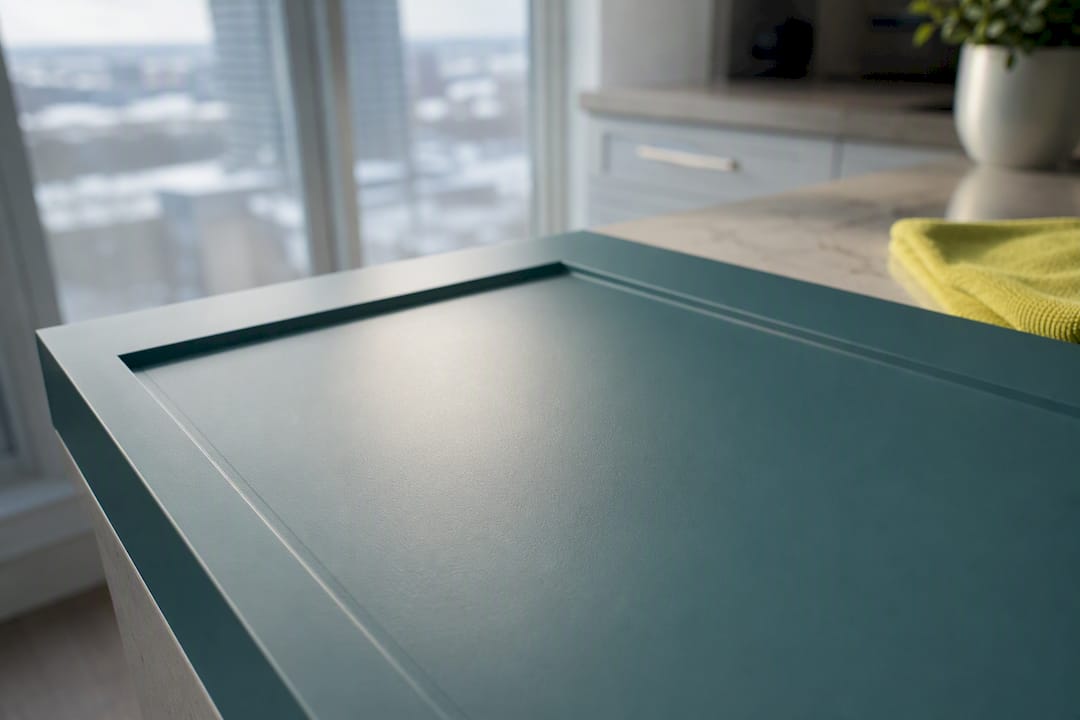
A flat lay finishing technique is a professional method for applying paint or topcoat that removes brush and roller marks by “laying off” the wet film immediately after application, producing a smooth, low-sheen, factory-style surface. For Ottawa homeowners, it means cabinets that resist streaking, hold up to daily wear, and look showroom-flat instead of brushy. Getting there takes disciplined prep and precise timing, not just a good paint.
TL;DR:
Proper surface prep, including sanding, degreasing, and priming, is essential to achieve a smooth and durable flat finish on cabinets.
The application sequence of cutting edges, rolling, and immediately laying off with a brush is critical to prevent brush marks and stippling.
Using high-quality tools like angled sash brushes, mini foam rollers, and urethane or waterborne paints improves the final sheen and longevity.
Adequate cure time, often several days after drying, is vital for full hardness and resistance; rushing this can cause surface flaws.
Proper ventilation and safety measures during application, especially for fumes and dust, are crucial in occupied homes, especially during cold Ottawa winters.
Table of Contents
How Ottawa Pros Achieve a Flat, Low-Sheen Cabinet Finish
Every durable cabinet finish moves through three phases: preparation, application, and cure; for advice on painting techniques, check out what is the best color to paint interior doors. Skip or rush any one of them, and the flaws show up under kitchen lighting within weeks.
Prep comes first, because paint only levels as well as the surface underneath it lets it. Application is where laying off happens. Even with modern self-leveling formulas, a wet film needs help settling evenly across a door panel, and that help comes from a trained hand working in the right sequence, at the right speed, before the paint starts to skin over.
Cure is the quiet phase homeowners tend to underestimate. A cabinet door can feel dry to the touch within hours and still be days away from full hardness.
Here’s how the three phases typically break down on a real Ottawa job:
Prep: sanding, degreasing, priming, and dust removal.
Application: loading the brush or roller, applying paint, then laying off to erase marks.
Cure: extended dry time before hardware goes back on and doors see daily use.
Most residential jobs use brush and mini roller combinations for doors and drawer fronts, reserving paint sprayers for shops or controlled environments where overspray and ventilation can be managed properly. On-site, in an occupied Ottawa home, brush-and-roller with a proper lay-off pass is usually the more practical trade option.
Tools and Materials That Separate Pro Work From a DIY Attempt
The tools matter almost as much as the technique. A homeowner comparing quotes should ask specifically what gets used, because the difference between a $40 brush and a $12 one shows up in the final sheen.
Angled sash brush, 2 to 2.5 inches: the standard for cutting in edges, panel grooves, and recessed profiles without leaving heavy ridges.
Mini high-density foam roller: rolls flat door fields and drawer fronts smoothly, laying down a thin, even film before the brush lays it off.
Paint sprayer: used as a trade option in shop settings or for full cabinet box removal, where it produces the most repeatable, ultra-smooth finish.
Urethane enamel or waterborne alkyd paint: these formulas offer the flow and leveling properties that let brush marks disappear as the coat cures.
Bonding primer: essential on existing finishes, laminate, or glossy factory coats.
220-grit sandpaper and tack cloth: for scuffing between coats and pulling every trace of dust before the next layer goes on.
Paint extenders: added in small amounts to slow drying time, giving the applicator a longer window to lay off before the film sets.
A mini foam roller paired with a quick brush lay-off can get remarkably close to a sprayed finish on flat panel doors, which is why so many pros still reach for it even when a sprayer sits in the truck.
The Load, Apply, and Lay Off Sequence Pros Follow
This is the part homeowners never see, but it’s the part that determines whether a finish looks brushed or looks flawless.
Cut edges first. Brush profiles, grooves, and panel edges with the angled sash brush before rolling the field.
Roll the flat field. Use the mini foam roller to lay down an even, thin coat across the open panel surface.
Lay off immediately. While the paint is still wet, drag the brush in long, light strokes in one direction to erase roller stipple and blend the edges into the field.
Load correctly. Dip only the bottom third of the bristles into the paint, tap off the excess against the can (never scrape it on the rim), so the brush carries a controlled amount of paint rather than a flood.
Limit the passes. Two to three light strokes per section is the professional rule. Once the paint starts to set, stop. Loading only the bottom third of the bristles and immediately laying off in long strokes is the exact method that keeps brush marks from telegraphing through the dried coat.
Sand between coats. Once the coat is dry to the recommended time on the can, scuff with 220-grit and wipe with tack cloth before the next layer.
Pro Tip: If you’re standing over a door thinking “just one more pass will smooth that spot,” walk away instead. Paint that’s begun to set will drag and stipple under a brush, not smooth out. Two or three confident passes beat five nervous ones every time.
Why Surface Preparation Decides the Final Result
Prep is where the finish is actually won or lost. Everything after this stage just reveals how well it was done.
Sand the primer, not just the wood. A 220-grit pass on the primer coat, followed by full dust removal with a tack cloth, keeps stray particles from becoming visible bumps once the topcoat goes on.
Use a bonding primer on glossy or laminate surfaces. Factory finishes and laminate doors need a primer formulated to grip, or the topcoat will eventually chip and peel regardless of how well it was applied.
Degrease before anything else touches the wood. Kitchen cabinets accumulate cooking oil residue that repels paint adhesion no matter how carefully you sand.
Self-leveling paints have a real limit. A urethane enamel can smooth out light brush texture, but it cannot hide a scratch, a grease spot, or a dust nib buried under it. That’s why our guide to what makes a smooth cabinet finish walks through prep in more depth. If you’re doing your own sanding pass before calling a pro, our sanding guide for Ottawa homeowners is worth reading first.
Common Mistakes That Ruin an Otherwise Good Paint Job
Most finish failures trace back to one of four habits, and homeowners can usually spot them just by running a hand across a dried panel.
Overloaded brush or heavy coats. Thick paint doesn’t level; it sags, pools in corners, and dries with visible ridges.
Overworking the paint after it starts to set. This is the single most common failure point. Once the film begins to skin over, continued brushing drags the partially cured surface instead of smoothing it, leaving drag marks and stippling.
Skipping the sand between coats. A dust nib trapped under a topcoat is nearly invisible wet and glaringly obvious once cured and lit by kitchen pot lights.
Choosing the wrong sheen. A finish too flat scuffs and marks easily near handles; too glossy and it highlights every roller stipple instead of hiding it.
Choosing the Right Paint and Sheen for a Durable Look
True matte “flat” paint is uncommon on cabinets for a practical reason: dead-flat sheens show fingerprints, grease, and scuff marks far more readily than a low-sheen finish, and kitchens get touched constantly.
Low-sheen or satin urethane enamels strike the balance most Ottawa homeowners want: minimal glare under overhead lighting, but enough surface hardness to wipe clean.
Matte-formulated enamels exist now that mimic a flatter look while retaining better scrub resistance than old-style flat wall paint.
Primer and enamel should be paired, not mixed from different systems. A urethane trim enamel built for flow and leveling performs best over a primer designed to work with it, rather than whatever happened to be on the shelf.
A conversion varnish or clear topcoat adds meaningful protection in high-traffic kitchens, especially around a stove or sink where heat and moisture wear a finish faster.
If durability across years matters as much as the initial look, our refinishing guide breaks down how paint choice affects long-term wear.
What to Expect for Timeline and Warranty on an Ottawa Job
A thorough cabinet repainting project generally runs about ten days from initial prep to final reassembly, a pace that allows full sanding, priming, and cure sequencing without rushing any coat.
Surface dry (safe to touch) happens within hours. Full cure, when the finish reaches its maximum hardness and can handle daily kitchen abuse, takes considerably longer. That gap is why pros wait before rehanging doors and reinstalling hardware. Ottawa Cabinet Painting backs every completed project with a 6-year warranty, and aftercare is simple: avoid abrasive cleaners and give the finish its full cure window before heavy use.
Ventilation and Safety Considerations During Application
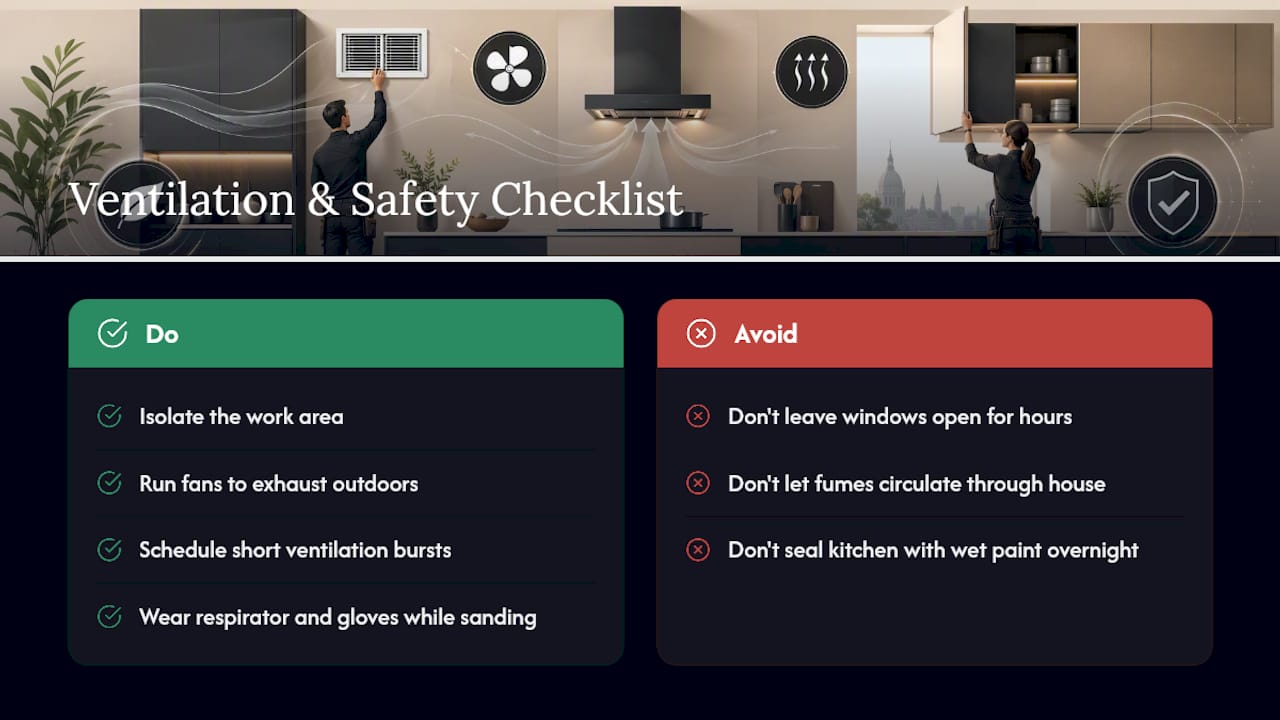
Urethane enamels and bonding primers release fumes as they dry, and in an occupied Ottawa home, that means airflow planning matters as much as the paint itself. Professional crews typically isolate the work area, run fans to push fumes outside rather than through the rest of the house, and time coats so a kitchen isn’t sealed off with wet paint overnight when a family needs to use it.
Cold Ottawa winters complicate this. Cracking a window for cross-ventilation while running interior heat means balancing fresh air against cure temperature, since most enamels need a minimum ambient temperature to level and dry correctly. Pros often schedule ventilation in short bursts rather than leaving windows open for hours, which would drop the room below the paint’s ideal cure range.
Respirator use and glove protection matter most during sanding and priming, when dust and solvent exposure are highest, not just during topcoat application. A homeowner sensitive to fumes or with young children in the house should ask upfront how a crew plans to manage airflow and containment, particularly if bedrooms or living spaces sit close to the kitchen. That single question tends to separate a careful crew from one that’s just trying to finish fast.
Ottawa Perspective: Why Local Homeowners Notice the Difference
Ottawa’s long, low-angled winter light is unforgiving on cabinets. It rakes across door panels and exposes every roller stipple or brush ridge that a rushed job leaves behind, which is exactly why prep and lay-off timing get so much attention here. A flat lay finish also spares a household the disruption of a full renovation, keeping layout and cabinet boxes intact while still delivering a dramatically updated kitchen. Our before-and-after gallery shows what that difference looks like once the paint has fully cured.
— Ottawa
Getting a Flat Lay Finish Done Right in Ottawa
Ottawa Cabinet Painting builds every project around the same discipline covered above: aggressive prep, disciplined load-and-lay application, and enough cure time that the finish is actually ready before your kitchen goes back into daily use. That process is backed by a 6-year warranty, which is the kind of guarantee a rushed weekend job or a lower-cost competitor typically can’t offer.
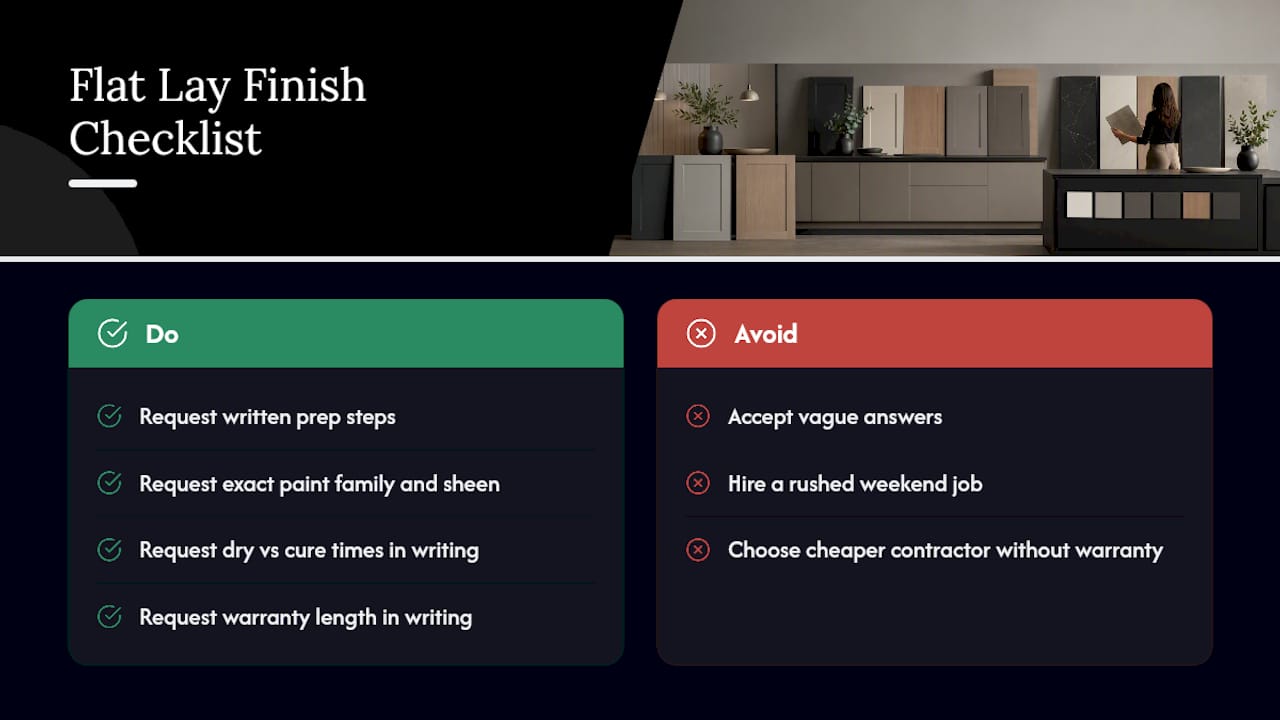
When you’re comparing quotes, ask each contractor to specify their prep steps, the exact paint family and sheen they’re using, expected dry versus cure times, and warranty length in writing. Vague answers on any of those four points are a warning sign. If you’re ready to see what a properly executed flat lay finish looks like in your own kitchen, visit our interior cabinet painting page or request a free spray-painting quote to get started.
Sources
Recommended

Comments