Refinish Laminate Cabinets: An Ottawa DIY Guide

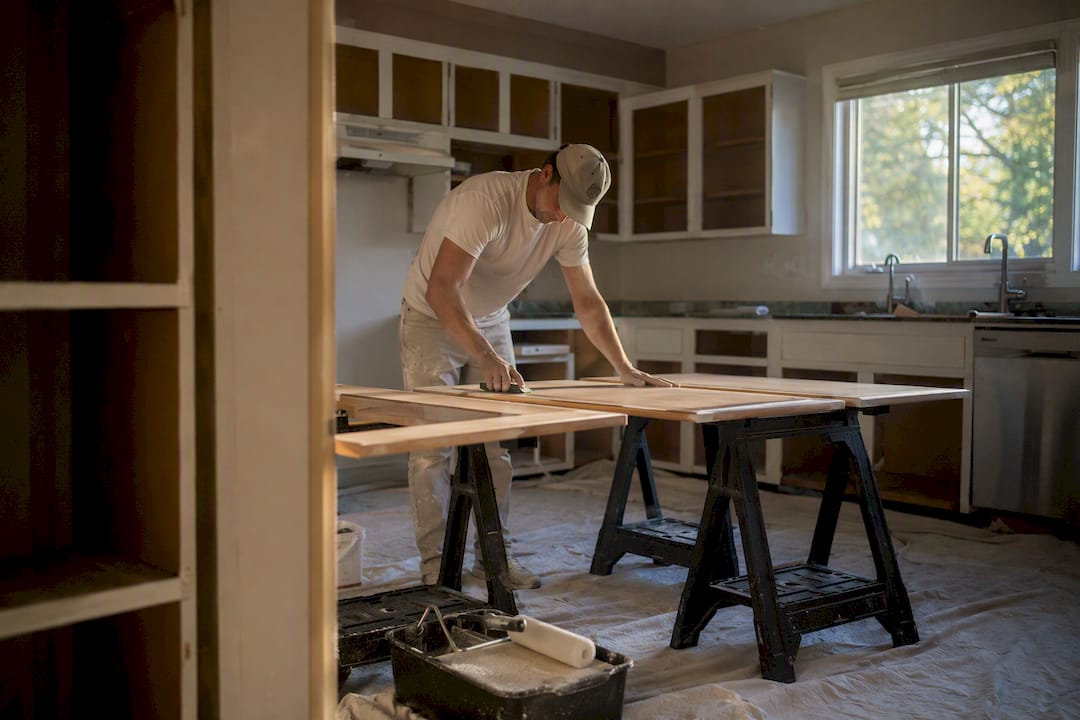
Yes, you can refinish laminate cabinets yourself, and the finished result can genuinely rival a factory look. The job succeeds or fails on three priorities: deep degreasing, a true bonding primer, and patient curing between coats. Skip any one of those and you’re looking at peeling corners within a year, no matter how nice your brushwork was.
Here’s the reality check before you buy a single can of paint. HomeStars pegs the cost of a bonding primer at roughly $150 to $400 added to a typical repaint budget, and that line item is the one homeowners most often try to skip. Don’t. A medium Ottawa kitchen takes about 7 to 10 days start to finish when you build in real dry and cure gaps, not the fast timeline shortcuts you’ll see on social media.
Degrease first, always. Kitchen cabinets carry invisible cooking oil that stops paint from bonding, no matter how much you sand.
Use a bonding primer built for laminate, such as INSL-X® STIX®, not a general-purpose primer.
Apply thin coats and let each one cure fully rather than rushing to the next layer.
Key Takeaways
Refinishing laminate cabinets succeeds when degreasing, a dedicated bonding primer like INSL-X® STIX®, and full cure time between coats are treated as non-negotiable steps, not optional extras.
Point | Details |
Degrease before sanding | Hidden grease is the top cause of early paint failure; clean thoroughly before touching sandpaper. |
Use a bonding primer | INSL-X® STIX® is built for slick laminate surfaces where standard primer won’t hold. |
Budget for primer cost | Expect $150 to $400 added to your project just for bonding primer. |
Respect cure time | Full hardness can take days beyond dry-to-touch; rushing causes chips at hinges. |
Call a pro when needed | Ottawa Cabinet Painting offers a controlled spray finish and a 6-year warranty for larger or damaged jobs. |
Table of Contents
What Supplies You Need to Refinish Laminate Cabinets
Buying the wrong products is the fastest way to waste a weekend. Start with a heavy-duty degreaser or a TSP alternative, a box of tack cloths, and sandpaper in both 120 to 220-grit and a finer 220-grit for between coats. A liquid deglosser is a solid backup if you want to skip aggressive sanding on delicate laminate edges.
For the primer, Benjamin Moore recommends INSL-X® STIX® specifically because it bonds to slick, non-porous surfaces where ordinary primers slide right off. For the topcoat, INSL-X® Cabinet Coat is a common pairing when homeowners want a hard, self-leveling finish that resists kitchen wear better than standard wall paint.
Round out your cart with cabinet-grade acrylic enamel or a urethane-modified paint, a quality foam roller, an angled brush for corners, a respirator, drop cloths, painter’s tape, and small bags for labeling hardware.
Pro Tip: Choose a satin or semi-gloss sheen for kitchens. Flat finishes show grease stains fast, and high-gloss magnifies every surface imperfection. If you have a spray gun and a well-ventilated garage, spraying gives a smoother finish than brushing or rolling.
Is Refinishing the Right Move for Your Cabinets?
Not every set of laminate cabinets is a good painting candidate, and figuring that out before you buy supplies saves you a headache. Run through this checklist first.
The cabinet boxes and doors are structurally sound, with no soft or swollen spots.
There’s no widespread water damage around the sink or dishwasher.
The laminate itself isn’t peeling, bubbling, or lifting at the seams.
Doors close flush and aren’t visibly warped.
If your cabinets check every box, painting laminate is worth the effort. If they don’t, no primer on the market will fix a structural problem.
Before committing, test adhesion in a hidden spot, like inside a cabinet door. Prime a small patch, let it cure fully, then try to scratch it off with a fingernail. If it holds, you’re clear to proceed.
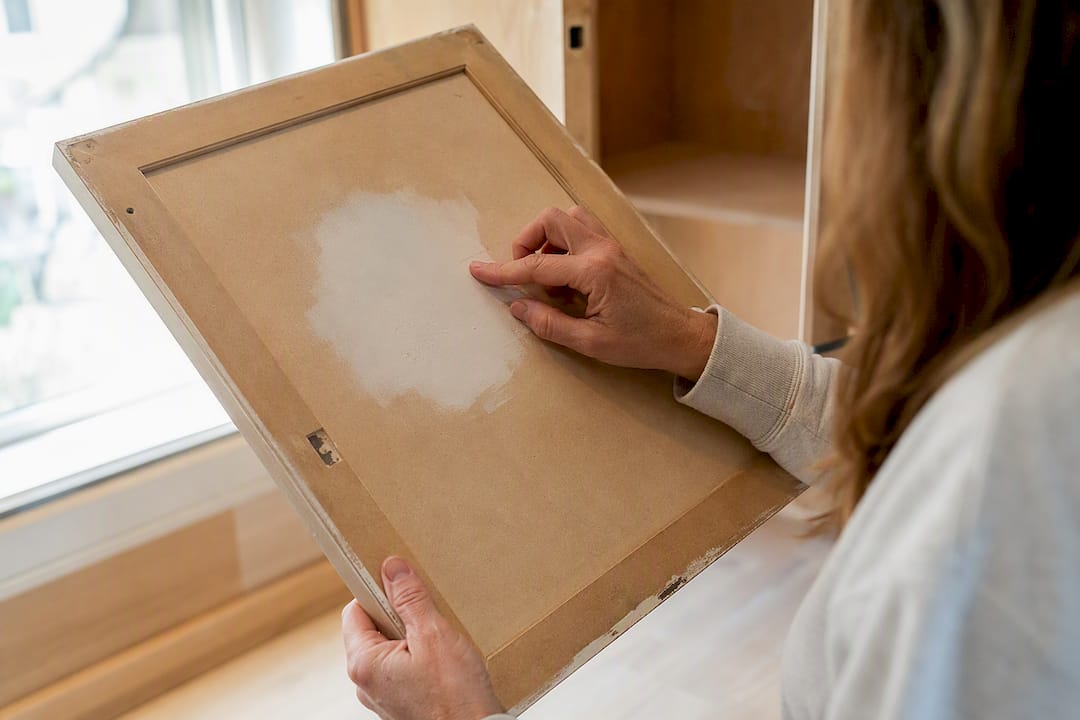
Pro Tip: Check edges and seams closely before you sand. Laminate is often thinner there, and aggressive sanding can chip through to the substrate underneath.
How Do You Refinish Laminate Cabinets Step by Step?
This is the sequence that actually holds up, in the order it needs to happen.
Remove doors, drawers, and hardware. Label everything and bag the screws so nothing gets lost or mismatched at reassembly.
Deep clean with a degreaser or TSP alternative. Skipping this step is the single biggest reason paint fails, because sanding over hidden grease just grinds it deeper into the surface. Rinse thoroughly and let everything dry completely.
Scuff-sand or degloss. Use 120 to 220-grit sandpaper to dull the sheen, following the same approach recommended for prepping laminate and glossy cabinet surfaces.
Remove all dust. A tack cloth or shop vac catches what a rag leaves behind.
Apply bonding primer in thin, even coats. INSL-X® STIX® goes on best in two light coats rather than one heavy one. Let each coat dry per the can’s instructions before touching it again.
Sand the primer lightly if needed, then apply cabinet-grade paint. Sand between coats with 220-grit and wipe with a tack cloth each time to avoid trapping texture under the next layer.
Add an optional clear topcoat, such as water-based polyurethane or polycrylic, for doors near the stove or sink that take heavier daily wear.
Let everything cure fully before reassembly, even if it feels dry to the touch after a few hours.
Ventilation matters more than most people expect. Crack windows, run a fan pointed outward, and wear a respirator any time you’re spraying or working with a solvent-based primer indoors. Lay drop cloths in a dedicated zone, ideally a garage or spare room, so you’re not painting flat surfaces on the kitchen floor while dodging foot traffic.
Dry time and cure time are not the same thing, and this trips up more DIYers than any single step in the process. Paint might feel dry to the touch in an hour, but full cure, when the finish reaches its maximum hardness, can take days. Rehang a door too early and you’ll leave fingerprints or soft spots that never quite smooth back out.
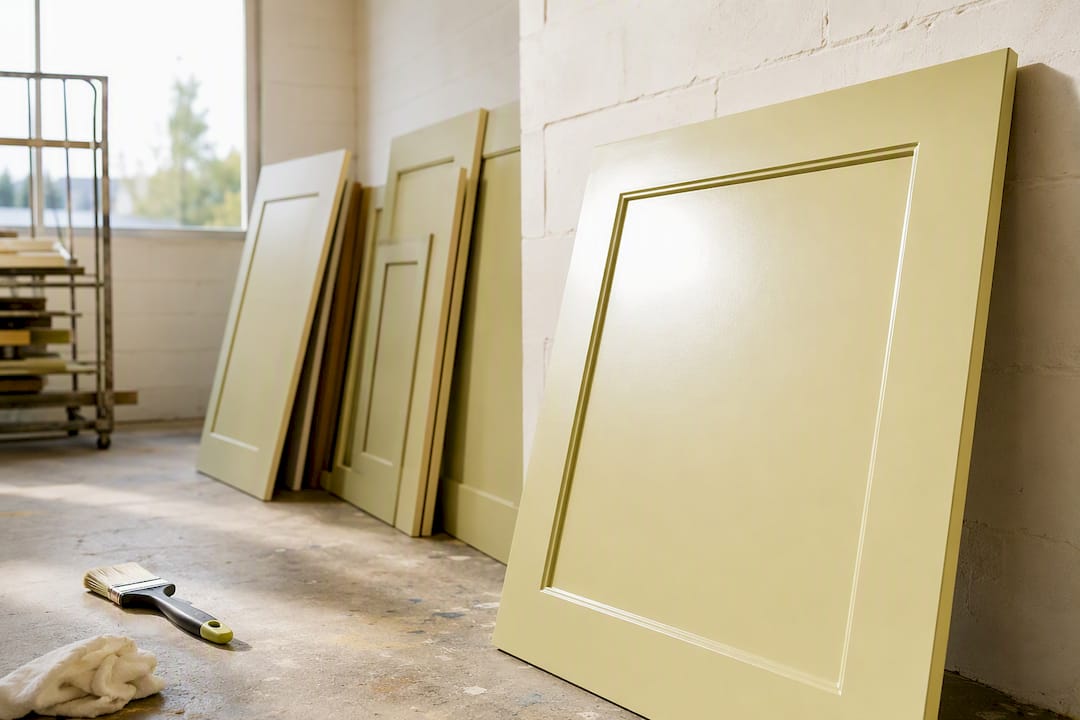
Pro Tip: Work on doors flat, laid across sawhorses. Vertical painting on hinges invites drips and uneven coverage that’s nearly impossible to fix once cured.
Why Do Painted Laminate Cabinets Fail Early?
Most failures trace back to one of five habits, and every one of them is avoidable.
Hidden grease under the paint. A stronger degreaser and a second wipe-down solves this before you ever touch sandpaper.
Skipping the bonding primer. Laminate is not wood. It needs a primer engineered to grip a slick, non-porous surface every single time.
Oversanding through the laminate layer. If you hit the substrate, fill the spot with a two-part filler, re-sand smooth, then reprime.
Painting over bubbling or lifting laminate. Replace that door instead of fighting a surface that’s already failing.
Rushing cure times. Rehanging doors before the finish has fully hardened is the single fastest way to see chips at the hinges within weeks.
For small chips or edge damage, clean the area, feather-sand the edge so it blends, fill with wood filler or a two-part product, reprime the patch, and repaint. Our cabinet painting aftercare guide covers cleaning routines and touch-up timing once your project is done.
Pro Tip: Reapply a clear protective topcoat every few years on high-traffic doors, like the ones under your coffee maker, to extend the life of the finish without a full repaint.
How Long and How Much Does This Actually Take?
Plan on about a week to ten days for a medium kitchen if you’re working steadily and respecting cure times between stages. That includes removal, degreasing, sanding, priming, painting, and a final cure before hardware goes back on. Compressing that timeline is exactly how corners get skipped.
On cost, the bonding primer alone typically adds $150 to $400 to your total project, and that’s before paint, sandpaper, or a sprayer rental. It’s a small line item compared to full replacement, but it’s not optional.
If your laminate is intact and the boxes are sound, refinishing is almost always the more cost-effective route.
If you’re seeing structural damage or water infiltration, replacing doors may cost less in the long run than repairing and repainting a failing surface.
When Should You Call a Professional in Ottawa Instead?
DIY makes sense when your cabinets are in decent shape and you have the time to respect every dry and cure interval. Hiring out makes more sense when you’re facing widespread laminate failure, real water damage, or you simply want a sprayed, factory-level finish without dedicating your kitchen to a project for over a week.
Professional shops bring a controlled spray environment that keeps dust out of a wet finish, something almost impossible to replicate in a home garage. Ottawa Cabinet Painting also backs its work with a 6-year warranty, a level of assurance a first-time DIY project simply can’t offer. If your timeline is tight or the stakes of getting it wrong feel too high, our guide to hiring local painters walks through what to expect from a pro-grade process.
Widespread laminate peeling or bubbling across multiple doors
Water damage near sinks, dishwashers, or under-counter areas
You want a sprayed, brush-mark-free finish
You need the job done on a fixed timeline with a warranty attached
What Most Guides Get Wrong About This Project
Most articles on this topic treat priming as an afterthought, a single bullet point buried between sanding and painting. That’s backward. Prep, including degreasing and priming, determines nearly all of the outcome, and rushing it is the single most predictable way to watch a paint job fail within months.
The other blind spot is timeline honesty. Plenty of DIY content promises a weekend transformation. A real, durable result takes closer to a week and a half once you factor in proper cure time between every stage, not just dry time. Homeowners who plan for 7 to 10 days end up happier with the result than those chasing a two-day sprint.
If there’s one thing worth prioritizing above all else, it’s the primer choice. A dedicated bonding primer like INSL-X® STIX® is what separates a finish that lasts years from one that chips at the first dish rack bump. Everything else, sheen, brand of paint, brush versus roller, matters far less than getting that one layer right.
Get a Pro-Grade Finish Without the DIY Risk
If the timeline and cure-time details above feel like a lot to manage around a working kitchen, Ottawa Cabinet Painting handles the entire process in a controlled spray environment, so you skip the dust, the guesswork on primer selection, and the risk of rehanging a door before it’s actually cured. We built our process around the same priorities this guide covers: proper degreasing, a genuine bonding primer, and full cure schedules, just executed with commercial spray equipment and backed by a 6-year warranty most DIY projects can’t offer.
If your laminate cabinets are in good structural shape but you’d rather not spend 10 days managing the process yourself, request a free spray painting quote and we’ll walk you through what a professional timeline looks like for your kitchen.
Frequently Asked Questions
Can laminate cabinets be painted, or do they need to be replaced? Laminate cabinets can be painted as long as the boxes are structurally sound and the laminate itself isn’t peeling or bubbling. Widespread damage is a sign replacement will serve you better than refinishing.
What is the best paint for laminate cabinets? A cabinet-grade acrylic enamel or urethane-modified paint applied over a dedicated bonding primer like INSL-X® STIX® holds up best. INSL-X® Cabinet Coat is a common topcoat choice for a smooth, durable finish.
How long does it take to refinish laminate kitchen cabinets? A medium kitchen typically takes 7 to 10 calendar days when you account for proper dry and cure time between each coat, not just the hands-on painting hours.
Do I really need a bonding primer for laminate cabinets? Yes. Laminate is a non-porous, slick surface, and standard primer won’t grip it the way it grips wood. Skipping a bonding primer is the most common reason painted laminate cabinets chip or peel early.
How much does a laminate cabinet refinishing project typically cost? Bonding primer alone typically adds $150 to $400 to your material costs, on top of paint, sandpaper, and any tools you need to rent or buy.
Sources
For technical specifics, confirm dry and cure times directly on the product’s technical data sheet before you start.
Recommended
Comments