Paint Ottawa Kitchen Cabinets in 10 Days: Colors, DIY Steps, and Costs

Painting your kitchen cabinets is the fastest high-impact update for a dated Ottawa kitchen when the boxes are structurally sound. It costs a fraction of a full renovation while delivering a nearly showroom-level transformation. This guide covers the color combinations Ottawa homeowners are choosing right now, the finish and primer choices that determine whether that new look lasts, a compact DIY workflow, and real budget ranges so you know what to expect before you pick up a brush or call a pro.
TL;DR:
Painting cabinets with a durable, cabinet-specific finish like water-based alkyds or alkyd enamels ensures long-lasting, resistant surfaces that withstand daily wear.
Proper primer choice depends on the substrate, with INSL-X STIX for laminate, Zinsser BIN for tannin-heavy wood, and standard acrylic for raw MDF, preventing peeling and damage.
Homeowners should allocate around ten days for professional projects, emphasizing thorough prep work like degreasing, sanding, and priming over the actual painting process.
The cost to fully paint kitchen cabinets in Ottawa ranges from $2,500 to $5,500, with labor being the largest expense, especially for extensive prep or custom finishes.
DIY painting is feasible for small, simple kitchens but often results in less smooth finishes, while hiring experts guarantees factory-like results and a warranty-backed lasting finish.
Table of Contents
Painting Kitchen Cabinets Ideas Ottawa Homeowners Love
Some cabinet colors get requested over and over because they solve a real problem: they make a dark kitchen feel bigger, hide daily wear, or update a builder-grade layout without touching the counters. Designer galleries like Benjamin Moore’s cabinet inspiration collection show the pairings that keep showing up in kitchens people actually love living in.
Two-tone kitchens. Light uppers with dark lowers, often with the island painted a third accent color, remain one of the highest-impact changes for the least amount of surface area painted.
Timeless white and warm greige. Still the safest bet for resale and works with almost any counter or floor tone. Pair with brushed nickel or matte black pulls.
Deep navy or forest green lowers. These add real depth to an island or lower bank of cabinets without darkening the whole room. Champagne bronze hardware warms up navy especially well.
Soft sage or muted blue. A calmer, modern-cozy alternative to stark white that photographs beautifully in natural light. Works well with matte black or unlacquered brass.
Pastels and single-color statement kitchens. Effective in small doses. If you go bold on every cabinet, keep walls and counters neutral so the kitchen doesn’t compete with itself.
For hardware, matte black reads modern and pairs with almost every palette above; brushed nickel is the safer, more traditional choice; champagne bronze is having a moment on warmer tones like sage and navy.
How Do You Choose a Cabinet Color That Actually Works?
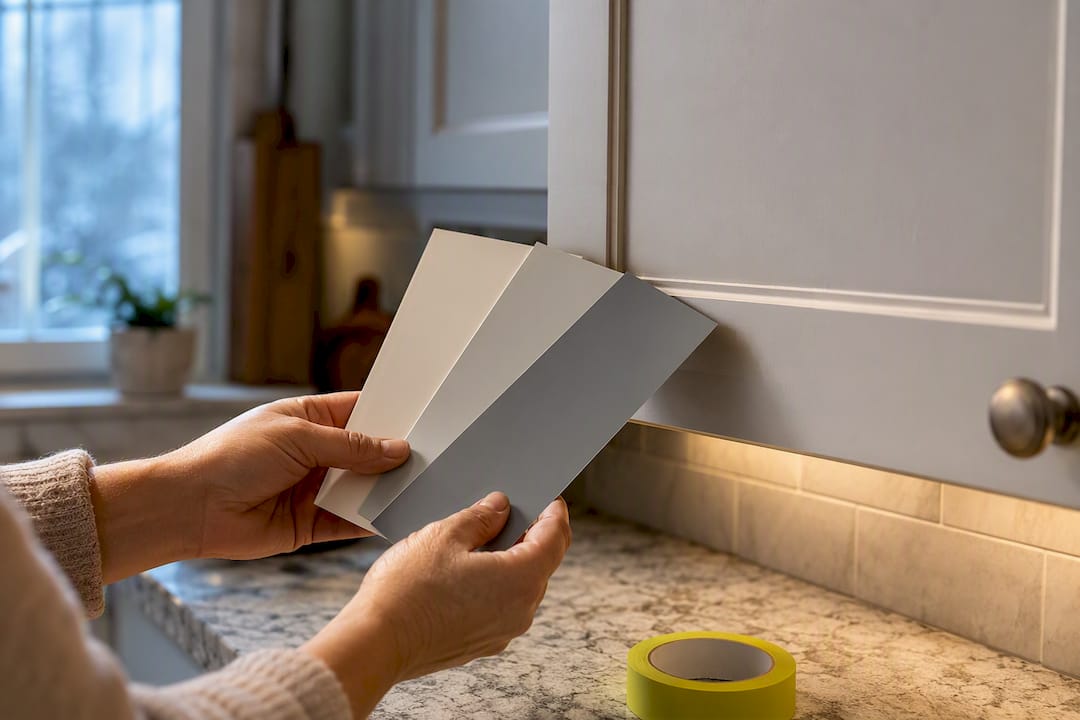
Paint chips lie under fluorescent hardware store lighting. Always test a sample directly on your cabinets and view it at 8 a.m., noon, and after dark, since Ottawa’s long winter evenings under warm bulbs can pull green out of a gray or blue out of a white.
Undertones matter more than the color name on the can. A “greige” with a pink undertone can clash badly with a cool gray quartz counter, while a greige with a green undertone might fight a warm oak floor. Hold the chip against your counter and backsplash before committing.
High-contrast combinations like black lowers with stark white uppers photograph dramatically but can look harsh under weak overhead lighting. If resale value matters to you, keep the boldest color on an island or lower bank and stick to a warm or cool neutral everywhere else, so a future buyer only has to embrace one accent, not the whole kitchen.
Pro Tip: If your kitchen gets mostly north-facing light, lean toward warm whites and creams; cooler whites can look flat or slightly gray in low, indirect daylight.
What Paint Finish Holds Up Best on Kitchen Cabinets?
Wall paint is not built for cabinet doors that get touched, wiped, and bumped multiple times a day. Cabinet-grade coatings are formulated to cure to a harder, more chemical-resistant film, which is why they outperform standard interior wall paint even after it fully dries.
Satin or semi-gloss are the standard sheens for kitchens: satin hides minor imperfections better, semi-gloss wipes cleaner but shows more surface flaws.
Water-based alkyds level out to a smooth, low-odor finish and are a favorite among painters for their durability without heavy fumes.
Alkyd enamels cure harder still and resist scuffs well, though they take longer to fully harden.
Cabinet lacquers deliver the smoothest, most factory-like result but generally require spray equipment to apply correctly.
Spraying, rather than brushing, is what produces that seamless, factory-finished look with no visible brush marks, particularly on doors with panels or routed details.
Prep Steps and Primer Choices by Cabinet Material
Painting only makes sense when the boxes are structurally sound, as explained in detail in the guide on painting vs replacing old doors. If doors are warped, water-damaged, or delaminating at the edges, no amount of primer fixes that, and replacement or refacing becomes the better investment, as outlined in guidance on repainting versus replacing cabinets.
Assuming your boxes check out structurally, follow this sequence:
Inspect and repair. Check every door and drawer front for warping, chips, or moisture damage before you touch a sander.
Degrease thoroughly. Kitchen cabinets accumulate cooking oil residue that repels paint if not fully removed.
Sand or deglosss. Scuff-sand or use a liquid deglosser to give the primer something to grip.
Prime by substrate. Substrate-specific primer choice is where most DIY jobs fail: use INSL-X STIX for laminate or thermofoil cabinets, Zinsser BIN for tannin-heavy or smoke-stained wood, and a standard acrylic primer for raw MDF or cabinets that were previously painted with latex.
Skip the degreasing step or use the wrong primer, and paint will peel at the hinges and high-touch edges within months, not years.
A Quick, DIY-Friendly Method for Painting Cabinets
Two workflows dominate: painting doors on-site with brush and roller while boxes stay hung, or removing doors entirely and spraying them off-site in a controlled space. The spray method produces the smoother finish; the on-site method costs less and disrupts your kitchen less.
Label every door and drawer front with painter’s tape before removal so reassembly is fast.
Remove all hardware, hinges, and drawer slides.
Degrease every surface, then sand or apply a liquid deglosser.
Prime with the correct product for your substrate.
Apply two thin coats of your cabinet-grade topcoat, sanding lightly between coats.
Let cabinets cure fully before rehanging, not just dry to the touch.
Reinstall hardware and rehang doors, checking alignment as you go.
If budget is tight, paint only the island, remove doors yourself before a pro sprays them, or skip painting cabinet interiors entirely since they rarely show.
Pro Tip: Painted cabinets can feel dry within a day but need up to two to three weeks of full cure time before they can handle heavy daily use without dents or sticking. Plan your first big dinner party accordingly.
How Much Does It Cost to Paint Kitchen Cabinets in Ottawa?
Canadian homeowners typically spend $2,500 to $5,500 on a standard cabinet painting job, with the full range running $1,500 to $8,500 depending on kitchen size, door count, and finish method.
Door and drawer count drives price more than square footage. A medium kitchen with around 16 pieces often runs $2,400 to $3,200 for the doors and drawers alone, before frames and prep are added in. Spraying adds roughly $500 to $1,500 over brush-and-roll, and bold color changes over dark existing cabinets may need an extra coat.
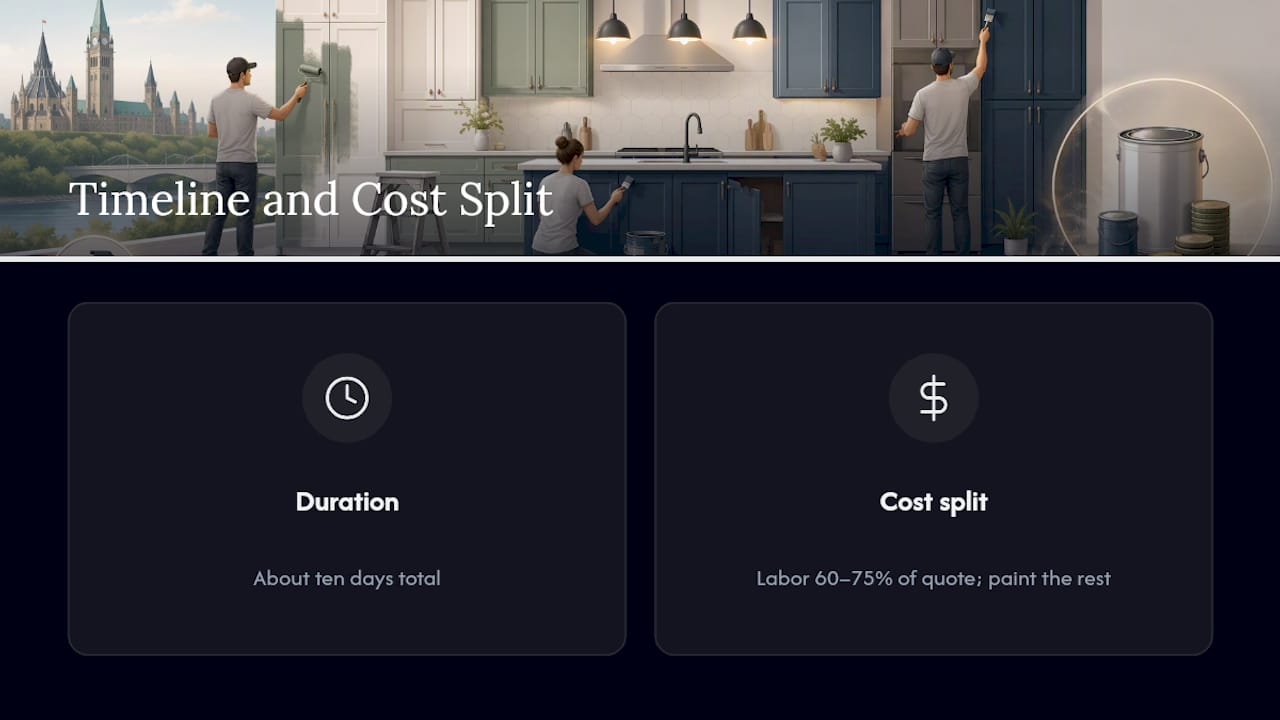
Labor, not paint, is the biggest line item. It typically makes up 60% to 75% of a professional quote, which is why prep speed and crew size matter more to your final bill than the brand of paint on the can. Most professional projects run about ten days from start to finish, with staged work often keeping your kitchen partially usable throughout.
Should You Paint Your Cabinets Yourself or Hire a Pro?
DIY makes sense for smaller kitchens with a single consistent substrate and an owner who has the patience for multiple coats and long cure times. Hiring a professional makes more sense when you have mixed substrates like laminate uppers and wood lowers, want a true factory-smooth finish, or simply cannot tolerate weeks of a torn-apart kitchen.
Before hiring anyone, ask these questions:
Which primer will you use on my specific cabinet material?
Do you spray or brush and roll, and why for my kitchen?
What is the warranty length on the finish?
What is the realistic project timeline?
Are you insured for work in an occupied home?
Red flags include a quote with no named primer, no warranty offered at all, or a labor line item that looks suspiciously low. As detailed in this look at how local Ottawa painters approach kitchen upgrades, the primer and prep steps a company is willing to name upfront tell you almost everything about the quality you’ll get.
An Ottawa Perspective on Timelines and Trust
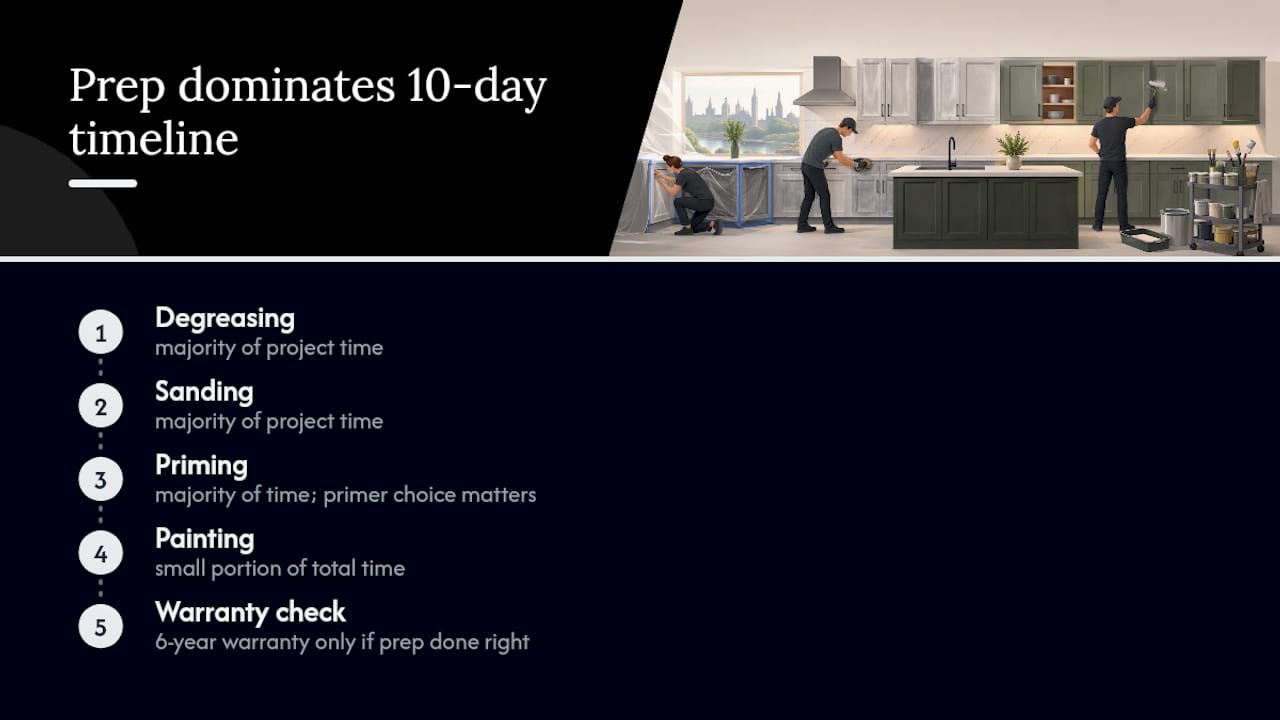
Homeowners consistently underestimate how much prep time separates a good cabinet repaint from one that chips within a year. A typical professional project in Ottawa runs about ten days, most of it spent on degreasing, sanding, and priming rather than the paint itself, and that sequencing is detailed further in this guide to cabinet project timelines.
A six-year warranty only means something when the prep behind it was done right. Ottawa homeowners who balance budget, timeline, and finish expectations well tend to be the ones who ask about primer choice before they ask about paint color.
— Ottawa
Get a Local Quote for Your Kitchen Cabinet Makeover
If the prep steps above sound like a lot to manage around cooking dinner every night, that’s exactly the gap a professional cabinet painting service fills. They handle the degreasing, substrate-specific priming, and spray application in-house, on a timeline built to keep your kitchen usable through most of the process rather than shut down for weeks. Every project may be backed by a warranty, which matters because the primer and prep steps covered earlier in this guide are exactly what determine whether a finish lasts. You can browse real completed kitchens in the before-and-after gallery to see the color combinations and sheens discussed above applied in actual Ottawa homes. If your cabinets have mixed substrates, deep color changes, or you simply want the factory-smooth result spraying delivers, request a free quote and compare it against any DIY budget you’ve sketched out.
Sources
FAQ
What is the best paint for kitchen cabinets?
Cabinet-grade water-based alkyds or alkyd enamels in a satin or semi-gloss sheen outperform standard wall paint because they cure to a harder, more washable finish.
How long do painted kitchen cabinets last?
With correct substrate-specific priming and a durable topcoat, painted cabinets can look good for many years; most failures trace back to skipped degreasing or the wrong primer rather than the paint itself.
Can you paint thermofoil or laminate cabinets?
Yes, but only with a bonding primer like INSL-X STIX designed for non-porous surfaces; standard primers will not adhere properly and will peel.
Should you paint the cabinet boxes or just the doors?
Painting only the doors and leaving interior boxes alone is a common cost-saving move since the interiors rarely show, though frames and face frames typically still need paint to match.
Is it cheaper to paint cabinets yourself or hire a professional?
DIY brush-and-roll work saves the most money but risks an uneven finish, while professional spraying costs $500 to $1,500 more and typically delivers a smoother, longer-lasting result.
Recommended

Comments