4 Kitchen Cabinet Primers Ottawa Pros Recommend for Oak, MDF, Laminate

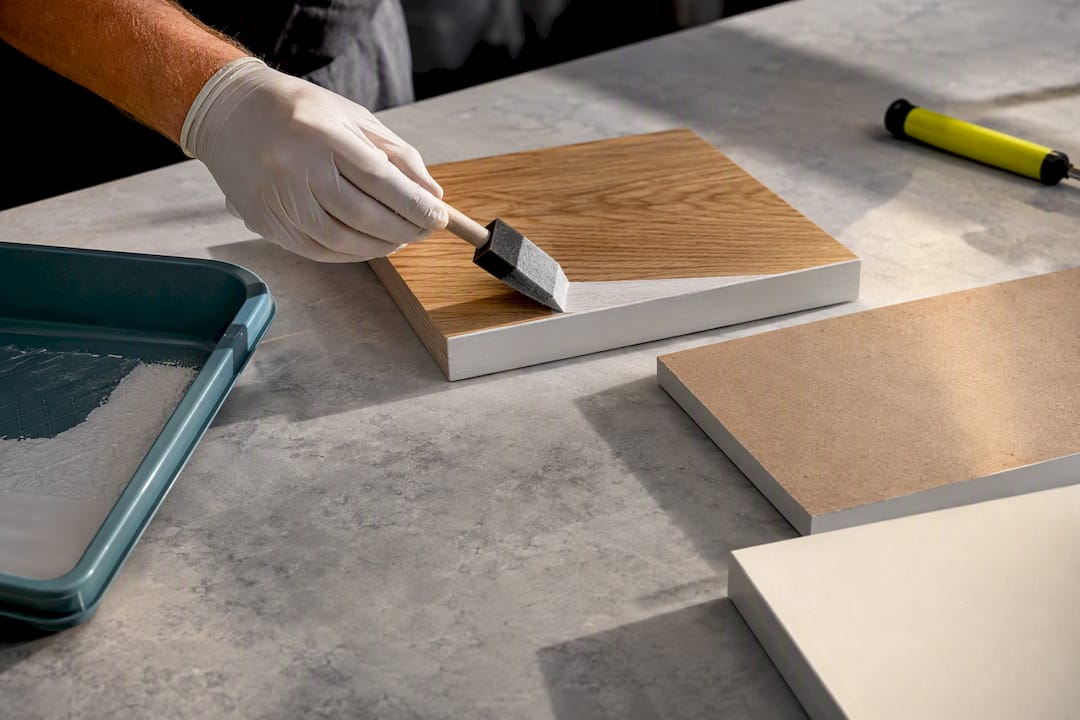
For most Ottawa kitchens, the right kitchen cabinet primer depends on what’s already on the wood: shellac primer like Zinsser B-I-N for stains and tannin bleed, a bonding primer like INSL-X Stix for slick factory finishes, and water-based options like KILZ 3 or BEHR Kitchen, Bath & Trim for clean, previously painted surfaces. None of that matters, though, if you skip degreasing and scuff-sanding first.
TL;DR:
Proper prep, including degreasing and scuff-sanding, is essential because primer alone cannot fix grease or surface irregularities.
Shellac primers like Zinsser B-I-N are ideal for tannin bleed and stains but require good ventilation due to alcohol fumes.
Bonding primers such as INSL-X Stix are best for slick surfaces like laminate or thermofoil without full removal, offering strong adhesion.
Applying thin coats and using appropriate tools, like brushes for edges or sprayers for flat surfaces, ensures better adhesion and durability.
Professional priming involves removing and spraying doors in a controlled environment, resulting in longer-lasting finishes compared to DIY brush methods.
Table of Contents
What Is the Best Primer for Kitchen Cabinets in Ottawa Homes?
Ottawa kitchens tend to fall into a few predictable categories: oak cabinets from the 1990s with heavy grain, laminate or thermofoil boxes installed in newer builds, or cabinets someone already painted once and now regrets. Each situation calls for a different can.
Here’s the shortlist worth knowing before you stand in the paint aisle:
Zinsser B-I-N is the gold standard shellac primer. It blocks tannin bleed and heavy stains cold and bonds to almost anything, including glossy varnish. It dries fast, but the alcohol base means you need real ventilation and a respirator rated for organic vapors.
INSL-X Stix is a waterborne bonding primer built to grip laminate, melamine, and glossy factory finishes without a full strip. It handles slick surfaces where ordinary primers fail and produces far less odor than shellac.
KILZ 3 Premium is a water-based, multi-surface primer that dries fast and stays low-odor, which makes it a solid pick for cabinets that are already painted and in decent shape. Manufacturer guidance recommends a brush for edges, a short-nap roller for flat panels, or an airless sprayer with a fine tip for the smoothest result.
BEHR Kitchen, Bath & Trim Stain-Blocking Primer is another fast-dry, low-odor choice, and it’s tintable toward your topcoat color, which can shave off a full coat of finish paint when you’re going from dark wood to a lighter shade.
Buy a quart for a small vanity or a single wall of uppers; a full kitchen usually needs a gallon. Primers generally cover 300 to 400 square feet per gallon on smooth surfaces, but budget for a second thin coat over dark stain or heavy oak grain.
How Do You Prep Kitchen Cabinets Before Priming?
Primer doesn’t fix a dirty surface. It just seals grease and grime under a new layer of paint that will eventually let go. Skip this step and the most expensive primer on the shelf won’t save the job.
Degrease everything. Kitchen cabinets accumulate a thin film of cooking oil most homeowners never notice. Wipe every surface with a TSP substitute or a strong dish soap solution, then rinse with clean water and let the wood dry fully before you touch sandpaper.
Scuff-sand for tooth. Use 120 to 150 grit for the initial pass on faces and doors. This isn’t about stripping the finish; it’s about giving primer something to physically grip.
Seal MDF edges. Cut edges on MDF drink water-based primer like a sponge and swell. Seal them first with a shellac primer or a dedicated edge sealer before the rest of the primer goes on.
Test a hidden patch. Prime an inconspicuous spot, let it cure per the can’s instructions, then try to scratch it off with a fingernail. If it lifts easily, you have the wrong chemistry for that surface, and you’ll want to know that before committing to fifteen doors.
Pro Tip: Skipping sanding only works if the existing finish is dead flat, in excellent shape, and you’ve already tested a bonding primer on a hidden patch. When in doubt, scuff it. Otherwise, factory finishes without a mechanical key can peel within twelve to twenty-four months, even with a good product in the can.
For a full Ottawa-specific prep checklist, including how to handle dust and disruption while you work, see our prep guide for local homeowners.
What’s the Right Way to Apply Cabinet Primer?
Thin coats win every time. A heavy, glopped-on coat of primer looks like more coverage in the moment, but it stays soft longer, sags in corners, and often never fully hardens, leaving a tacky finish that grabs fingerprints for weeks.
Match your tool to the surface:
An angled synthetic brush works best on raised panels, profiles, and corners where a roller can’t reach.
A 4-inch foam or microfiber mini-roller lays down an even film on flat door faces and drawer fronts.
HVLP or airless spray equipment gives the closest thing to a factory finish, which is why most professional shops spray rather than brush.
Recoat timing depends on the chemistry. Shellac primer like Zinsser B-I-N is typically ready to recoat in about 45 to 60 minutes, and waterborne bonding primers run a similar 30 to 60 minute window under normal humidity. That’s the dry-to-touch number, not full cure. Painted cabinet surfaces need days to weeks to reach true hardness, so go easy on heavy use even after the topcoat feels dry. Sand lightly between primer coats with 220 grit and wipe with a tack cloth before moving on. Our spraying guide walks through the setup in more detail if you’re considering renting equipment.
Which Primer Works Best for Oak, MDF, Laminate, or Painted Cabinets?
Material dictates chemistry more than personal preference does. Get this wrong and you’ll be repainting within a year.
Oak or raw wood: Shellac primer stops tannin bleed before it ever reaches your topcoat. For an ultra-smooth result, follow with a grain filler before the final primer coat.
MDF: Seal cut edges with shellac or a dedicated sealer first. Once that’s done, water-based primers work fine on the flat faces.
Laminate, thermofoil, or varnished factory finishes: These need a bonding primer specifically. INSL-X Stix and similar bonding formulas are built to grip a slick, glossy surface that ordinary primer slides right off.
Previously painted, stable surfaces: KILZ 3 or BEHR Kitchen, Bath & Trim make sense here, since low odor and easy cleanup matter more than aggressive bonding power on a surface that’s already sound.
Why Do Painted Cabinets Peel, Chip, or Stay Tacky?
Most failures trace back to one of four things: a greasy surface that never got properly degreased, inadequate sanding that left the finish with nothing to grip, primer applied too thick, or the wrong primer chemistry for the material underneath.
If paint starts peeling within a few months, remove the loose finish entirely, degrease again, scuff-sand, and reprime with a bonding or shellac primer suited to the actual surface underneath.
If the finish stays tacky long after it should be dry, give it more cure time before judging it. If it’s still soft after a week or two, strip it back and reapply in thinner coats.
Pro Tip: If you’re on your second failed attempt and still seeing adhesion problems, that’s usually a sign to call a professional rather than buy a third can of primer. Doors, drawer fronts, and cabinet boxes that have absorbed multiple failed coats often need to be stripped down to bare material before anything sticks properly.
Why Do Professionals in Ottawa Handle Priming Differently?
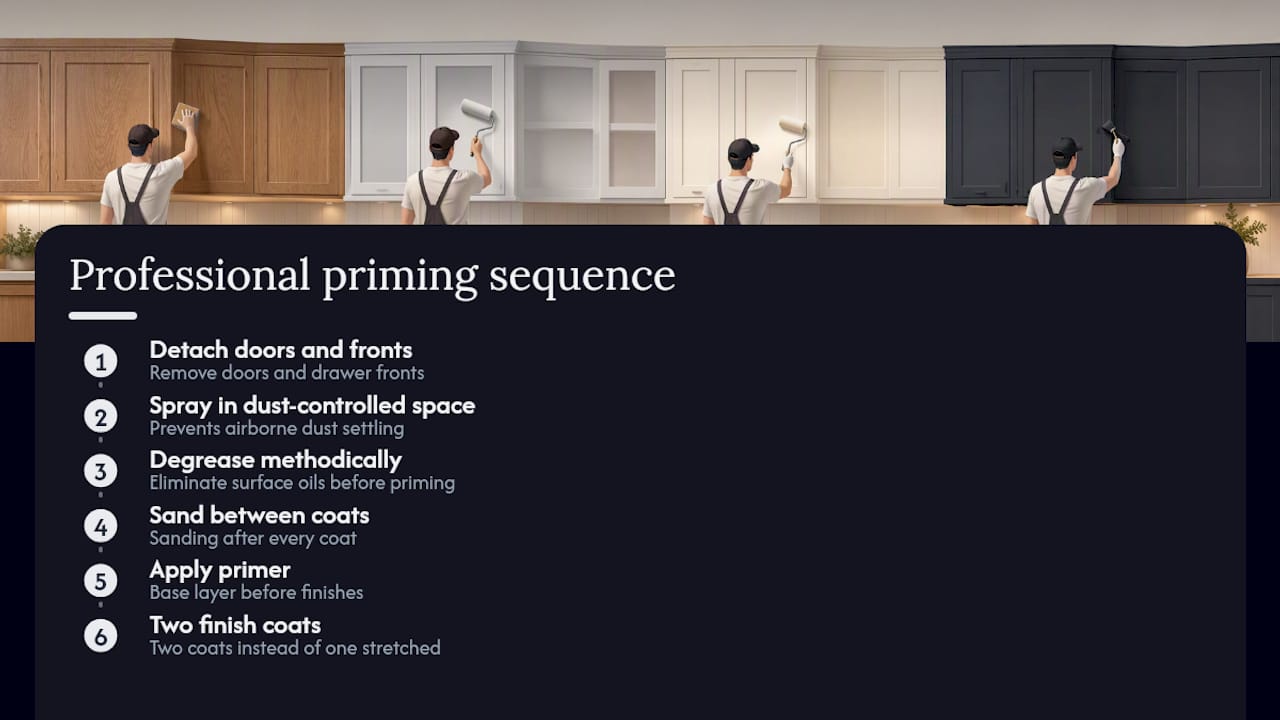
A professional crew treats priming as one stage in a controlled sequence, not an isolated task. Doors and drawer fronts come off and get sprayed in a dust-controlled space, rather than brushed in place, which removes the biggest variable in a DIY job: airborne dust settling into wet primer. Degreasing happens methodically, sanding happens between every coat, and two finish coats go on after primer rather than one coat stretched to cover.
That process is also why professional finishes tend to outlast DIY latex jobs, which often show wear within one to three years when prep or product selection falls short. Homeowners who want a showroom look without living in dust for two weeks are usually the ones who decide the trade-off is worth it. Warranty backing and a defined timeline matter here too. Knowing the job will hold up for years, not just look good on move-in day, changes how you weigh the cost against a DIY weekend.
An Editorial Take on Where DIY Primer Advice Falls Short
Most primer advice online treats the product like the hero of the story. It isn’t. Primer is chemistry doing a fairly narrow job: sealing tannins, gripping a slick surface, or giving a new topcoat something to hold onto. The actual failure point in nearly every botched cabinet job we hear about isn’t the can of Zinsser or KILZ someone bought. It’s the thirty minutes of degreasing they skipped because the cabinets “looked clean.”
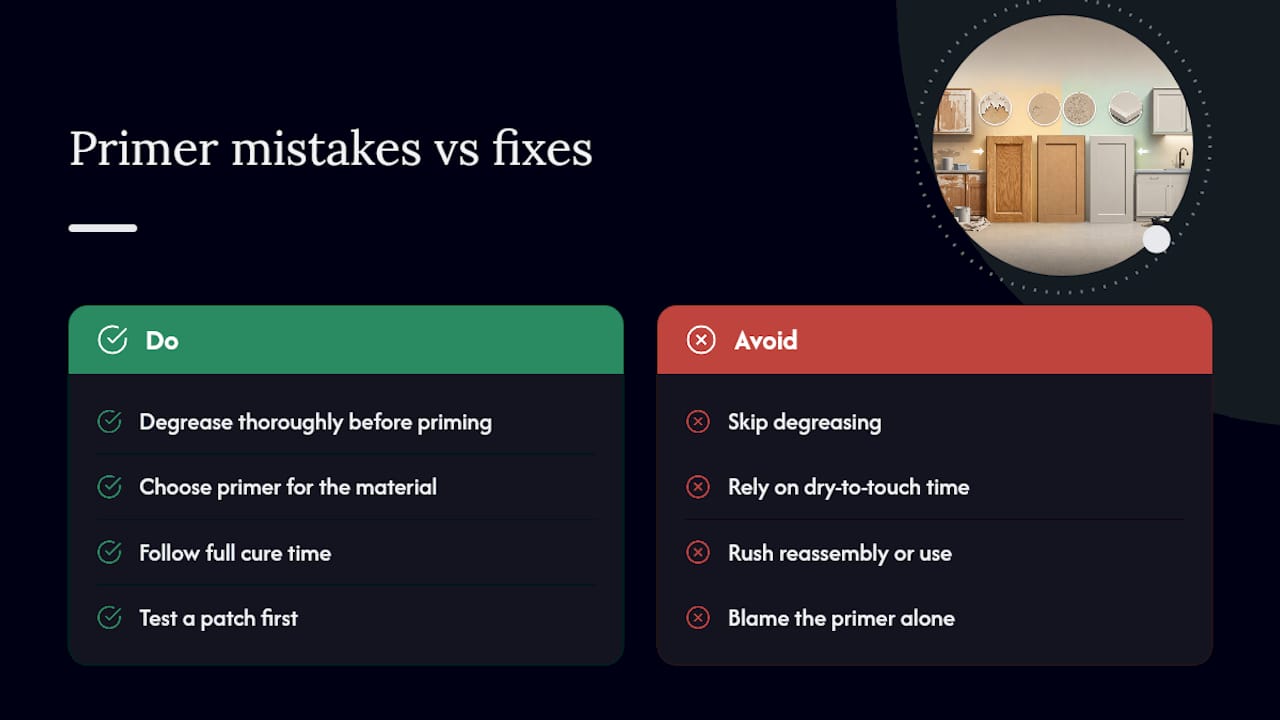
There’s also a quieter problem with DIY primer guidance: it rarely mentions cure time honestly. Everyone wants to know when they can hang cabinet doors again, and most articles answer with the dry-to-touch number because it sounds better. The real answer, that a painted surface needs days to weeks before it can handle daily kitchen abuse without denting or scuffing, tends to get buried or skipped entirely. That gap between what the can promises and what the surface actually needs is where a lot of “primer failures” really start.
None of this means DIY priming is a bad idea. A careful homeowner with the right primer for their material, patience for proper dry times, and a willingness to test a patch before committing can get a genuinely good result. But the honest read on most peeling, tacky, or chipped cabinet jobs isn’t a bad primer choice. It’s rushed prep and rushed patience, in roughly equal measure.
— Ottawa
Consider Ottawa Cabinet Painting for Your Next Kitchen Project
If matching primer chemistry to five different cabinet materials sounds like more chemistry homework than you signed up for, that’s exactly the gap local professional services fill for homeowners across Ottawa. A professional process removes doors, degreases and sands every surface methodically, and sprays primer and topcoat in a controlled setting rather than brushing around a live kitchen, which is often backed by warranties and aims for durable, factory-style finishes. You get the showroom look without guessing which can to buy or losing your kitchen for a month to a full renovation. Sheen choice matters too once you’re past primer, and our partner guide on interior sheen options is worth a look before you pick a topcoat. Ready to see what your cabinets could look like? Request a free spray painting quote and we’ll walk you through the timeline for your kitchen.
Sources
Recommended
Comments