How to Spray Paint Kitchen Cabinets in Ottawa

TL;DR:
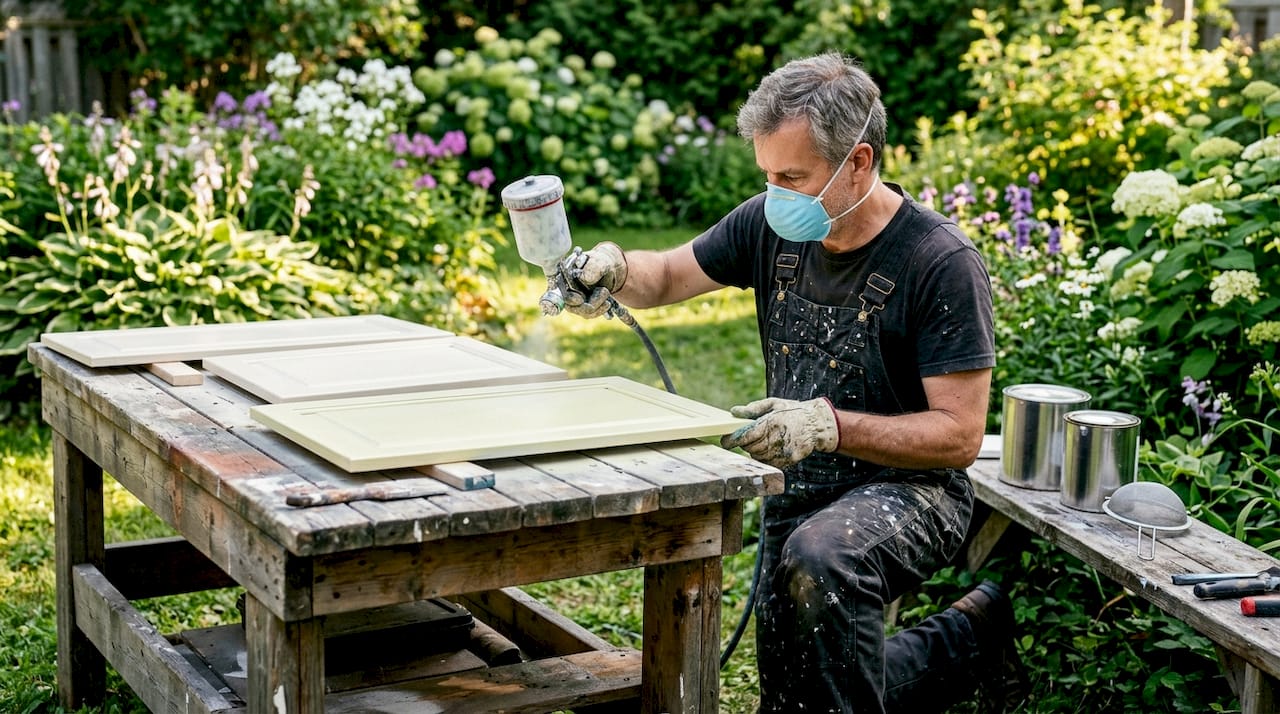
Spray painting kitchen cabinets creates a smooth, durable, and professionally finished surface when done correctly. Proper surface preparation, equipment, and environmental control are essential to avoid defects and ensure long-lasting results. Ottawa homeowners should prioritize patience and thoroughness or hire professionals for best outcomes.
Spray painting kitchen cabinets is the most effective way to achieve a smooth, factory-like finish without replacing your existing cabinetry. The industry term for this process is cabinet refinishing by spray application, and it combines surface preparation, bonding primer, and multiple finish coats to produce results that brushing simply cannot match. Done correctly, the process gives you a durable, grease-resistant surface that looks professionally finished. Done incorrectly, it leaves runs, orange peel texture, and peeling paint within months. This guide walks you through every step, from tool selection to curing times, so you get it right the first time.
What tools and materials do you need to spray paint kitchen cabinets?
The right equipment separates a clean, professional result from a frustrating mess. You need an HVLP (High Volume Low Pressure) spray gun as your primary tool. HVLP guns with 1.3–1.5 mm tips at a 6–8 inch spraying distance produce fine atomization and minimal overspray for cabinet work. That tip size matters because it controls how much paint flows out and how finely it breaks apart before hitting the surface.
Essential tools and materials
HVLP spray gun with a 1.3–1.5 mm tip and a compatible air compressor (at least 6 CFM at 40 PSI)
Orbital sander with 180 and 220 grit sanding discs for prep and between-coat sanding
Degreaser rated for kitchen surfaces (TSP substitute or a dedicated cabinet cleaner)
Wood filler or lightweight spackle for repairing chips and gouges
Bonding primer formulated for slick or previously painted surfaces
Cabinet-grade finish paint in waterborne urethane or alkyd formula
Plastic sheeting and painter’s tape for masking the kitchen area
For paint, waterborne urethanes and alkyds provide the moisture and grease resistance that kitchen cabinets demand. Semi-gloss and satin finishes are the standard recommendation because they clean easily and hold up to daily contact. Flat or eggshell finishes absorb grease and show fingerprints within weeks.
Pro Tip: Buy a paint strainer and filter every batch of paint before loading your spray gun. Debris in the cup causes tip clogs mid-coat, which leaves visible defects in the finish.
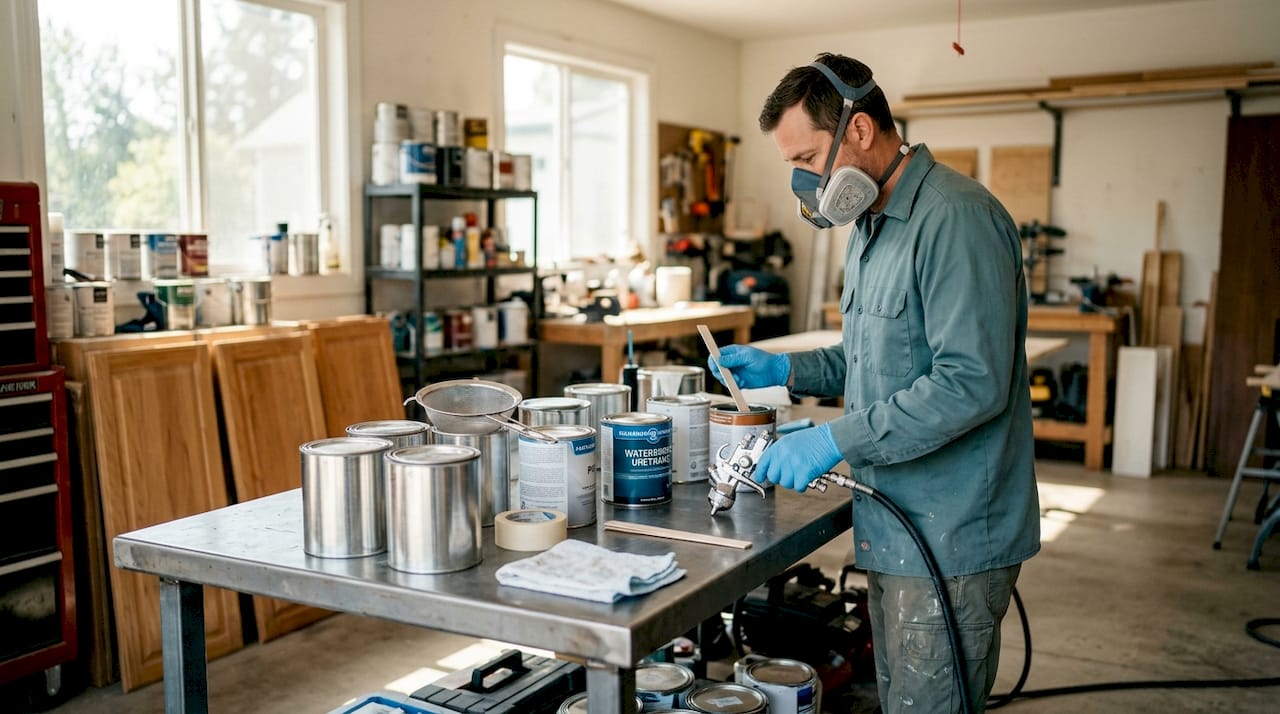
Safety equipment is not optional. Indoor spray painting requires an organic vapor respirator, nitrile gloves, and safety glasses at minimum. Standard dust masks do not filter VOC vapors. Ventilation needs to be continuous throughout the project. A crossdraft setup, where fresh air enters from one side of the room and exits from the opposite side, controls overspray and reduces vapor buildup. Check your paint finish choices before buying to confirm the sheen level suits your kitchen’s traffic and lighting.
How do you prepare your Ottawa kitchen cabinets for spray painting?
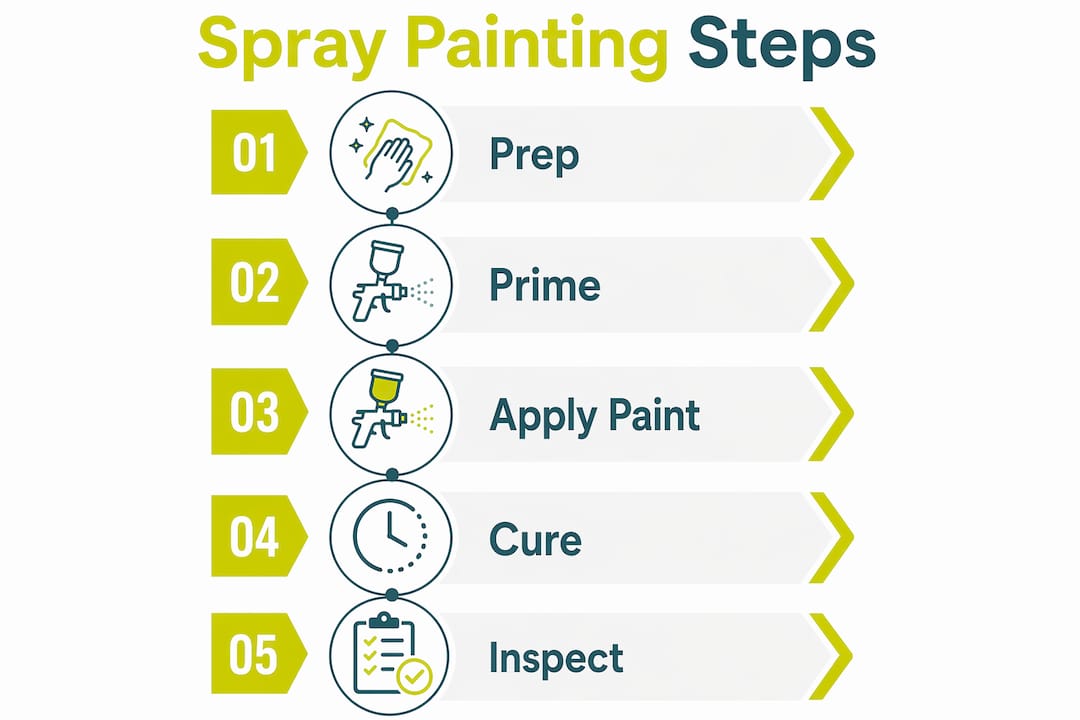
Preparation is where most DIY spray painting projects succeed or fail. Skipping even one step creates adhesion problems that show up weeks after the job is done.
Remove all doors, drawers, and hardware. Label each door and its corresponding hinge location with painter’s tape and a marker. Reassembly is much faster when everything is clearly marked.
Degrease every surface thoroughly. Kitchen cabinets collect cooking grease, smoke residue, and cleaning product buildup over years. Apply your degreaser, let it dwell for the time listed on the label, then wipe clean with a lint-free cloth. Repeat on any surface that still feels tacky or looks dull.
Sand all surfaces with 180 grit. Proper surface prep requires sanding with 180–220 grit to create a mechanical bond for the primer. Sand with the grain on wood surfaces. On previously painted cabinets, scuff the entire surface evenly so the primer has something to grip.
Fill all chips, cracks, and gouges. Use a lightweight wood filler or spackle, press it firmly into the damaged area, and let it cure fully before sanding flush. Rushing this step leaves visible bumps under the finish coat.
Wipe down with a tack cloth. After sanding, dust settles back onto the surface within minutes. A tack cloth picks up fine particles that a dry cloth misses. Do this immediately before priming.
Mask and tent the kitchen area. Hang plastic sheeting from the ceiling to the floor around your spray zone. Cover countertops, appliances, and flooring completely. Overspray travels farther than you expect, and paint mist settles on every surface in the room.
Pro Tip: Spray your cabinet doors horizontally on a flat surface rather than vertically on a wall. Gravity pulls wet paint downward on vertical surfaces, which causes runs on edges and recessed panels.
The full prep process typically takes one to two days for an average kitchen. Rushing it to save time is a recipe for disaster. The finish coat reveals every flaw in the surface beneath it.
What are the step-by-step application techniques for spray painting kitchen cabinets?
With surfaces prepped and the kitchen masked, you are ready to apply primer and paint. The sequence and technique at this stage determine whether you get a smooth, showroom result or a textured, uneven one.
Priming
Apply one full coat of bonding primer to all surfaces. Spray edges and recessed panel details first, then move to flat faces. Hold the gun 6–8 inches from the surface, move at a steady pace of roughly 12 inches per second, and overlap each pass by 50%. Let the primer dry fully before sanding lightly with 220 grit to knock down any raised grain or dust nibs. Wipe with a tack cloth before applying finish coats.
Applying finish coats
Apply 2–3 finish coats for full coverage and durability. Thin coats build better than thick ones. A thick coat looks faster but creates runs and takes far longer to cure properly.
Coat 1: Light, even coverage. Let it flash off (become dry to the touch) before applying the next coat. Flash time varies by product but is typically 30–60 minutes in normal conditions.
Coat 2: Full coverage coat. At this point the color should be solid and even.
Coat 3 (if needed): Final coat for depth and sheen. Sand lightly with 320 grit between coats 2 and 3 for the smoothest possible result.
Environmental conditions directly affect how your finish cures. Humidity above 60–70% severely slows curing, and spraying outside a 10–30°C temperature range causes finish failures regardless of paint quality. Ottawa’s spring and fall seasons can push humidity above that threshold, so check conditions before you start each day.
A typical DIY cabinet spray project takes about 5 days including preparation, priming, and finish coats. Full curing for heavy daily use takes 7–30 days. That curing window matters. Cabinets may feel dry to the touch within hours, but the film is still soft underneath and will dent or scratch easily if you reassemble too soon.
Pro Tip: Keep a spray painting timeline for your Ottawa kitchen project written out before you start. Knowing exactly when each coat goes on prevents the temptation to rush between steps.
What are common mistakes when spray painting kitchen cabinets?
Even experienced DIYers run into problems. Knowing what to look for and how to fix it saves you from stripping everything and starting over.
Runs and sags happen when you hold the gun too close, move too slowly, or apply too much paint in one pass. Fix small runs by letting the coat dry completely, sanding the run flat with 220 grit, and respraying a thin coat over the area.
Orange peel texture looks like the skin of an orange and results from paint that atomizes poorly or dries too fast before it levels out. Runs, orange peel, and fisheyes all relate to gun distance, pressure settings, or surface preparation errors. Increase your air pressure slightly, move closer to the surface, or thin the paint per the manufacturer’s recommendation.
Fisheyes are small craters in the wet paint caused by silicone contamination on the surface. This often comes from furniture polish or cleaning sprays used on the cabinets before prep. The fix is to strip the affected area, degrease thoroughly, and respray.
Poor adhesion and peeling almost always trace back to skipping or rushing the degreasing step. Grease acts as a release agent between the primer and the cabinet surface. No amount of sanding fixes inadequate degreasing.
Pro Tip: Adjust your spray gun’s fan width before starting each session. A narrow fan on a wide cabinet face creates uneven buildup at the center of each pass. A wide fan set to match the panel width gives you consistent coverage in fewer passes.
Ventilation failures cause their own set of problems. Ventilation systems must maintain continuous airflow during spray operations, ideally crossdraft style, to prevent vapor buildup that slows curing and creates health risks. If the air in your workspace smells strongly of paint after 10 minutes of spraying, your ventilation is not adequate.
Key takeaways
Spray painting kitchen cabinets delivers a durable, factory-quality finish only when preparation, environmental control, and proper technique are applied together without shortcuts.
Point | Details |
Prep is non-negotiable | Degrease, sand with 180–220 grit, and fill all damage before priming. |
Use the right equipment | An HVLP gun with a 1.3–1.5 mm tip produces the smoothest, lowest-overspray result. |
Control your environment | Keep temperature between 10–30°C and humidity below 60–70% during application and curing. |
Apply thin coats | Two to three thin finish coats outperform one thick coat in adhesion and appearance. |
Allow full curing time | Wait 7–30 days before heavy use to prevent dents, scratches, and early finish failure. |
What we have learned from Ottawa kitchens
We have worked on hundreds of Ottawa kitchens, and the single most common mistake we see from homeowners who attempted a DIY spray job first is underestimating how much the local climate affects results. Ottawa winters are dry and cold. Ottawa springs are humid and unpredictable. Both extremes push conditions outside the 10–30°C and below 60–70% humidity window that paint manufacturers specify. A coat applied on a damp spring morning in an unheated garage will not cure the same way as one applied in a controlled indoor environment.
The second lesson is about patience with degreasing. Most homeowners wipe the cabinets once and consider them clean. Kitchen grease is stubborn. It bonds to wood and old paint over years of cooking. We have seen beautifully sprayed cabinets start peeling within three months simply because the degreasing step was done too quickly. Two passes with a strong cleaner, followed by a clean water wipe, is the minimum.
The third thing we have learned is that the spray painting process rewards people who plan their workspace before they open a single can of paint. Masking takes time. Setting up crossdraft ventilation takes time. But homeowners who do that work upfront finish with cleaner results and fewer defects to fix afterward.
— Ottawa
Ottawacabinetpainting is ready to help with your cabinet project
If you have read through this guide and realized the project is larger than you want to take on yourself, that is a completely reasonable conclusion. Spray painting kitchen cabinets correctly requires the right equipment, controlled conditions, and time that not every homeowner has available. Ottawacabinetpainting uses professional HVLP systems and premium cabinet-grade coatings to deliver a smooth, durable finish backed by a 6-year warranty. We work in Ottawa homes with a process designed to minimize disruption to your daily routine. Visit our interior cabinet painting service page to see what we offer, or request your free spray painting quote and get a clear picture of what professional refinishing costs for your kitchen.
FAQ
Can you spray paint kitchen cabinets without removing them?
Removing doors and drawers before spraying produces a far better result. Spraying cabinets in place makes it nearly impossible to coat edges evenly and dramatically increases the risk of overspray on walls and appliances.
What is the best spray paint for kitchen cabinets?
Waterborne urethane and alkyd cabinet-grade paints provide the best combination of durability, moisture resistance, and smooth finish for kitchen use. Semi-gloss and satin sheens are the standard recommendation for easy cleaning.
How long does it take for spray-painted cabinets to cure fully?
Spray-painted cabinets are dry to the touch within hours, but full curing takes 7–30 days depending on the paint formula and environmental conditions. Avoid heavy use or cleaning during that window.
What grit sandpaper should I use when preparing cabinets for spray painting?
Start with 180 grit for the initial scuff sanding to create adhesion texture, then use 220 grit between coats to smooth raised grain and dust nibs before the next application.
How do I fix orange peel texture on spray-painted cabinets?
Let the coat dry completely, sand the affected area with 220 grit until smooth, wipe with a tack cloth, and respray a thinner coat. Increasing air pressure slightly or thinning the paint per the manufacturer’s instructions prevents orange peel from recurring.
Recommended
Comments