How to Redo Kitchen Cabinets in Ottawa on a Budget
- Axcell Painting

- 1 day ago
- 8 min read
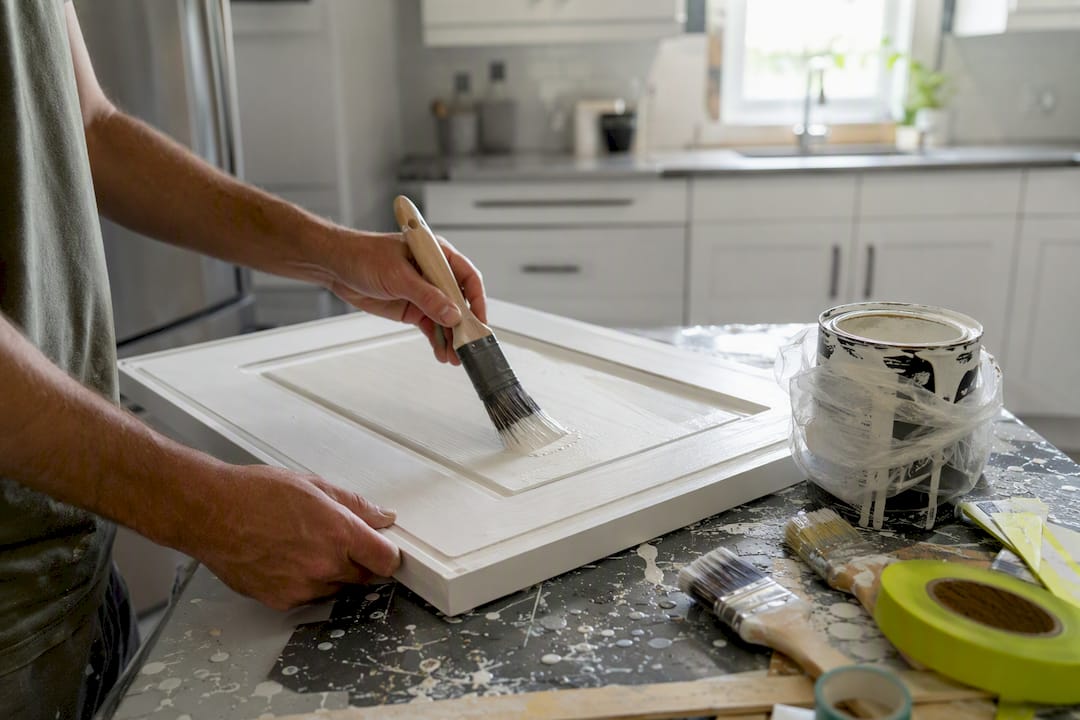
For most cost-conscious homeowners, repainting or refinishing existing cabinets delivers the biggest visual change for the least money. It’s the right call unless you’re facing water damage, warped boxes, or a full layout change, in which case replacement is the only real fix. Refacing sits in between. Whichever path you choose, proper prep, cleaning, sanding, and priming, decides whether the finish lasts or fails.
TL;DR:
Repainting is best for cabinets in good condition and with a solid layout, offering the lowest cost and minimal disruption.
Proper prep, including degreasing, staged sanding, and adequate curing, is essential to ensure a durable, factory-like finish that lasts years.
Refacing works well if you want a new door style or material and your cabinets are structurally sound, with project completion typically in three to five days.
Professionals are recommended for water damage, warping, or if a sprayed, flawless finish and warranty are priorities; DIY may lead to peeling if over hastened.
Budget in Ottawa varies from a few hundred dollars for DIY materials to over $4,000 CAD for professional refacing, with proper timeline and patience being key to lasting results.
Table of Contents
How to redo kitchen cabinets: repaint, reface, or replace?
Every kitchen update boils down to three real options, and picking the wrong one wastes money fast.
Repainting or refinishing means stripping the old finish (or prepping over it), then applying primer and new paint directly to your existing cabinet boxes and doors. It’s the cheapest route and the one most homeowners should start with if the boxes are square and sound.
Refacing replaces the doors and drawer fronts while covering the visible cabinet frames with a matching veneer or laminate skin. You keep your layout but get a fresh material on every visible surface.
Full replacement means new boxes, new doors, sometimes a new layout. It’s the most disruptive and expensive option, and it’s rarely necessary just to update a look.
Here’s how the tradeoffs stack up:
Repaint/refinish: Lowest cost, moderate DIY time commitment, low disruption (you can usually stay in your kitchen). Best for cabinets in good structural shape where you just want a color and finish change.
Refacing: Mid-range cost, faster turnaround, low to moderate disruption. Best when you want a different door style or material but the boxes are solid.
Replacement: Highest cost, longest timeline, high disruption (plumbing, electrical, and layout work). Necessary for water-damaged, warped, or structurally compromised cabinets.
Choose repaint if your boxes are solid and you like your current layout. Choose refacing if you want a new door style without gutting the kitchen. Choose replacement if you’re dealing with rot, warping, or you’re changing the footprint of your kitchen entirely.
What’s the step-by-step process for refinishing cabinets?
This is the workflow that actually determines whether your paint job looks factory-smooth in year one and still looks good in year eight.
Remove and label everything. Take off all doors, drawers, and hardware. Number each door and its corresponding cabinet opening with painter’s tape (hinges rarely fit perfectly elsewhere). Bag screws and hinges by location.
Degrease thoroughly. Kitchen cabinets accumulate a film of cooking grease that no amount of sanding will fix if it’s not removed first. A TSP solution or a heavy-duty degreaser cuts through it. Skipping this step is the number one reason DIY paint jobs peel within a year.
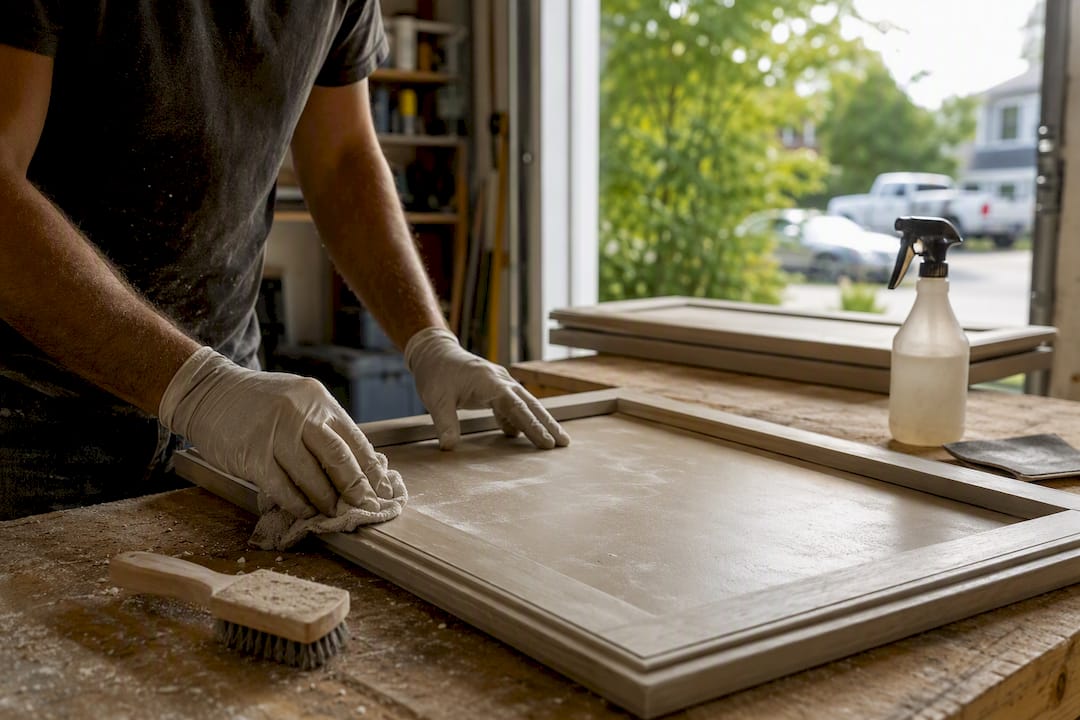
Sand in stages. Start around 180 grit to scuff the old finish, then move to 220 for a smooth, paint-ready surface. Follow the SVT method: Sand, Vacuum, Tack cloth, in that order, before you touch a primer can.
Prime strategically. Older wood cabinets with visible knots or tannins need a shellac-based, stain-blocking primer to stop bleed-through. Laminate or melamine surfaces need a dedicated bonding primer instead, or your paint will lift within months.
Choose the right paint and sheen. Water-based alkyd or hybrid enamel paints give you a hard, durable finish without the fumes and slow dry time of oil-based products. Stick to satin or semi-gloss. High-gloss shows every roller mark and imperfection, which is exactly what an untrained hand doesn’t need.
Apply in thin, even coats. Use a brush to cut in around panel recesses and profiles, then a foam roller for flat surfaces to minimize texture. Let each coat dry fully before adding the next. If you have access to a sprayer and the skill to use it, spraying produces the smoothest, most factory-like finish, though brushing and rolling remains the most realistic DIY method for most homeowners.
Decide on grain-filling. Wood grain will show through paint unless you fill it first with a grain filler, adding hours to the project. Many homeowners accept a slight texture rather than take on that extra step, and that’s a fair tradeoff for a DIY budget.
Reassemble carefully. Reinstall hardware and hinges using your labels, add rubber bumpers to cushion door closes, and adjust hinges so every door sits flush.
Pro Tip: Don’t rush the primer-to-paint gap. Even if the can says “recoat in one hour,” give cabinet surfaces a full overnight cure between primer and paint. Kitchens run warmer and greasier than other rooms, and that extra patience prevents tackiness later.
Cleaning and sanding aren’t the tedious part you rush through, they’re the single biggest predictor of whether your finish lasts.
When does cabinet refacing make more sense than repainting?
Refacing means replacing your doors and drawer fronts entirely, then applying a matching veneer, thermofoil, or laminate skin over the visible parts of your existing cabinet frames. Your layout and boxes stay put. Only the surfaces you touch every day change.
Material choice drives both cost and durability:
Laminate: Budget-friendly, wide color range, moderate durability.
Thermofoil: Smooth, seamless look, but sensitive to heat near stoves.
Wood veneer or solid wood fronts: Higher cost, real-wood texture, best long-term value if budget allows.
Refacing projects typically wrap up in three to five working days, far faster than a full replacement. The catch is that seams and adhesion are where DIY refacing jobs tend to fail. A veneer edge that isn’t pressed and bonded correctly will lift within a season, so this is one project where hiring a pro often earns back its cost in avoided rework.
Choose refacing over repainting when you want a different door style or material and your boxes are still structurally sound.
What should you budget for cabinet updates in Ottawa?
A DIY repaint with materials only (sandpaper, primer, paint, brushes, and rollers) usually runs a few hundred dollars for an average kitchen. The bigger cost is your time. Expect one or two full weekends for a small kitchen, but 50 to 100 hours for a larger, full-scale DIY refinish once you factor in prep, drying time between coats, and reassembly.
Professional refacing in Canada typically runs $4,000 to $13,000 CAD depending on kitchen size, door count, and materials. Professional repainting quotes vary based on whether the crew sprays or brushes, how many doors need grain-filling, and how much prep the existing finish requires.
If your budget is tight, prioritize in this order: paint first, then new hardware, then updated under-cabinet lighting. That sequence delivers the most visible change per dollar before you spend a cent on full replacement.
When comparing quotes, ask every pro:
What’s included in the warranty, and for how long?
How many days of cure time before the kitchen is fully usable?
What prep steps are included (degreasing, sanding, priming)?
Is cleanup and dust containment part of the quote?
How do you protect a new cabinet finish once it’s done?
Dry time and cure time aren’t the same thing. Paint may feel dry to the touch in a day, but full hardness can take up to 30 days to develop. Treat cabinets gently during that window, no heavy scrubbing, no slamming doors.
Once cured, clean with mild soap, warm water, and a soft microfiber cloth. Skip ammonia-based cleaners and abrasive sponges, both will dull or scratch the finish over time. Installing rubber bumpers and soft-close hinges reduces daily wear at the point of impact, and wiping up sink-area spills immediately prevents moisture from working under the paint edge. Small chips can be touched up with leftover paint and a fine artist’s brush, feathered gently into the surrounding finish.
When should Ottawa homeowners call a professional instead?
DIY refinishing can look great, but it has real limits. Professionals work in a controlled, dust-free environment, use spray equipment for a texture-free finish, and follow cure schedules that most DIY timelines skip under pressure to “just get the kitchen back together.”
At Ottawa Cabinet Painting, our process runs on a typical 10-day timeline built around meticulous prep, not shortcuts, and every job is backed by a 6-year warranty.
Call a pro when:
Doors are warped, swollen, or water-damaged near the sink or dishwasher.
You want a sprayed, factory-smooth finish without visible brush or roller texture.
You don’t have the weekends (or the patience) for 50+ hours of sanding and coating.
You want warranty coverage instead of hoping the DIY job holds up.
A solid quote should spell out prep steps, cure time, and warranty terms clearly, not just a bottom-line price.
What actually determines whether your cabinet project succeeds?
Most homeowners obsess over paint brand and color when the real variable is patience during prep. Every failed DIY cabinet job we’ve seen traces back to skipped sanding, incomplete degreasing, or rushing the primer-to-paint gap, not a cheap paint can.
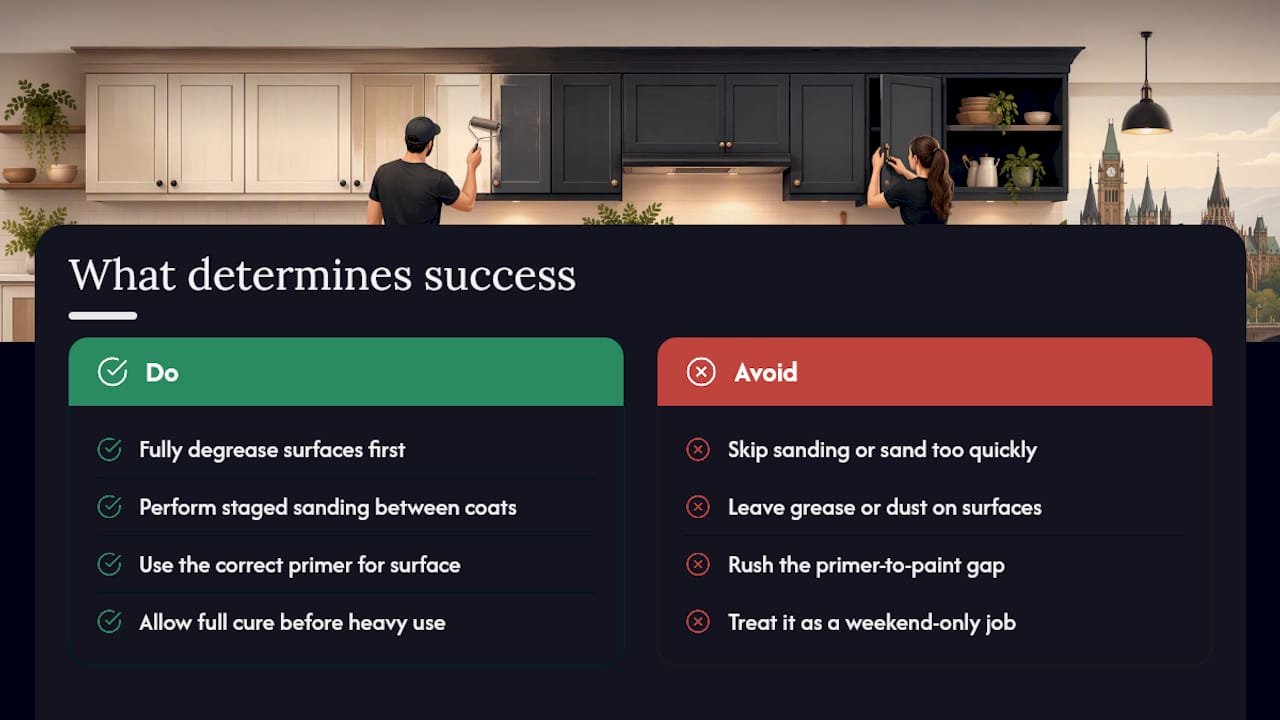
The conventional advice to “just prime and paint over the weekend” sets homeowners up for peeling within a year. Real durability comes from respecting the timeline: full degreasing, staged sanding, the right primer for your surface, and a genuine cure period before cabinets go back into heavy daily use. That’s not a marketing story, it’s chemistry. Paint bonds to a clean, scuffed surface. It doesn’t bond to grease or dust, no matter how many coats you apply.
If you’re weighing DIY against hiring out, prioritize honesty about your own timeline first. A rushed DIY job that peels in a year costs more, in materials and frustration, than either doing it right the slow way or paying a professional once. Budget-conscious doesn’t have to mean corner-cutting. It means spending your limited time and money on the steps that actually hold up.
— Ottawa
Ready to get a warrantied, professional cabinet finish?
If the sanding, priming, and multi-weekend timeline above sounds like more than you want to take on, that’s exactly the gap Ottawa Cabinet Painting fills for Ottawa homeowners. Where a DIY repaint asks for 50 to 100 hours of your own labor, our full-service cabinet painting process runs on a typical 10-day timeline with meticulous prep and a sprayed, factory-smooth finish, backed by a 6-year warranty you simply can’t self-issue.
Before requesting a free estimate, gather a few photos of your kitchen, your door and drawer count, and any specific damage you’ve noticed (water stains, warping, chipped veneer). That’s all we need to start scoping your project. Browse our completed projects for a sense of the finish quality, then reach out for your free, no-pressure quote.
Sources
Recommended
Comments