How to paint kitchen cabinets: affordable, durable upgrade
- demoore5506
- Mar 7
- 10 min read
Replacing kitchen cabinets drains budgets and disrupts households for weeks. Painting offers Ottawa homeowners a practical alternative that costs under $1,000 and transforms tired cabinets into modern, high-end features without demolition chaos. This guide walks you through the complete process, from surface prep to final curing, ensuring you achieve professional-quality results that boost appeal and home value.
Table of Contents
Key takeaways
Point | Details |
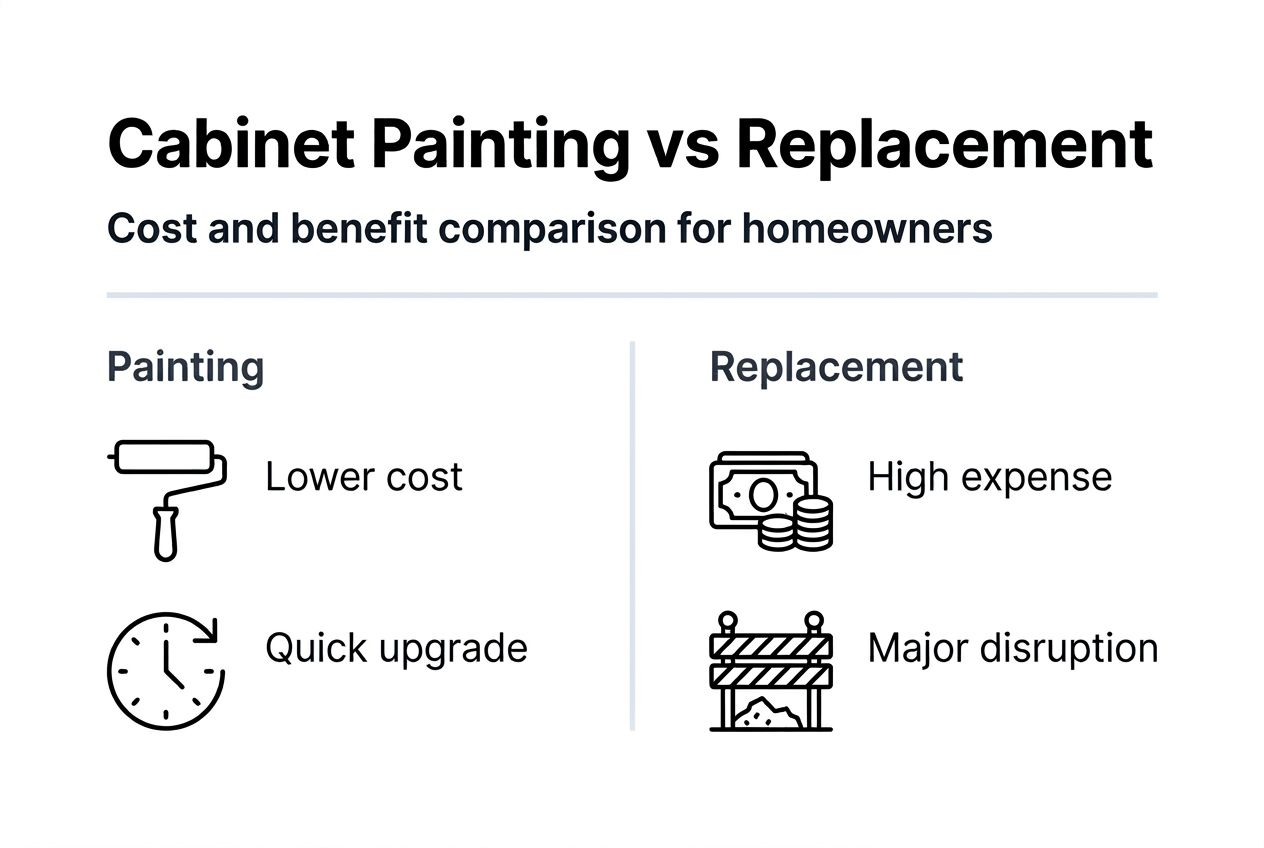
Painting vs replacement | Painting costs under $1,000 compared to $3,000+ for new cabinets, saving thousands while achieving comparable aesthetics. |
Surface prep is critical | Proper cleaning, sanding, and priming prevent 30% of common DIY failures like peeling and poor adhesion. |
Paint type matters | Semi-gloss or satin finishes provide durability, easy cleaning, and a smooth appearance for years. |
Drying and curing time | Allow 24 hours between coats and 5-7 days final curing before heavy use to maximize finish hardness. |
Professional techniques | Removing doors and hardware plus using HVLP spray equipment deliver superior, even coverage with minimal disruption. |
Prerequisites and tools needed
Before you begin, gather all materials and prepare your workspace. Having everything ready prevents mid-project delays and ensures safety. You need screwdrivers for removing hardware, 120-grit and 220-grit sandpaper for surface prep, TSP or degreaser for cleaning, stain-blocking primer, quality semi-gloss or satin paint, angled brushes, foam rollers, painter’s tape, drop cloths, and safety gear like masks and gloves.
Identify your cabinet material first. Wood cabinets need stain-blocking primers to prevent tannin bleed, while laminate requires bonding primers for adhesion. Check if your cabinets are solid wood, veneer, or laminate by inspecting edges and seams. A well-ventilated workspace is essential for fumes and proper drying. Open windows, use fans, or work in a garage if weather permits.
Consider investing in an HVLP spray system if budget allows. Spraying delivers the smoothest finish and speeds up the project significantly compared to brushing alone. Many homeowners pursuing a kitchen cabinet redo DIY modern finish find the investment pays off in time saved and professional results.
Tool/Material | Purpose | Recommended Spec |
Screwdrivers | Remove doors and hardware | Phillips and flathead |
Sandpaper | Surface prep | 120-grit, then 220-grit |
TSP cleaner | Degrease surfaces | Heavy-duty formula |
Primer | Block stains, promote adhesion | Stain-blocking for wood, bonding for laminate |
Paint | Final finish | Semi-gloss or satin cabinet paint |
Brushes/rollers | Application | 2-inch angled brush, 4-inch foam roller |
HVLP sprayer | Optional smooth finish | 20-30 PSI rated system |
Pro Tip: Use small plastic bins or labeled Ziploc bags for each door’s hardware. Label bags with door numbers matching your removal sequence to simplify reassembly and avoid mismatched hinges or handles.
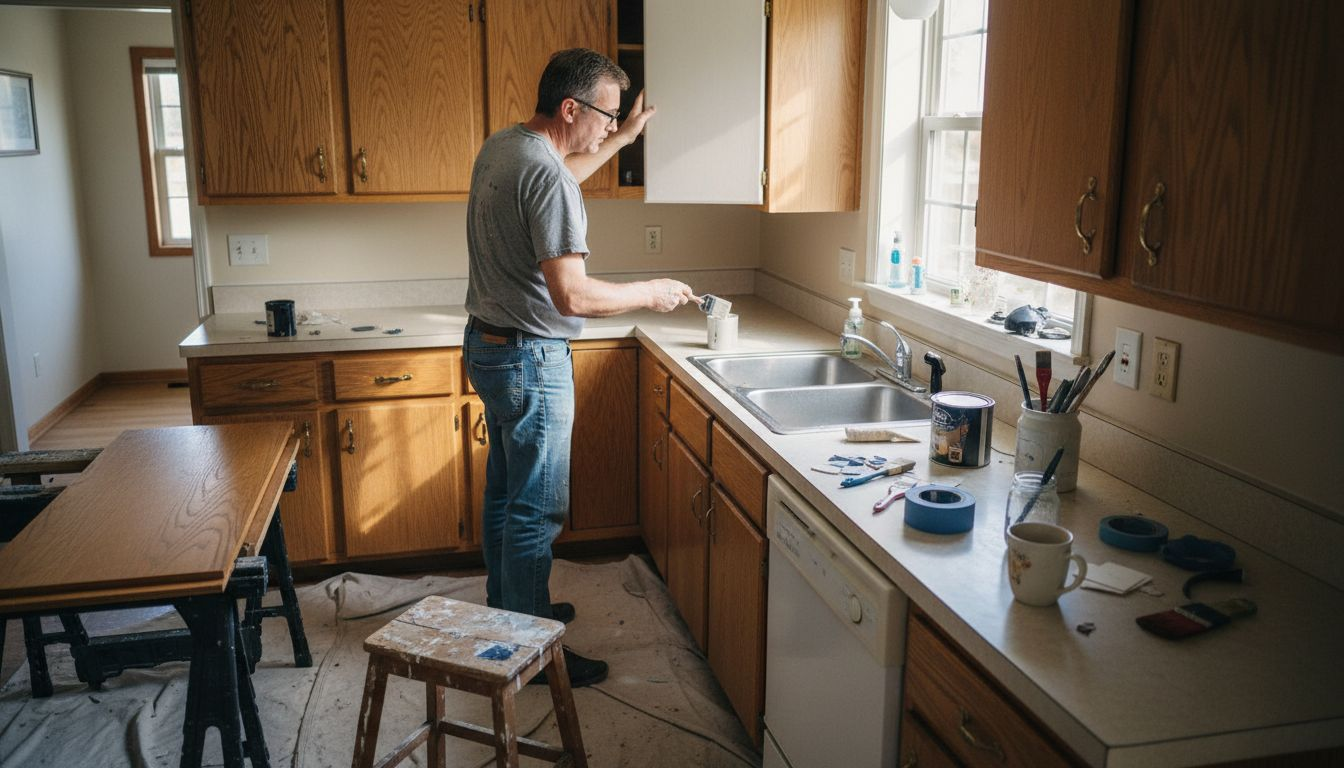
Step 1: Surface preparation
Proper prep is the foundation of a lasting finish. Start by removing cabinet doors and hardware, which reduces disruption and ensures full coverage of all surfaces. Number each door and its corresponding frame location with painter’s tape to track placement during reinstallation.
Follow this sequence:
Remove all doors, drawers, and hardware including hinges, knobs, and pulls.
Label each component clearly with numbered tape.
Clean all surfaces thoroughly with TSP or a heavy-duty degreaser to eliminate grease, grime, and cooking residue.
Rinse with clean water and allow to dry completely.
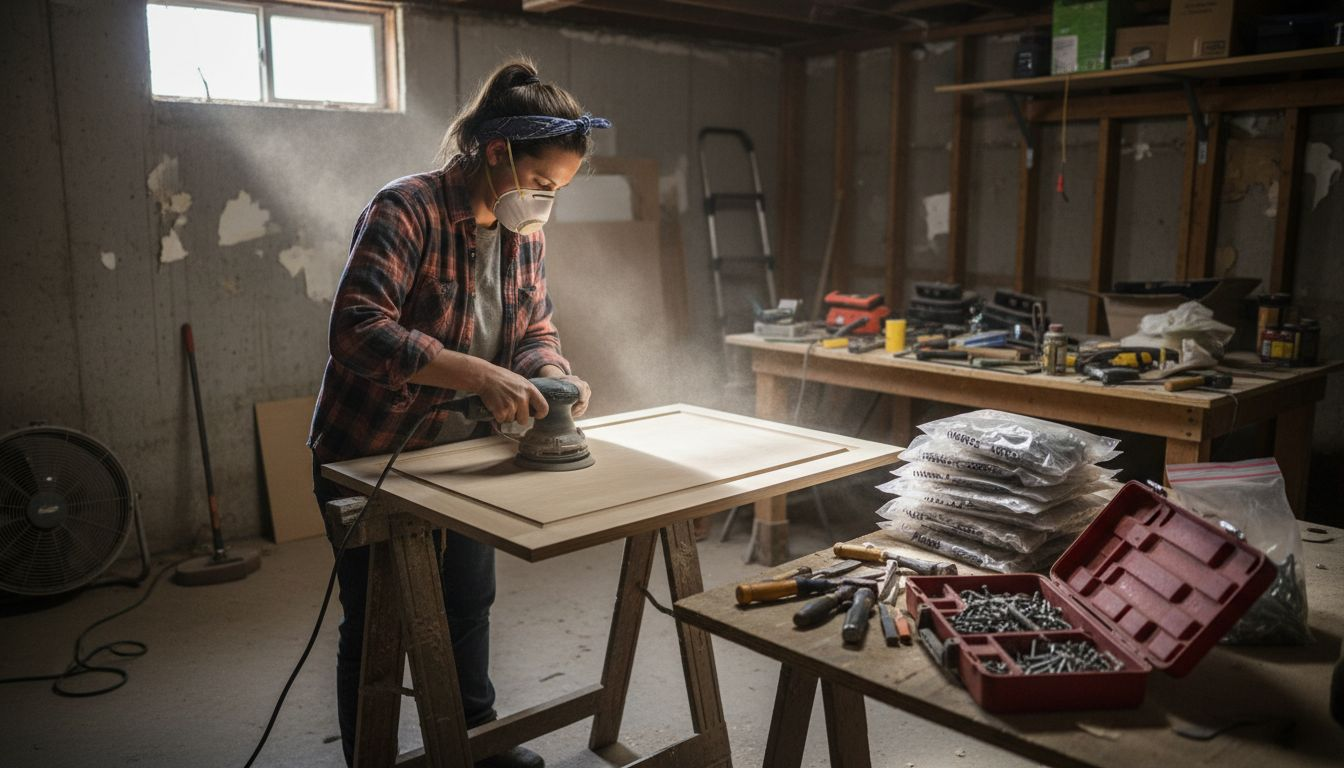
Sand all surfaces with 120-grit sandpaper to remove gloss and create texture for primer adhesion.
Wipe down with a tack cloth to remove sanding dust.
Cleaning is non-negotiable. Kitchen cabinets accumulate invisible grease films that repel paint, causing adhesion failure. Poor sanding or insufficient cleaning leads to paint peeling, affecting up to 30% of DIY attempts. Spend extra time on areas near the stove and sink where grease buildup concentrates.
Sanding doesn’t require removing all existing finish, just creating a rough surface. Use medium pressure and sand with the grain on wood cabinets. For laminate, random circular motions work fine since there’s no grain. Focus on creating uniform texture across all surfaces.
Pro Tip: Lay doors flat on sawhorses or a workbench for easier sanding and painting. This prevents drips and allows gravity to help create a smooth surface. Keep doors elevated during drying to ensure air circulates underneath.
Homeowners following cabinet painting tips for Ottawa homeowners often underestimate prep time. Allocate at least one full day for removal, cleaning, and sanding before touching paint.
Step 2: Priming cabinets
Primer creates the bonding layer between your cabinet surface and paint. It blocks stains, prevents tannin bleed-through on wood, and gives paint something to grip. Skipping this step invites failure. Use stain-blocking bonding primer for wood cabinets and specialized bonding primer for laminate surfaces.
Apply primer with smooth, even strokes following the wood grain direction. Use an angled brush for edges, corners, and detailed areas, then switch to a foam roller for large flat surfaces. Thin coats dry faster and create smoother bases than thick applications. One even coat usually suffices, but two thin coats work better on heavily stained or dark wood.
Allow primer to dry completely according to manufacturer instructions, typically 2-4 hours. Test dryness by touching an inconspicuous spot. If it feels tacky or cool, wait longer. Once dry, lightly sand with 220-grit sandpaper to knock down any raised grain or imperfections. Wipe clean with a tack cloth before painting.
Pro Tip: Patience during primer drying prevents bubbles, streaks, and uneven paint coverage later. Rushing this stage compromises the entire project. If you’re working in humid conditions, add extra drying time.
Different primers serve different purposes. Oil-based primers offer superior stain blocking and adhesion but require mineral spirits cleanup and have stronger fumes. Water-based primers clean up easily, dry faster, and work well for most cabinets without heavy staining. For a quality kitchen refinishing guide, choosing the right primer based on your cabinet material and condition is essential.
Step 3: Painting techniques and application
Now comes the transformation. Quality application technique determines whether your cabinets look DIY or professionally done. Use an angled brush for edges and detailed areas, following the wood grain. Load the brush moderately and use long, smooth strokes to minimize brush marks.
For flat surfaces, foam rollers create the smoothest finish when brushing. Roll in the direction of the grain using light, even pressure. Avoid overworking areas, which creates texture and visible roller marks. Apply paint in thin coats rather than one thick layer. Two to three thin coats build durability without drips or sags.
HVLP spray painting results in a faster, smoother finish with minimal brush marks and paint waste. If you invest in or rent an HVLP system, practice on cardboard first to dial in the right spray pattern and distance. Hold the gun 6-8 inches from the surface and move steadily in overlapping passes.
“Spraying cabinets delivers a factory-like finish that’s nearly impossible to achieve with brushes alone. The time saved and superior results justify the equipment cost for most homeowners tackling a full kitchen.”
Apply your first coat, then wait the recommended drying time before inspecting. Look for thin spots, missed edges, or areas where the primer shows through. Apply a second coat focusing on these areas. Most projects need at least two full coats for uniform color and coverage.
Avoid these common application mistakes:
Overloading brushes or rollers, causing drips and thick spots
Painting in extreme temperatures or humidity, which affects drying
Skipping edges or inside surfaces that remain visible
Using cheap brushes that shed bristles into the finish
Overlapping wet paint repeatedly, creating texture
For homeowners exploring cabinet refacing and painting techniques, application method matters as much as paint quality. Take your time on this step.
Step 4: Drying, curing, and reassembly
Paint feels dry to touch within hours, but full curing takes days. Understanding this difference protects your investment. Allow 24 hours drying time between coats before applying additional layers. This prevents the new coat from disturbing or wrinkling the previous layer.
After applying your final coat, proper curing requires 5-7 days to maximize durability and finish hardness. During this period, avoid heavy use, cleaning, or placing items on painted surfaces. The paint continues hardening as solvents evaporate completely.
Reassembly requires care and patience:
Wait until paint is fully cured before reinstalling doors and hardware
Handle painted surfaces gently to avoid fingerprints or scratches
Reattach hinges carefully, ensuring screws don’t chip paint edges
Install doors using your numbered labels for correct placement
Add knobs and pulls last to avoid contact with other surfaces during installation
Curing time varies with temperature and humidity. Cooler or more humid conditions extend curing. Warmer, drier air speeds the process. If you must use the kitchen during curing, minimize contact with painted surfaces and avoid placing anything directly on them.
Homeowners who follow a comprehensive modern cabinet repainting guide understand that patience during curing separates good results from great ones. Rushing this final stage invites scratches, chips, and premature wear.
Common mistakes and how to avoid them
Understanding where DIY projects fail helps you avoid costly do-overs. About 30% of DIY cabinet painting projects fail due to insufficient sanding or cleaning. The paint looks good initially but begins peeling within months as adhesion breaks down.
Skipping primer often causes tannin bleed-through and adhesion loss, especially on wood cabinets. Those yellow or brown stains that appear through white paint weeks later signal primer failure. Using the wrong paint type ranks high among mistakes too. Flat paint shows every fingerprint and wears quickly in high-traffic kitchens. Overly glossy paint highlights imperfections and surface flaws.
Other frequent errors include:
Applying thick coats to save time, resulting in drips and uneven surfaces
Painting in dusty environments, causing grit to settle in wet paint
Using low-quality brushes that leave visible bristle marks
Reassembling too soon before paint fully cures
Neglecting to clean applicators between coats, contaminating fresh paint
If you catch mistakes early, you can often fix them. Light sanding and a fresh coat hide minor brush marks or thin spots. More serious adhesion problems require stripping back to bare wood and starting over. For homeowners wanting to avoid cabinet painting mistakes, investing time in proper technique upfront prevents frustration later.
Expected outcomes and cost benefits
Painting transforms tired cabinets into fresh, modern focal points at a fraction of replacement cost. Most Ottawa homeowners complete the project for under $1,000 including all materials, compared to $3,000 or more for new cabinet boxes and installation. The visual impact rivals new cabinets when done properly, with durable semi-gloss finishes lasting years and resisting daily kitchen wear.
Your kitchen remains largely functional during the project. Removing doors for painting elsewhere minimizes household disruption compared to full renovations that render kitchens unusable for weeks. The typical timeline spans about one week from prep to final curing, shorter than any replacement or refacing project.
Painted cabinets offer practical benefits beyond aesthetics. Semi-gloss finishes wipe clean easily, an essential feature for family kitchens. The smooth, sealed surface resists moisture, grease, and staining better than worn original finishes. Properly painted cabinets maintain their appearance for 5-7 years or more before needing touch-ups.
Factor | Painting | Replacement |
Cost | Under $1,000 | $3,000-$8,000+ |
Timeline | 7-10 days | 3-6 weeks |
Disruption | Minimal (doors removed) | Major (kitchen unusable) |
Durability | 5-7 years | 15-20 years |
DIY feasible | Yes with prep | No (professional required) |
Homeowners appreciate the flexibility painting provides. Don’t like the color in two years? Repaint again for minimal cost. This adaptability makes painting ideal for those wanting to test color trends or refresh style without major commitment. The benefits of a durable kitchen cabinet redo extend beyond immediate savings to long-term flexibility and value.
Enhance your kitchen with professional cabinet painting in Ottawa
While DIY painting saves money, professional services deliver guaranteed results without the time investment or learning curve. Ottawa Cabinet Painting specializes in transforming existing cabinets using professional spray equipment that creates smooth, factory-like finishes impossible to achieve with brushes. Our meticulous process minimizes household disruption, typically completing projects in about ten days.
We handle every detail from thorough surface prep to final curing, using premium materials and proven techniques. Our interior cabinet painting services include a 6-year warranty, giving you confidence in lasting quality. Explore our before and after cabinet painting results to see the transformations possible.
Ready to upgrade your kitchen without renovation chaos? Request free spray painting quotes to compare professional service costs against DIY time and effort. Ottawa homeowners trust our local expertise and detail-oriented approach for stunning, durable cabinet finishes.
FAQ
How long does it take to paint kitchen cabinets from start to finish?
A complete cabinet painting project typically spans about one week from initial prep through final curing. Actual work time includes one day for removal and surface prep, half a day for priming, one to two days for paint application with drying time between coats, and five to seven days for final curing before heavy use. Rushing any stage risks adhesion problems and finish durability. Plan for at least ten days total if you want cabinets fully cured before normal use.
Can I use any paint for my kitchen cabinets?
No, kitchen cabinets require specific paint types for durability and cleanability. Use semi-gloss or satin cabinet paint formulated to resist moisture, grease, and frequent wiping. Avoid flat or matte paints that show every fingerprint and wear quickly in high-traffic areas. Overly glossy paints highlight surface imperfections and scratches. Quality cabinet-specific paints cost more but deliver professional results that last years.
What are the most common mistakes when painting kitchen cabinets?
Poor surface preparation causes most failures. Insufficient sanding leaves glossy surfaces where paint can’t grip, while inadequate cleaning leaves grease films that repel adhesion. Skipping primer invites tannin bleed and peeling. Other mistakes include applying thick coats that drip, using wrong paint sheens, and rushing drying or curing times. Taking time on prep and following manufacturer drying guidelines prevents most common problems.
Is painting kitchen cabinets cheaper than replacing them?
Yes, painting costs significantly less than replacement. Most homeowners complete painting projects for under $1,000 including all materials, while new cabinets start around $3,000 and easily exceed $8,000 for full kitchens. Painting also reduces household disruption since your kitchen layout stays intact and the work completes faster. The visual transformation rivals new cabinets when done properly, making painting the most cost-effective upgrade option.
Recommended

Comments