How to Clean Paint Brushes Naturally for Cabinet Projects
- demoore5506
- Nov 27, 2025
- 7 min read
Over 60 percent of american DIY painters admit they have accidentally ruined a good brush due to poor cleaning habits. Knowing how to care for your brushes naturally can save money and improve every cabinet painting project. This step by step guide reveals how to protect your tools using simple household materials, keeping your brushes in top shape and ready for flawless results each time you paint.
Table of Contents
Quick Summary
Essential Insight | Detailed Explanation |
1. Gather the Right Materials | Use odorless mineral spirits, vegetable oil, warm water, mild dish soap, and clean rags for effective brush cleaning. |
2. Safely Remove Excess Paint | Gently scrape off excess paint with a putty knife and wipe with a damp cloth to protect brush fibers. |
3. Soak Brushes in Natural Solutions | Soak brushes in warm soapy water or vegetable oil for 10-15 minutes to loosen paint residues. |
4. Rinse and Reshape Bristles | Rinse brushes thoroughly in clean water and use a brush comb to straighten bristles after cleaning. |
5. Verify Cleanliness and Store Properly | Inspect brushes for paint residue, store them in a cool place, and avoid direct sunlight to maintain quality. |
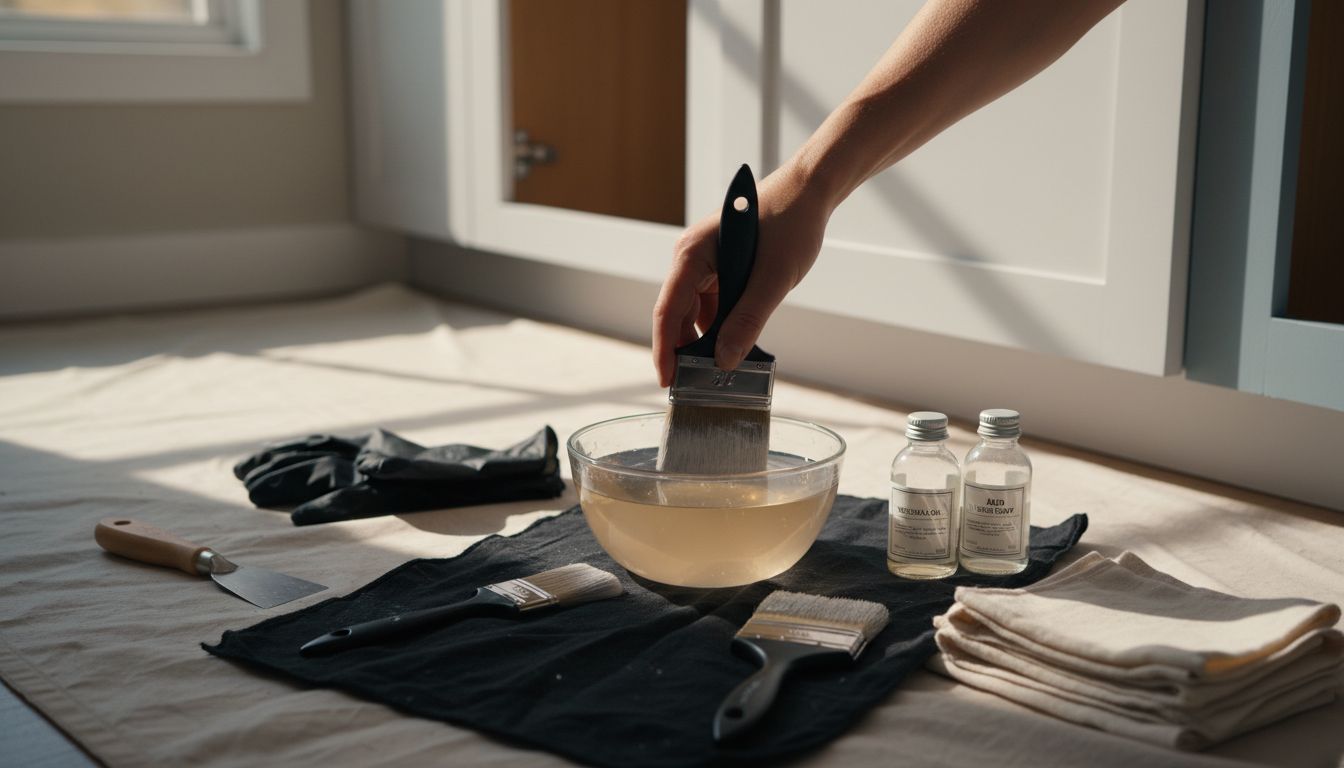
Step 1: Gather Materials for Natural Brush Cleaning
Cleaning your paintbrushes naturally requires strategic preparation and the right collection of household ingredients. You want to protect your tools while ensuring a thorough cleaning process that preserves their quality and extends their lifespan.
According to research from VPA, you will need several key materials for a comprehensive natural brush cleaning method. Gather these essential items before starting:
Odorless mineral spirits
Vegetable or walnut oil
Warm water
Mild dish soap
Clean rags or paper towels
Rubber gloves
Large glass or ceramic container
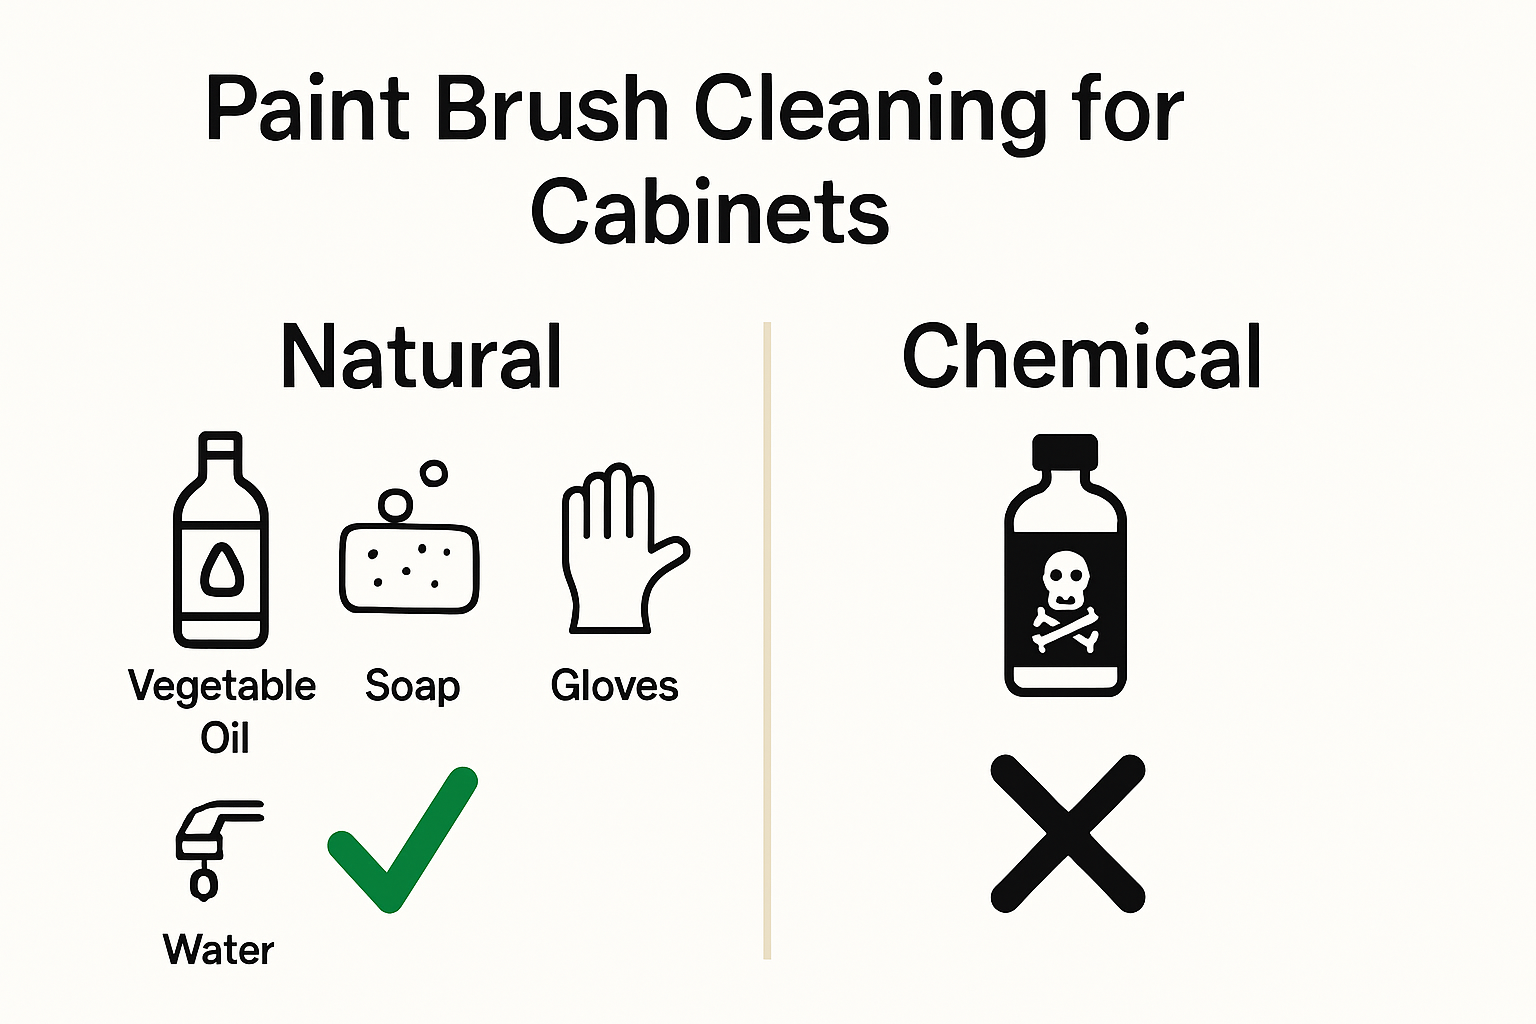
The goal is to remove paint residue gently without damaging your brush bristles. As PaintLogs suggests, using natural oils like walnut or linseed oil can help break down paint more effectively than harsh chemical solvents. Warm water and mild dish soap will serve as your final cleaning agents to eliminate any remaining pigment and oil residue.
Pro tip: Always work in a well ventilated area and wear rubber gloves to protect your hands during the cleaning process. This preparation sets you up for success in maintaining your paintbrushes and ensuring they remain in top condition for your next cabinet painting project.
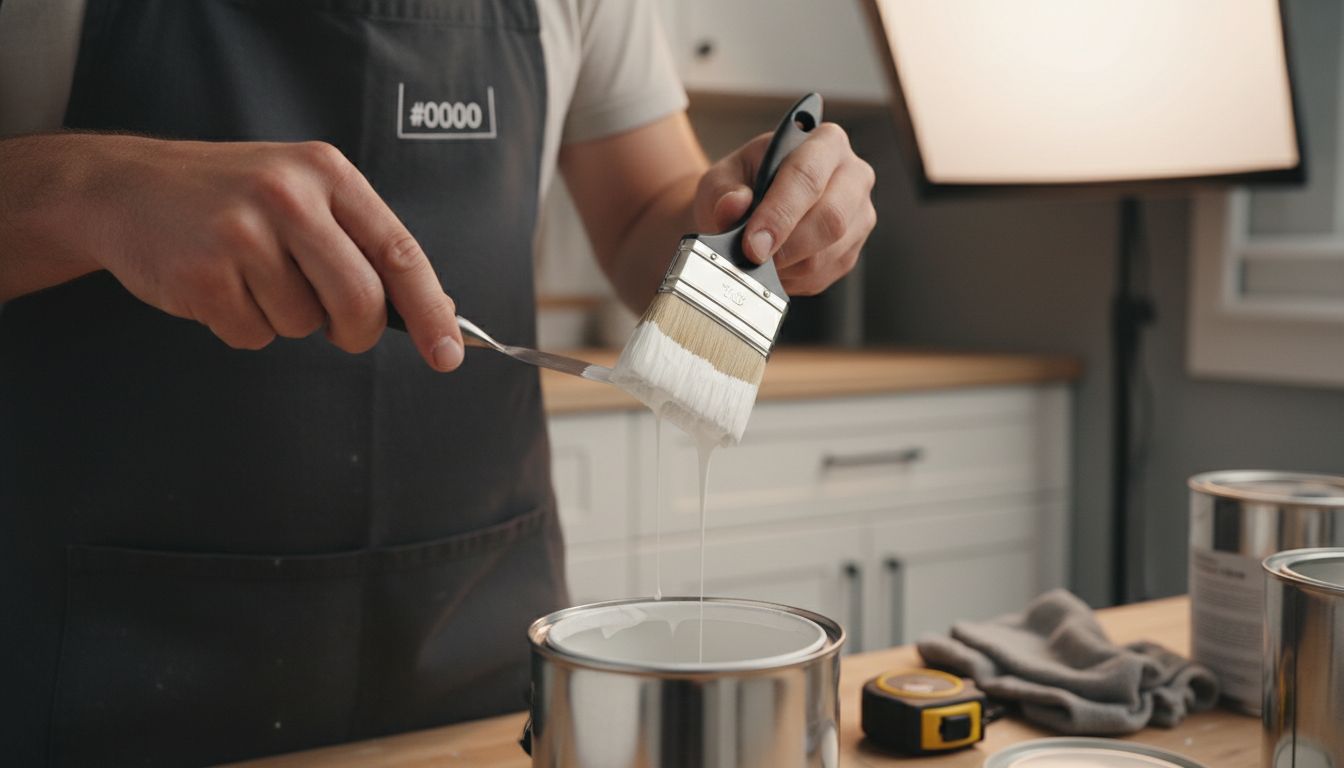
Step 2: Remove Excess Paint from Brushes Safely
Removing excess paint from your brushes carefully is crucial to maintaining their quality and ensuring a smooth painting experience for your cabinet project. You want to minimize waste while preparing your brushes for thorough cleaning.
According to the ibiblio War Department manual, an effective initial approach involves using a putty knife to gently scrape off excess paint from brush bristles. Paintbrush Guard recommends wiping the brush with a damp cloth to remove additional paint residue, which helps conserve water and protect your brush fibers.
Start by holding your brush over your original paint container at a slight angle. Use the putty knife to carefully scrape excess paint back into the container by running the knife along the bristles from ferrule to tip. Avoid pressing too hard to prevent damaging the delicate brush fibers. If paint has begun to dry, you can use a small amount of linseed oil to help loosen and remove stubborn paint residue.
Pro tip: Work in a well lit area with good ventilation, and always scrape paint in a consistent direction to maintain your brush’s shape. This careful approach sets you up for the next stage of your natural brush cleaning process.
Step 3: Soak Brushes Using Natural Solutions
Soaking your paintbrushes in natural solutions helps break down paint residue and restore your brush fibers to their original condition. This critical step ensures your brushes remain in top shape for future cabinet painting projects.
As recommended by P9 Art Boutique, you will want to prepare a gentle soaking solution that effectively removes paint without damaging your brush bristles. Begin by selecting a container large enough to fully submerge your brush bristles without bending them.
Fill the container with warm water and add a small amount of mild dish soap or vegetable oil. Gently swish the brush around to help loosen remaining paint particles. Allow the brush to soak for 10 to 15 minutes maximum to prevent oversaturating the bristles. After soaking, you can rinse the brush and then perform a vinegar rinse to help restore bristle softness and remove any lingering residue.
Pro tip: Never leave your brushes soaking overnight or standing on their bristles. Always lay them flat or hang them with bristles pointing downward to maintain their shape and prevent water from seeping into the ferrule. This careful approach will help preserve your brushes for future painting projects.
Step 4: Rinse and Shape Bristles Effectively
Rinsing and reshaping your paintbrushes is the final critical step in maintaining their quality and ensuring they remain ready for your next cabinet painting project. Proper technique here can significantly extend the life of your valuable tools.
According to Resene, thoroughly rinsing your brushes in clean water is essential. Use a soft brush comb to gently remove any remaining paint residue and carefully straighten the bristles. Start by holding the brush under lukewarm running water at a slight angle, allowing the water to flow down the bristles from ferrule to tip.
For optimal results, The Handyman’s Daughter recommends using a brush spinner to expedite the drying process and maintain the brush’s original shape. Gently tap excess water from the brush and use a clean cloth to blot the bristles. If a spinner is unavailable, carefully reshape the brush head to its original point or flat edge while it is still damp.
Pro tip: Once cleaned and reshaped, store your brush in its original protective wrapper or hanging with bristles pointing downward. This prevents misshaping and ensures your brush remains in pristine condition for your next painting project. Your carefully maintained brushes will reward you with professional looking results every single time.
Step 5: Verify Cleanliness and Store Properly
Verifying the cleanliness of your paintbrushes and storing them correctly is the final crucial step in maintaining your tools for future cabinet painting projects. A meticulous inspection and proper storage will ensure your brushes remain in top condition for years to come.
Paintbrush Guard emphasizes the importance of storing brushes in a carefully selected environment. After cleaning, place your brushes in a shaded area where they can dry naturally without direct sunlight or heat exposure. As recommended by the ibiblio War Department manual, consider wrapping your cleaned brushes in oiled paper to protect the bristles during storage.
To verify cleanliness, inspect your brush under good lighting. Run your fingers gently through the bristles to check for any remaining paint residue. If you detect any stiffness or color discoloration, repeat the cleaning process. For optimal storage, hang your brushes or lay them flat with bristles not touching any surface. Avoid storing brushes standing on their bristle tips, as this can permanently deform the brush shape.
Pro tip: Create a dedicated storage area for your painting tools that is cool, dry, and away from direct sunlight. This simple step will help preserve the quality of your brushes and ensure they are ready for your next cabinet painting adventure.
Care for Your Brushes and Cabinets with Expert Precision
Cleaning your paintbrushes naturally is a smart way to preserve your tools and protect your investment in cabinet projects. The article highlights the challenge of removing paint safely while maintaining brush quality and shape. If you have experienced frustration with stubborn paint residue or worry about damaging your brushes during cleanup, these are common pain points for homeowners who want a smooth, professional finish.
Imagine taking that meticulous care from your brushes to your cabinets. At Ottawa Cabinet Painting, we specialize in transforming kitchen cabinets with a detailed preparation process followed by premium paint application. Our skilled team understands the value of cleanliness, precision, and patience in achieving a silky smooth, durable finish that feels like a brand new kitchen without the chaos of full remodeling.
Ready to bring the same expert care to your cabinets that you give your brushes? Discover how our refinishing solutions can save you money and deliver high-end results. Visit Ottawa Cabinet Painting now for a quote and take the first step toward a refreshed kitchen that is both beautiful and built to last.
Frequently Asked Questions
How do I gather materials for natural brush cleaning?
To clean paint brushes naturally, gather odorless mineral spirits, vegetable or walnut oil, warm water, mild dish soap, clean rags or paper towels, rubber gloves, and a large glass or ceramic container. Prepare these materials before starting to ensure a smooth cleaning process.
What is the best method for removing excess paint from brushes?
Start by using a putty knife to gently scrape off excess paint from the brush bristles, ensuring the paint is returned to your original paint container. Always hold the brush over the container at a slight angle to minimize waste and maintain the shape of the bristles.
How should I soak my paint brushes for effective cleaning?
Prepare a soaking solution with warm water and a small amount of mild dish soap or vegetable oil. Submerge the brushes without bending them for about 10 to 15 minutes to effectively loosen paint residue, then rinse thoroughly afterward.
What steps should I follow to rinse and reshape my paint brushes?
Rinse the brushes under lukewarm running water at a slight angle, allowing the water to flow down from the ferrule to the tip. Use a soft brush comb to remove any remaining paint and gently reshape the bristles to their original form while they are still damp.
How can I verify the cleanliness of my brushes before storing them?
Inspect your brushes under good lighting and run your fingers through the bristles to check for any remaining residue. If the bristles feel stiff or discolored, repeat the cleaning process to ensure they are fully clean before storage.
What is the best way to store my paint brushes after cleaning?
Store your cleaned brushes in a cool, dry place away from direct sunlight. Hang them or lay them flat with bristles not touching any surface to prevent deformities, ensuring they are ready for your next painting project.
Recommended

Comments