Explaining Cabinet Hardware Upgrades for Ottawa Homeowners

TL;DR:
Replacing cabinet hardware is an affordable way to refresh a kitchen’s look without replacing cabinets.
Accurate measurements, consistent placement, and choosing the right hardware types are essential for success.
Peel-and-stick options serve renters well, while professional installation benefits complex projects or large kitchens.
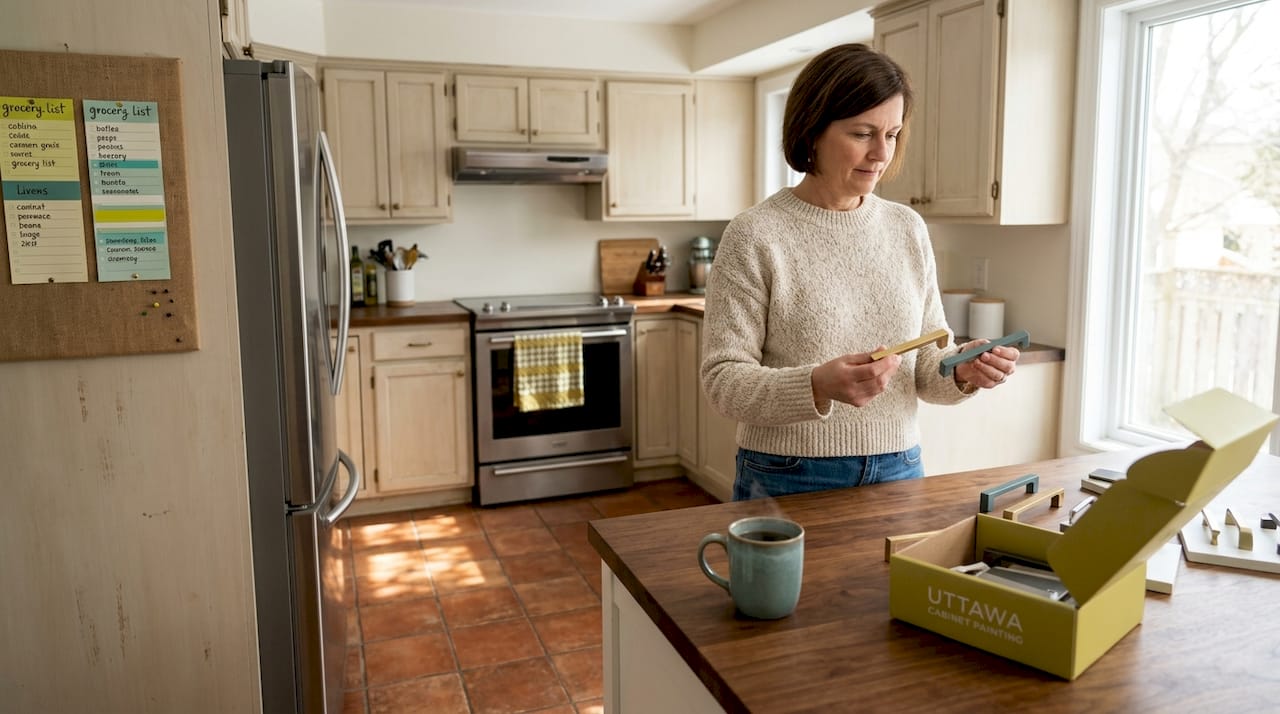
Explaining cabinet hardware upgrades to someone who has never done it before sounds complicated. It really isn’t. Swapping out old knobs and pulls is one of the fastest, most affordable ways to make your kitchen feel brand new without touching the cabinets themselves. We’ve watched Ottawa homeowners spend thousands on full renovations when a $200 hardware swap would have satisfied them for years. This guide covers everything you need: the right hardware types, how to measure and install with confidence, renter-friendly alternatives, style tips, and honest cost guidance.
Table of Contents
Key Takeaways
Point | Details |
Hardware type matters | Knobs suit single doors; bar and cup pulls work better on drawers and larger doors. |
Measurement is everything | Center-to-center sizing determines whether new hardware fits existing holes without extra drilling. |
No-drill options exist | Peel-and-stick handles cost around $10 per pack and are ideal for renters or cautious DIYers. |
Consistent placement transforms kitchens | Uniform hardware positioning gives cabinets a professionally designed look without any renovation. |
DIY vs. professional depends on complexity | Simple swaps are great for DIY; hinge replacements or new hole drilling benefit from professional hands. |
Ottawa cabinet hardware styles and finishes worth knowing
Before you buy anything, you need a working vocabulary of what’s out there. Cabinet hardware falls into a few main categories, and knowing the difference saves you from ordering the wrong thing.
Knobs are single-point fasteners, typically round or square. They work well on door cabinets where you only need one pull point. Bar pulls are the long, straight handles you see on modern kitchens. They attach at two points, using what the industry calls a “center-to-center” measurement, which is the distance between the two screw holes. Cup pulls, also called bin pulls, have a curved shape that cups your fingers. They’re common on drawer fronts and give kitchens a vintage or farmhouse character.
When it comes to finishes, the 2026 hardware trends point clearly toward a few standouts:
Warm brass and unlacquered brass add richness and age naturally over time, complementing white and navy cabinets particularly well
Matte black remains dominant for modern and industrial kitchens because it creates sharp contrast without being shiny or high-maintenance
Satin nickel sits between chrome and brushed steel, offering a soft, timeless look that pairs with nearly any cabinet color
Oil-rubbed bronze and copper are gaining ground in Ottawa kitchens going for warmth and a lived-in feel
Brushed gold works especially well with greige or warm white cabinets and brings a sense of quality without looking overdone
The finish you choose affects kitchen atmosphere in a measurable way. Matte finishes absorb light and feel grounded. Polished finishes reflect light and feel energetic. For most Ottawa homes, which tend toward traditional layouts with transitional design preferences, satin nickel and warm brass are the safest long-term choices. If you want to explore how Ottawa homeowners are mixing and matching these finishes right now, the 2025 hardware trends breakdown is worth a look.
Measurement and installation in Ottawa kitchens
Getting the measurements right is where most DIY hardware projects either succeed or fall apart. The good news is that a full hardware refresh can be done in under an hour when you match new hardware to existing holes. The moment you change the center-to-center spacing, the project gets more involved.
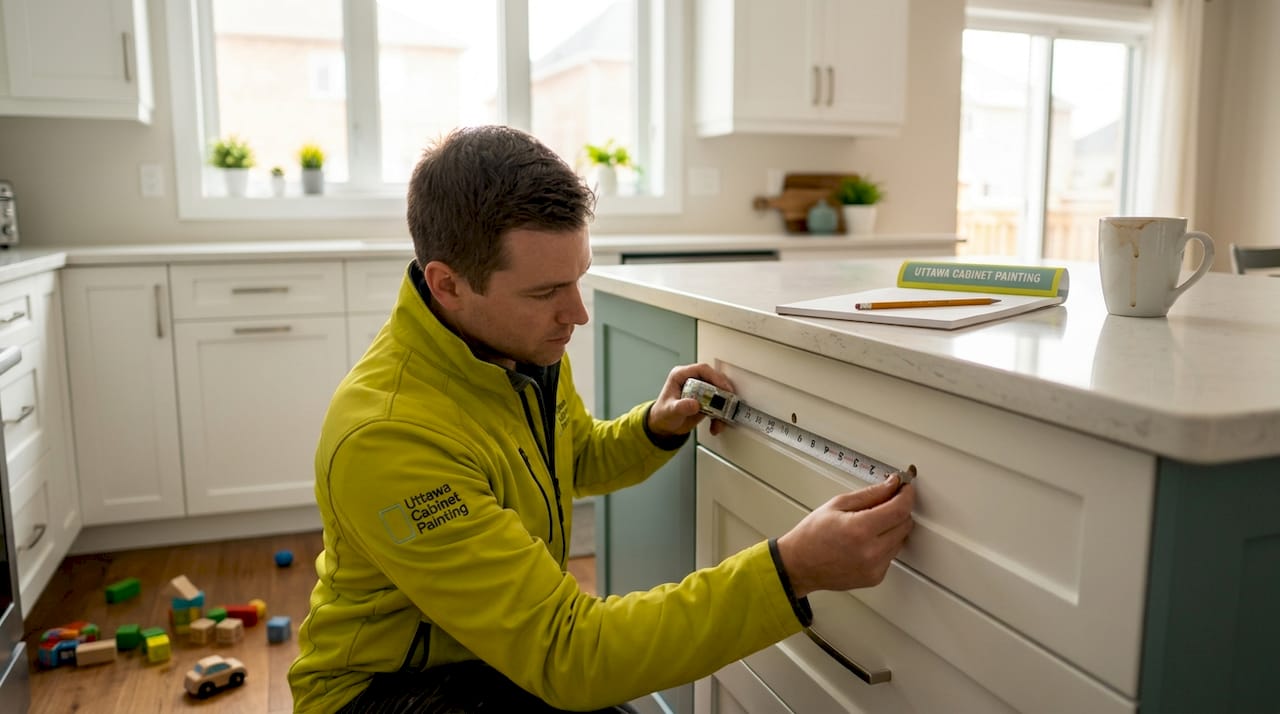
Center-to-center sizing is the non-negotiable measurement. It tells you whether a pull will line up with the holes already in your cabinet face. The most common standard sizes are 96 mm, 128 mm, and 160 mm. Before you buy, measure your existing pulls screw-to-screw, and shop for hardware that matches exactly.
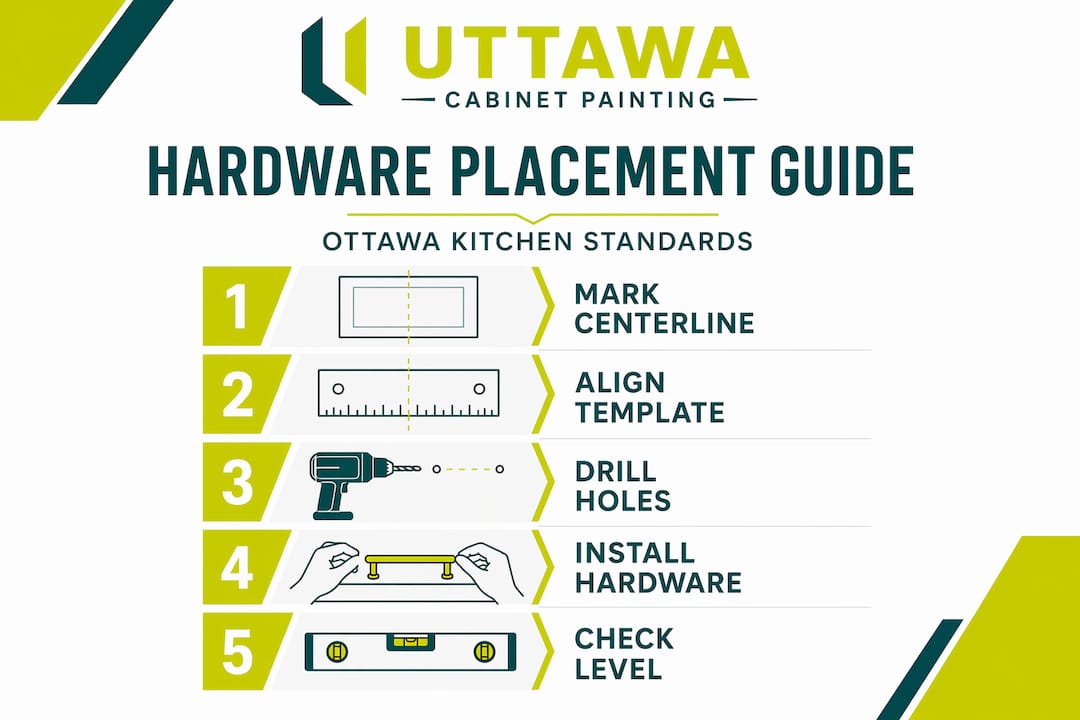
Here’s a step-by-step installation approach that works consistently well:
Remove one existing pull and measure the center-to-center distance with a tape measure or digital calipers for accuracy.
Purchase a hardware jig or template. These inexpensive tools run about $15 to $25 and create repeatable hole placement across every door and drawer.
Mark your position lightly with a pencil before drilling anything. Double-check placement by holding the pull against the door.
Drill pilot holes slightly smaller than your screw diameter. This prevents the drill from wandering and avoids blowout on the cabinet face.
Use a backer block (a scrap piece of wood pressed against the interior face of the cabinet) when drilling through to prevent chip-out and splintering.
Attach the pull with the included screws, hand-tightening first, then snugging with a screwdriver. Avoid over-tightening on wood.
Batch process all doors and drawers using your jig before moving to the next step. Consistency across the whole kitchen matters more than perfection on a single door.
If you need to fill old holes before drilling new ones, wood filler or color-matched putty works well on painted cabinets. Sand it flush when dry, touch up with paint, and let it cure fully before drilling nearby.
Pro Tip: Build a simple cardboard template for your most common door size. Mark the center-to-center holes on it, punch through with a nail, and use it to mark every door in the same position. Batch measurement using templates prevents the cumulative drift that makes a kitchen look off even when each individual pull looks fine on its own.
Scenario | Difficulty | Tools needed |
Replacing with same-size hardware | Easy | Screwdriver only |
New hardware, same hole spacing | Easy | Screwdriver, template |
New holes, different spacing | Moderate | Drill, jig, pilot bit, wood filler |
Cabinet hinge replacement | Moderate to hard | Drill, hinge jig, chisel |
Renter-friendly upgrades without drilling
Many Ottawa renters assume upgrading cabinet hardware means drilling into wood they don’t own. That assumption stops a lot of people from making changes they’d genuinely enjoy. Peel-and-stick handles change that entirely. They cost around $10 per pack, come in a growing range of styles and finishes, and leave no permanent marks when removed properly.
The catch is surface preparation. Adhesive hardware fails almost entirely because of poor prep, not because the product is bad. Here’s what actually works:
Wipe the cabinet surface with isopropyl alcohol and let it dry for at least 10 minutes before applying anything
Avoid cleaning with water or all-purpose sprays immediately before installation; residue from those products weakens adhesion
Press the handle firmly against the door for 30 to 60 seconds to activate the adhesive bond
Do not open or pull on the handles for at least 24 hours after installation; the adhesive needs full bonding time to reach its working strength
In high-humidity kitchens, consider applying a thin bead of removable mounting tape as a secondary hold
Pro Tip: When your lease ends and you need to restore the original look, store the old hardware in a labeled zip-lock bag taped inside one of the cabinets. It takes 30 seconds to do at the start and saves real headaches at move-out.
Peel-and-stick options won’t suit heavy-use drawers that get yanked open daily with full force. For those spots, look for stick-on pulls with mechanical reinforcement options or consider negotiating a small hardware upgrade with your landlord. Most landlords are open to it when you offer to pay for the materials.
Placement strategies that make Ottawa kitchens look polished
You can buy beautiful hardware and still end up with a kitchen that looks unfinished. The reason is almost always placement inconsistency. Consistent placement transforms how a kitchen reads visually, making it feel professionally designed rather than assembled in stages.
The standard rules are straightforward. On drawer fronts, center the pull both horizontally and vertically. On cabinet doors, place pulls along the vertical stile (the long side edge), positioned roughly one-third of the way from the top or bottom depending on whether the door opens up or down. Knobs go near the corner of the door, on the same side as the pull would be, about 2 to 3 inches from the edge.
Here’s a quick comparison of common placement choices and their effect:
Placement style | Visual effect | Best for |
Centered on drawer fronts | Balanced, clean | Modern and transitional kitchens |
Pulls along door stile | Elegant, vertical emphasis | Tall upper and lower doors |
Knobs at door corners | Traditional, compact | Classic and farmhouse styles |
Mixed knobs and pulls | Eclectic, layered | Kitchens with varied door sizes |
Mixing hardware styles across a kitchen is possible, but the finish must stay consistent. You can combine hardware styles as long as the metal tone ties everything together. A matte black knob on doors and a matte black bar pull on drawers reads intentional. Two different finishes, even with matched styles, reads accidental.
One mistake we see regularly in Ottawa kitchens is placing pulls at different heights on identical doors. It looks subtle in isolation but jumps out once the kitchen is fully assembled. Always use a jig and always measure from the same reference point, whether that’s the top of the door or the bottom.
DIY vs. professional installation costs in Ottawa
Simple hardware swaps are well within reach for most DIYers. Replacing pulls that use the same center-to-center measurement costs almost nothing beyond the hardware itself. A mid-range set of 30 pulls runs between $90 and $250 depending on the finish and brand. Add a $20 jig, a $15 drill bit set, and you’re done.
The math changes when the project gets more complex:
Drilling new holes requires a drill, a precise jig, wood filler, and touch-up paint. Budget an extra $40 to $80 in materials and a full afternoon of time.
Cabinet hinge replacement is a different job entirely. Soft-close hinge retrofits require careful drilling and alignment; soft-close drawer retrofits typically run $250 to $2,500 depending on scope and the number of drawers involved.
Full kitchen hardware replacement across 30 or more doors and drawers is a half-day project minimum for an experienced DIYer. For someone without a jig, it can stretch to a full weekend.
When does it make sense to hire a professional in Ottawa?
When you’re unsure about drilling into cabinet faces and don’t want to risk damage
When the existing holes are in the wrong position and significant filling or patching is needed
When you’re replacing hinges and slides alongside pulls, which requires more technical skill
When the kitchen is large and you simply want the job done quickly and correctly the first time
Starting with a test cabinet before committing to the whole kitchen is always worth doing. Pick one drawer, install the hardware, step back, and live with it for a day. You’ll catch problems with scale, finish, or placement before they multiply across 25 doors.
My honest take on hardware upgrades after years in Ottawa kitchens
I’ve seen homeowners buy beautiful $12-per-pull satin brass hardware and completely ruin the effect by rushing the installation. And I’ve seen people spend $3 per knob and end up with a kitchen that looked like it cost far more than it did, simply because they measured carefully and placed everything consistently.
The truth is, fancy tools matter less than patience. In my experience, the single biggest predictor of a great result isn’t the hardware quality. It’s whether the person took the time to build a template, test one door first, and resist the urge to skip the pilot holes.
I’ve also learned that hardware upgrades are genuinely the best first step before any major cabinet work. When Ottawa homeowners come to us wondering whether they need full cabinet replacement, we often ask whether they’ve tried new hardware first. A third of them come back to say they love their kitchens now. Hardware changes that much.
What I’d tell any Ottawa homeowner starting this project: commit to the measurement process, choose a finish you won’t grow tired of in two years, and don’t underestimate how much consistency matters. The budget-friendly upgrades that age best are always the ones done with care, not speed.
— Ottawa
Transform your Ottawa kitchen with professional cabinet services
Hardware upgrades do a lot. But paired with a professional cabinet refinish, the result is genuinely showroom quality. At Ottawacabinetpainting, we offer interior cabinet painting and full refinishing services that complement any hardware upgrade you have planned, or we can handle both as part of the same project. Our process includes thorough surface prep, premium primer application, and a factory-smooth finish that holds up for years. We back every job with a 6-year warranty and serve Ottawa homeowners with a focus on minimal disruption and lasting quality. Want to see what’s possible? Our before-and-after gallery shows real Ottawa kitchen transformations. Reach out today for a free quote.
FAQ
What is the easiest cabinet hardware upgrade for beginners?
Replacing pulls that match your existing center-to-center hole spacing is the simplest upgrade. It requires only a screwdriver and takes less than an hour for a full kitchen.
How do I measure cabinet pulls correctly?
Measure the distance between the two screw holes on your current pull from center to center. Common sizes are 96 mm, 128 mm, and 160 mm. Match this measurement when buying new hardware to avoid drilling new holes.
Can renters upgrade cabinet hardware without drilling?
Yes. Peel-and-stick handles are a no-drill option costing about $10 per pack. Clean the surface with isopropyl alcohol, press firmly, and wait 24 hours before using the handles.
What hardware finish works best in Ottawa kitchens?
Satin nickel and warm brass are the most versatile and enduring choices for Ottawa kitchens. Matte black works well for modern styles, while oil-rubbed bronze suits traditional and farmhouse designs.
When should I hire a professional for cabinet hardware installation?
Hire a professional when you need to drill new holes in different positions, replace cabinet hinges or drawer slides, or work across a large kitchen where precision across 30-plus doors matters significantly.
Recommended
Comments